This article is the ultimate guide to the HSL in Lightroom. You may find this color customization section in other digital editing software. Diving deeper into HSL sliders in Lightroom gives you a great understanding of HSL sliders in general.
The HSL in Lightroom is a brilliant way to fine-tune your color pallet. It gives you unique options to customize individual colors inside your photograph. You can use these customizations subtly or make grand changes to your images.
What are HSL Sliders?
HSL Sliders are a selection of three ways to control your photographs’ colors. HSL is an acronym for Hue, Saturation, and Luminance. Each of these adjustments affects colors in different ways.
These three adjustments are often grouped together in digital editing software. Each adjustment splits the sliders between each color you want to edit. It is most common to see eight color sliders in each HSL section.
In Lightroom, these eight colors are red, orange, yellow, green, aqua, blue, purple, and magenta. Each slider adjustment affects only that specific color channel, making editing particular tones and areas quick and easy.
Let’s now briefly introduce each of the main adjustments in HSL sliders:
Hue – Editing the hue will change the shade of the color. For example, you can edit the red hue to be more orange or blood red. This is helpful if you want to make a color more prominent or blend into the image more.
Saturation – The saturation sliders change the intensity of the color. Increasing the slider will emphasize all traces of that shade of color. If you decrease the slider to 0, all traces of that color will become monochrome.
Luminance – The Luminance adjusts how bright the color is. This changes the shade of the color, like the hue. But instead of going from one side of the color spectrum to the other, it changes the color from light to dark.
© Helena Lopes
Using HSL in Lightroom vs Lightroom Classic
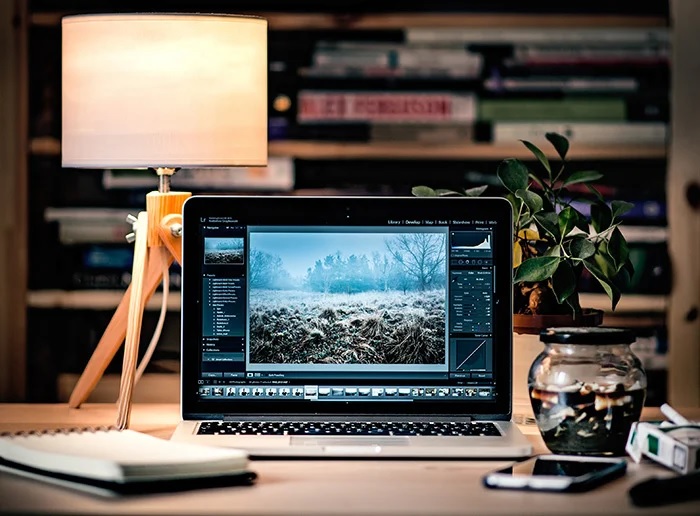
Adobe Lightroom now comes in two different versions: Lightroom and Lightroom Classic. Both versions have many of the same functions; what differs are the approaches to editing processes.
Lightroom favors a post-processing workflow that utilizes the cloud. This allows you to work from the same set of images on any device you want. This version also prioritizes simplicity and ease of use through a stripped-back interface. This may be easier for beginners to work through.
Lightroom Classic has an interface with which any photographer who has used the past versions of Lightroom would be familiar. It provides a wide range of features, some of which you may never need to use. You will find more in-depth controls and attention to detail in Lightroom Classic.
Both Lightroom versions produce the same results as the algorithms for adjustments are the same. They both allow you to perform photo merging. So, it will come down to personal preference or whether you need to use a very specific process. This article will outline differences in the processes we touch on in either Lightroom version.
HSL in Lightroom
Both Lightroom versions offer the same amount of control and perform similarly. However, each version displays the options slightly differently. Both versions place the HSL inside the ‘Color Mixer’ section.
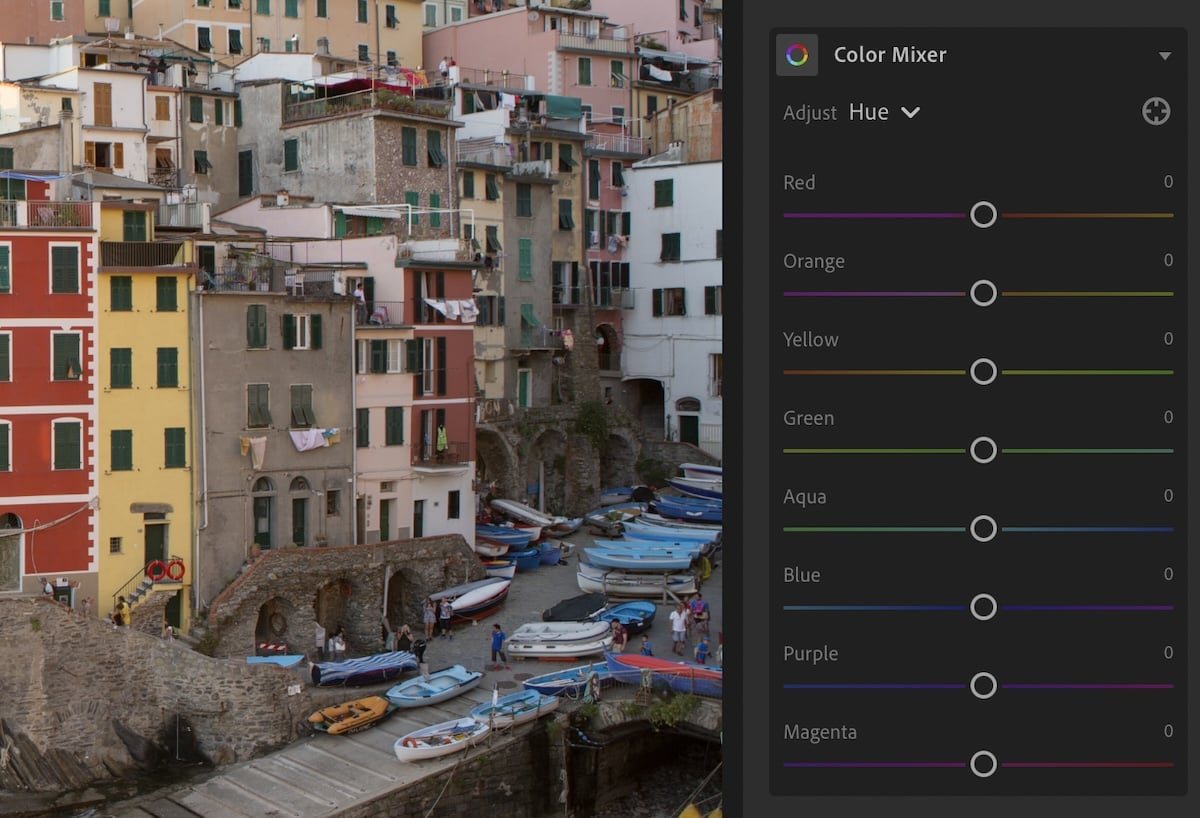
Lightroom provides a dropdown menu that allows you to select from Color, Hue, Saturation, or Luminance. The Color section shows you HSL sliders just for the color you choose to work on. The Hue, Saturation, or Luminance sections will show you all eight colors.
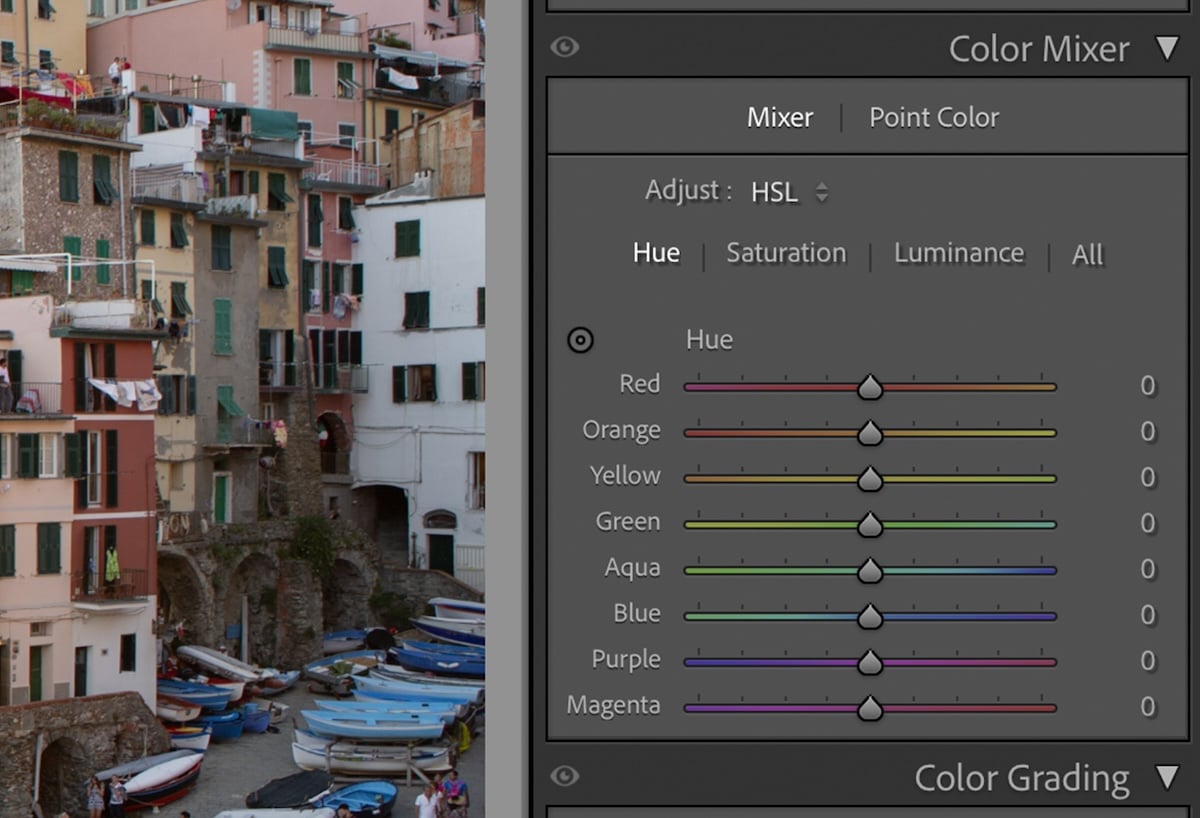
In Lightroom Classic, you must ensure you select the ‘Mixer’ option just under ‘Color Mixer.’ Underneath this, you will find an ‘Adjust’ dropdown menu. This will let you choose between HSL or individual color editing. When you have selected HSL, Lightroom Classic offers a view that puts all the HSL sliders on show. This is unique to Lightroom Classic.
Let’s now look at each adjustment in more detail.
Hue
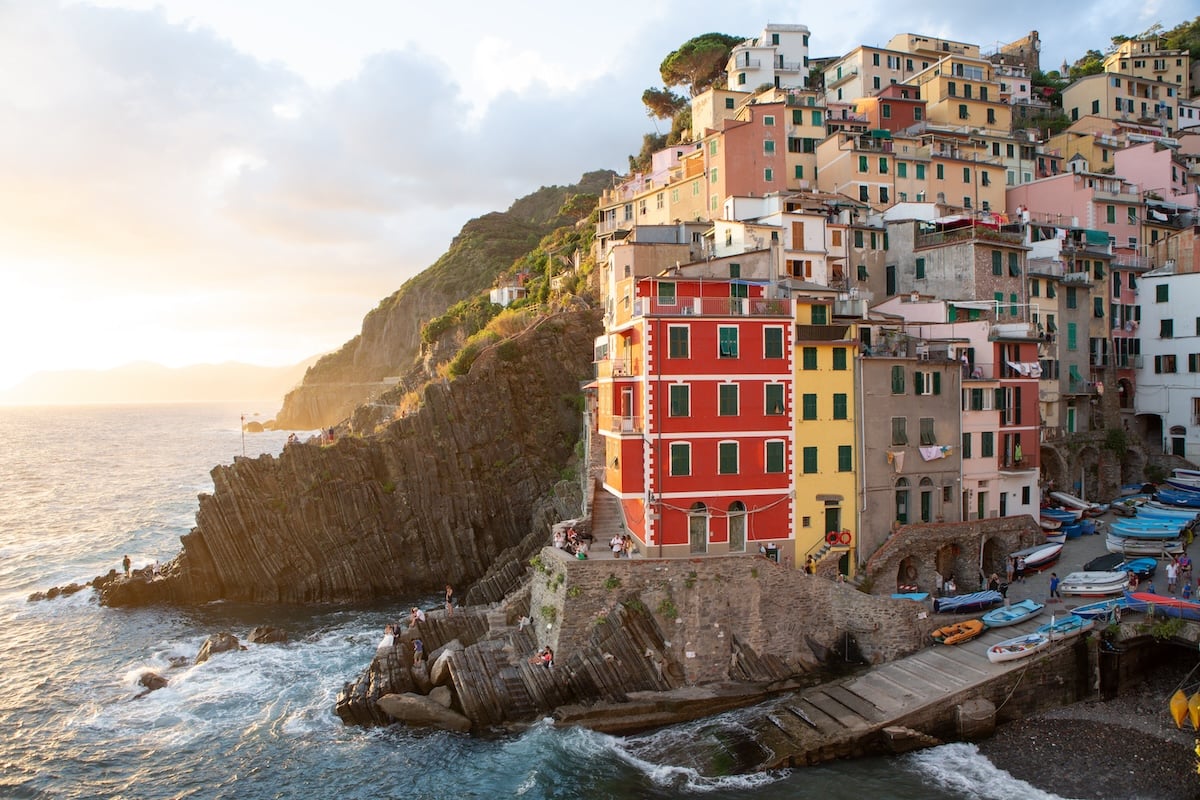
The Hue moves the color you choose across the spectrum. It confines your selection to the color boundaries (e.g. when red can become orange).
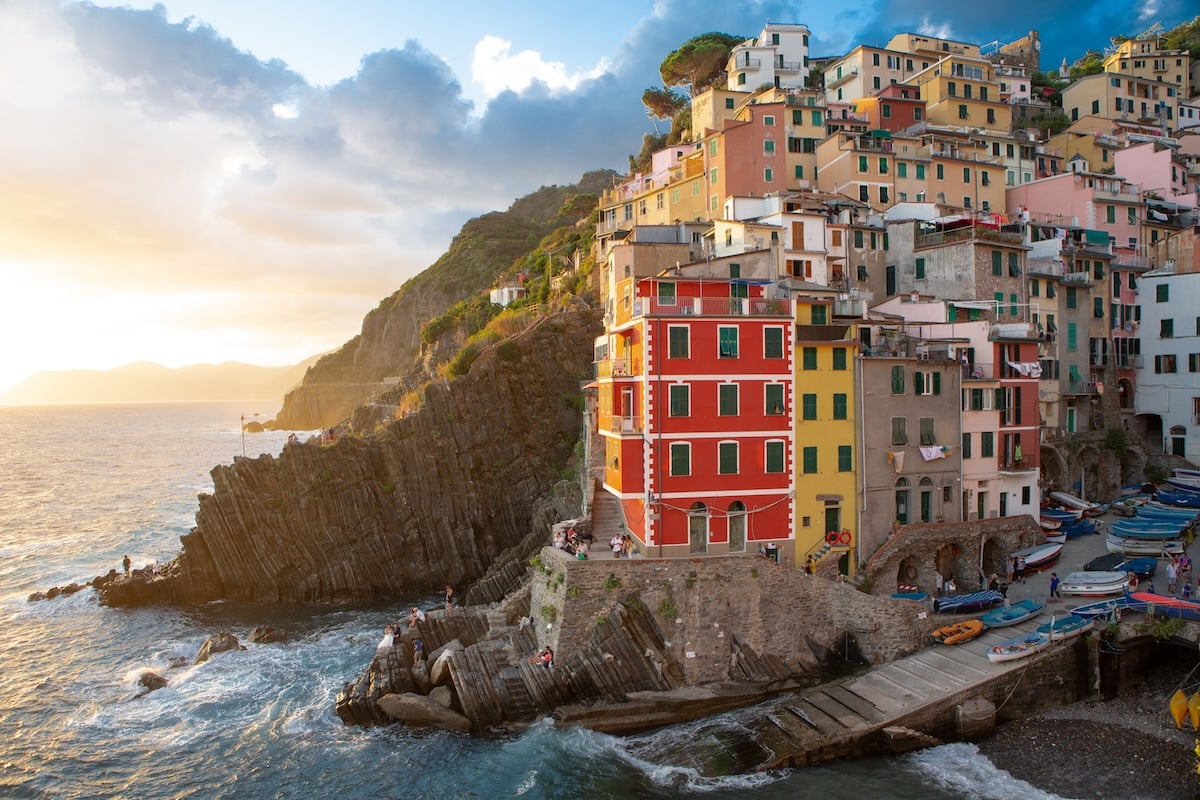
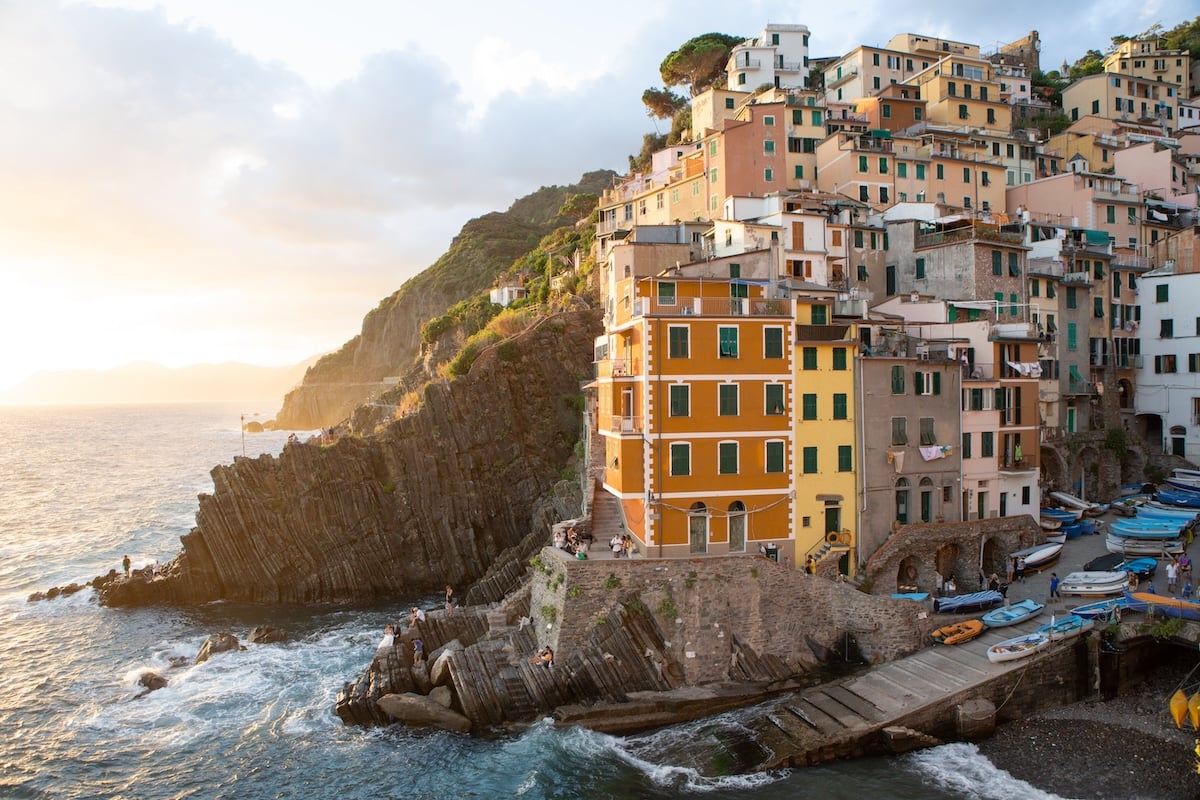
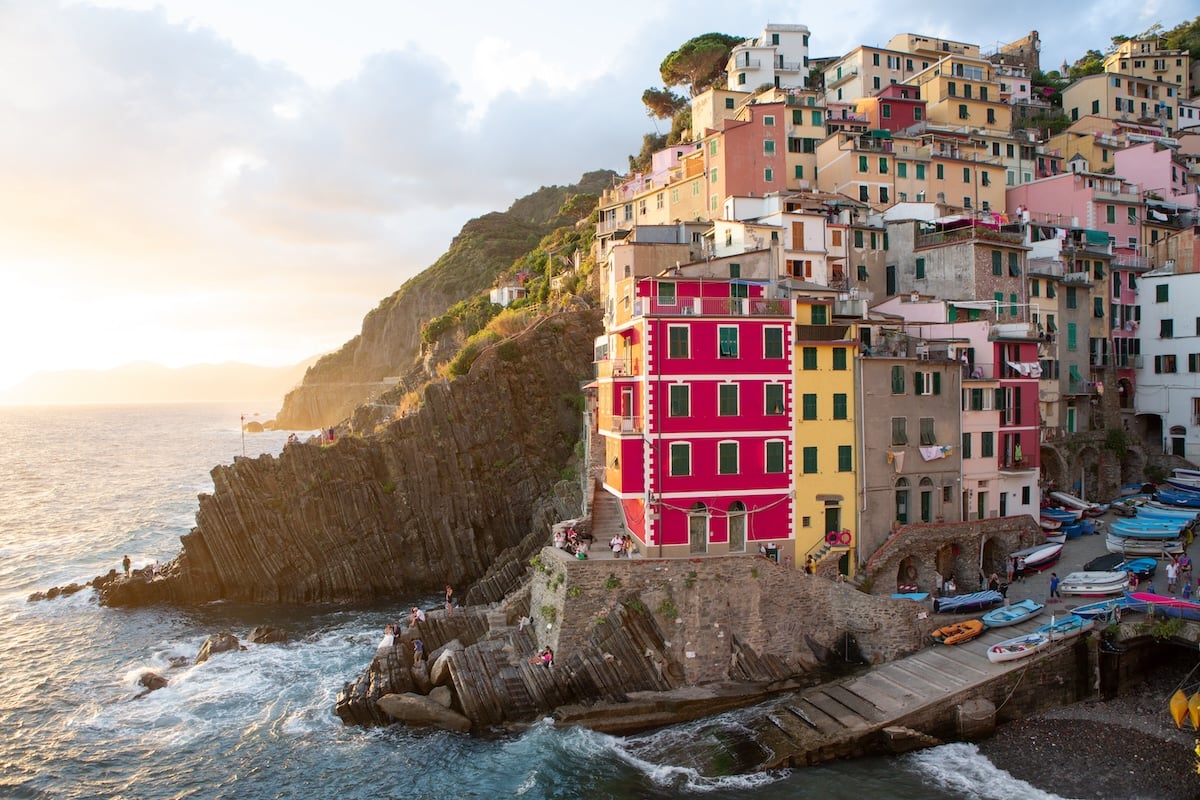
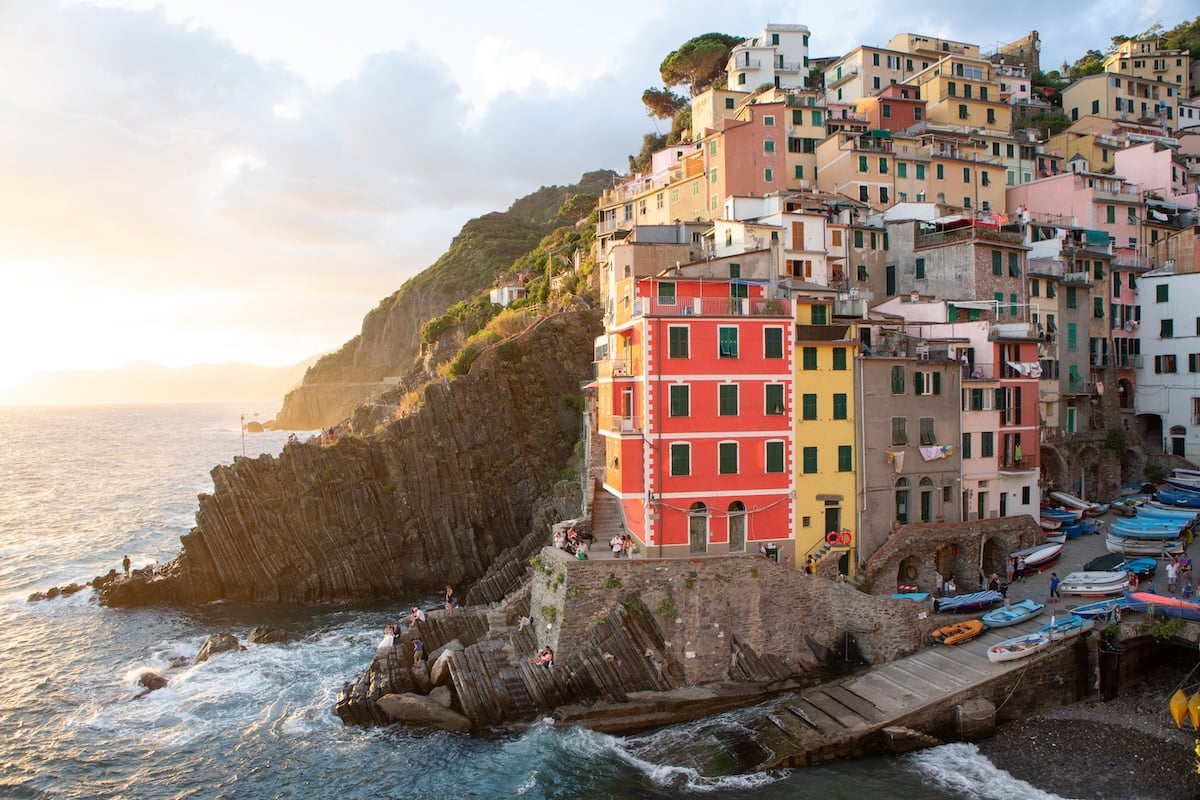
If we edit the red hue in the image below, we can see how the main building can transform into a different color. The red now looks similar to the yellow buildings around it. Moving the slider in the other direction turns the red into a more purple red.
You will have to be careful when moving the Hue slider. For instance, if I want to edit the yellow hue of the buildings, the sunset will also be affected. This is apparent in all HSL adjustments, so you may want to make your own mask.
An example below shows what happens if I move the yellow slider to one of its extremes. The entire image changes, not just the buildings at the center of focus.
Saturation
The Saturation edits the intensity of the color from monochrome to over-the-top pungency. This is a great way to make colors pop more or eliminate them altogether.
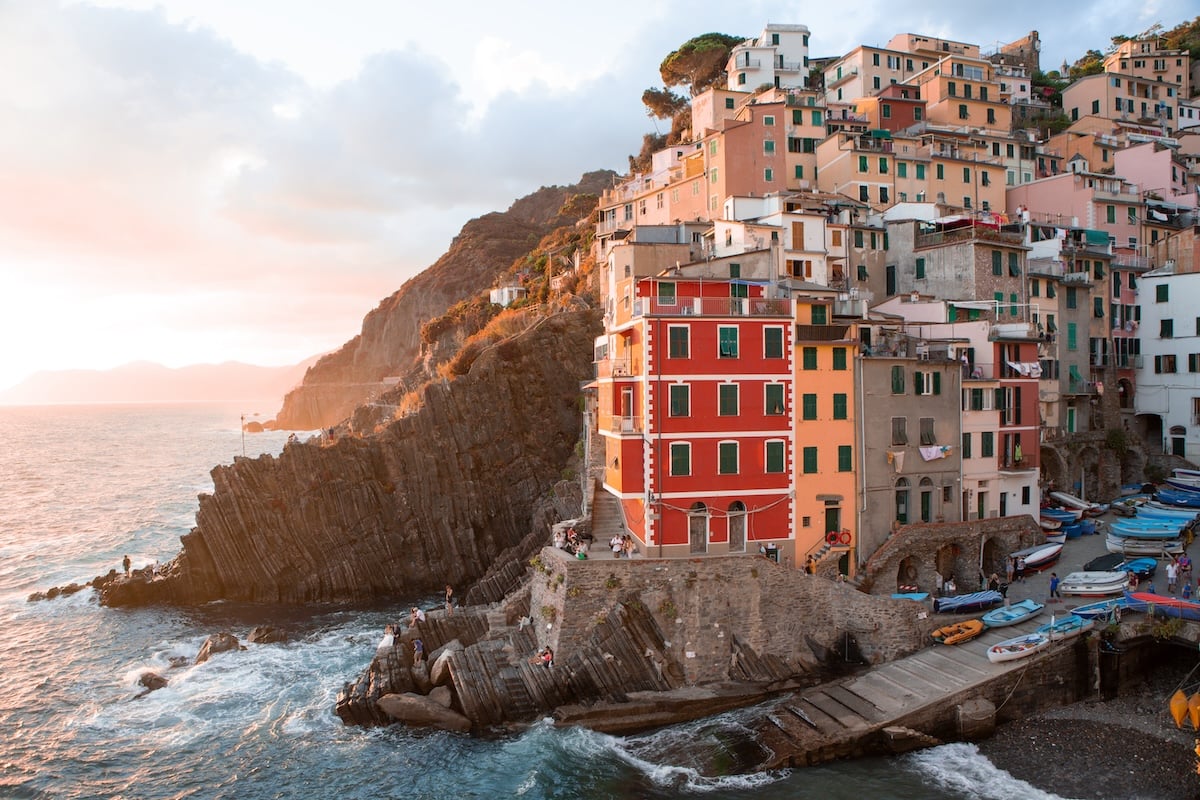
If we move the red saturation slider to the maximum, we can see how much the main building pops out of the image. However, we also have to notice the pink buildings to the right of the image.
These buildings were previously closer to a neutral white. But because the software picked up shades of red, it has emphasized these to their max. This makes the neutral color appear pink.
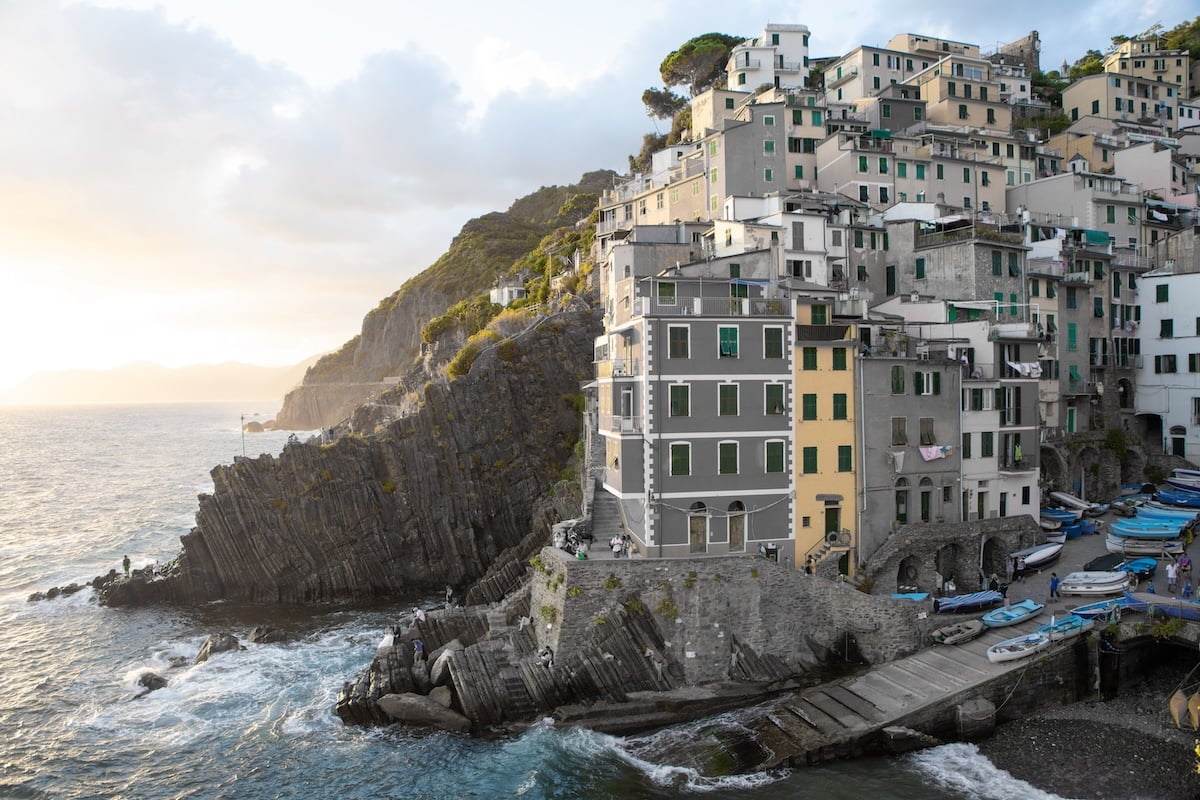
If we reduce the saturation to the max, we can see the red almost completely disappears from the building. This cool effect allows us to get creative with our photo editing.
If we want to remove all the colors in the main building, we must also remove the orange. By doing this, many of the other buildings around it also lose their color. This also affects the sunset, the sun’s glow, and other points around the photo. If you want to edit the main building, you must create a mask.

Luminance
The Luminance changes how bright your color is. This is similar to a tonal adjustment, but it is just applied to the color of your selection. Like a tonal adjustment, moving the brightness of the color will change its shade.
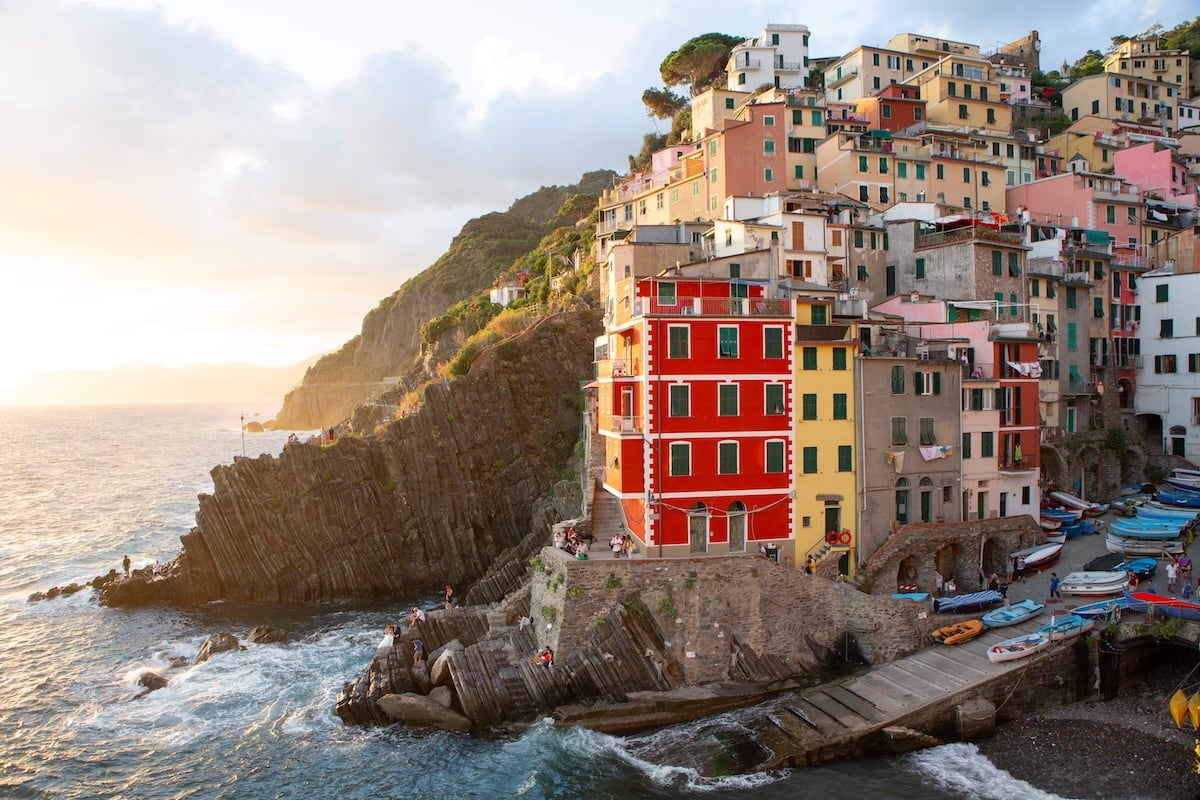
When editing the red to maximum luminance, we can see much more detail in the areas that were red. The color is now more of a pale orange, but it has brightened every trace of this color across the image.
If we move the slider to the opposite extreme, we can see the main building turn a dark red wine color. This also effects the other houses to the left which turn almost brown.
The Luminance sliders are great for making certain areas pop or others more dramatic. For instance, if I slightly reduce the yellow, orange, and blue sliders, we get a very dramatic image. If I then increase the red slightly, this building will pop out in a dramatic scene.

Conclusion: HSL in Lightroom
After exploring HSL in Lightroom in more detail, we can see how much these adjustments can change an image. These simple sliders allow you great control over your color, allowing your creativity to roam free. But remember, they are more useful when performing smaller and precise adjustments.
As we mentioned, it is common for other areas of your image to be affected that you want to avoid. This is where you must learn how to mask. Luckily, Lightroom makes this process as simple as possible.