The Color Replacement tool in Photoshop can come in handy for many creative situations. Adobe Photoshop lets us fine-tune photographs with complete control; one effective adjustment is changing the color of specific objects.
We can use the Color Replacement tool to add a pop of color to our scene, or we might want certain objects to stand out or blend in. This article will walk you through the most effective way to use this tool to get the best results for your Photoshop edits.

The Color Replacement tool is a tool that simply allows us to change a range of colors in an area we brush over. This tool’s brilliance is that it leaves the tones, shades, and highlights in our specific area. So, the new color with the full tonal gradient is applied to make a convincing color replacement.
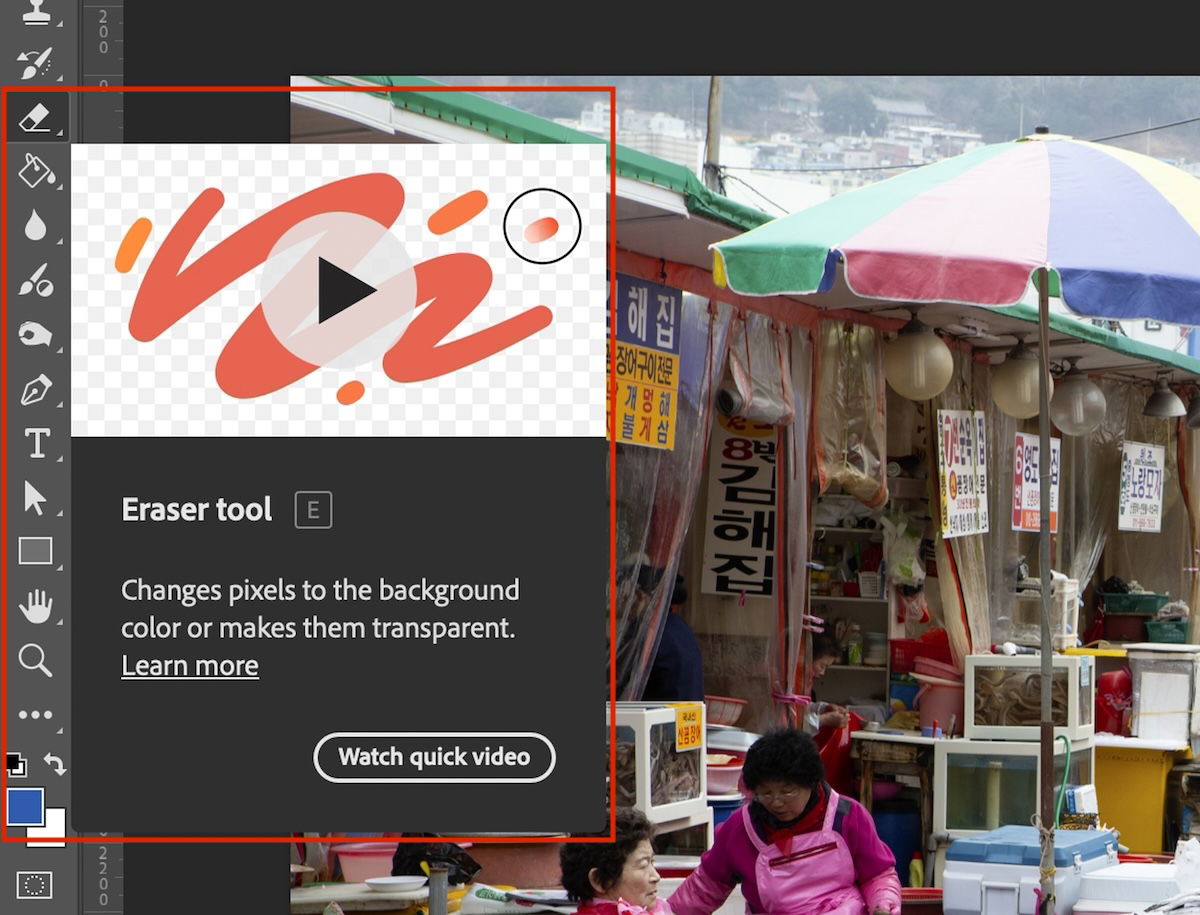
You can find the Color Replacement tool in Photoshop in the toolbar to the left of the window. It is housed under the brush tool, so you must hold-click over it to see the Color Replacement tool.

We will now break down the simplest way to use the Color Replacement Tool in Photoshop in the most convincing way. We will point out the most important points to consider to use this tool effectively.
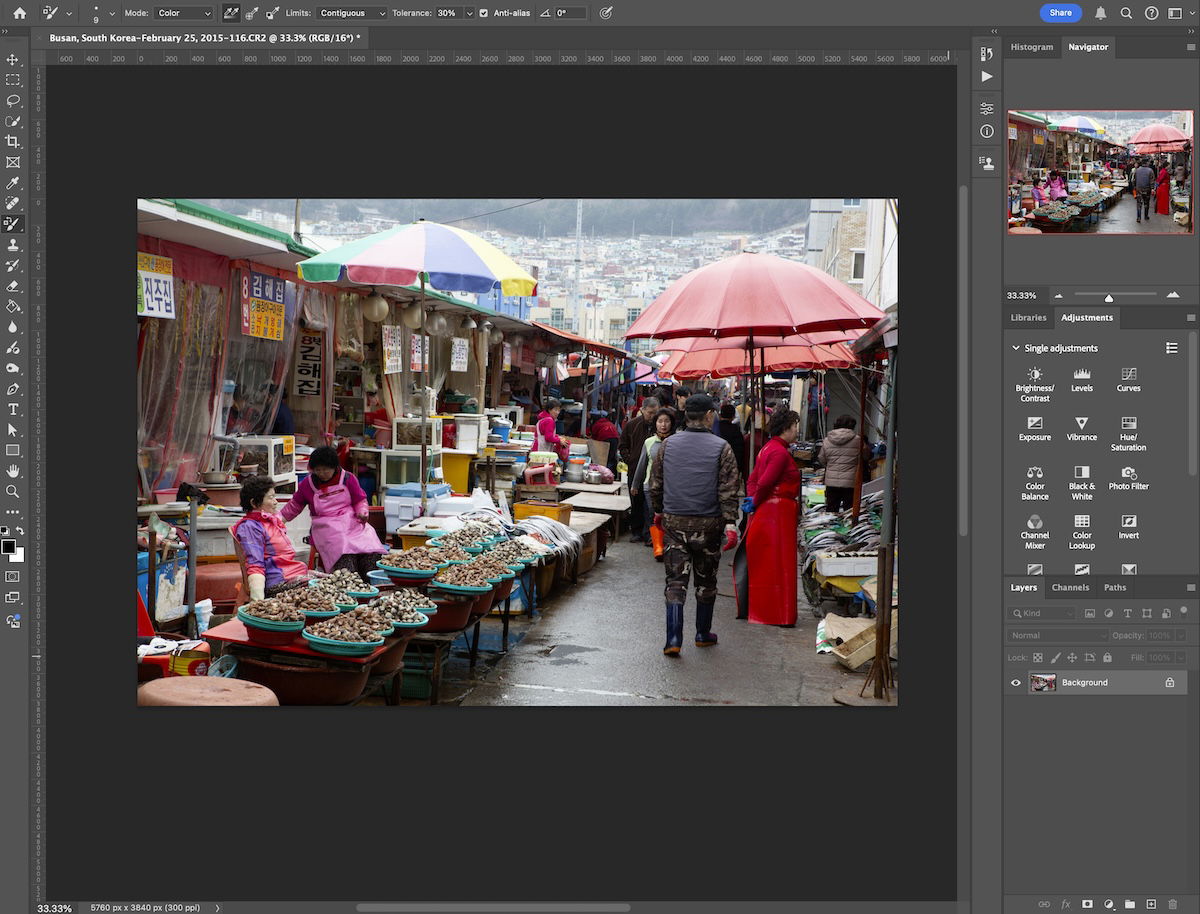
First of all, open the image you want to change in Photoshop.
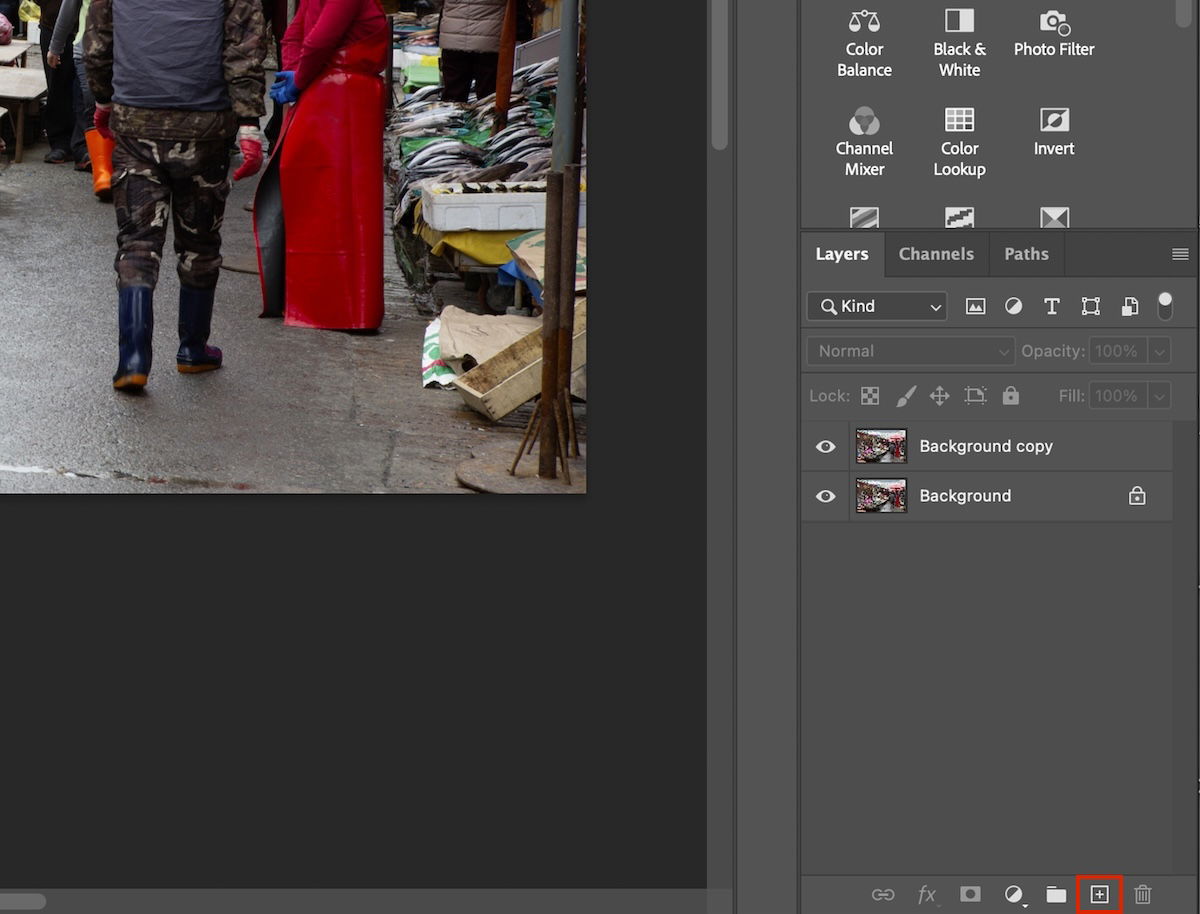
Next, make sure you make a duplicate layer of your background. This will mean you can start over the edit at any point. It will also be helpful if you want to try numerous color replacements. Keep duplicating the background for a different edit.
We are now ready to start the color replacement process.
You may not want to make a mask if you want a quick and rough color replacement. But, if you are looking for the most accurate and convincing edit, a mask will save you loads of time and make it easy.
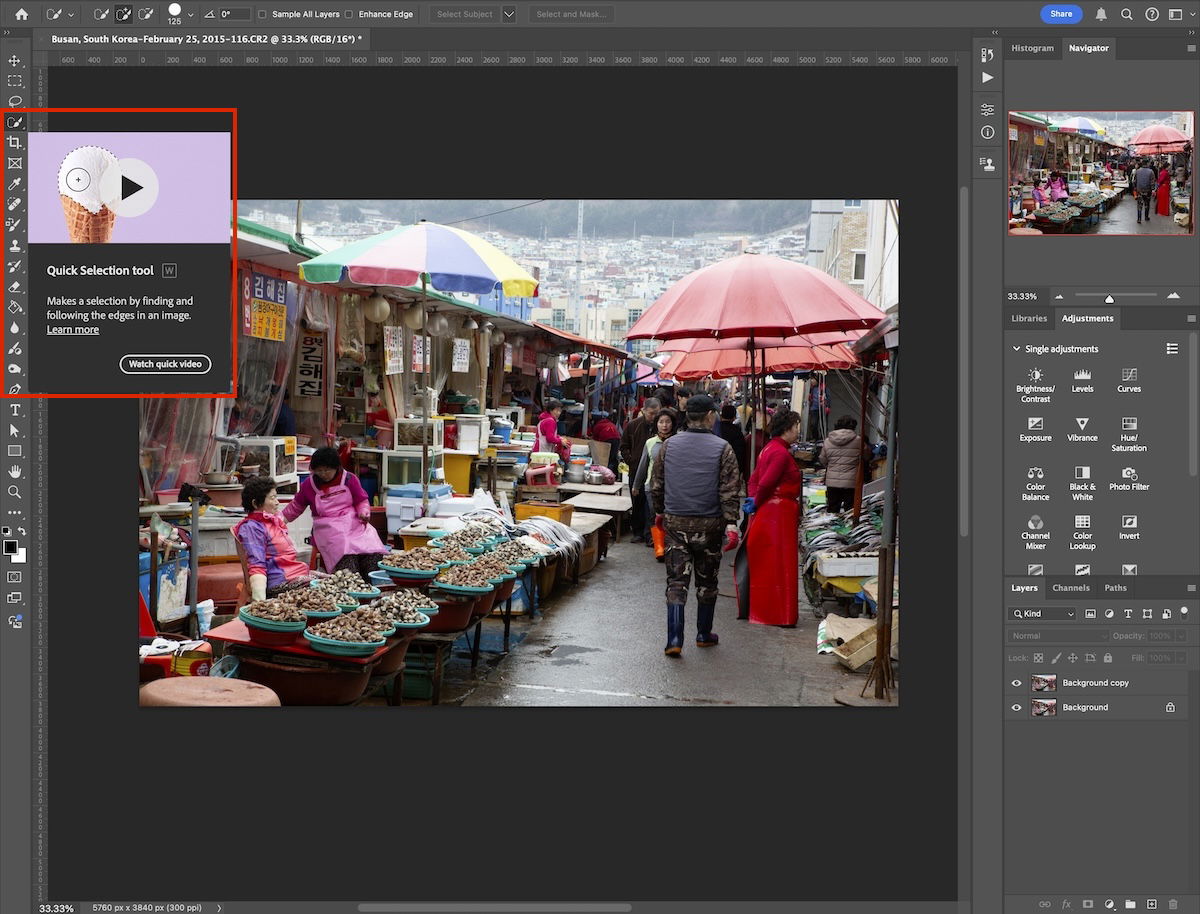
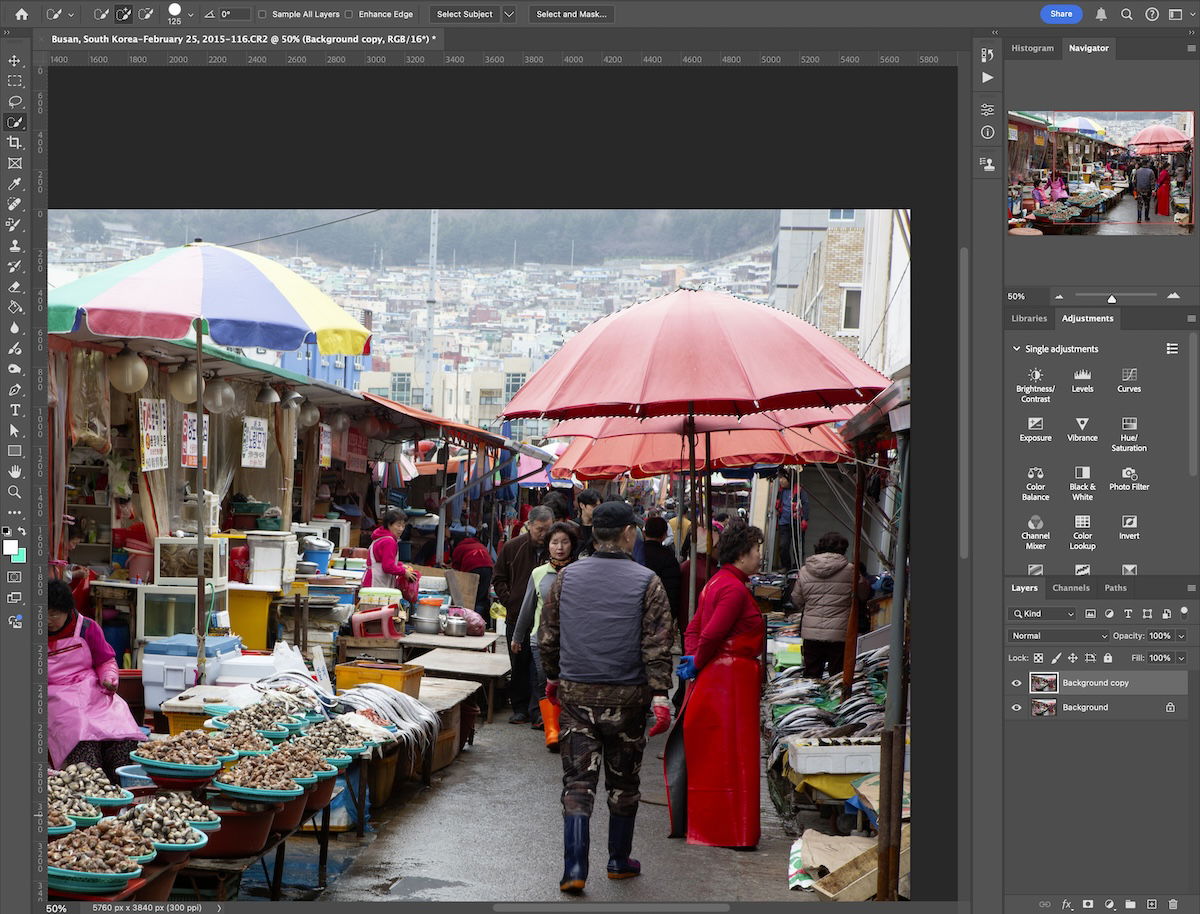
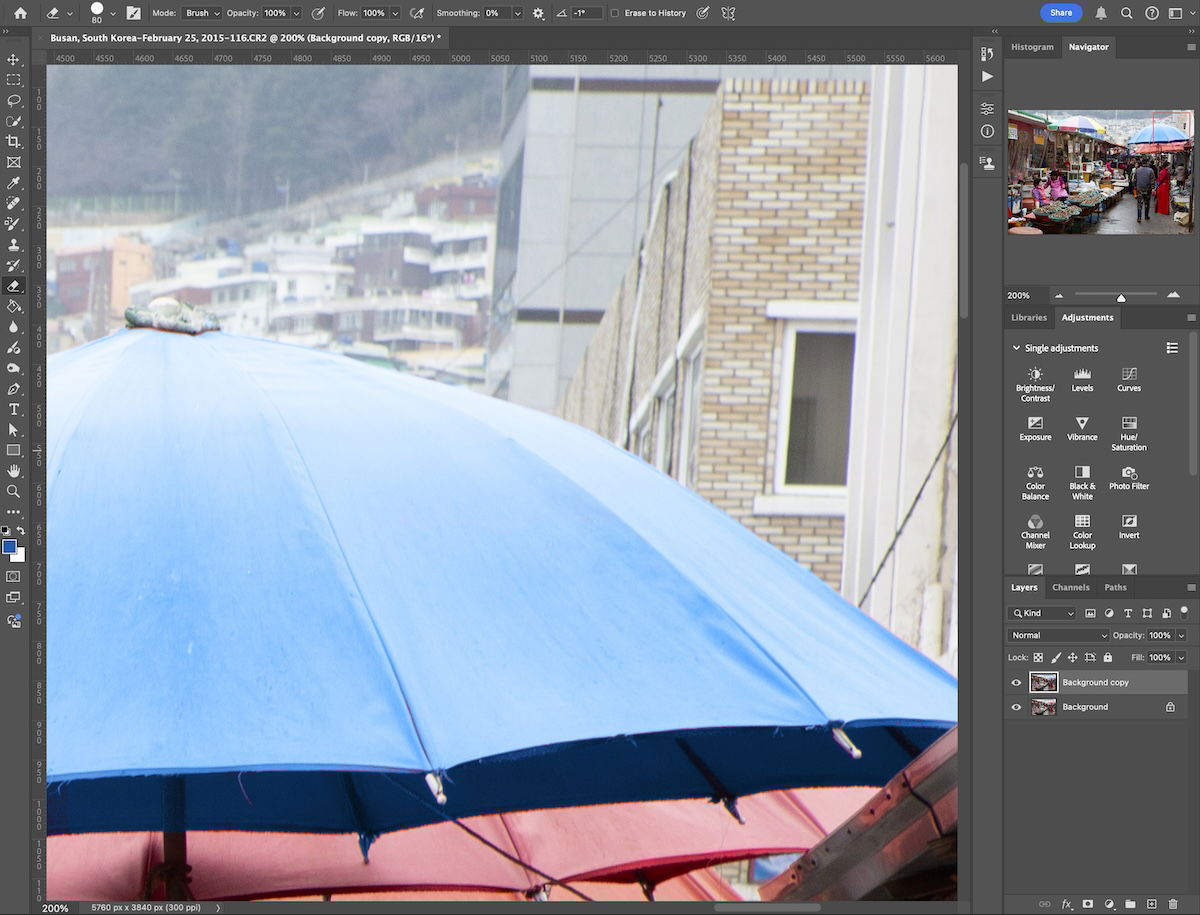
For this edit, I will use the simple Quick Selection tool to select the umbrella I want to change the color of.
If you have a more complex object where this doesn’t work, read our article on how to create different types of masks.
Now, let’s find the Color Replacement tool in Photoshop in the toolbar to the left under the Brush tool.
Once you find this, we will select the color that we want to replace the one in our photo.
To select the color, click the Set Foreground Color square at the bottom of the left-hand toolbar. This is the square that is overlapping on top of another square.
A Color Picker window will now open in Photoshop. Here, you can choose from the full spectrum of colors and their luminosity. This picker gives you many options for color, so you can fine-tune your color as much as you need.


Now, you will want to brush in the Color Replacement tool into the area you have masked or your desired area of the photograph.
Notice how the brush responds to the color at the center of the first place you click to start your brushstroke.
Some shades of the color you want to edit may not change as the tool doesn’t recognize it as the same color. If this happens, start a new brushstroke, but ensure you click the center point of the tool on this shade.


If it is not fully finished, your edit should now be over 90% of the way there.
You may have problems with the mask or the brush spilling out of the areas it should be contained. You can use the rubber tool to remove the excess and fix this.
Make sure you do this while zoomed in to ensure the neatest edit.
You are now finished with your edit. Go back to Step 2 if you want to replace another color in your photograph.

This tutorial shows how easy it is to use the Color Replacement tool in Photoshop. This tool can change anything from our model’s makeup to each car’s color in our photograph. It doesn’t matter how big or small.
Make sure you spend time with the mask if you want your edit to be as accurate as possible. You may also want to make a couple of duplicate layers to try out different variations of color.


![P35 [Lead gen] sidebar banner Related ebook](https://expertphotography.b-cdn.net/wp-content/uploads/2022/02/P35-Lead-gen-sidebar-banner-Related-ebook-300x295.png)
![P35 [Lead Gen] Sidebar Banner 2](https://expertphotography.b-cdn.net/wp-content/uploads/2022/02/P35-Lead-Gen-Sidebar-Banner-2-300x245.png)
![P35 [Lead Gen] Sidebar Banner 1](https://expertphotography.b-cdn.net/wp-content/uploads/2022/02/P35-Lead-Gen-Sidebar-Banner-1-300x245.png)