The Warp tool in Photoshop is a powerful tool you can use in many different ways. You can use it both to correct a perspective or manipulate an image for creative design. Tools like this make Adobe Photoshop a must-have software for all digital creatives.
Today, we will give you some examples of how you can use the Warp tool in Photoshop. By the end of this article, you will understand how to use this tool to your advantage.

The Warp tool is a key tool in Photoshop, allowing us to adjust the perspective of different elements or the overall photo. Therefore, the warp tool can make believable edits or adjust our photos to counter perspective issues and distortion from our cameras.
The Warp tool in Photoshop allows you to stretch specific sections of your image. You can warp your image in custom ways by dragging these sections out of the frame.
You can find the Warp tool in Edit > Transform > Warp. You must have the background or layer duplicated and have this layer selected to use the Warp tool in Photoshop.
In this dropdown menu, you will also see Puppet Warp and Perspective Warp above transform; we will cover these tools further down.
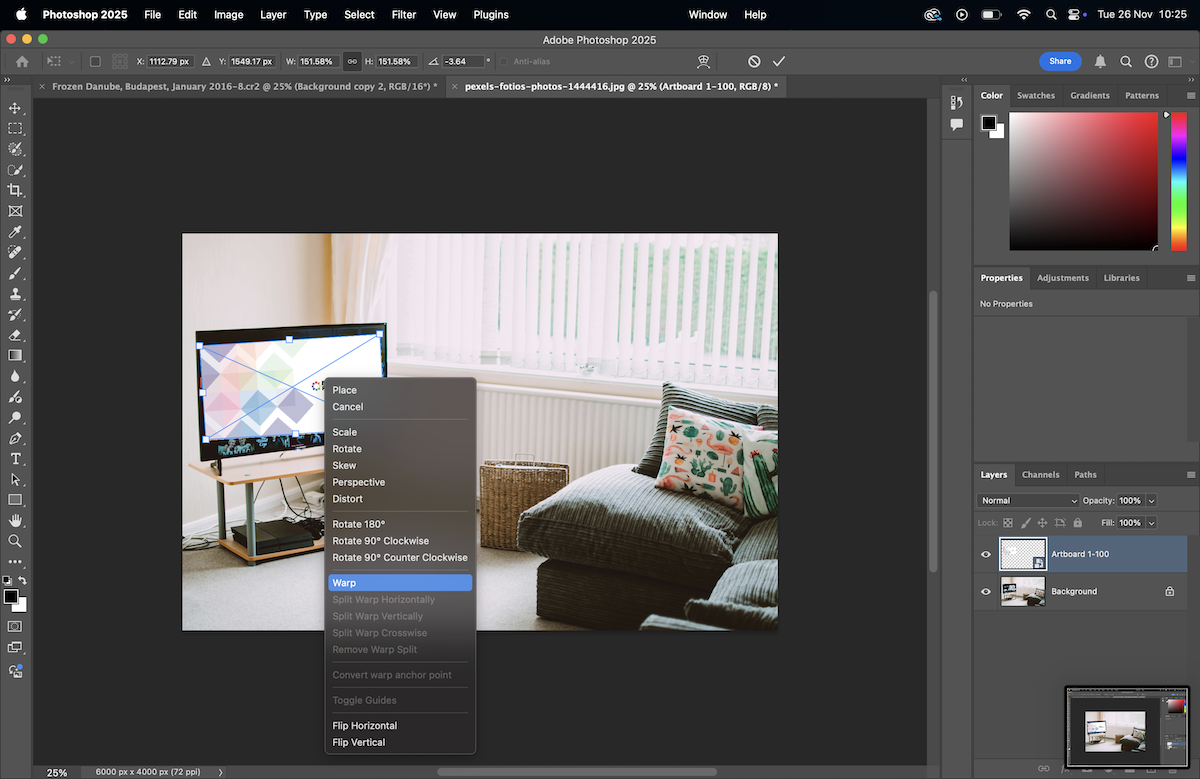
You can also access the warp tool in Photoshop by pressing Cmd + T (Ctrl + T for Windows) to Transform your current layer. You will then need to right-click on your image and select Warp.
The Warp tool in Photoshop is especially important for architectural photographers. When we take photos of buildings, we have to look upwards. By pointing our camera up, the straight lines of a building converge. The warp tool allows us to stretch the building to make its outline straight again.
Creatives will also find the warp tool important. It allows us to move shapes to fit inside a convincing 3d perspective. You can do this to both for both image and text. Graphic designers and creative photographers must know how to use this tool.
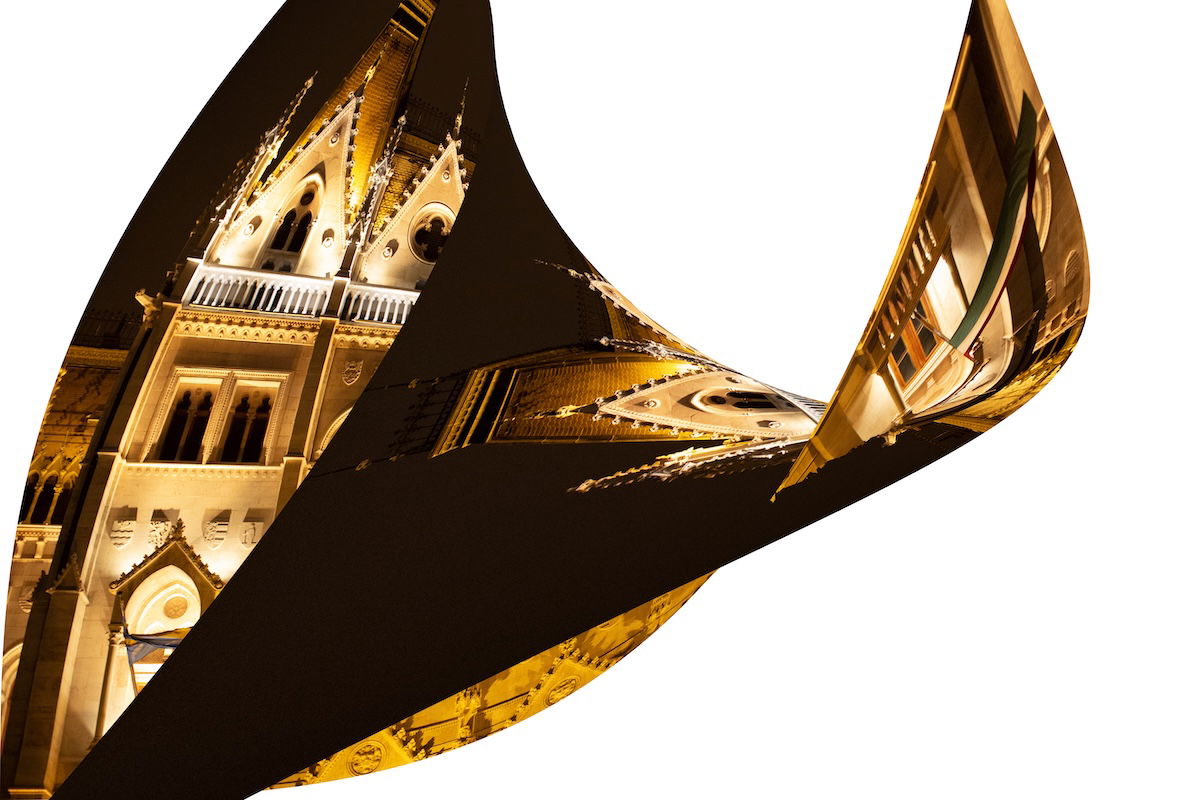
The Warp tool can also be useful for creating abstract images by messing around with the proportions of the images. This is a good way to push our creativity or make fun designs.
Now, we are going to look at a range of Warp tool functions in Photoshop. We will cover a few different basic functions so you can let your creativity run wild.
First, duplicate the background, or select the layer you want to warp. Then, you can find the Warp tool in Photoshop.
You will notice that the points at the end of each grid line are customizable. As you move these points, you will see how the image warps.
Photoshop allows you to make custom splits in each section for precise warping. This will only be useful for professionals or very custom work. You can find this along the top toolbar
You will notice that Photoshop also provides a range of different preset warps. These are helpful if you need to make a neat or particular warp.
The basic warp tool is best for creating rough and quick warping in your images. This is best for graphic design or quick edits.
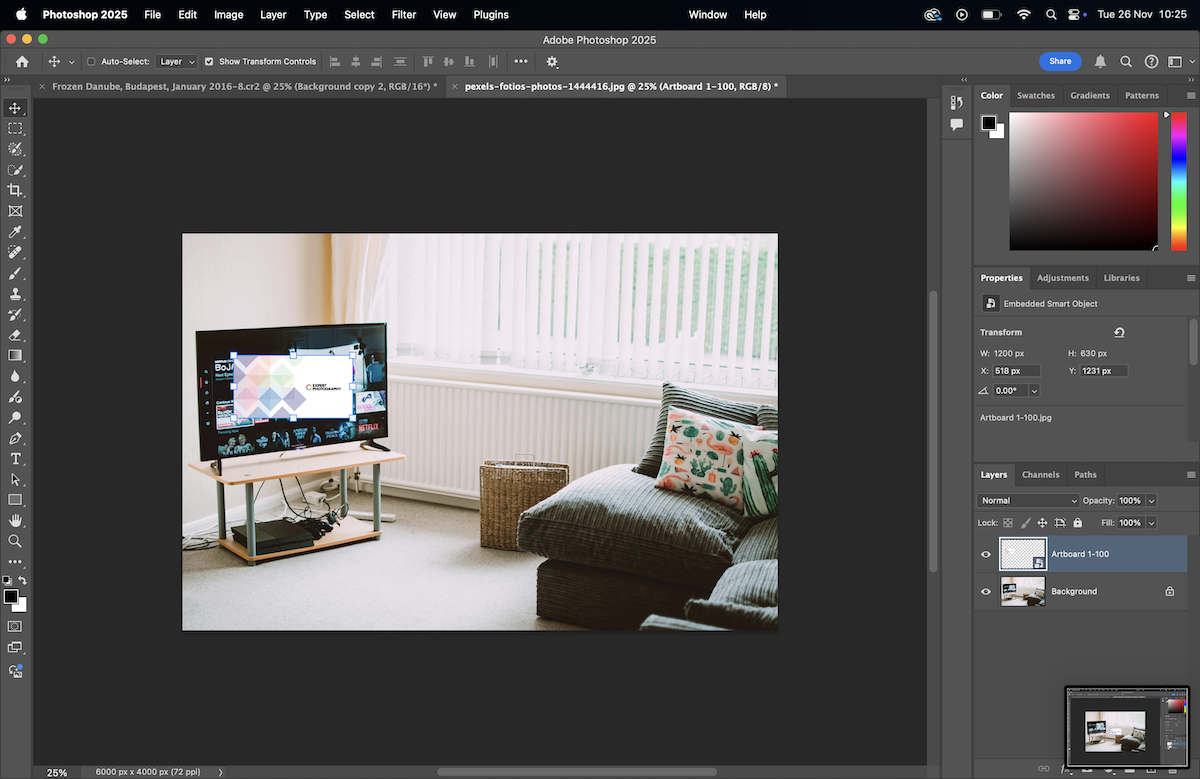
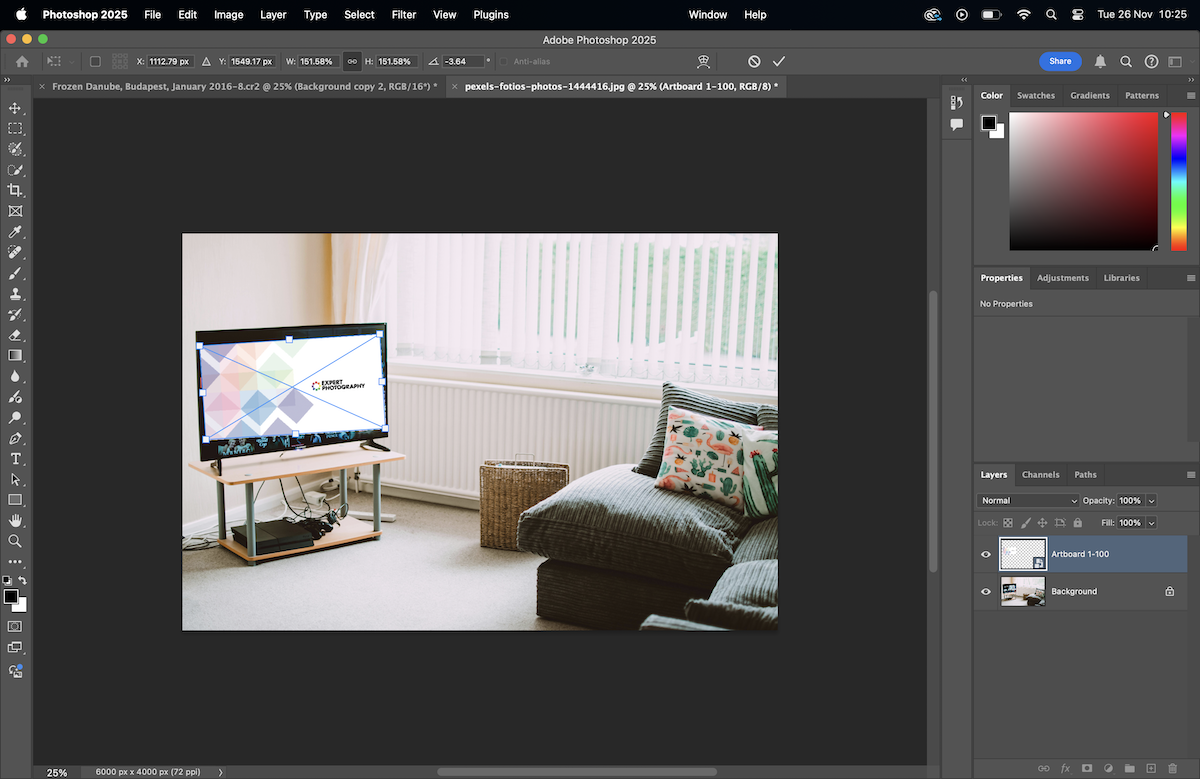
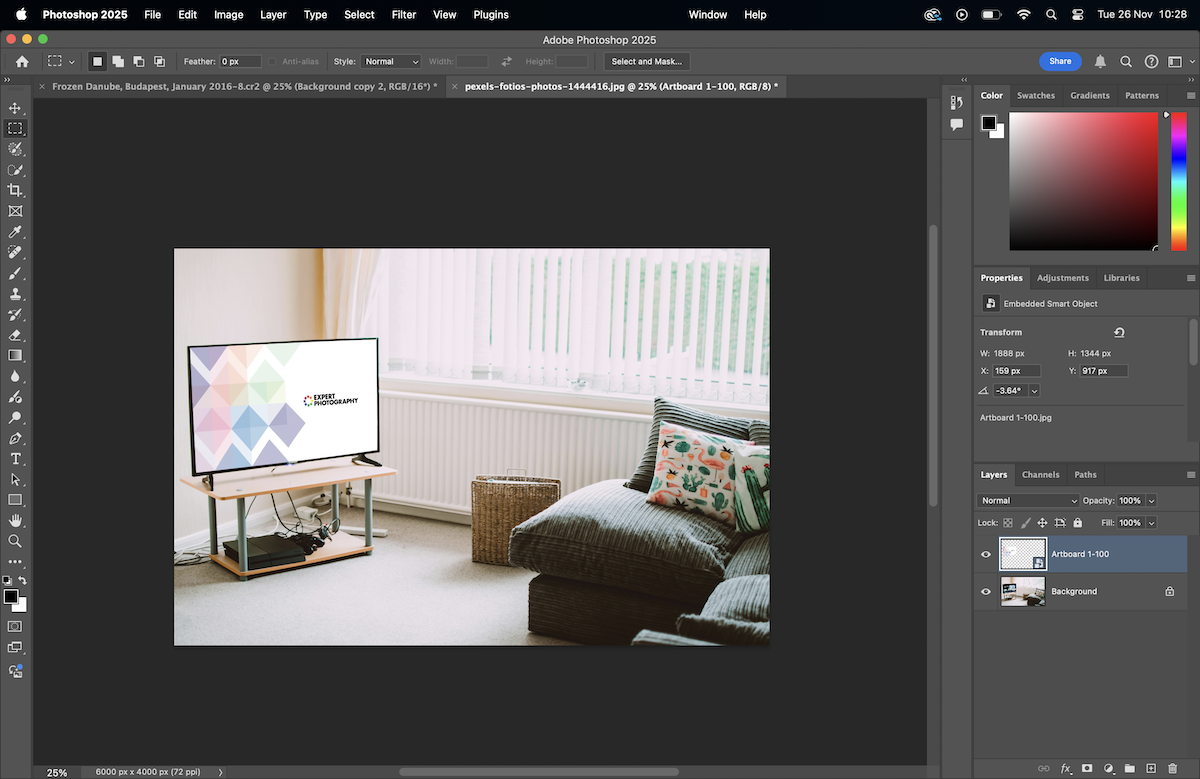
Below, I have made an edit, placing our logo into a TV to make a quick but convincing photo.
First, I place our logo over the TV. Then, I use the warp tool to move each point to the edges of the screen.
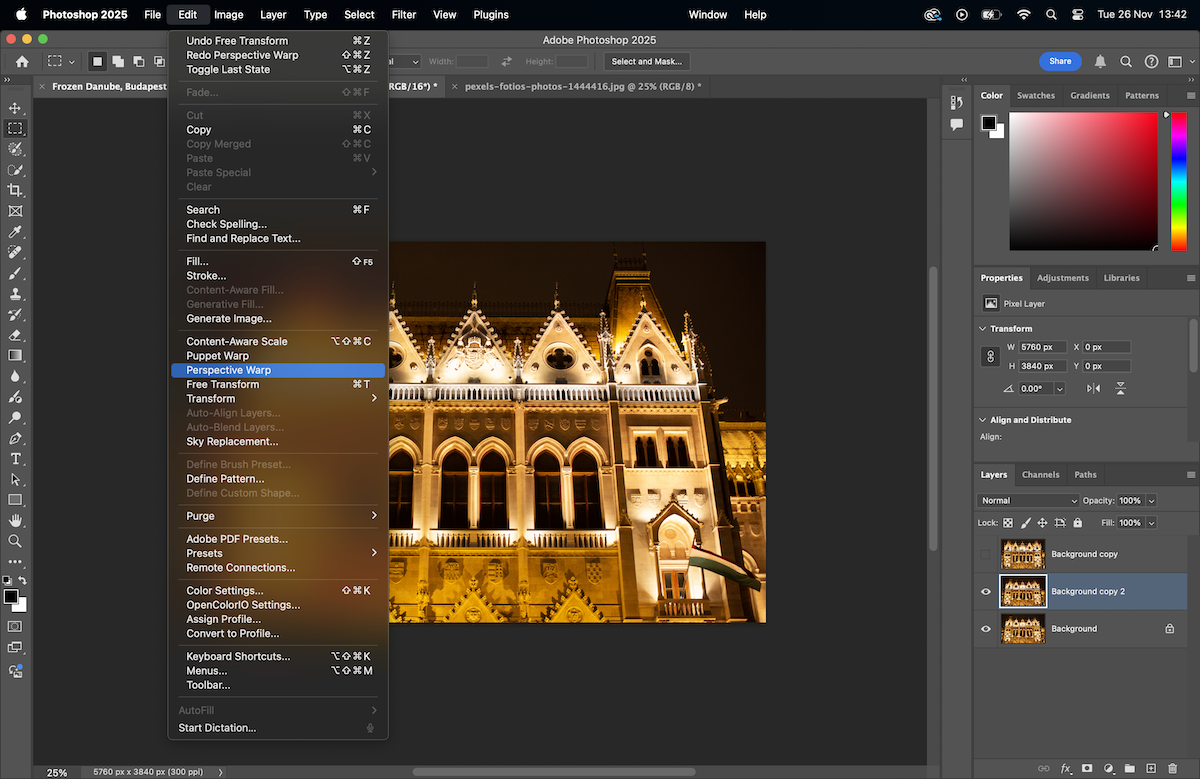
The most useful warp tool in Photoshop for architecture photographers is Perspective Warp. You can also perform tasks like the one above a bit neater, but it’s a slightly longer process. You can find the Perspective War in Edit > Perspective Warp.
First, make sure the layer you want to edit is selected. Then click Perspective Warp.
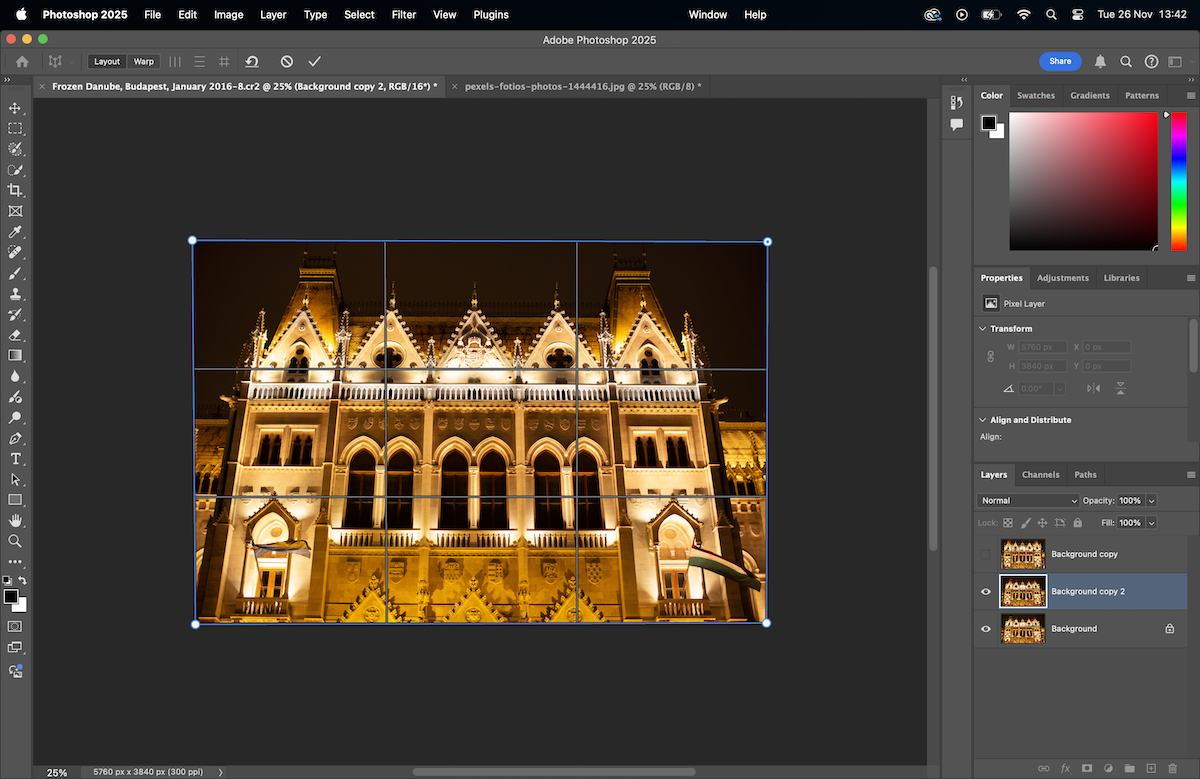
You are now able to set the parameters of the section you want to edit. Try to be as accurate as you can. You will want to zoom in to ensure each point is at the edge of the image you want to edit. Now press Enter.
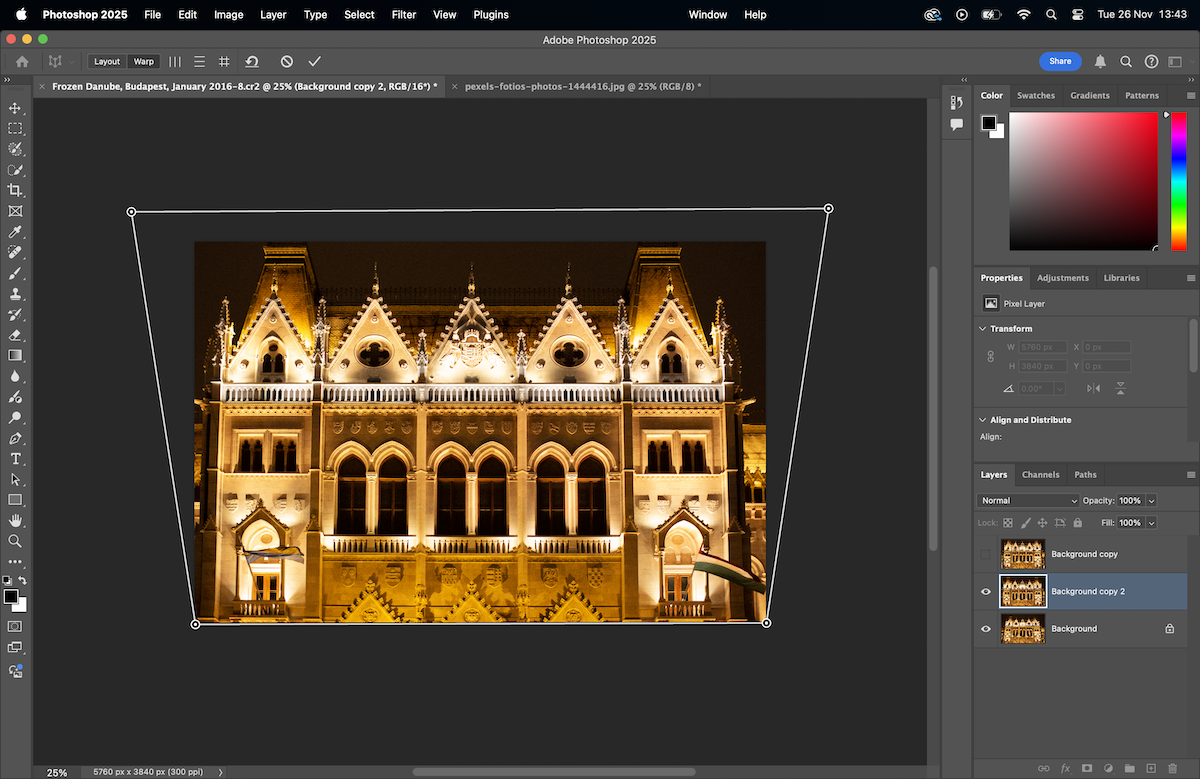
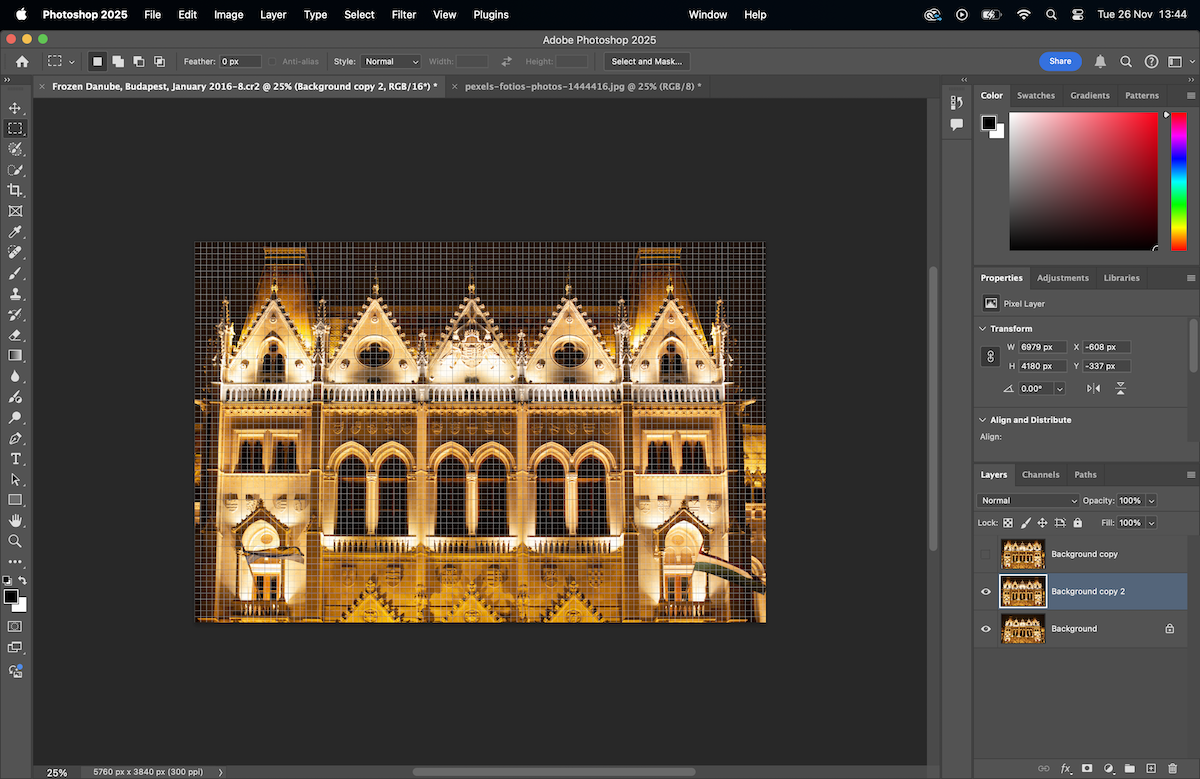
Now, you can move each corner to match a flat surface like the example above. Below, we will demonstrate how to straighten architectural photography.
As the lines converge at the top, we will only want to drag the top corners outside of the frame. You want to drag the image so that the vertical lines of the building are straight, while also keeping the proportions looking natural.
Having a grid over your image may be helpful. To open a grid, go to View > Show > Grid.
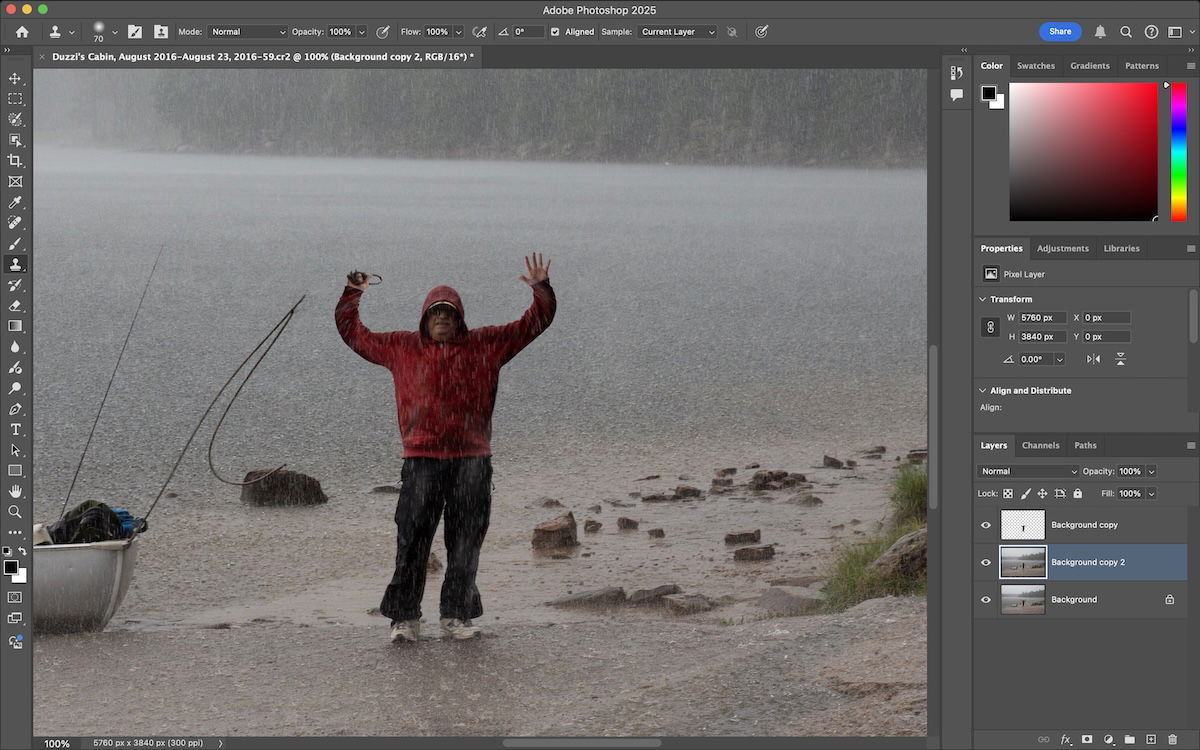
Puppet Warp is a warp tool in Photoshop that is specifically used to edit people and their movements. This is great if you want to perfect your model’s pose or if you want some small stop-motion animation.
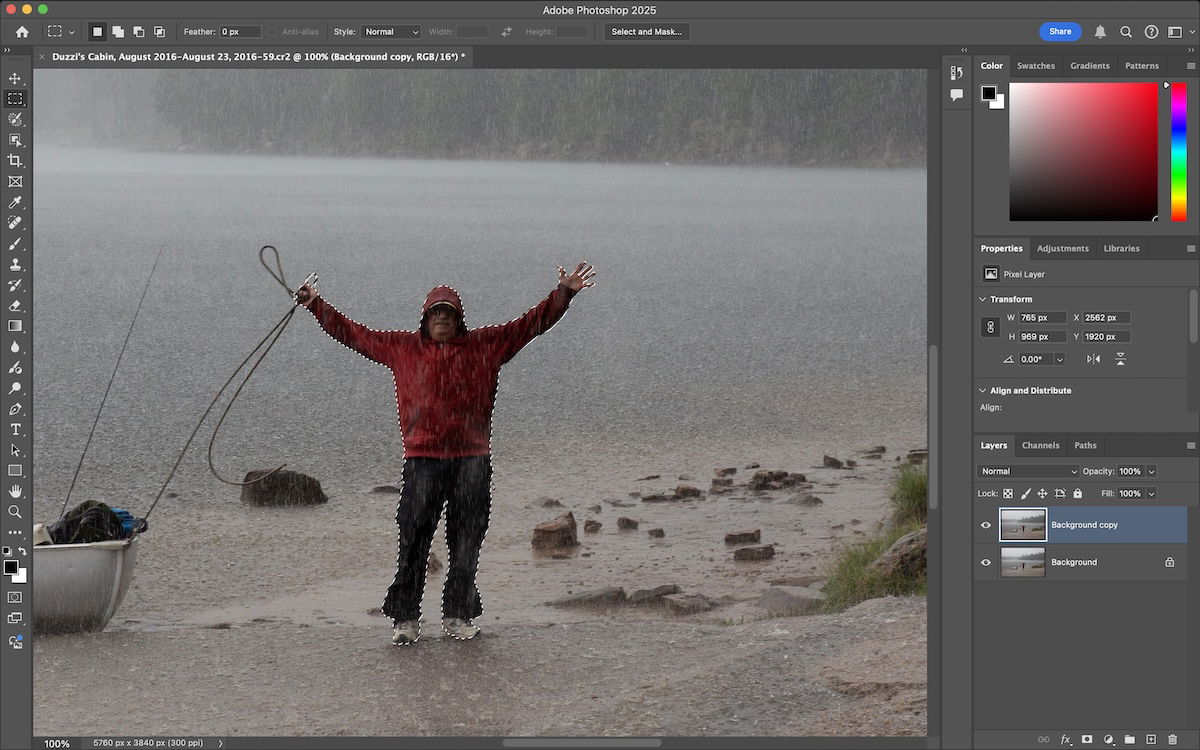
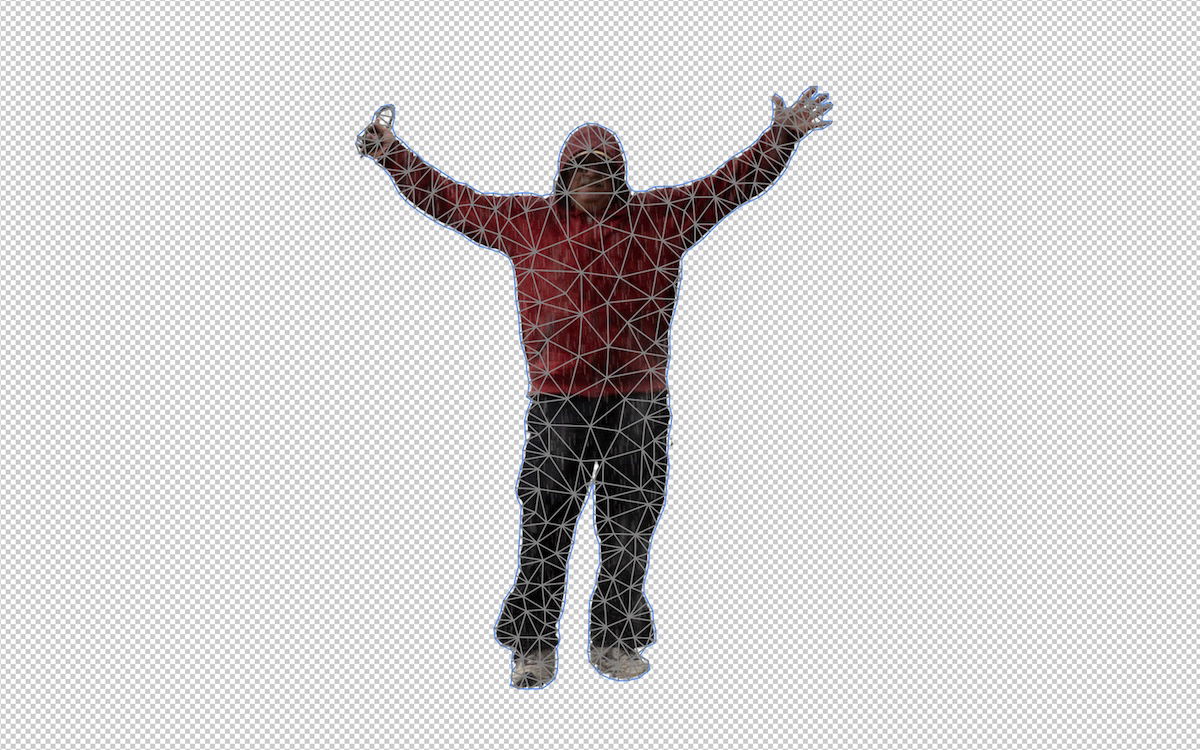
First, you will want to duplicate your layer and separate your subject using a selection tool. Then, find the Puppet Warp tool in Edit > Puppet Warp. You will now see a “mesh” across your subject.
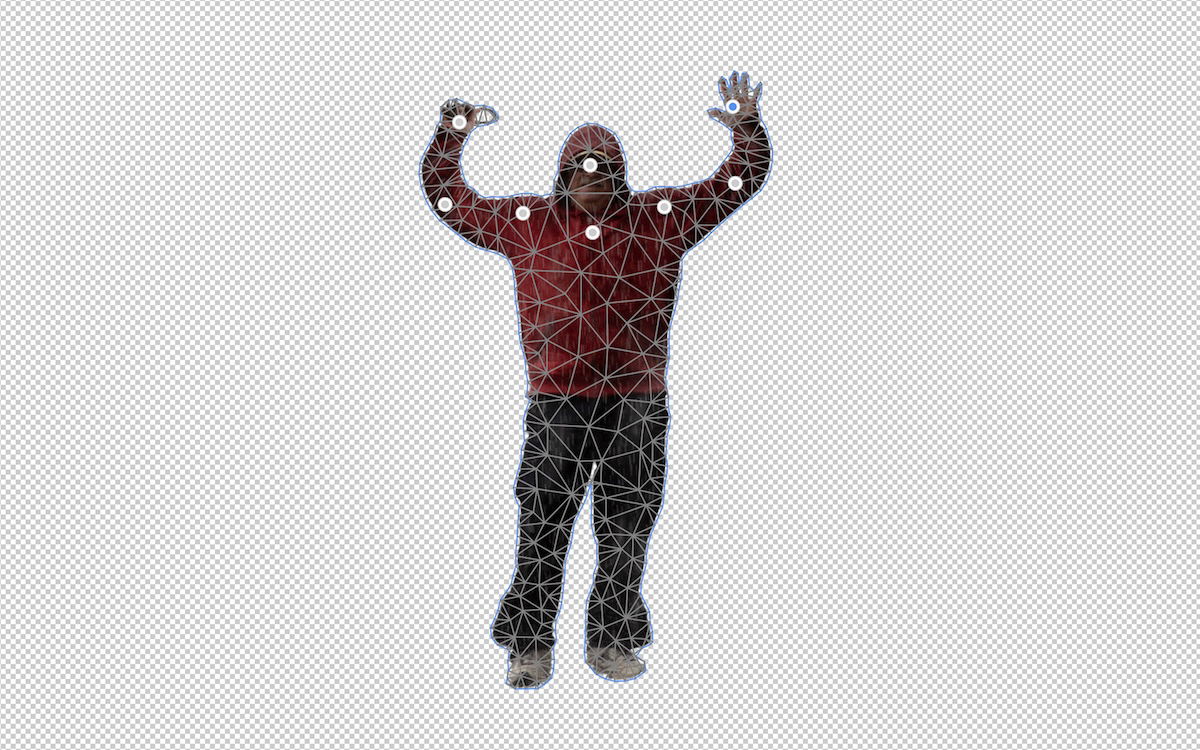
You are now able to place pins across your model’s body. It is best to place pins where their joints would be. You will now be able to move each point to edit their body.
The Puppet Warp tool relies on a good understanding of movements and how the tool works to make convincing edits. This will take practice. There are many small features in this tool to allow you for a more convincing edit.
Remember to remove your original subject from the background after you have made your edit.


The Warp tool in Photoshop is an important tool in Photoshop’s arsenal. It is both a creative and a correcting tool. Therefore, most Photoshop users should familiarise themselves with this tool early on.
The numerous examples above give you a good starting point for trying out different warping methods. Try out each example so you can get a feel for the tool. You will quickly realize it can be a tricky tool, so the more practice, the better.


![P08 [Lead Gen] Product Sidebar_v2_date_20230223](https://expertphotography.b-cdn.net/wp-content/uploads/2023/02/P08-Lead-Gen-Product-Sidebar_v2_date_20230223-300x295.jpg)
![P08 [Lead Gen] Sidebar Banner 2_date_20230223](https://expertphotography.b-cdn.net/wp-content/uploads/2023/02/P08-Lead-Gen-Sidebar-Banner-2_date_20230223-300x245.png)
![P08 [Lead Gen] Sidebar Banner 3_date_20230223](https://expertphotography.b-cdn.net/wp-content/uploads/2023/02/P08-Lead-Gen-Sidebar-Banner-3_date_20230223-300x245.png)