ExpertPhotography
  • Articles
  • My Learning
  • Store
  • About
  • Contact
  • Photo Quiz
ExpertPhotography

Learn Photography
  • Quick Capture Cheat Sheets
  • Photography for Beginners
  • Intuitive Composition
  • Show more...
  • Effortless Editing With Lightroom
  • Epic Landscape Editing
  • The Preset Collection
  • Show more...
  • The Magical Photography Spellbook
  • Dreamy Childhood Portraits
  • The Creative Photography Cookbook
  • Show more...
  • Simply Stunning Landscapes
  • Infinite Exposures
  • Milky Way Mastery
  • Show more...
  • Products In Focus
  • Fairytale Portraits
  • Organic Marketing for Photographers
  • Show more...
Need Help?
Contact UsCookie PolicyPrivacy PolicyTerms of Use
Connect

ExpertPhotography is part of several affiliate sales networks. This means we may receive a commission if you purchase something by clicking on one of our links.

ExpertPhotography is a participant in the Amazon Services LLC Associates Program, an affiliate advertising program designed to provide a means for sites to earn advertising fees by advertising and linking to amazon.com.

As an Amazon Associate, I earn from qualifying purchases.

Expert Photography © 2011-2024. All Rights Reserved.

Privacy Policy Terms of Use

Photoshop Processing

How to Straighten an Image in Photoshop

Szilard Kovacs
by Szilard Kovacs
Last updated: 21/10/2024-2 min read
ExpertPhotography is supported by readers. Product links on ExpertPhotography are referral links. If you use one of these and buy something, we make a little money. Need more info? See how it all works here.

In this article, we tackle the issue of how to Straighten an Image in Photoshop. Mastering this straightforward process can significantly enhance your photo’s appearance, making it more professional and visually appealing.

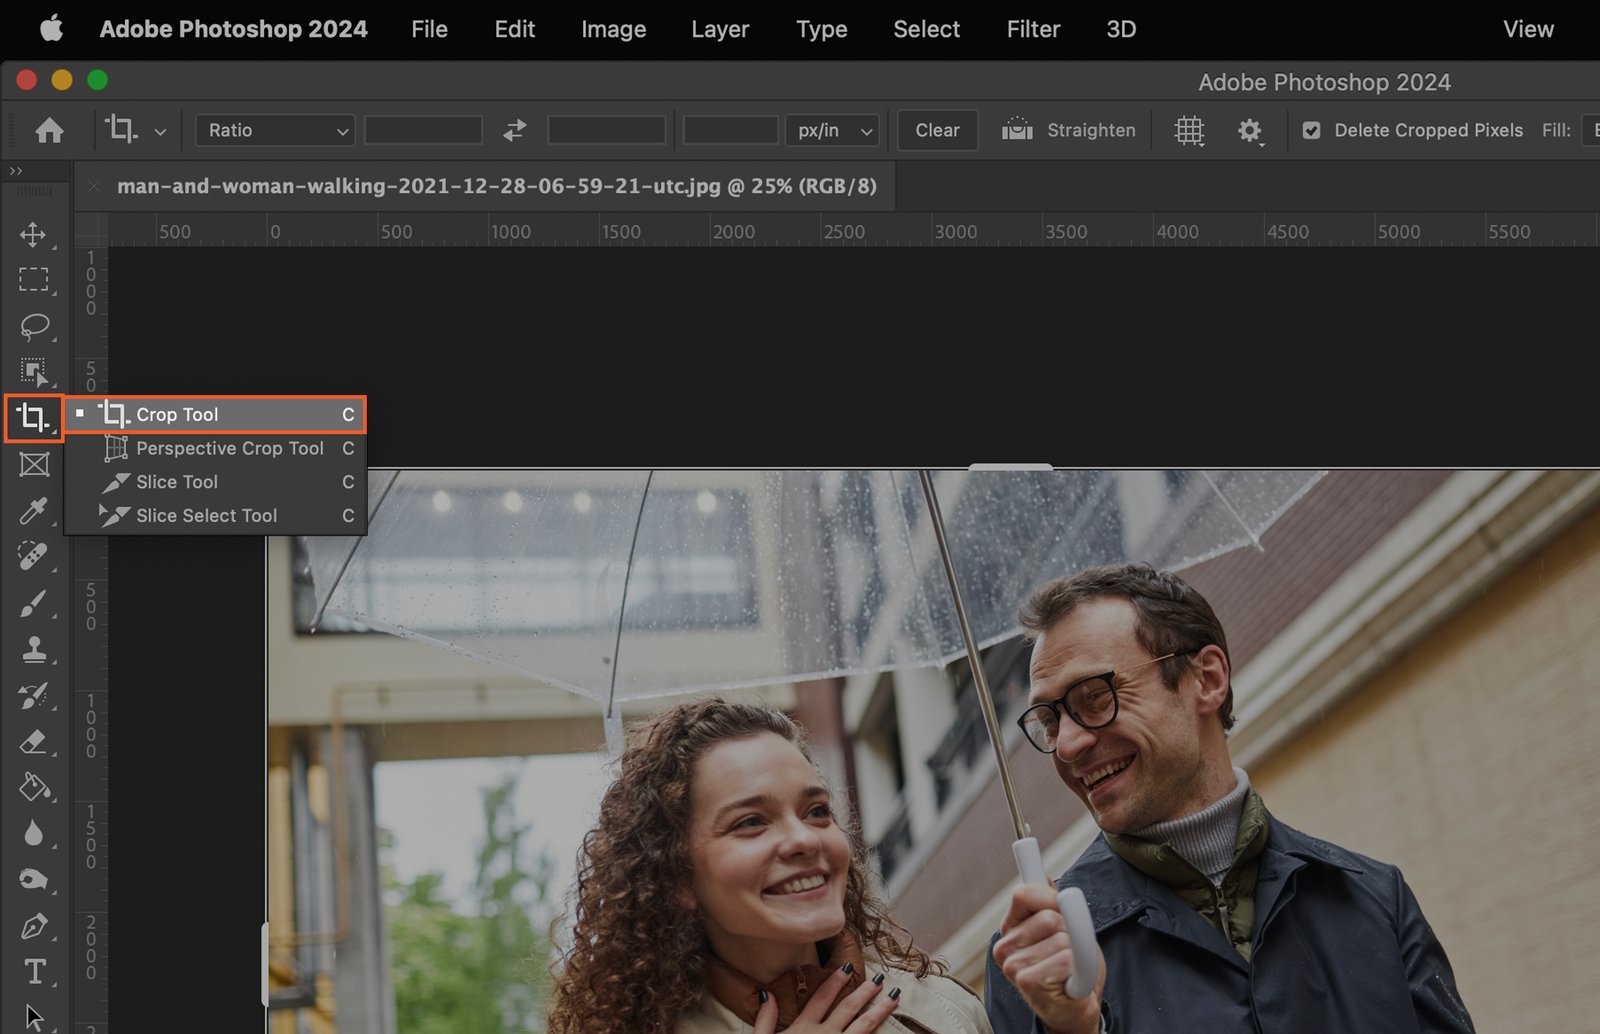
Step 1. Select the Crop Tool

Begin by selecting the Crop Tool from the tool panel. It’s the icon that looks like two overlapping right angles. This tool is essential for adjusting the size and orientation of your image.

Adobe Photoshop program displaying a photo of a man and woman, the user interface is visible.

Step 2. Open the Straighten Tool

Once you’ve selected the Crop Tool, a new toolbar appears at the top of your screen. Look for an icon of a level – that’s the Straighten Tool. Click on it to activate the tool.

A man and woman sharing an umbrella on a rainy day.

Step 3. Draw a Reference Line

Now, you need to draw a reference line. This line will guide Photoshop in adjusting the tilt of your image. There are two ways to draw this line: horizontally or vertically.

Step 3.1 Draw a Line Horizontally

To draw a horizontal line, click and hold at one end of an object in the image that should be horizontal. Then, drag your cursor to the other end of the object and release.

A couple on the street, both with umbrellas, posing for a picture.

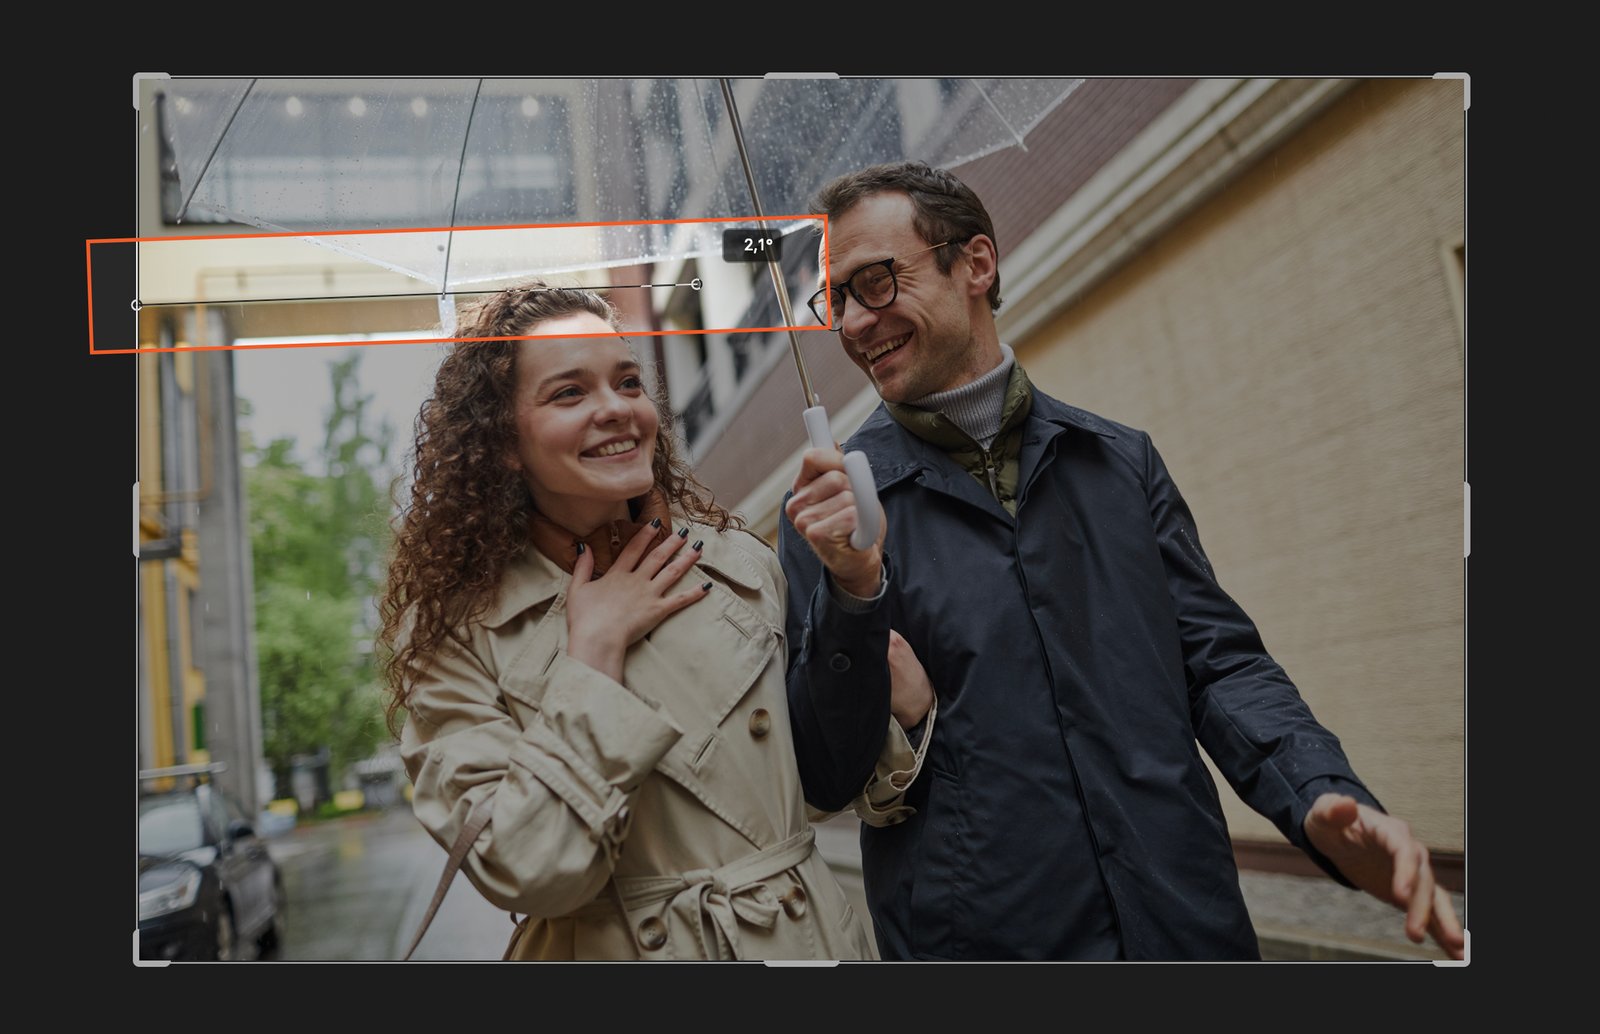
Step 3.2 Draw a Line Vertically

For a vertical line, do the same thing – click and hold at the top of an object that should be vertical, drag to the bottom, and release.

A split-screen graphic with two photos on it.

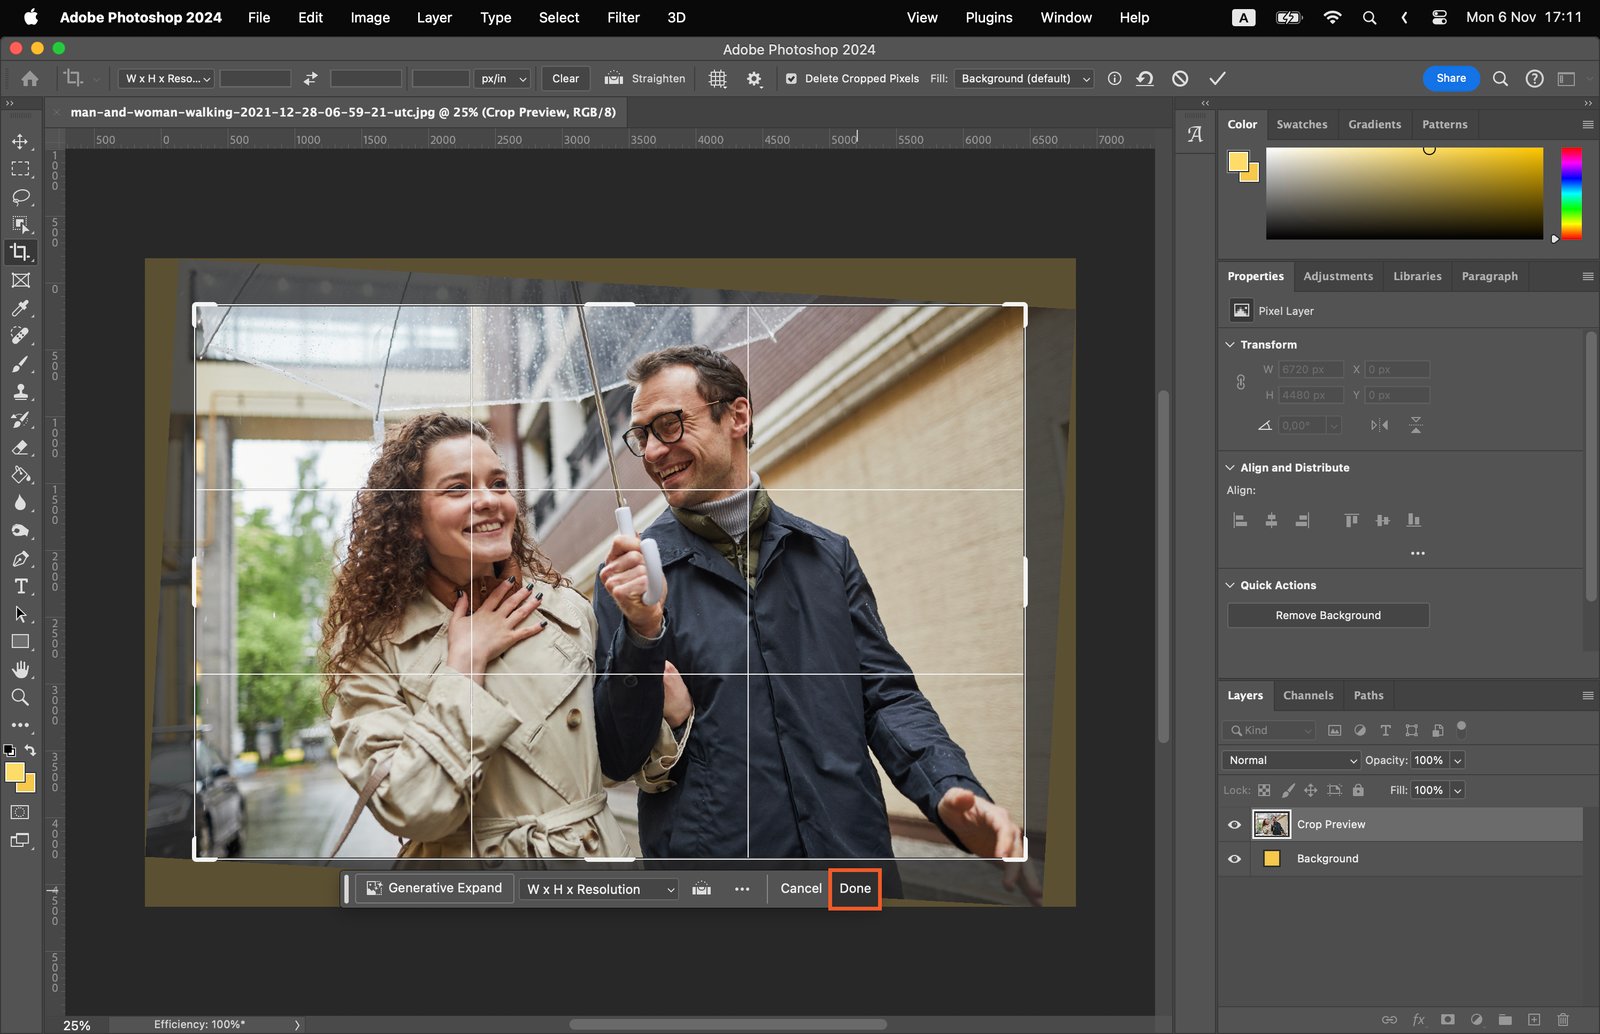
Step 4. Apply the Straighten Tool

After drawing your reference line, Photoshop automatically rotates the image to align with the line. This is the Straighten Tool in action. If you’re not satisfied with the alignment, just draw a new reference line.

A couple standing in front of a building, being displayed on the screen of a computer using photo editing software.

Sidebar-ad_QCC_related-product
Sidebar-ad_QCC_free-sample_
Sidebar-ad_QCC_free-download_2-posters

Popular Content

Fujifilm X-T200 Review (Should You Buy This Camera in 2024?)

Read Article