Dynamic tension in photography is one of the most important elements for creating dramatic photos. By using it to your advantage, you can create powerful images that have a real sense of tension and drama.
But what is dynamic tension, and how can you use it in your own photos? Read on to find out.
This is one of those things that, once you’ve learned about it, you can’t stop seeing, making it quite easy.
What you need to look out for is as follows:
Below is a photo I took in Greece where their cramped hillside housing force multiple paths to converge, making it ideal for a scene of dynamic tension.
You can probably identify a feeling of tension when viewing this photo but it’s sometimes hard to work out why. I demonstrate this in the photo below, with the tension outlined by orange lines.
The multiple contrasting directions make for a strong feeling of the photo pulling apart from itself but this only really works as an example; adding dynamic tension doesn’t instantly make a photo interesting.

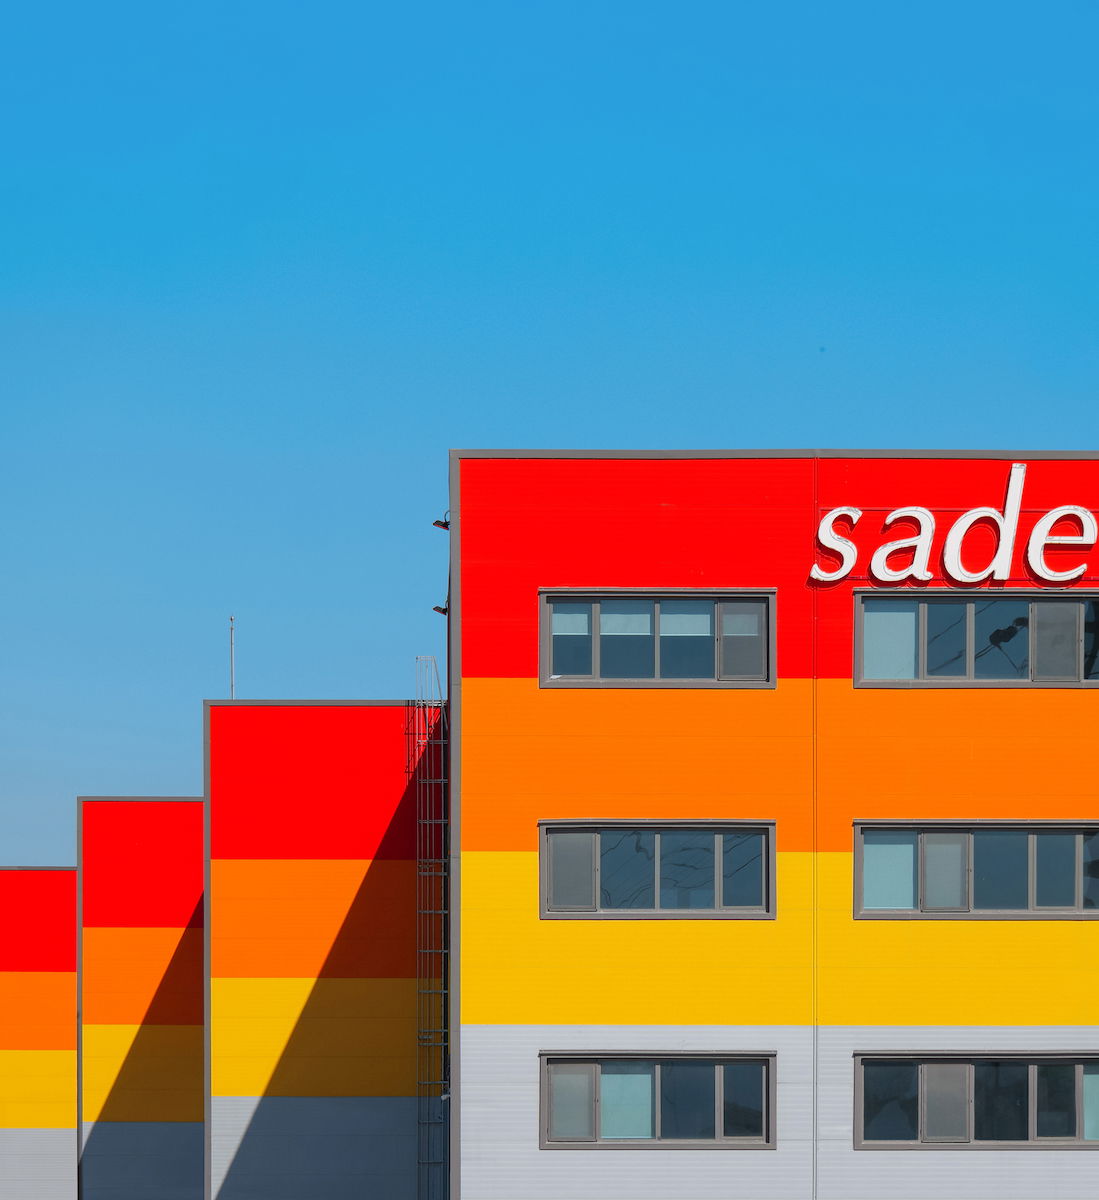
The strongest dynamic tension comes from the widest angles, and the widest angle that you can have between 2 diagonals that intersect is 90 degrees; a great way to provide a photo with dynamic tension is to include paths that intersect at this angle.
This is a fairly obvious technique. To appear less obvious, add points of interests at the end of each path to draw the viewer in contrasting directions.
For my photo below, I took it up a level by including an additional diagonal in the form of stairs, a curved frame from the mirror and myself as a subject, slightly off center.

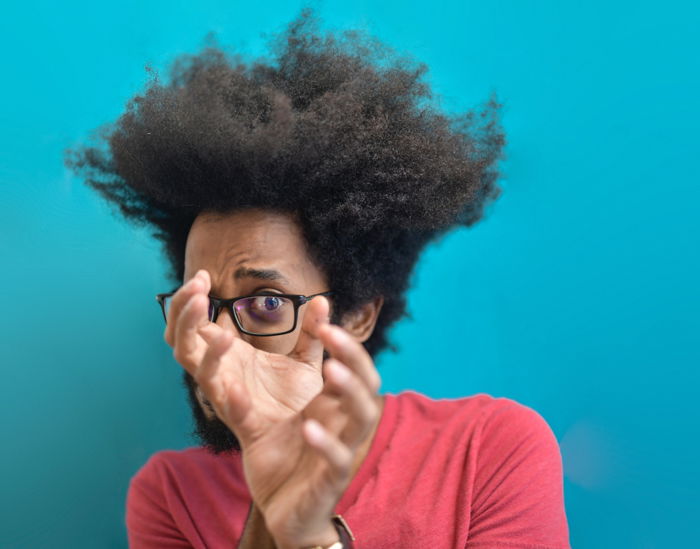
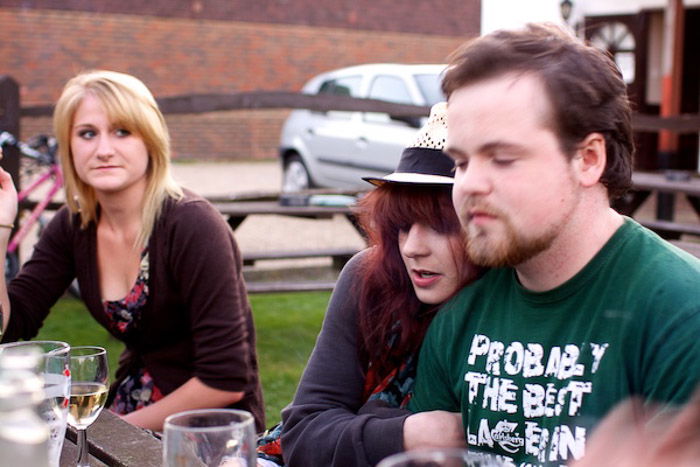
Body language is one of my favourite things to capture; negative body language is a great natural source of dynamic tension.
The notion is that people move away from the things they don’t like, creating contrasting positioning and looks.
In my photo below, the V-shape formed between the subjects forces the eyes off in different directions and curves out of the photo. At the same time, the eye line of the subject on the left brings you back to the subject on the right.
The shallow depth of field with focus on the girl in the middle is another way to emphasise a different point of interest.
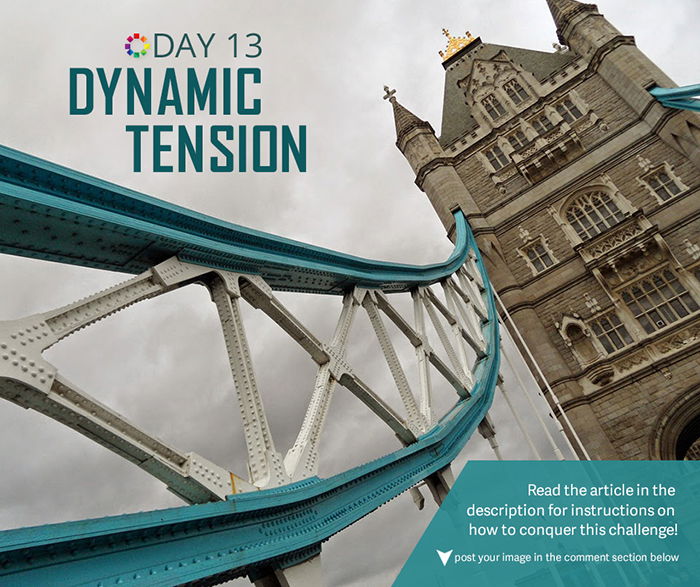
I took the photos below on a recent trip to London. Tower Bridge was rising to allow a boat to pass through and I immediately noticed the dynamic tension.
I had some time and two chances (rising and lowering) to get the photo I wanted.
The photo on the left clearly contains the most contrasting lines but, in my opinion, isn’t as strong as the photo on the right.
Here’s why:

Try rotating your image when going for a more abstract approach; different angles produce varying degrees of tension, which can make a big difference to the final image.
As I mentioned above, the photo (above) on the right carries most of its visual weight at the top of the photo, helping it to appear unbalanced. When you rotate this, you suddenly end up with a vertical feature that contrasts nicely with the rest of the frame. 
If you’ve read the whole of this post, you’re likely to start seeing dynamic tension everywhere but I urge you to restrain yourself from using it just for the sake of using it.
It’s much like the use of extremely shallow depth of field, or over-saturated HDR; while it can be very effective at drawing the viewer in, overuse in a single portfolio is going to have a negative effect.
Continue to read up on composition techniques to help your photography improve.