Graduated filters are one of the most powerful tools in Lightroom's toolkit. And with a little practice, you can use them to dramatically improve your photos.
In this article, we will show you how to use graduated filters for seven different purposes. We’ll show you how to enhance contrast, adjust exposure, correct color, dodge and burn, sharpen images, reduce noise, and add drama.
Read on for the best techniques for using the graduated filters in Lightroom.
Top Tips for Using the Graduated Filter Tool in Lightroom
Here are our best tips and techniques for getting the most out of the Graduated Filter tool in Lightroom.
1. Keep It Straight with Graduated Filters
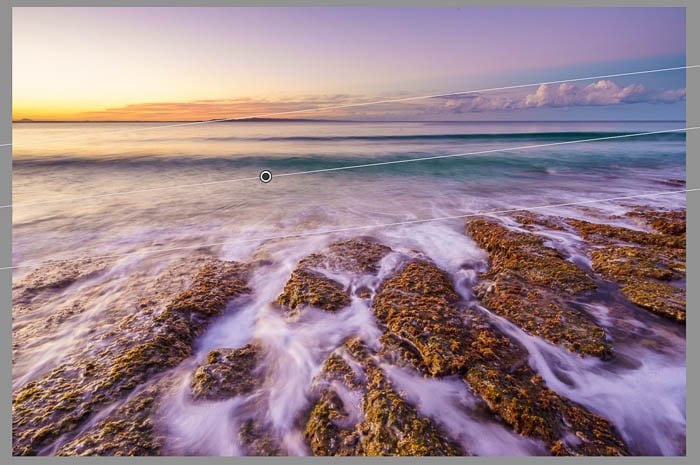
In the Develop module, select the Graduated Filter tool. Place the cursor at the point of the image that you want the effect of the filter to begin. Then drag it in any direction. The transition will begin where you start dragging and stop where you release it.
If you want the filter to be parallel to the edge of the image, try holding down the Shift key while you drag the filter across the image. Holding down Shift and dragging up or down will keep the filter horizontal. Dragging from the left or right will keep it vertical.
2. Edit Your Filter
Once you've created a graduated filter, you can make further changes to it. You can still drag it to where you want it. You can rotate it by moving the mouse over one of the lines on either side of the button. Do this until you see the mouse change into a rotate icon. This allows you to change the angle of the filter.
You can even change how "hard" or "soft" the transition is. Just click and drag one of the parallel lines that represent where the graduated filter begins and ends.
3. View the Filter Mask
You can see the parts of the image that are affected by the filter by showing the mask. While the filter is still active, press the "O" key to show the mask.
Pressing Shift + O will change the color of the mask. This can be helpful if the mask color is difficult to see against the colors of the image.
4. Erase Unwanted Elements
Many times, when you drag a graduated filter across an image, you will include elements that you don't want to apply the effect to. This is one of the advantages of using the Graduated Filter tool in Lightroom rather than a physical ND filter. You can erase the filter from the places you don't want it.
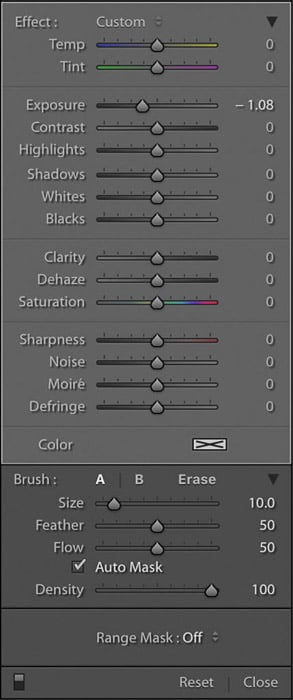
With the filter active, click "Brush" at the top of the panel (or Shift + T). Then go to the bottom of the panel and click "Erase." There, you can adjust the brush size. Then, with the mask visible again, brush away the parts of the filter where you don't want it applied.
You can also add the effect of the filter to other parts of the image the same way by following the same steps, but instead of "Erase," click on "A" or "B."
After that, brush the effect into the parts of the image the same way as if you were erasing some of the effect.
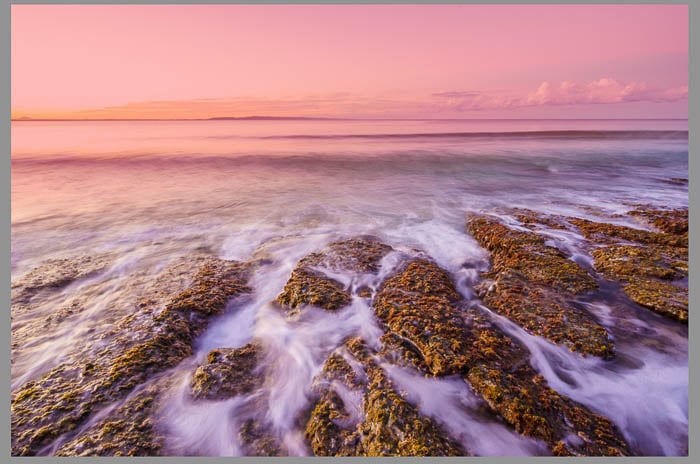
5. Add Color Effects
You'll notice that the Graduated Filter panel has a lot of options. The control sliders can be used in many creative ways. One of my favorites is to add or change the colors in my images.
Sometimes it's something as simple as making a white balance adjustment that I only want to apply to part of the photo. But I'll often use it to add a color effect.
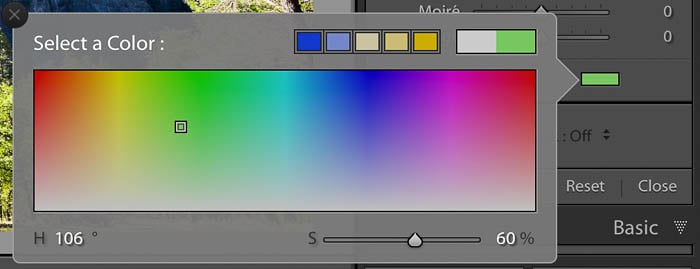
With the filter active, click on the “Color Box” at the bottom of the Graduated Filter panel. Then pick a color from the chart. Move it around the box until you find a color that you like and works with the other colors in the image.
When you're happy with the hue, you can adjust the strength of the color. Do this by adjusting the Saturation slider below the color chart.
It will take some experimenting. But less is usually more with these sorts of creative effects, so don't go overboard.
6. Add a Blur Effect
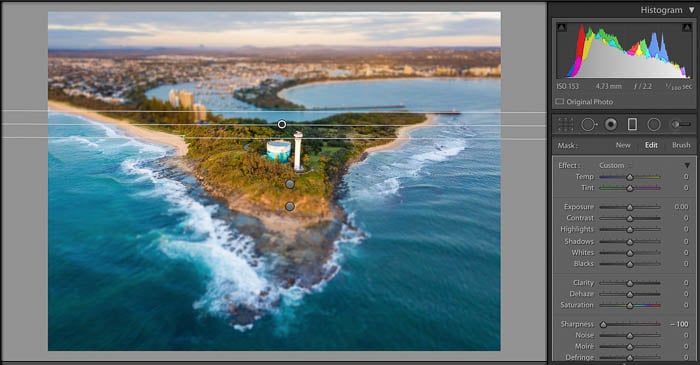
Using the Sharpness slider, you can blur part of the image. You might want to do this to create a shallow depth of field (DOF). It can also be a great way to create a tilt-shift effect in post-production if you don't have an expensive specialist lens.
If you move the Sharpness slider to the left, it will begin to blur the active filter. Move it around until you get the right amount of blur.
7. Duplicate Your Filter
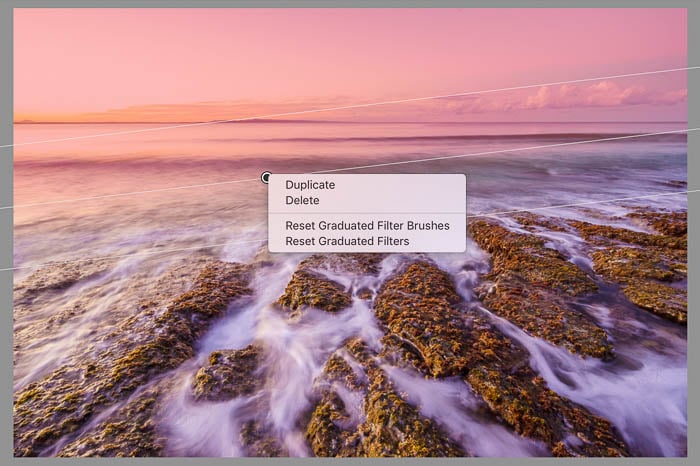
Sometimes you'll create a graduated filter effect that you want to apply to another part of the image. Instead of painting the effect, you can duplicate the filter and move it to any position you like.
With the filter selected, right-click on the little round button that you used to drag the filter across the photo and click “Duplicate.” Now grab the button and move it to wherever you'd like.
Duplicating a graduated filter can be helpful in many situations. If you want to use a shallow depth of field, you can create a filter for the top part of the image behind your subject. Then, simply duplicate it and move it to the bottom of the image in front of your subject.
It's also a great way to strengthen the effect you've created by duplicating the graduated filter and leaving it over the original to double the strength of the filter. You could even give one filter a soft gradient and give the duplicate a hard gradient.
Conclusion—How to Use the Graduated Filter in Lightroom
You'll be surprised by the variety of ways you can use Lightroom filters to make your photos shine. The graduated filter in Lightroom is an incredibly powerful tool. It allows you to make many creative edits to your photos. I encourage you to dig a little deeper and have some fun experimenting with it.