You can enhance or remove freckles with make-up or the right kind of lighting. If you don’t have the right equipment, you can always use Photoshop to highlight or remove them.
In this article, I’ll even show you how to draw freckles from scratch in Photoshop.
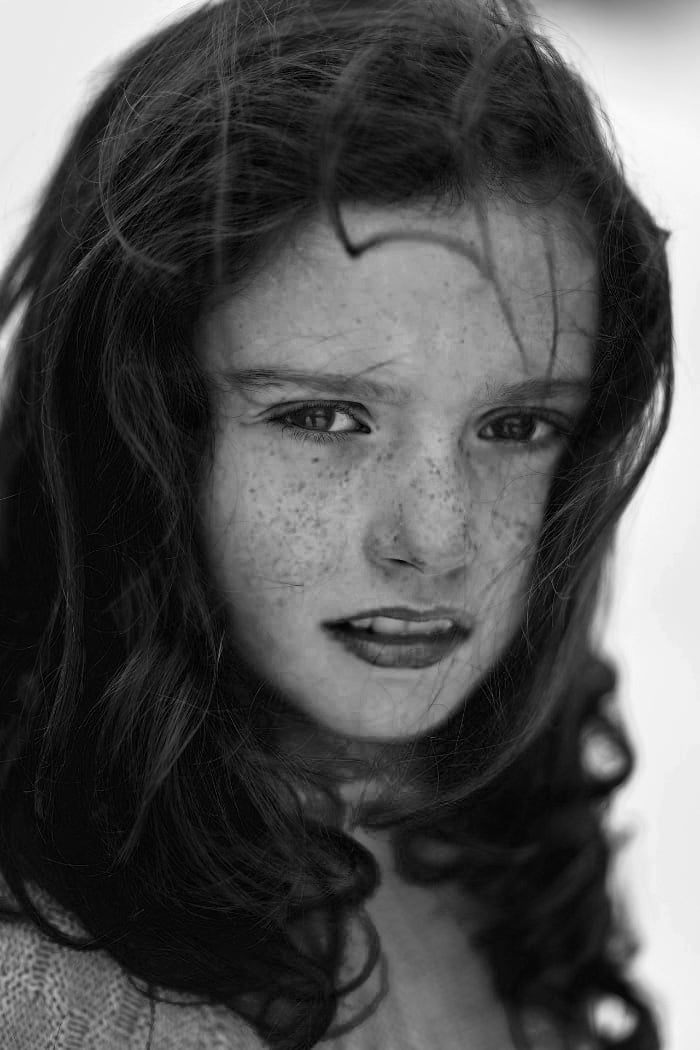
How to Highlight Freckles in Photoshop
First, let’s try to highlight the freckles in the face. It’s pretty easy to do by using adjustment layers to convert the photo to black & white.
© Pixabay
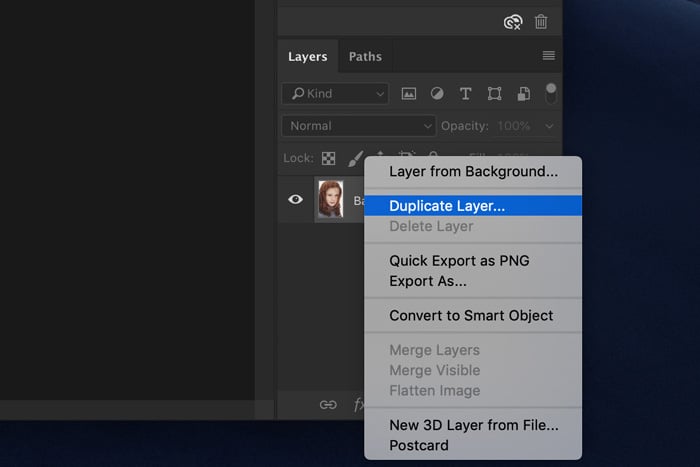
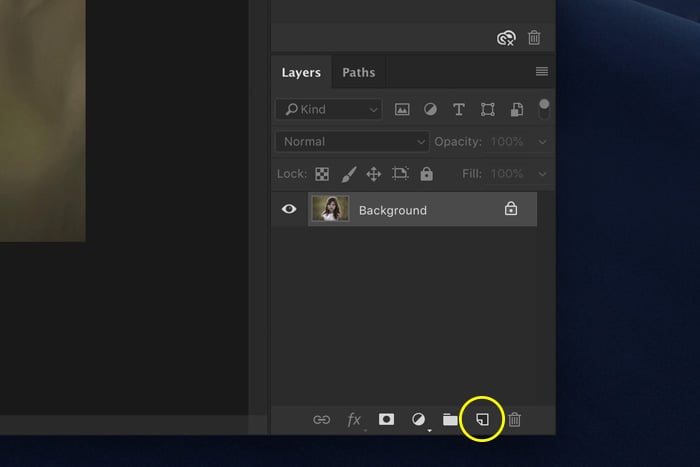
Step 1: Duplicate the Background
First of all, let’s duplicate the background layer, so we don’t lose the original photo. We’ll use the original in the end to fine-tune the image.
Right-click the background layer and select "Duplicate Layer…".
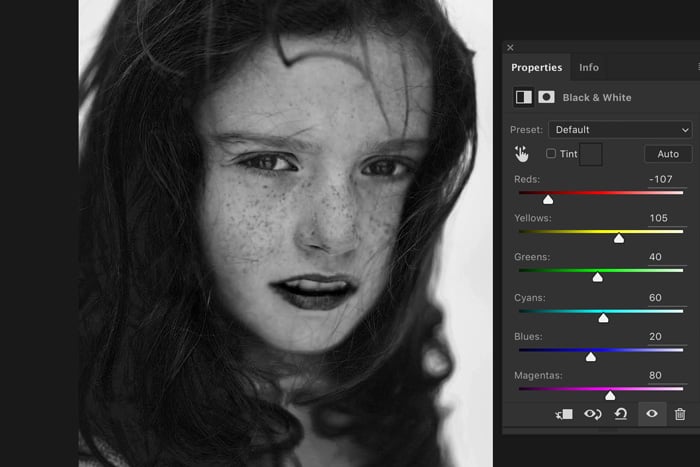
Step 2: Black & White Adjustment Layer
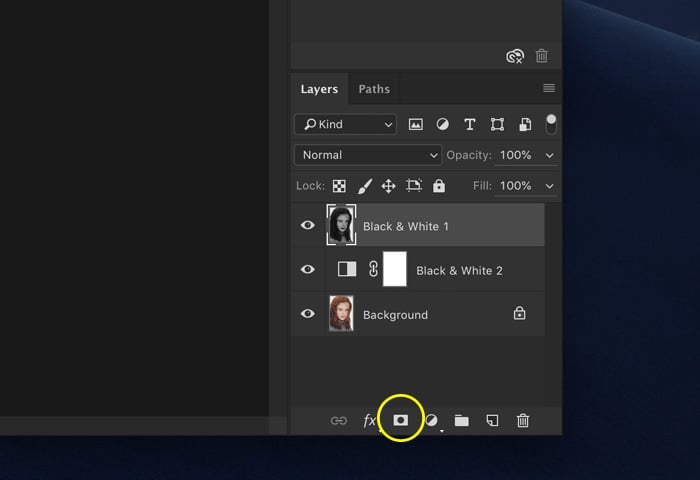
Make sure the new layer is selected. Click on the "Create new fill or adjustment layer" icon and select "Black & White…".
![]()
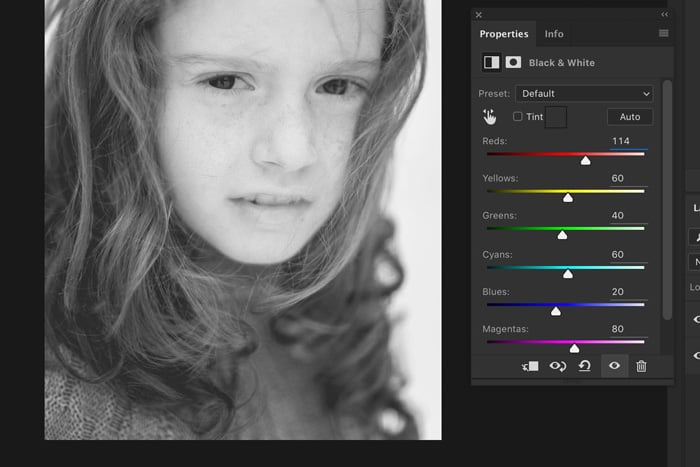
The Black & White panel will pop up, showing you different sliders.
Step 3: Highlight the Freckles
Freckles usually have a reddish, orange hue to them. This is why you should start by playing around with the red and yellow sliders.
Usually, you should darken the reds and lighten the yellows to increase the contrast between paler skin and freckles.
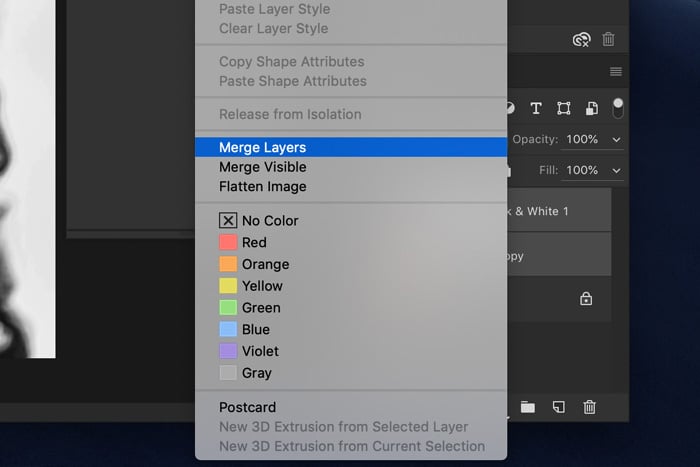
Step 4: Merge Layers
Once you like the result, merge the two layers. Select the adjustment layer and the copy of the background layer.
Right-click and choose "Merge Layers".
Click on the icon shaped like an eye to make the new layer invisible.
Step 5: Create a New Black and White Image
Highlighting freckles in Photoshop will increase the contrast of the photo. You might find that some areas are too dark or light now. We’ll fix this with a second black and white image.
Go through steps 1 and 2 again to create a new black and white image.
This time, play around with the sliders to create a black and white image with a softer contrast. The purpose now is to create an overall pleasing black and white image.
Once finished, merge the two layers again.
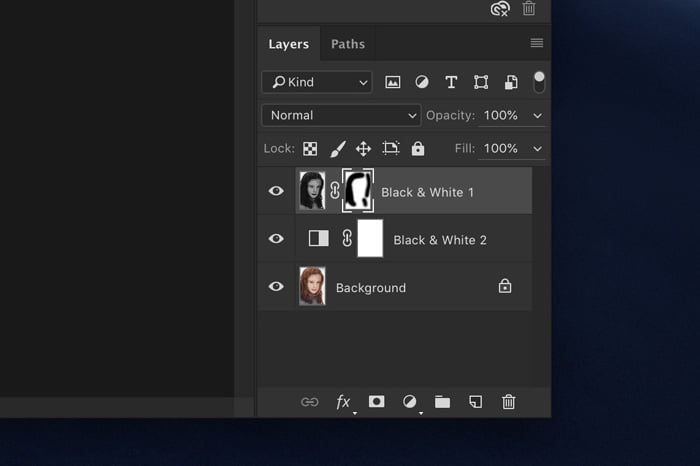
Step 6: Add a Layer Mask
Make the top layer visible again and make sure it is selected. Click on the "Add layer mask" icon to add a layer mask.
Step 7: Masking
Select the Paint Brush tool and set the color to black.
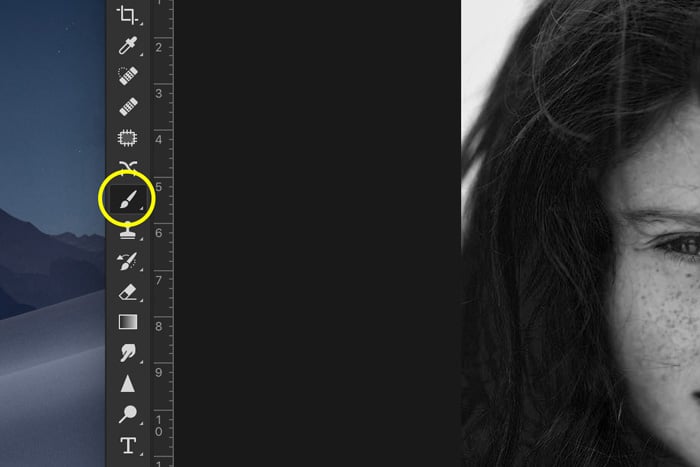
Make sure the layer mask icon is selected and start painting over the areas of the photo, which are too dark.
Painting over those areas with black will reveal the layer with a softer contrast underneath. Painting with white will do the opposite.
You’ll see the changes in the layer mask thumbnail.
You can also play around with the Mode, Opacity, and Flow of the Brush tool in the top menu to get a natural result.
Now, flatten the image and save the photo. You’re all done!
How to Remove Freckles in Photoshop
To remove freckles, or to make them less pronounced, we need to do the opposite.
Step 1: Black & White Layer
Repeat steps 1 and 2 from the example above.
Step 2: Remove Freckles
Instead of sliding the Red slider to the left, slide it to the right to lighten the red tones.
You’ll notice that the whole face will light up, making it look a bit unnatural.
Step 3: Masking
Like before, use a second black and white image and the masking technique from above to bring back eyes, lips, and other areas you want to darken. By combining multiple images, you can achieve a natural-looking photo.
How to Draw Freckles in Photoshop
When your model doesn’t have freckles, you can add them with make-up. But if you don’t have a make-up artist available, you can also do it in Photoshop.
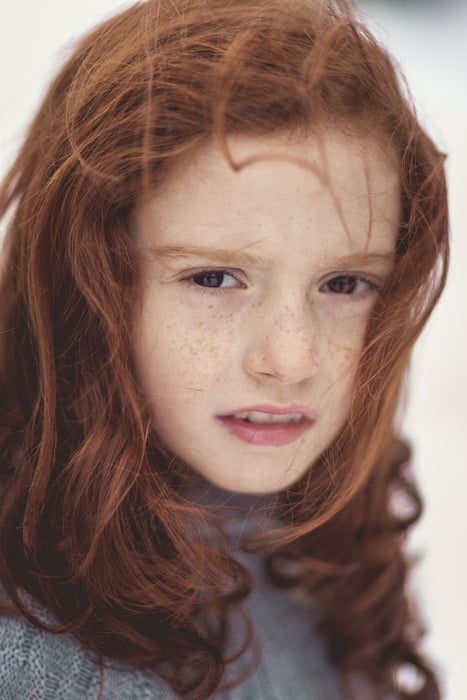
I’ll show you how to draw freckles in Photoshop. This is the original photo without freckles.
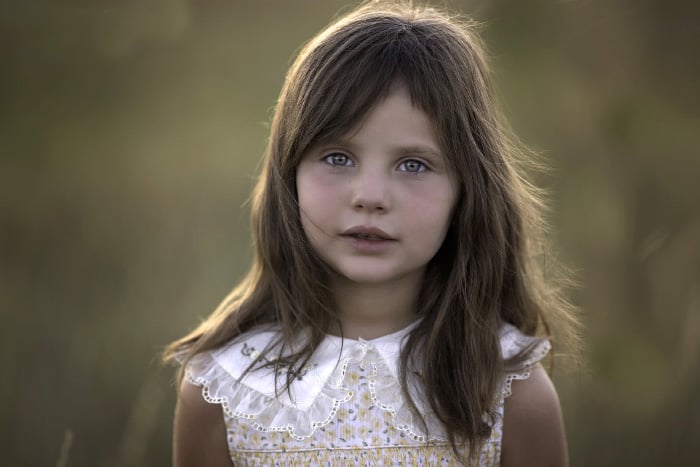
© Pixabay
Step 1: Draw a Freckle
Open the photo you want to use.
Click on the "Create new layer" icon to add a new transparent layer.
Select the paint brush.

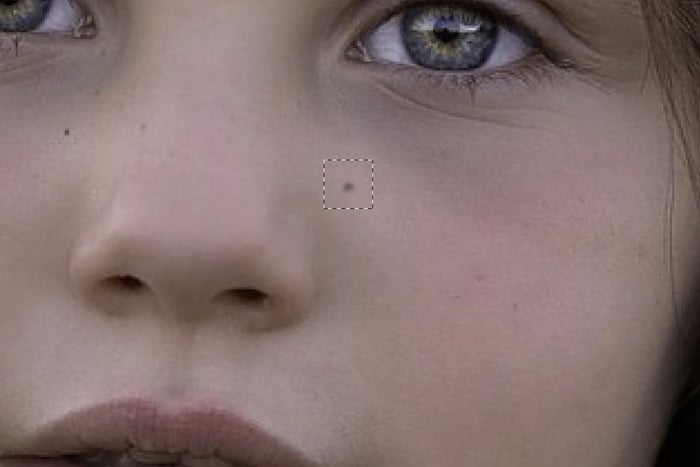
Set the flow of the brush to around 20%. Now, paint the shape of a freckle on the new layer.
You don’t need to pay attention to the color of the freckle right now. We’ll change that later.
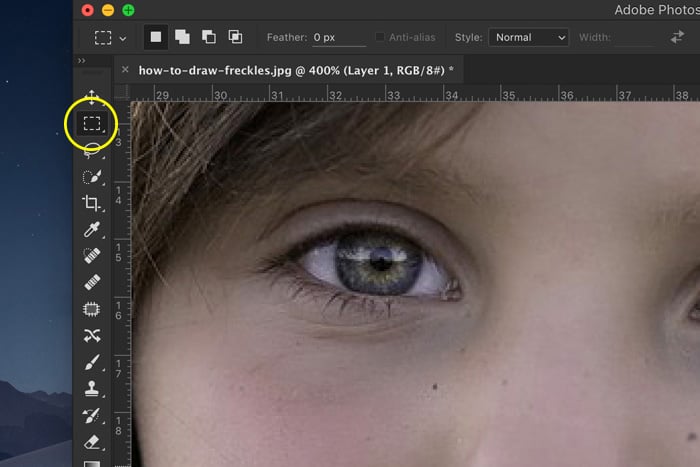
Step 2: Create a Brush Preset
When you’re finished drawing, use the rectangular selection tool and select the freckle. Use the SHIFT key to keep the selection square. Once your selection is finished, add a new layer. It needs to go under the “Freckle layer”.
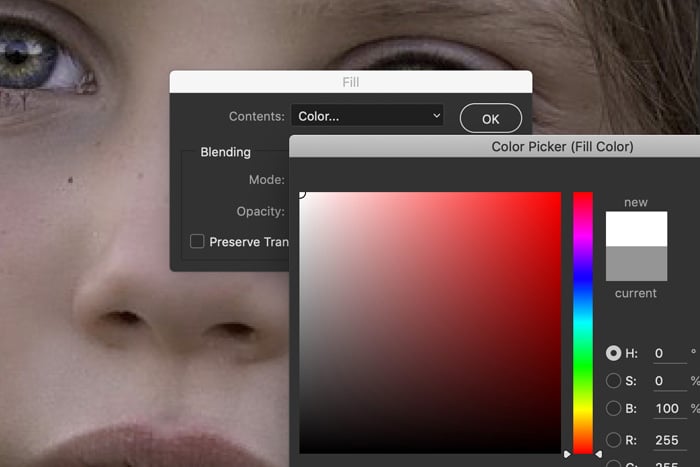
Then, Go to Edit > Fill. Choose white. Make sure the new layer underneath is selected.
Select the layer with the freckle and go to Edit > Define Brush Preset. Name the layer.
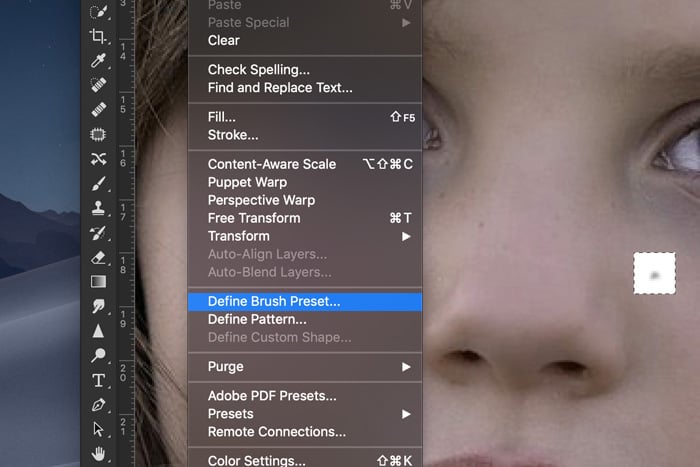
Create a few more different freckles like this.
Step 3: Prepare the Freckle Brush
Go to Window > Brush and select one of your freckle brushes.
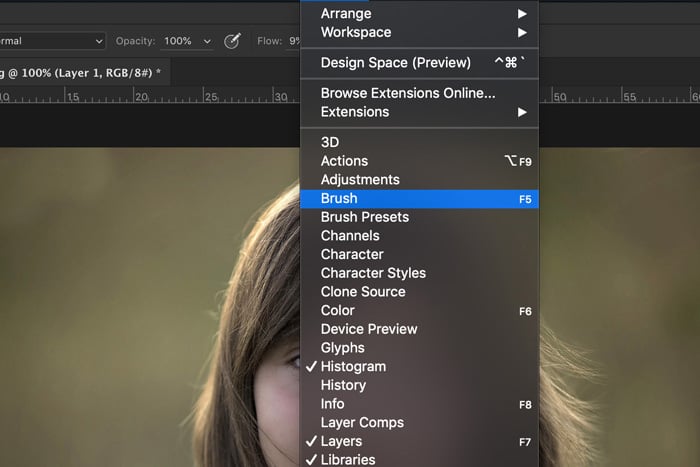
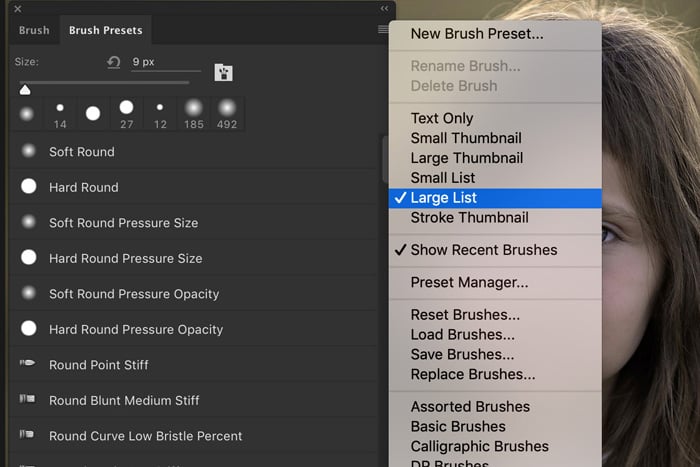
If you can’t see the names of your brushes, open the menu and choose "Large List".
Once you’ve selected one of your freckle brushes, select Shape Dynamics in the Brush tab and increase the Size Jitter and Angle Jitter all the way. You’ll see the brush change in the preview window.
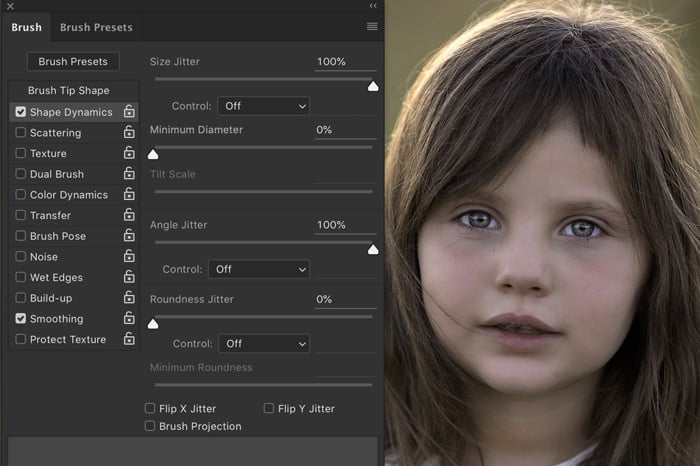
Then, go to Scattering and slide Scatter to the right too. And finally, go to Transfer and slide Flow Jitter also to the right.
Step 4: Create Freckles
Now, it’s time to draw freckles on the face.
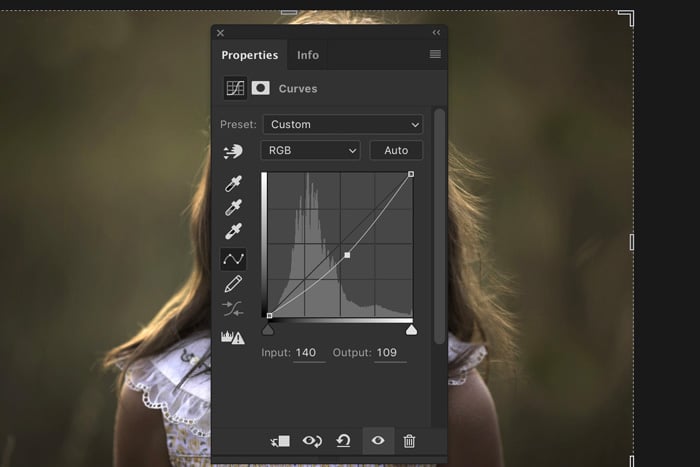
Add a new Curves adjustment layer. Drag the center of the diagonal line down. This will make the photo darker in the mid-tones.
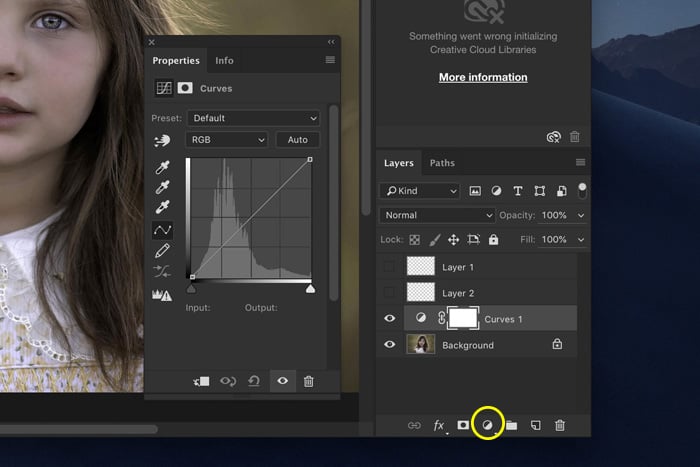
Click on the layer mask and use shortcut Cmd + I (Ctrl + I for Windows). This will change the mask color to black.
Select one of your brushes. Set it to white and start painting. Make sure the layer mask is selected and set the Flow of the brush to 100%.

If you’ve followed all the steps correctly, you’ll see freckles appear. Use different sizes and settings for natural-looking freckles.
If you make a mistake, switch to a black brush. Painting with a black brush will erase freckles.
You can also change the darkness of the freckles at any time by adjusting the Curves layer.
Step 5: Use a Second Method for a more natural effect
To make your freckles appear more natural, add different freckles using one of the other brushes. Make some darker and some lighter.
You can also use another technique to add some different freckles.
Create a new layer and set the color of your brush to a reddish-brown. Paint over the area where you want the freckles. Change the blend mode of the layer to Darken or Multiply.
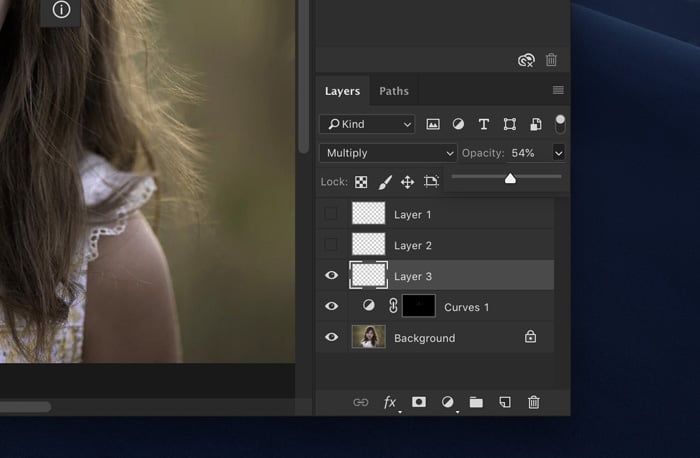
If the freckles are too light, duplicate the layer. If they’re too dark, change the opacity.
Play around with opacity and blending modes until you get the result you want. Use the eraser tool to remove freckles entirely or fade them by changing the opacity of the eraser.
Conclusion
Freckles are beautiful, and I always recommend not to remove them. It’s better to highlight "imperfections" using one of the techniques I showed you here.
For a long time, popular media wanted models to look "perfect". It’s time to change that and show there’s no such thing as perfection, or imperfection for that matter.


