If you are looking for a Blend tool in Photoshop, you won't find it. There is no Photoshop blending tool. But you will find blend modes (blending modes) and brushes that let you mix colors. Three different brushes help you blend colors in your image. They are the Brush, the Smudge tool, and the Mixer Brush.
In this tutorial, we will show you four different ways of how to blend colors in Photoshop with different blend tools. Each one creates different effects. You will discover which blend tool works best, depending on your goals.
1. Using the Blend Tool in Photoshop to Adjust Blending Modes
Blend mode lets you mix colors from one layer with the layers beneath. This works great if you are adding a texture layer to an image. There are many color blend modes. Here are a few examples:
- Color burn
- Color dodge
- Color
- Luminosity
Each one combines the layers differently, giving a different look to the image. Some blend modes retain the colors of your original photo. Others bring out the hues in the texture layer.
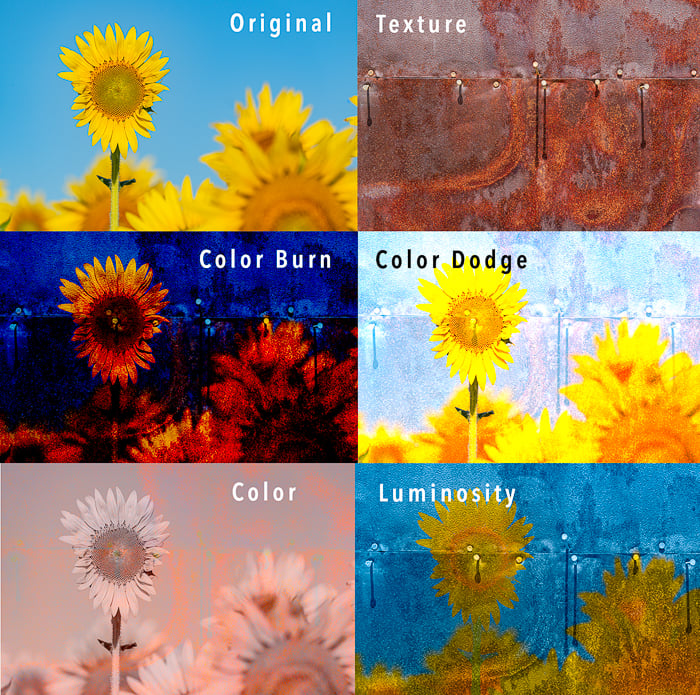
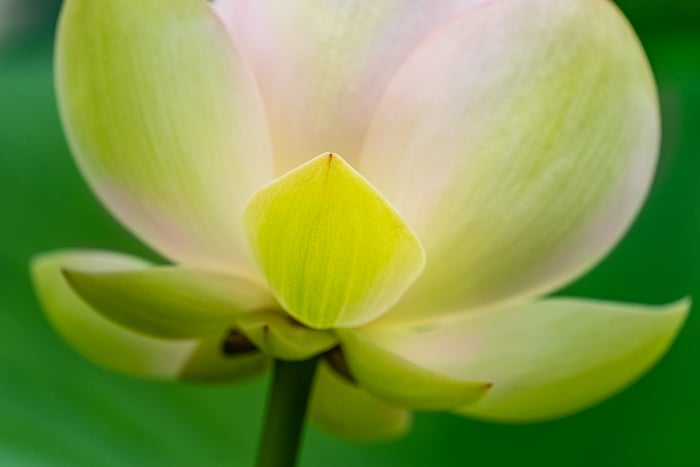
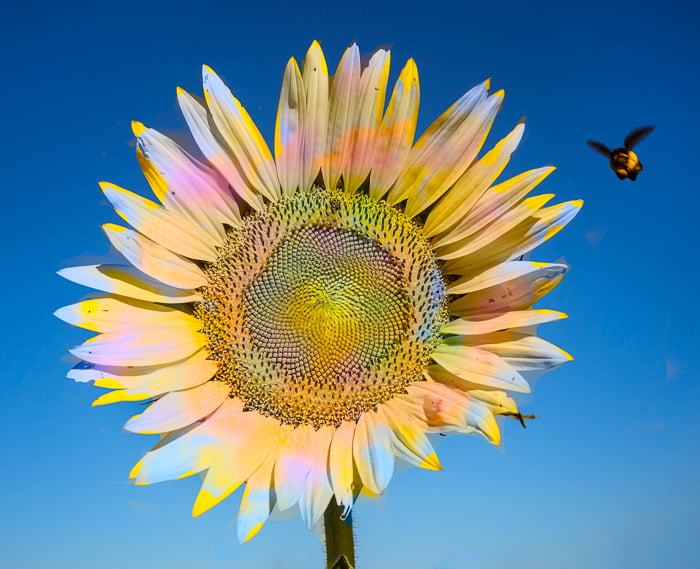
Original image and texture layer combined using different blend modes like the color burn, color dodge, color, and luminosity.
Step 1: Open Images as Layers
Open both the original photo and a texture image as layers in Photoshop.
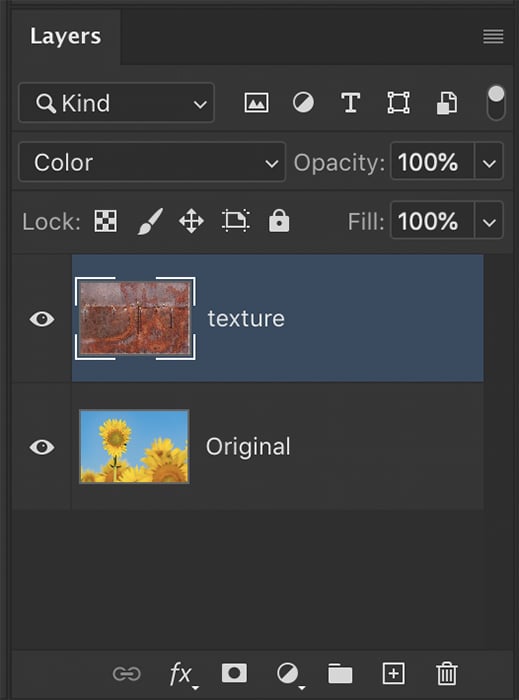
Layers panel in Photoshop showing original photo and texture file as two layers.
Step 2: Change Blend Mode and Opacity
The default blend mode is "Normal." Highlight the texture layer and change the blend mode by clicking on the blend mode drop-down menu. Try a few different blend modes to find the one that you like. The Overlay option is a popular choice, but Color, Color Burn, and Color Dodge will have more of an effect on the colors in your image. Lowering the opacity reduces the strength of the blend mode and lets the original layer show through.
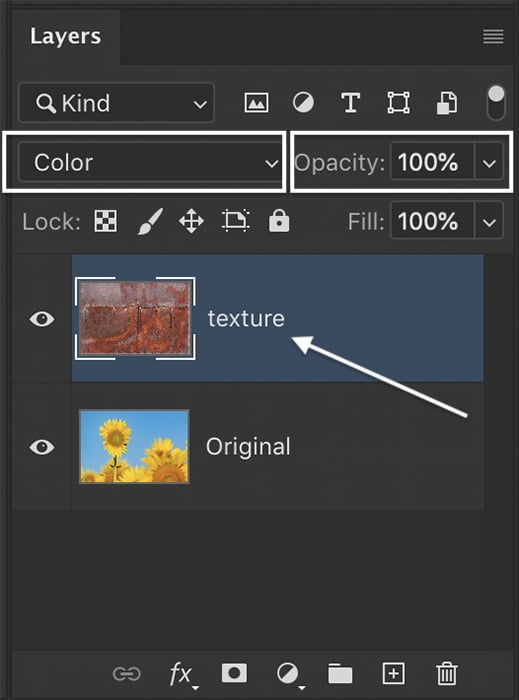
Choosing Color blend mode and 100% opacity with a texture layer.
2. Blending Mode and Brush
You can also blend colors in your image using the Brush tool. You can bring out individual colors or add colors that are not in the original image. The brush works well when adding color to defined sections of your image.
Step 1: Add a New Layer
Add a new layer above the original (background) layer. Do this by clicking the + icon at the bottom of the Layers panel. Or go to the Layer drop-down menu and select Layer > New > Layer (Shift-Ctrl or ⌘N). Change the name of the new layer to "Color."
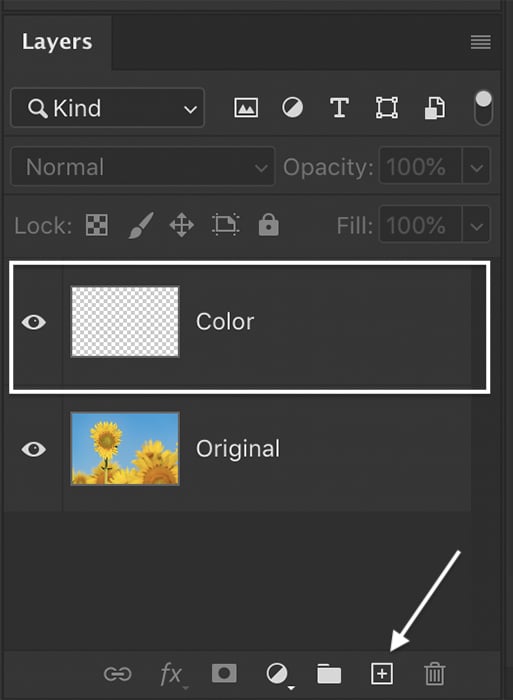
Adding a layer with the + icon and naming it ‘Color’.
Step 2: Change the Blending Mode
Select the new layer. Change the blend mode to "Color."
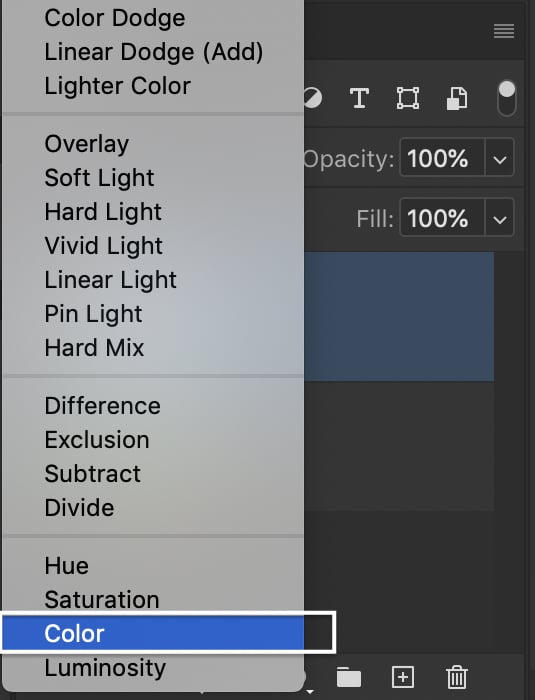
Choosing the Color option from the blend mode menu.
In this blending mode, the luminosity and saturation remain the same as you paint a new color. You can try other blend modes for a different effect.
Step 3: Choose a Foreground Color
Open the Color Picker (Foreground Color) selection box. Choose the color you want to blend into your image.
If you want to use a color found in the original image, use the eyedropper tool. Highlight the original layer and click on a color.
Click OK.
Make sure to re-select the Color layer after you have chosen a color from the original layer.

Clicking on the foreground color to open the color selection box and pressing okay to select the new color.
Step 4: Brush on Color
Double-check that the new color layer is selected. Select a soft, round brush. In the options bar, lower the opacity to between 10-20%.
Brush options bar: choosing a soft, round brush and 15% opacity.
Use the Brush to paint the new color onto your image.
You can change the foreground color if you want to add additional colors. For a deeper color, raise the opacity or paint over a section a couple of times.
Select the Brush and a foreground color (in our example, a shade of pink). Then brush the color onto the blank, Color Blend layer.
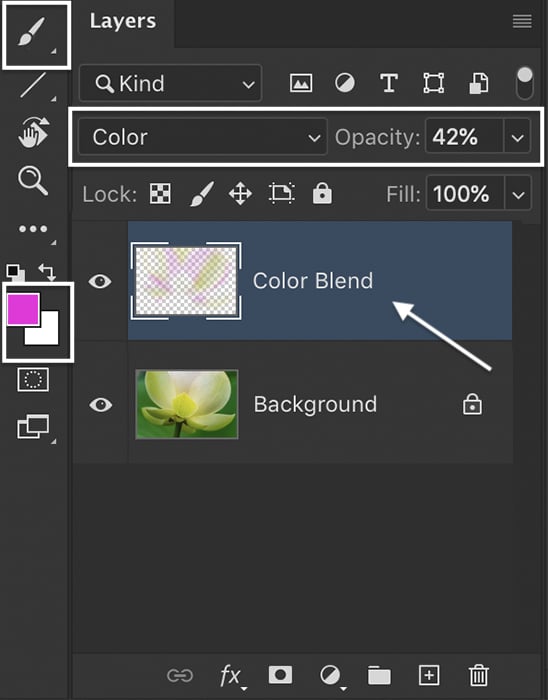
Select the Brush and a foreground color. In this case, a shade of pink. Brush the color onto the blank, color blend layer.
Use the eraser tool to remove unwanted colors. You can also lower the opacity of the color layer to reduce the amount of color.
3. Smudge Tool for Color Blending
Another tool for color blending is the Smudge tool. With a swipe, you can move colors from one part of your image to another. The effect can be a lot of fun and bring a painterly quality to your image.

Step 1: Create a Duplicate Layer
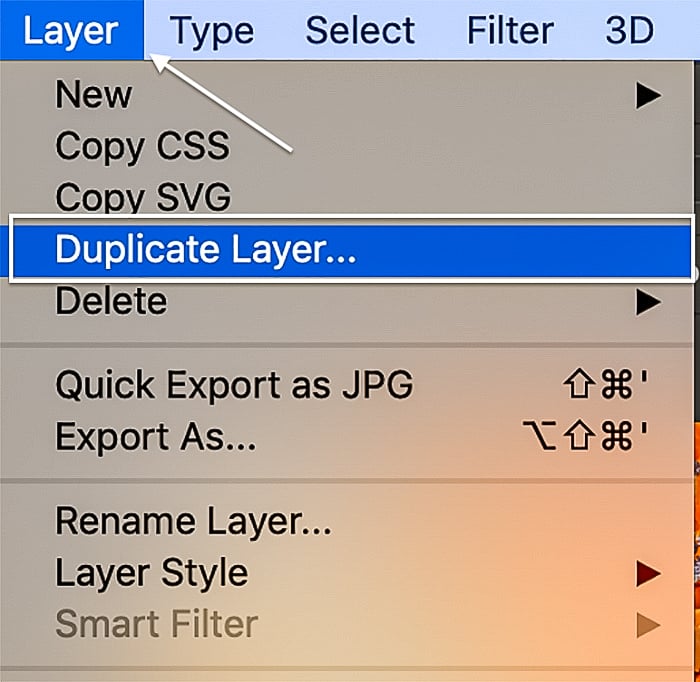
Open your image in Photoshop and create a duplicate layer. This ensures that your original image stays unchanged. If you do not like the blended effect, you can always return to the original image and start again. To make a duplicate layer, go to the Layer dropdown menu and select Layer > Duplicate Layer (Ctrl or ⌘J).
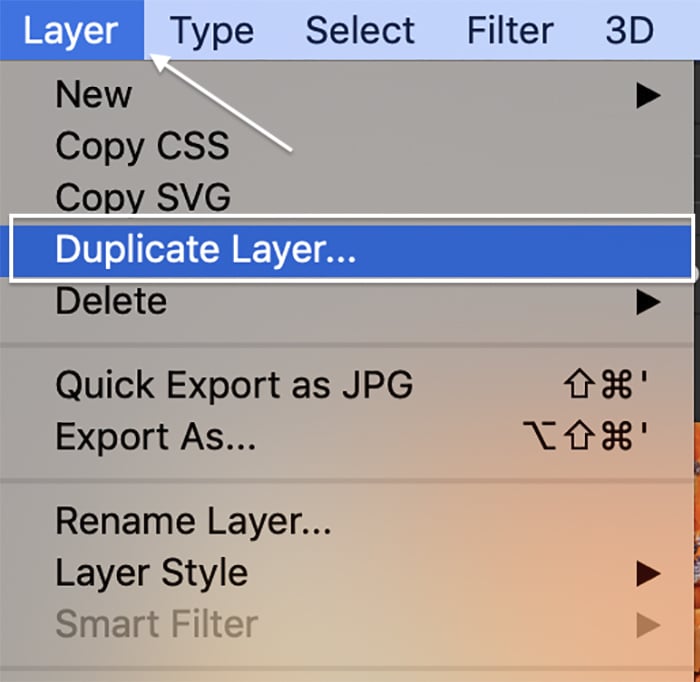
Selecting Duplicate Layer in the Layer dropdown menu.
Step 2: Smudge Colors
Choose the Smudge tool from the toolbar. It looks like a hand with an extended index finger.
In the options bar, choose a soft, round brush. From the mode dropdown menu, select Color.
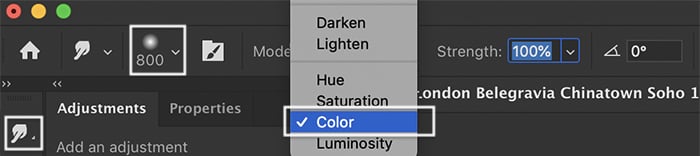
Selecting a soft, round brush and Color mode in the Smudge options bar.
In the color mode, only colors smudge. Lines or other elements of your image are not affected.
The smaller the brush, the more precise the color blend will be. Larger brushes pick up more variations in colors.
Make sure your duplicate layer is selected. Click on one area of your image and drag the colors into another area. You can drag in a straight line, an arc, and both directions.
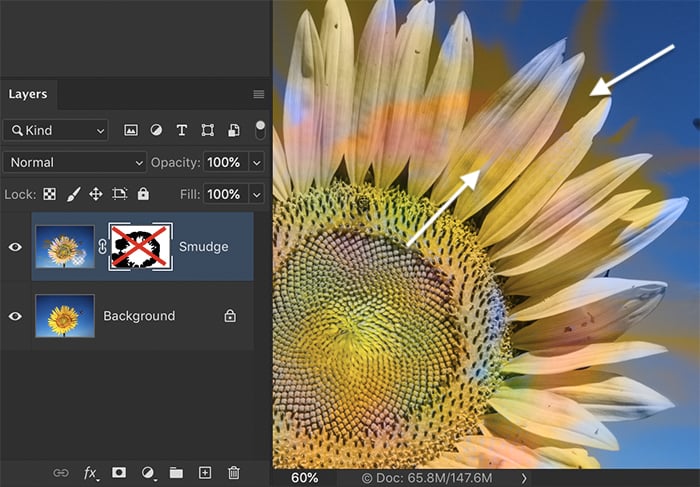
Dragging areas of the image in both directions to mix colors.
If the colors are too strong, lower the strength opacity. With large files, there may be a delay as the colors smudge.
If you do not like the effect, click undo (Ctrl or ⌘Z) and try dragging from a different point.
To add a new color, check the Finger Painting box. Then, select the foreground color you want in the toolbar.
Do not worry if the colors stray into unwanted areas of the photo. You can remove these.
Step 3: Remove Unwanted Color Changes
Erase or mask unwanted color changes.
You can reduce the opacity of the duplicate layer to bring out more of the original color. Or you can add a layer mask to the duplicate layer. With a black brush, paint over the unwanted color changes.
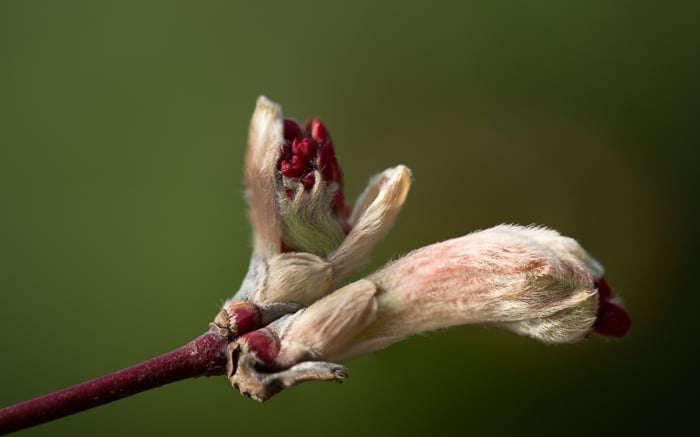
4. Mixer Brush
This brush lets you paint with colors and patterns from your image. It is the most advanced blending tool in Photoshop. This tool can give your image a painterly quality. You can also use this tool to create implied motion or double exposure.
Step 1: Create a Duplicate Layer
Create a duplicate layer. This ensures that your original image stays unchanged. Go to the Layer dropdown menu and select Layer > Duplicate Layer (Ctrl or ⌘J).
Selecting Duplicate Layer from the Layer dropdown menu.
Step 2: Select the Mixer Brush
Select the brush from the toolbar. The icon looks like a brush with a drop of paint.
This tool is bundled with the Brush in the toolbar
Step 3: Load the Brush
In the options bar, select a soft, round brush. Hold the Option or Alt key and click on your image to load the brush. The dropdown arrow next to the color box lets you choose whether to load a single, solid color or a pattern of colors.

Selecting a brush load and preset.
The wet, load, mix, and flow percentages change how the brush tip is loaded. You can load your brush with a lot of paint or just a little. You can adjust the load manually or use one of the presets in the menu on the options bar.
If you want to load different colors, clean your brush, and click on your image. You can also select a foreground color in the toolbar.
Step 4: Paint Colors on the Image
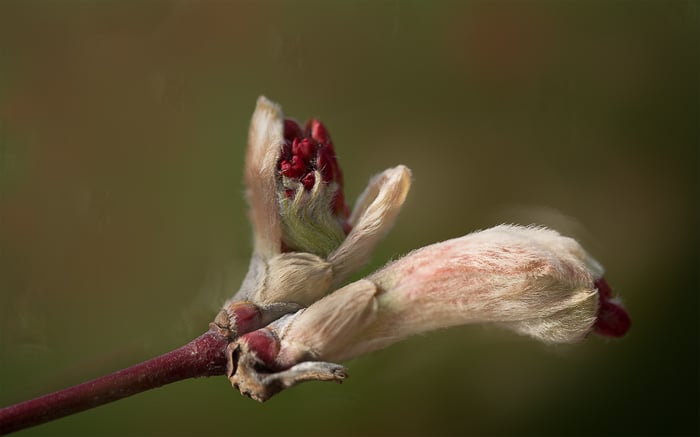
With the loaded brush, paint around the edges of your subject. Or you can paint on the background to mix colors throughout your image. Reduce opacity for a lighter effect. How the effects look depends on the size and direction of your brush strokes.
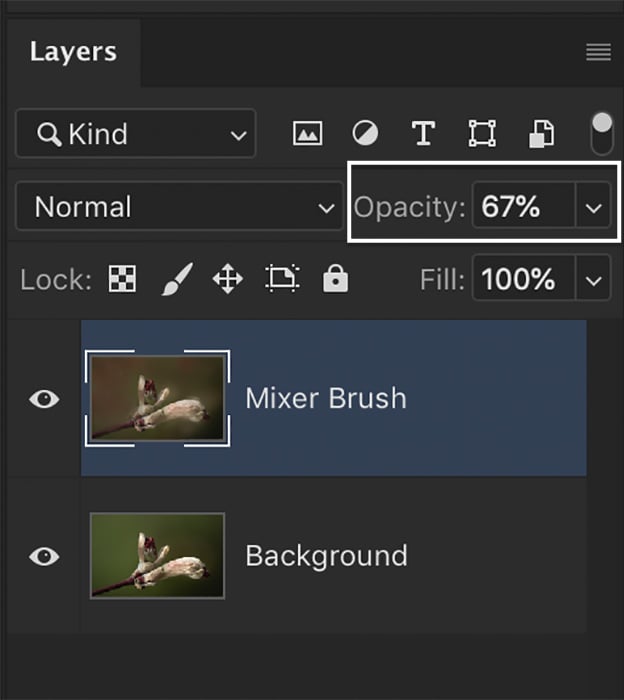
Choosing 67% opacity to reduce the tool’s effect.
Conclusion
There is no Blend tool in Photoshop, but other tools get the job done. You can blend two images using blending modes. You can also create a new layer for color blend mode and brush colors onto your photo. The Smudge tool liquifies the colors, and you can spread these around your image or fingerpaint on new colors. The Mixer Brush is the most flexible of the blending tools. It lets you load colors or patterns from your picture onto a brush to use in other parts of your image. This can create a harmonious background. Whether you want to create a tie-dye effect or blend two photos, Photoshop has a tool that will do the job.
Are you looking for an unlimited source of creative inspiration for your own unique scenes? Check out The Creative Photography Cookbook and discover new ways to shoot technical and beautiful images.


