If you’re looking to change the color mode in Photoshop, there are a few different ways you can go about it. In this article, we’ll show you how to do it using the menus, the toolbar, and keyboard shortcuts. We’ll also show you how to save your settings as a preset for future use.
How To Change The Color Mode In Photoshop And Use Photoshop Color Modes
Color modes determine how a photo will be represented on screen or in print.
It affects how colors combine based on the number of channels in a color model. Different Color Modes result in different levels of color detail and file size.
The purpose of your project will decide which Color Mode to use.
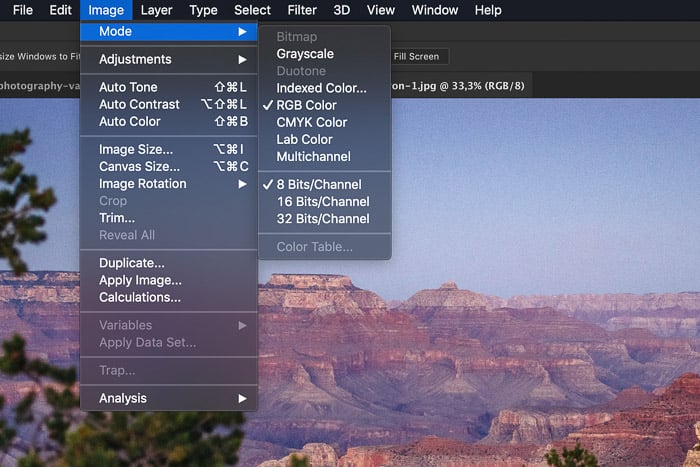
How to Change Color Mode in Photoshop
It’s very easy to change the Photoshop Color Mode.
Go to Image > Mode to select a different Color Mode.
Different Color Modes
That was the easy part. The difficult part is to know what each Color Mode does.
Here’s an overview of the different Color Modes in Photoshop.
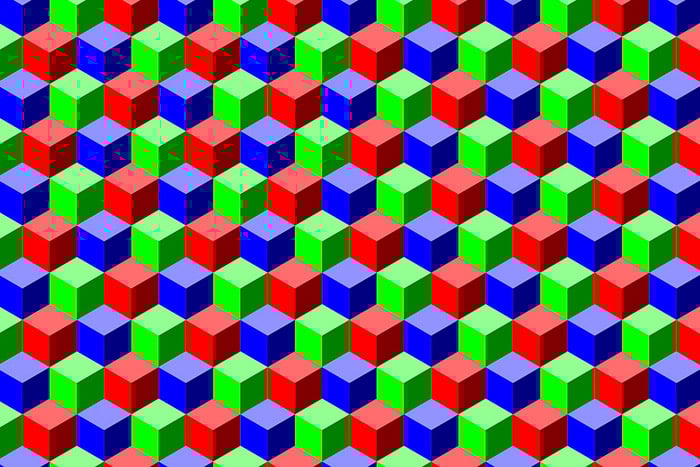
RGB Color
RGB Color Mode uses three colors to reproduce colors on screens. It’s a standard Photoshop Color Mode and the most important one for photographers.
Computer monitors and cameras use the RGB model.
© Pixabay
RGB combines red, green and blue to create all colors. The RGB model is very large and consists of millions of colors. Each tiny dot in a computer monitor or screen contains RGB information.
The exact range of colors can vary depending on application or device.
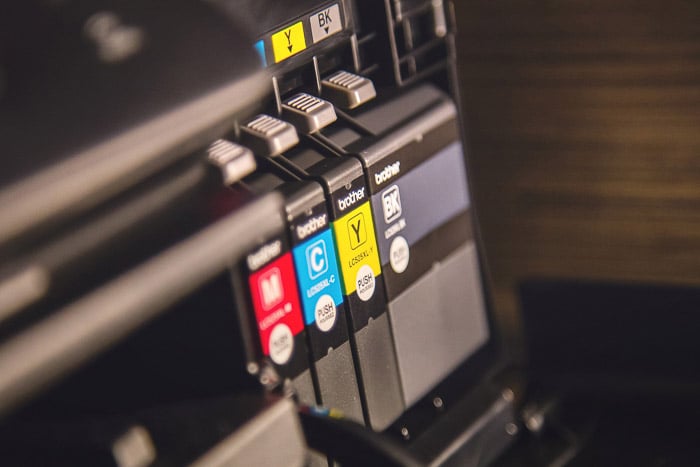
CMYK Color
CMYK Color Mode is based on the use of inks. Photoshop assigns a percentage of ink to each pixel. Light colors are assigned small percentages of ink and darker colors higher percentages.
Use CMYK mode when working with images you want to print.
© Pixabay
It’s always best to start editing in RGB mode before converting to CMYK. When you convert to CMYK, colors may appear different on screen.
They will often look dull and less vibrant. This is because some colors are impossible to print. The RGB model is a lot larger than the CMYK model.
Also, converting to CMYK will result in a larger file because of the four channels used.
Photographers usually don’t have to convert to CMYK themselves. Printers will use their own color profile. It will do a better job than Photoshop.
Always send your photos to a printer in RGB.
Grayscale
Grayscale mode uses different shades of gray in an image. Every pixel gets a brightness value ranging from 0 to 255 (white to black).
Grayscale values can also be measured as percentages of black ink.
Duotone Mode
Duotone mode creates images using one to four custom colurs or inks. Here’s how to use duotone mode in Photoshop.
How to Change to Duotone
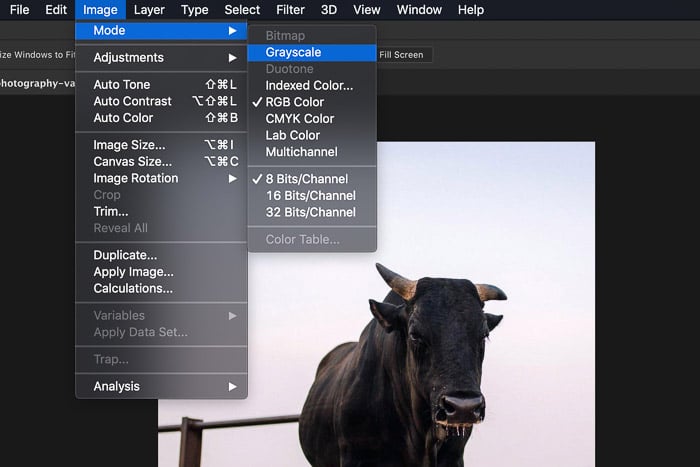
Step 1: Convert to Grayscale
You can’t convert an RGB or CMYK image directly to Duotone. First, you must convert your image to grayscale.
Go to Image > Mode and select Grayscale.
Step 2: Convert to Duotone
Go to Image > Mode again and select Duotone. Another window will appear where you can choose up to four colors. Select the type you want in the Type dropdown menu.
In my example, I’ve picked Duotone with black and yellow. Click OK.
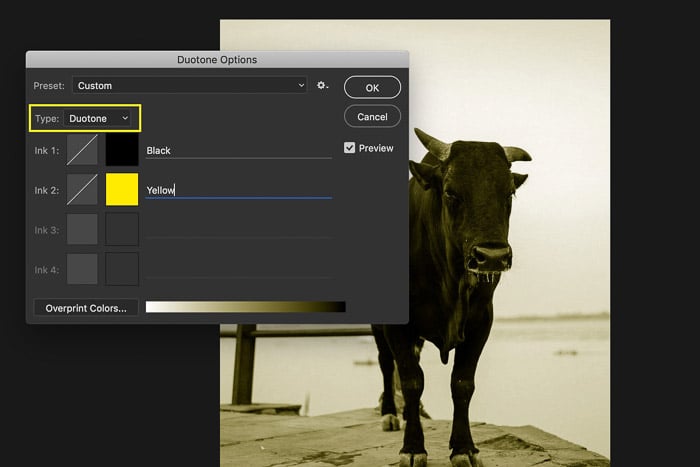
The image now consists of only two colors in different values.
Lab Mode
Lab Mode is a special one. It’s based on how humans see colors. The values in LAB Color represent the colors a person with normal vision can see.
Lab is a device-independent color model because it describes how a color looks. The other models describe how much you need of a particular colorant or what the value of a pixel is.
Indexed Color
In Indexed Color Mode, Photoshop builds a color lookup table. This table stores and indexes the colors in the photo. If a color in the original does not appear, it will choose the closest one or simulate it.
It can reduce file size yet maintain the visual quality needed for multimedia and web pages. Be aware that not all editing tools are available in this mode. You have to convert to RGB to get access to all tools.
Multichannel
This mode is only useful for specialised printing. Like Indexed Color, you will rarely use this as a photographer. Photoshop uses 256 levels of grey in each channel when changing to Indexed Color.
Bitmap
The Bitmap Color Mode only uses black and white to build an image. Because it doesn’t use grey tones, images often look rough and granulated.
Here’s a 100% view of a bitmap image.
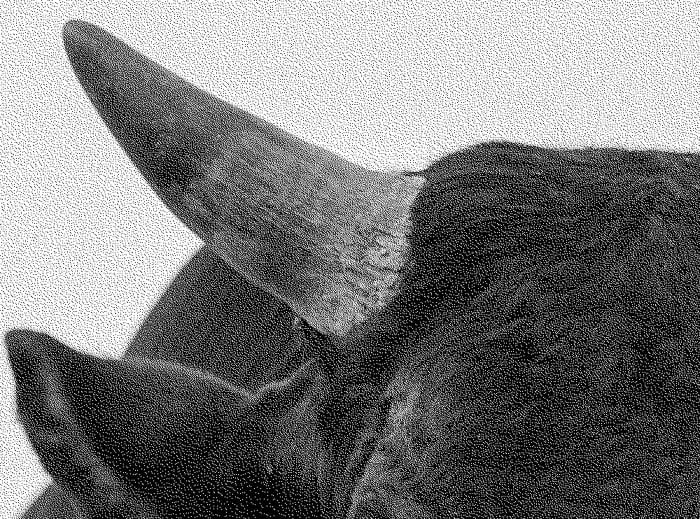
Like with Duotone, the image has to be converted to Grayscale first.
The Problem With Converting
Problems begin when you start converting from one Photoshop Color Mode to another. Each time you convert an image, you may lose color information.
For this reason, you should first finish editing the image. Then, only in the end, convert it to a new color mode.
Often, you won’t see any difference in Photoshop after converting. The difference will only be visible in the final result.
On a different device or printed, the colors of your image could appear totally different if not converted properly.
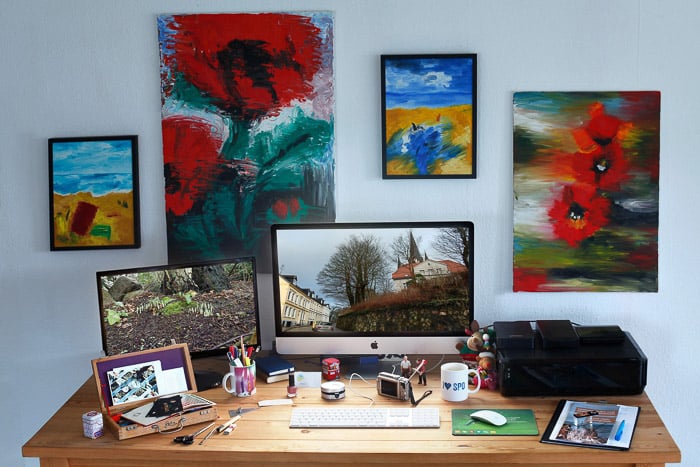
Color Management
Photoshop Color Modes, along with color profiles, are part of an important concept: Color Management.
The purpose of color management is the conversion between color representations. Digital cameras, printers and computers process and reproduce colors differently.
© Pixabay
The goal of color management is to match colors across devices. For photographers, this is important when making prints. You want the colors of your prints to look the same as on your computer screen.
It becomes even more important when you want to send your files to a printer. Without color management, you would have no control over the result.
Unfortunately, identical color reproduction is impossible. Each device or medium has its limitations. A screen emits light and a printer uses inks. The colors will never be exactly the same but color management helps you get as close as possible.
Every device has its own specific color profile. Your computer and printer will have a different one, for example.
This is why it’s important to learn about the different Color Modes in Photoshop. This will give you a basic understanding of color management.
Conclusion
Color management can be very confusing for a beginner photographer. Often, people might think it unnecessary to understand color management until they encounter problems regarding the colors of their printed photos.
But this is so important to know, because even the whiteness of the paper you choose, affects the end colors. The variety of devices and media we use is what makes color management so important today.
The Color Modes in Photoshop are just the start. Once you know the differences between them, you can move on and learn more about Color Profiles and Color Management. The best way to learn the details is to keep it simple.
Start by learning how your computer and your printer process and reproduce colors.
Try to get the colors of your prints to match your screen. Once you understand how to do this, you can learn about specific color profiles for each of the devices you use.


