Today, we are comparing Capture One vs Lightroom. These are two of the top photo software on the market today, and you will come across both in the photographic industry. Both digital imaging software allow us to store, sort, and edit our photographs.
Each photo editing program has its own approach and priorities. Today, we will cover these differences so you can decide which program suits your photographic style best.
For this article we will be looking at Lightroom Classic. Click here to find out more about Lightroom vs Lightroom Classic.
Main Differences in Capture One vs Lightroom
Let’s start by looking at the major differences between the two software. You only have to read this section if you want a quick answer on how they differ.
Capture One
- Great tethered and sharing abilities
- Color control
- Smart Adjustments
- Control in the cull stage
Capture One is an industry-standard software primarily used during photoshoots both in the studio and on location. It has earned its place here thanks to its incredible tethering and live-sharing abilities. Capture One Live allows people not on set to view the photoshoot live as it’s happening. They can then mark and rate the photos to signal to the photographer or team.
On top of this, Capture One has excellent color control abilities. This means you will be able to fine-tune your colors to an incredible degree. Actions like this ensure the most accurate results for photographers or clients.
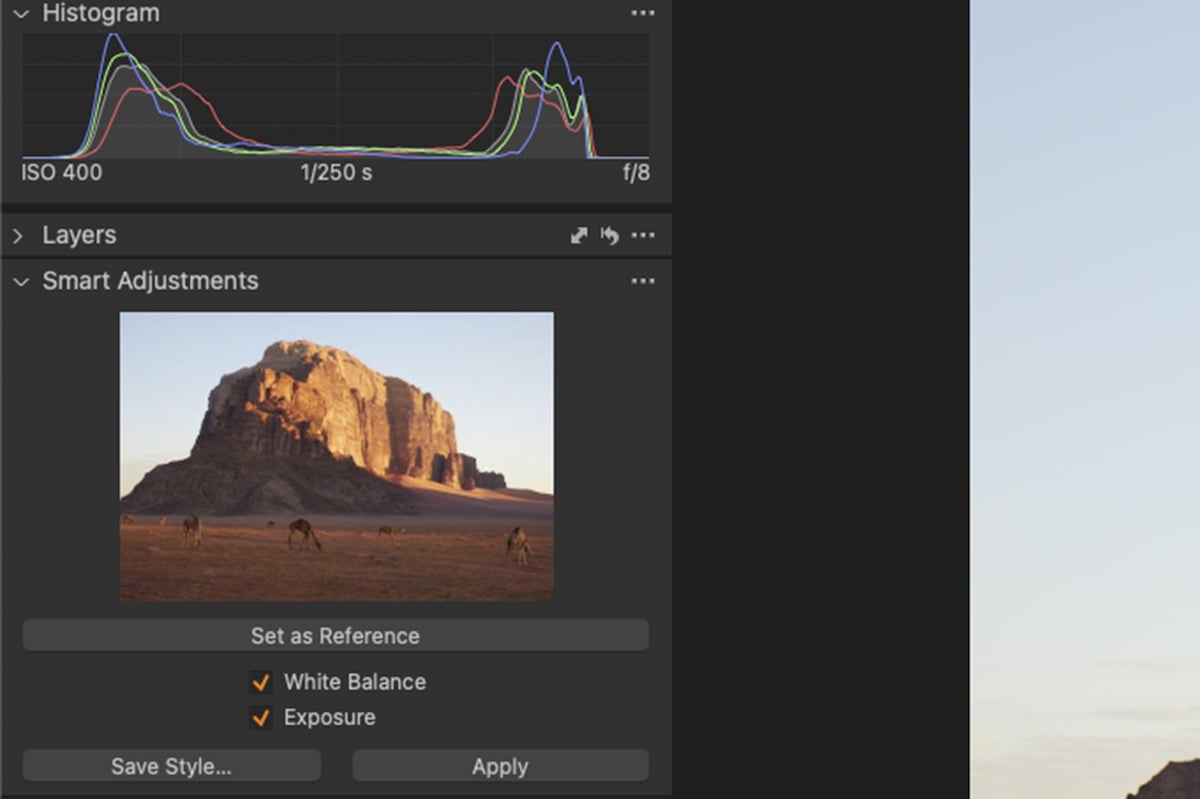
Smart Adjustments also work with the color of your photos. This feature allows you to set a reference image and then replicate the same colors in any further photograph. A feature like this is brilliant for ensuring sequences match.
Capture One also has a brilliant interface for performing a Cull of a big photo shoot. This means you can quickly eliminate the ‘throwaway’ photos, so all your attention is on the best selection.
Lightroom
- Excellent interface
- Organisational features
- Brush tools
- AI abilities
Lightroom is a digital imaging software from Adobe. It provides users with an excellent workspace to organize and edit photographs. There are also opportunities to prepare your images for outputs such as books, web, and print.
Lightroom has the strongest organizational tools on the market today. In addition to the tools, the interface and usability are well thought through. This makes the entire experience of locating, sorting, and gathering images simple yet detailed.
Adobe Lightroom has also recently added a wide range of AI features that perform to an incredible standard. The AI masking is a game changer. It allows photographers with little editing experience to perform professional-level edits.
You will also notice AI in its dust removal. This tool performs to the highest standard out of all digital editing software. The Denoise tool allows photographers to shoot in unfavorable light conditions and fix them as if the camera didn’t struggle.
Capture One vs Lightroom in Detail
We will now compare Capture One vs Lightroom in more detail. We will look at each software’s performance and compare features.
Interface
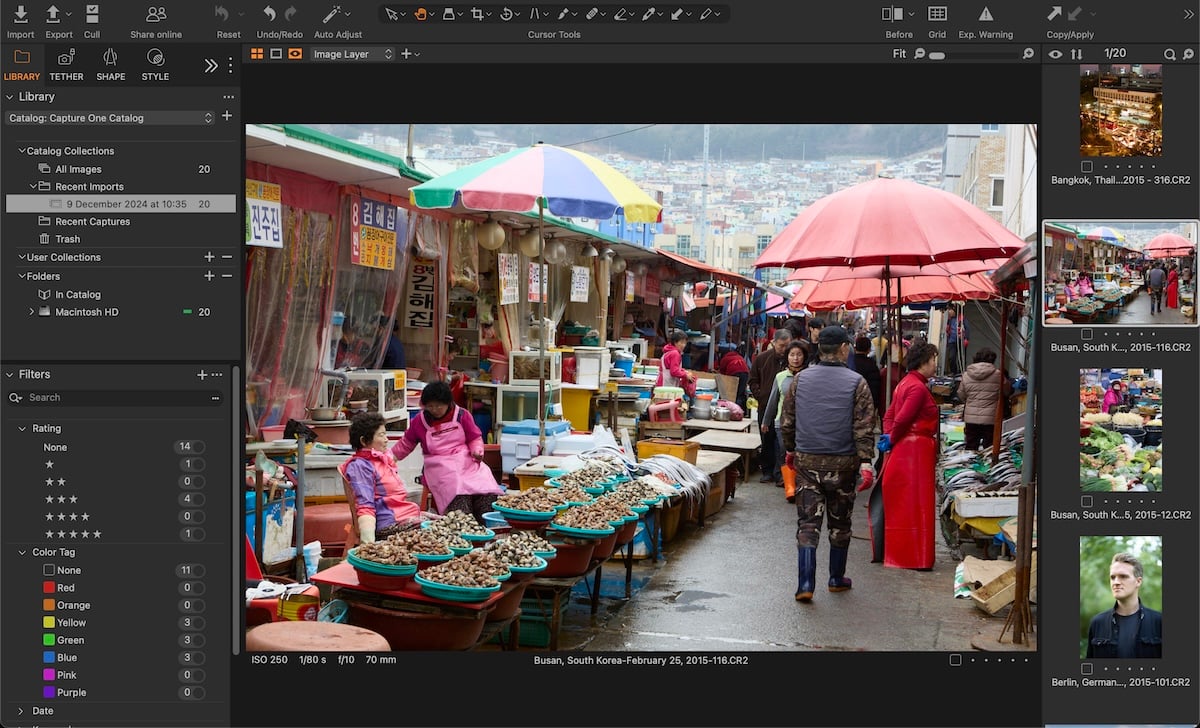
The interface’s usability will be preferable for photography enthusiasts rather than professionals. Beginners and enthusiasts prefer simple navigation, whereas professionals and serious hobbyists prefer more detail and specialist functions.
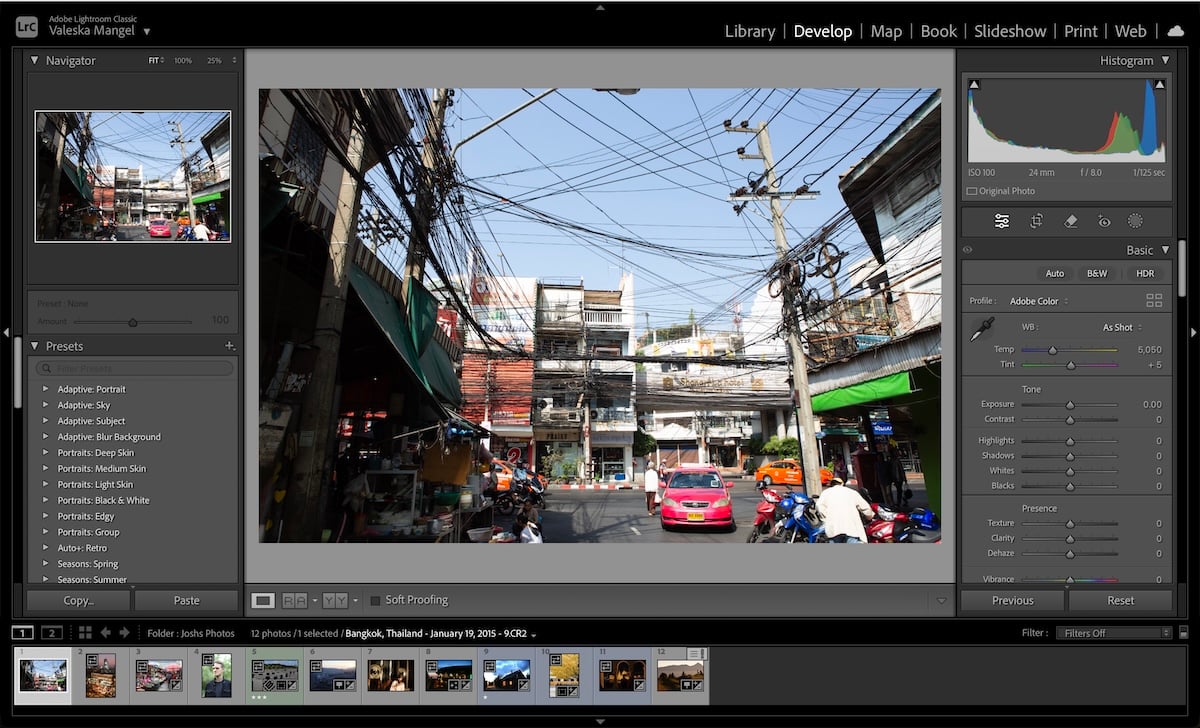
After comparing Capture One vs Lightroom, we can see that Lightroom has a more user-friendly interface. It splits up the workspaces well and is easy to navigate. Also, Lightroom comes with Lightroom Classic, which has much more detail in its interface but is still easier to navigate than Capture One.
Capture One doesn’t cater to beginners, but more experienced photographers and professionals may prefer it. This is because the interface is fully customizable. A feature like this allows you to take out elements and order elements in a way that suits your workflow best.
RAW Processing
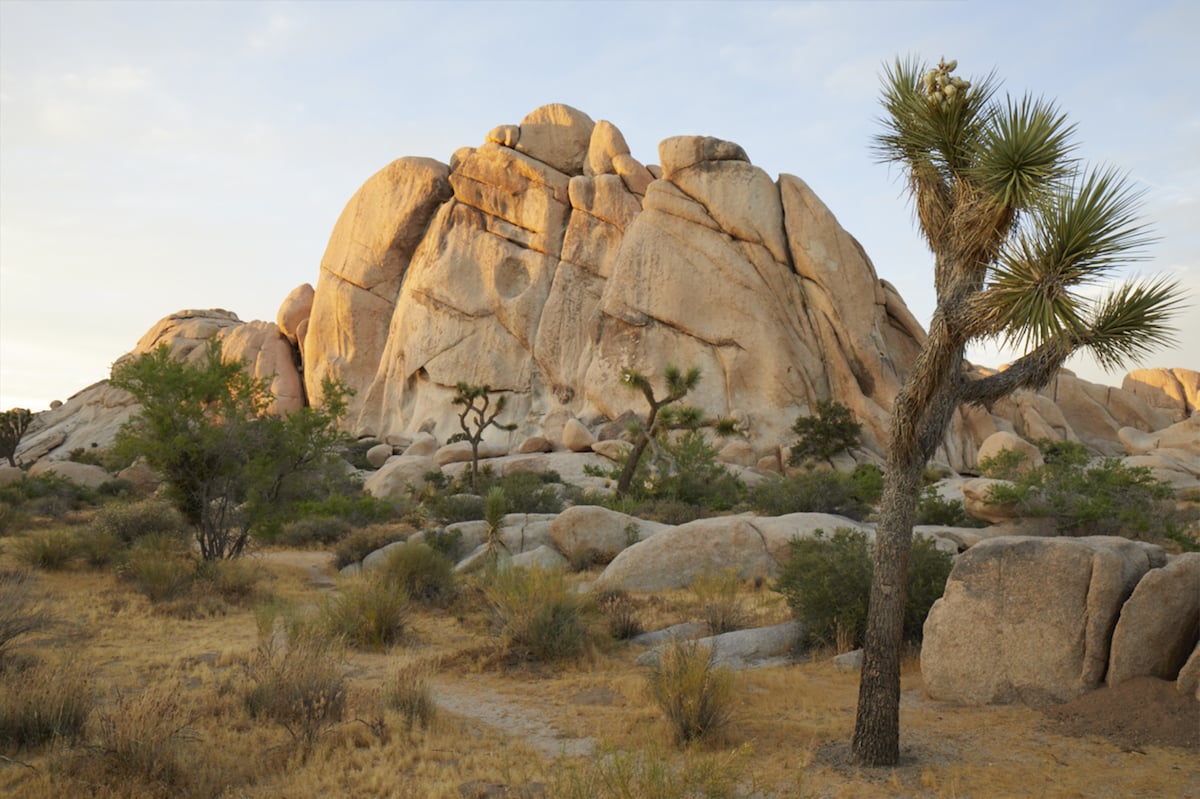
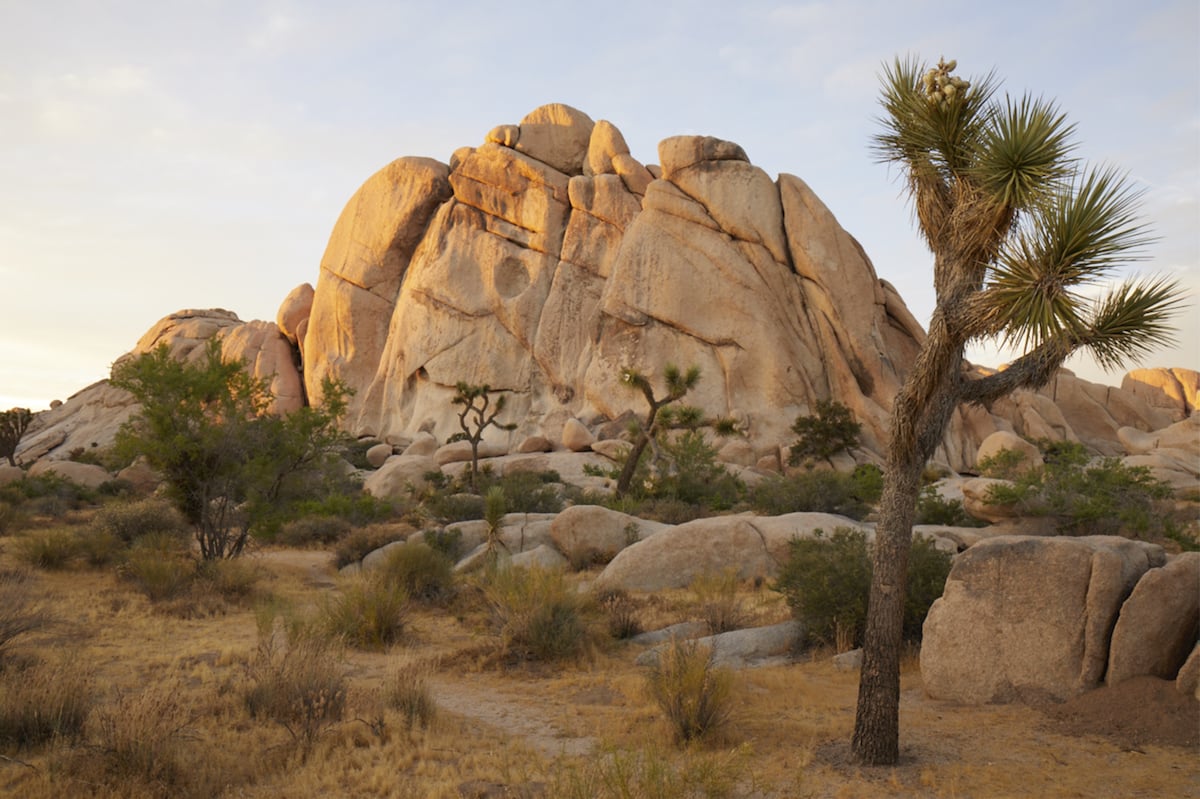
When looking at RAW processing results in Capture One vs Lightroom, we can see that both programs perform very well. Capture One does slightly take the lead, though, and it is known to have the best RAW processing abilities on the market.
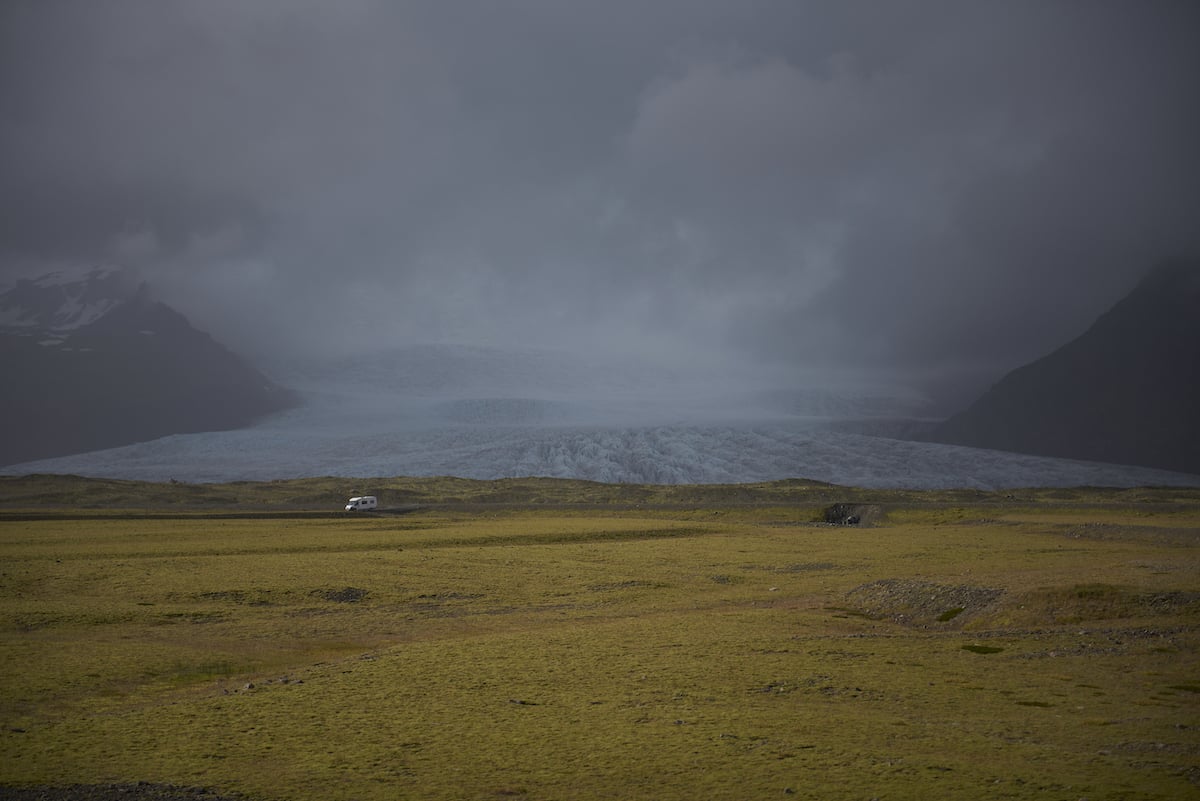
The most noticeable element when comparing images is that the Capture One results are slightly more saturated. You will also notice the shadows are slightly lighter. You may think this translates to more detail, but Lightroom can draw more information from finer elements.
Both programs provide exceptionally high RAW processing abilities. So you can be confident in any program you choose. The results make it hard to say which program comes out on top.
Basic Editing Tools
The basic editing tools in every digital editing software will function differently due to their algorithms. So, you will notice a difference in how the adjustments affect our photos in Capture One vs Lightroom. First off, Lightroom provides more adjustments, but Capture One has more specialist tools.
Looking at the exposure difference below, we can see there is a difference. Lightroom can go to plus or minus five stops of light, whereas Capture One only allows four. Lightroom seems to flatten the image more. But, Capture One tends to produce more noise and pixelation.
If we take a look at how each program adjusts shadows, we see an even bigger difference. Capture One does a good job of adjusting just the shadows, whereas Lightroom brings the entire image down slightly. However, Capture One does tend to have softer results than Lightroom.
Best Features: Capture One vs Lightroom
Let’s now look at some of the best features mentioned above in Capture One vs Lightroom. We will briefly introduce each feature and give an example so you can decide what features may be more useful for you.
Capture One
Advanced Color Editing
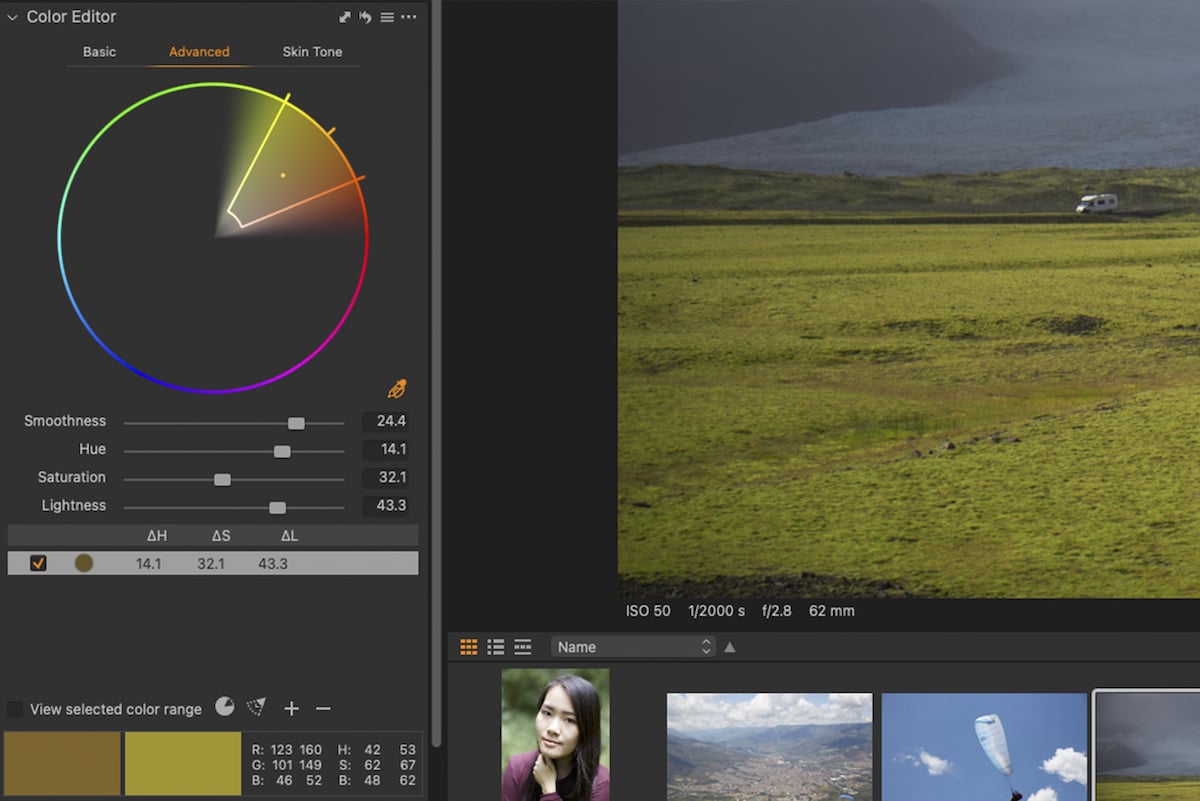
Capture One provides a brilliant Color Editor tool. You are able to select the color dropper and click on the color you want to adjust. Capture One will then highlight the spectrum region in which your color lies. From here, you can adjust any color quality: smoothness, hue, saturation, and lightness.
There is even another section dedicated to adjusting skin tones. This is a great way to make subtle changes to enhance your model’s skin. It uses six sliders to transform dull skin tones into more vibrant and true-to-life results.
Cull View
The culling stage is Capture One allows you to have a detailed look at each photo to cut them from your selection. This view may take longer to sort through your photos, but it provides unmatched accuracy and attention to detail. Here, you can proof the image and add initial ratings and tags.
Face Focus is a feature in Cull View that lets you check the focus on the face without zooming in. This feature is brilliant for quickly dispelling the photos that are not up to the intended quality. This feature even works if the model wears glasses or in low-light conditions.
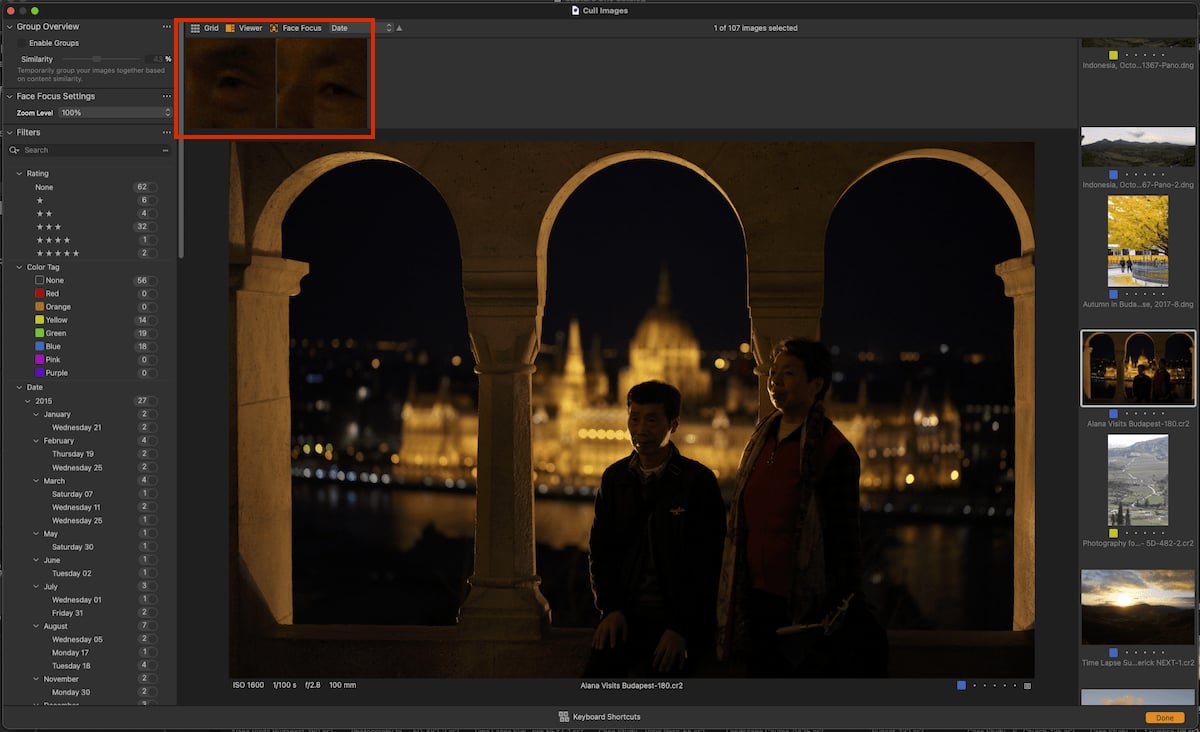
Face Focus work area highlighted in the top-left corner of Cull view
Smart Adjustments
Smart Adjustments is a feature that allows you to select a reference image and then apply adjustments to a different photograph to get the image to match. It does this by using AI to detect and apply intelligent exposure and white balance adjustments.
A feature like this is brilliant for getting a series of photos to match up. Any type of photographer will find this feature useful as it saves us a lot of time trying to get photos to match up.
Lightroom
AI Masking
One of the best features of Lightroom is its AI masking capabilities. This tool allows inexperienced photographers to perform advanced edits. It also allows professionals to save a bunch of time creating masks themselves in Photoshop.
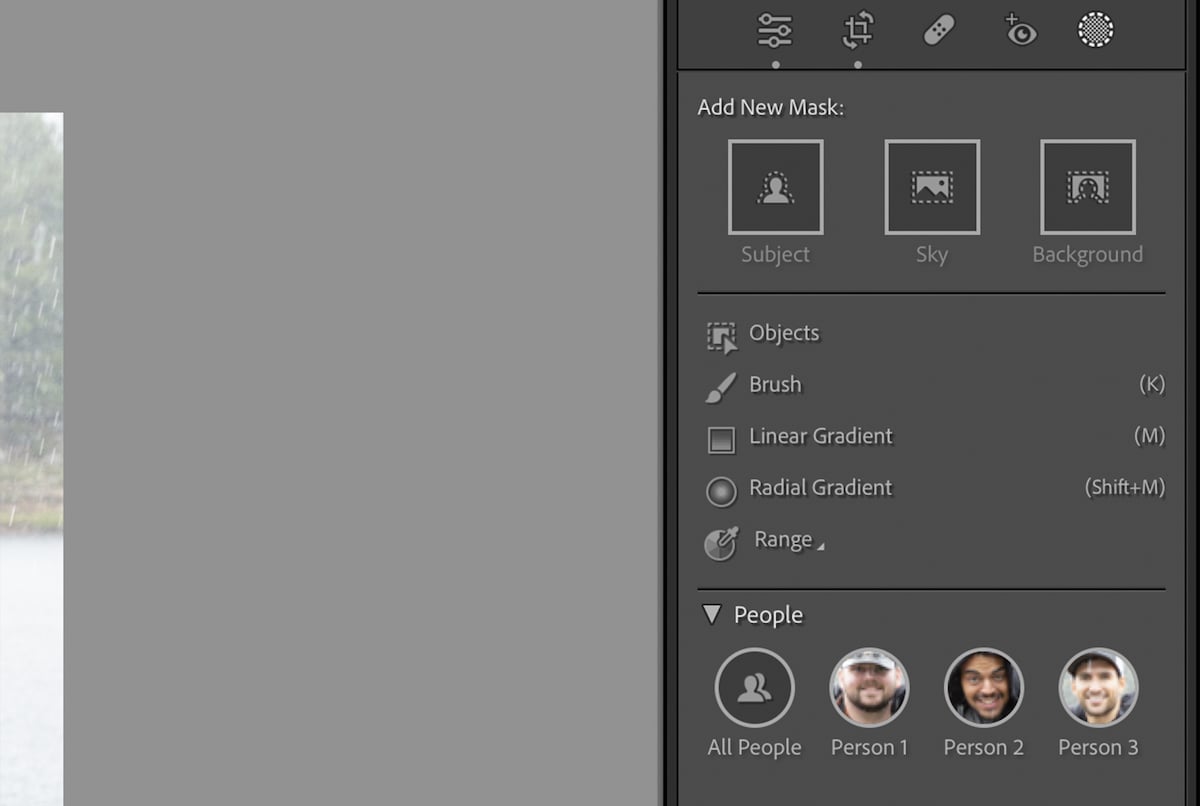
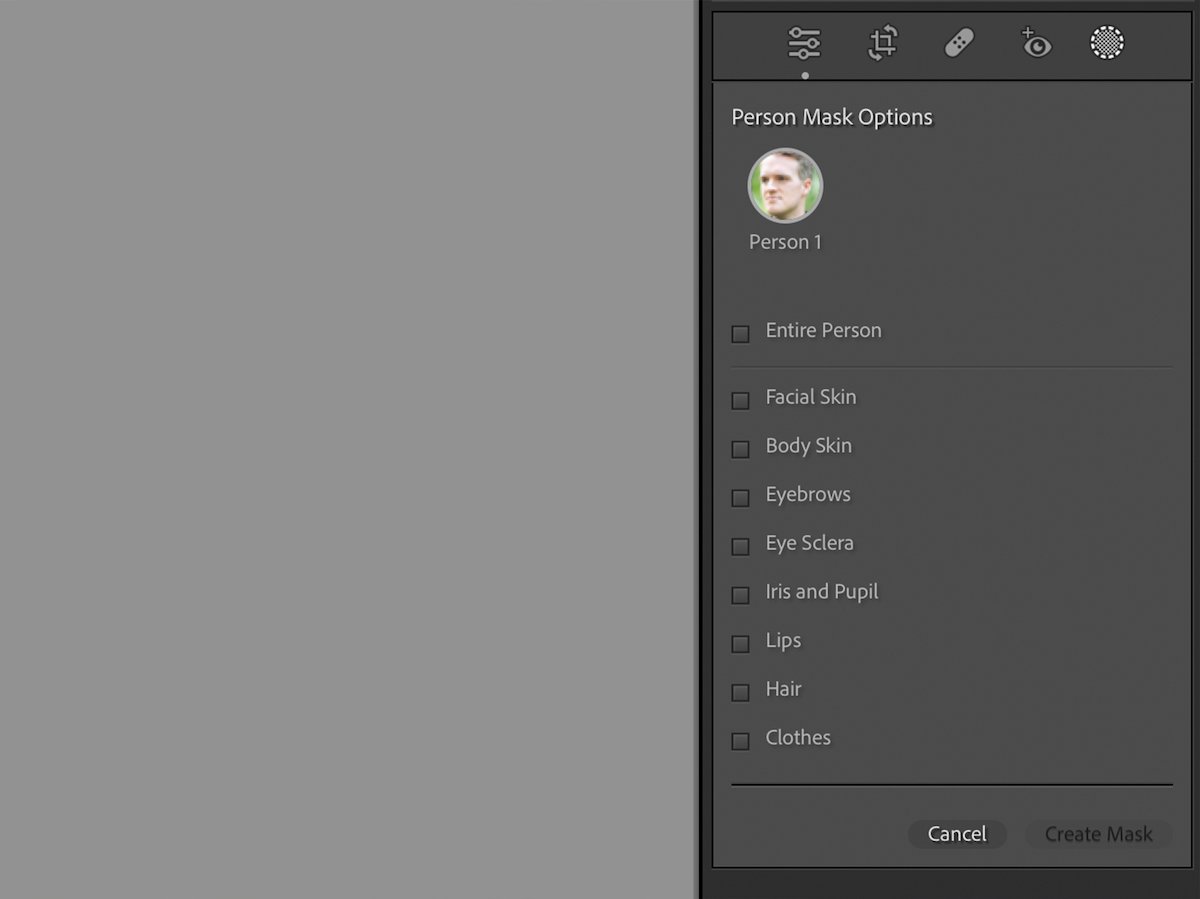
AI Masking allows you to select between Subject, Sky, or Background. There is also a People section if Lightroom detects a person in the image. Inside the People section, you can create separate masks for different parts of the body. This incredible feature allows you to fine-tune your image to a high level of detail.
Denoise
Adobe Lightroom’s Denoise software is the best on the market today. It functions as a simple one-click solution. When you click the Denoise button, you get a window that opens, giving you a few options to control the intensity of the noise reduction.
If you shoot in bad lighting conditions and have to push your ISO higher than you want, you can now feel comfortable, thanks to Lightroom. The process takes a short amount of time and completely transforms noisy photographs.
Brush Tools
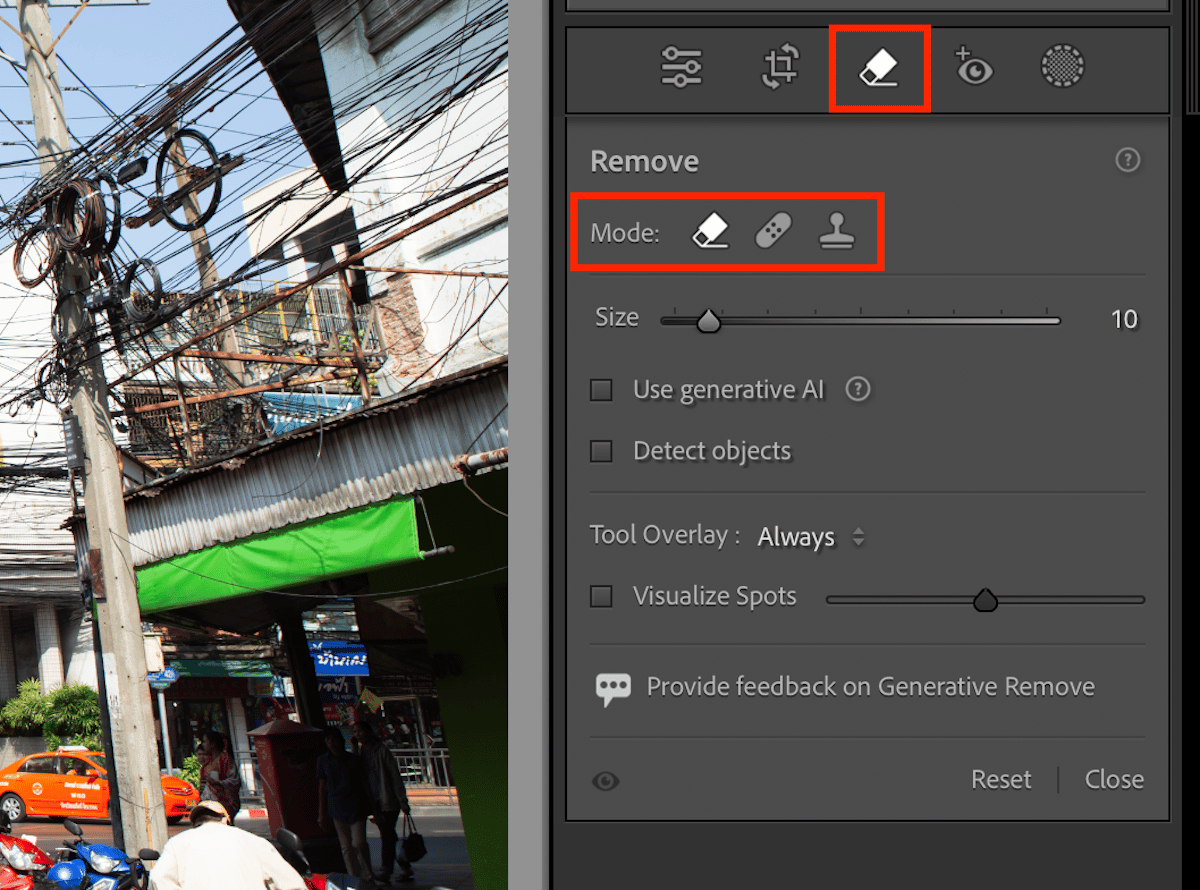
As Adobe makes both Photoshop and Lightroom, you can find brilliant brush tools incorporated into Lightroom. This includes brushes for applying adjustments to specific areas and Clone and Heal functions.
Having these brushes directly in Lightroom can mean that many photographers may not have to take their images in Photoshop. This allows Lightroom to function as an advanced photo editor while also being primarily an organization software.
Conclusion: Capture One vs Lightroom
From this Capture One vs Lightroom comparison we can see a big difference between the two photo editing programs. Even though they are different, you can be confident that either program will provide excellent results.
Use Capture One if you plan to perform photoshoots with tethering or collaborating with people who may be remote. It can also be for photographs that prioritize color management. Lightroom is best for photographers who prioritize organization and masking tools.
To find out more, read our in-depth reviews of Capture One and Lightroom.
