Lighting is one of the key elements of photography. A photographer can’t operate without it. But it can also be an area of creativity and expression. You can use light in different ways to create different types of photographs.
With just a few tweaks to the lighting, you can transform an image’s mood or atmosphere. These creative lighting ideas will improve your skills. And they’ll give you more control over one of photography’s most vital ingredients.
Our article is the best starting point for learning about creative lighting. It has information on slow-sync flash, firelight, sparks, and loop lighting. Each section has a link to an in-depth article on the subject, so remember to click the link to find out more.

13 Creative Lighting Ideas
Are you an experienced photographer? Experiment with these creative lighting ideas. They’ll enhance your skills and broaden your perspective. And if you’re going through a lull, trying a new type of lighting can reinvigorate your passion for photography.
We kick off our list with some advice on DIY lighting before moving on to techniques like slow-sync flash. We also cover more ambient forms of light, like natural, candle, and firelight.
Not all the tutorials will be for you, but we’re sure a few will pique your interest. You’ll also learn skills to apply to different types of photography. That’s why anyone from fine art to portrait photographers can learn something from our article.
Experimenting with different types of lighting is fun and educational. Understanding light and what to do with it gives you more creative control. It’s true whether you’re shooting portraits or landscapes.
DIY Lighting
You can create DIY photography lighting using simple items. Use flashlights and light modifiers made from repurposed materials. Most of these can be found at home, but you may need to visit a hardware store for some supplies.
Make a basic DIY diffuser by stretching white fabric across a large picture frame or rectangular frame made from plastic pipes. This technique creates a softbox effect. The distance between the light source and the diffuser determines it’s harshness or softness.
White and black poster boards also make effective reflectors and flags. Use them to bounce light onto the subject or block it to create moody shadows.
Fairy lights are another versatile DIY lighting option. You can incorporate them into photos in various ways. Have the model hold them, string them in the background, or place them in front of the lens for a dreamy bokeh effect.
Our article offers many creative techniques for those who want to learn more about DIY photography lighting. Explore and experiment with them all.
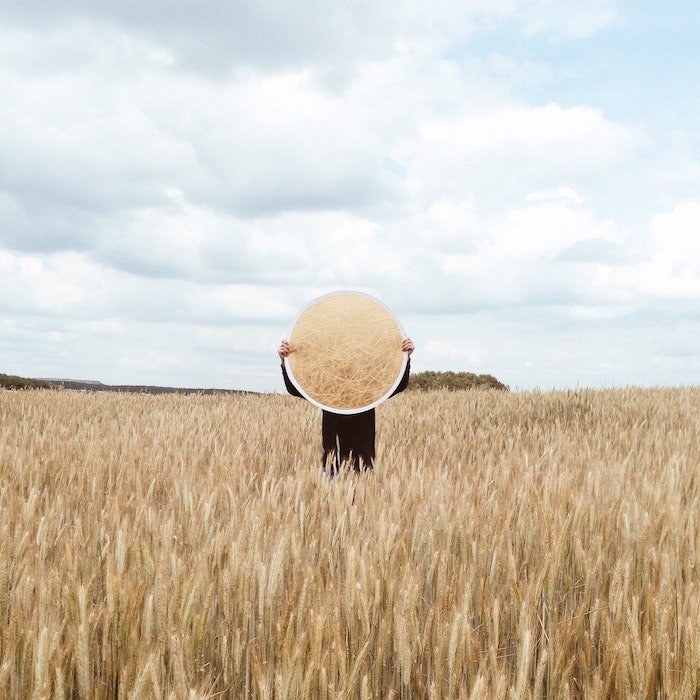
DIY Light Reflector
Making a DIY light reflector is a simple way to improve your photography lighting. All you need is some foam board or cardboard, scissors, tape, and, as an option, aluminum or golden tin foil.
First, decide on the size of your reflector based on your subject and the amount of light you want to reflect.
Cut the reflector to size and attach white paper or foil using tape. If using foil, wrap it tightly around the board and secure it with strong tape on the back. Use the dull side of the foil for a more diffused reflection.
To set up your reflector, use bulldog clips on smaller reflectors to create stands or prop larger ones against tripods or other objects. Experiment with different angles to achieve the desired lighting effect on your subject.
With a DIY light reflector, you can easily improve your photo lighting without expensive equipment.
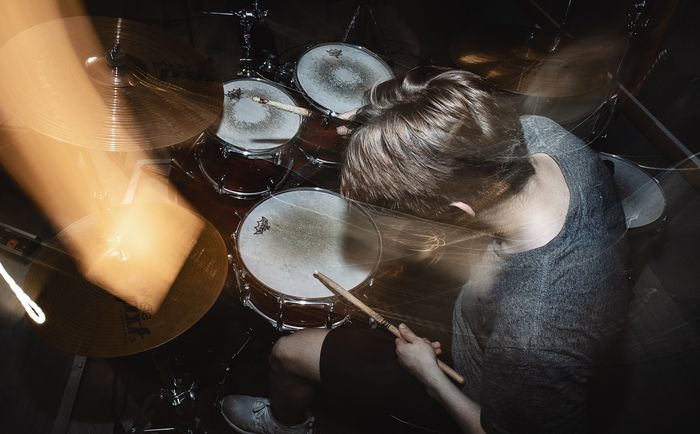
Slow-Sync Flash
Slow-sync flash is a creative technique for capturing stunning low-light photos. It involves using a slower shutter speed combined with a flash. This setup lets you freeze motion while capturing ambient light trails in the background.
You need a camera with manual controls and a flash to use slow-sync flash. Set a slow shutter speed. Then, choose either the first curtain sync (the flash fires at the beginning of the exposure) or the second (the flash fires at the end).
The first curtain sync makes light trails appear in front of your subject. The second curtain sync places them behind.
Mastering slow sync flash requires experimentation, but the results are worth it. You can capture unique images with a strong sense of motion and beautiful background detail.
Our in-depth guide covers everything you need to know about slow-sync flash photography.
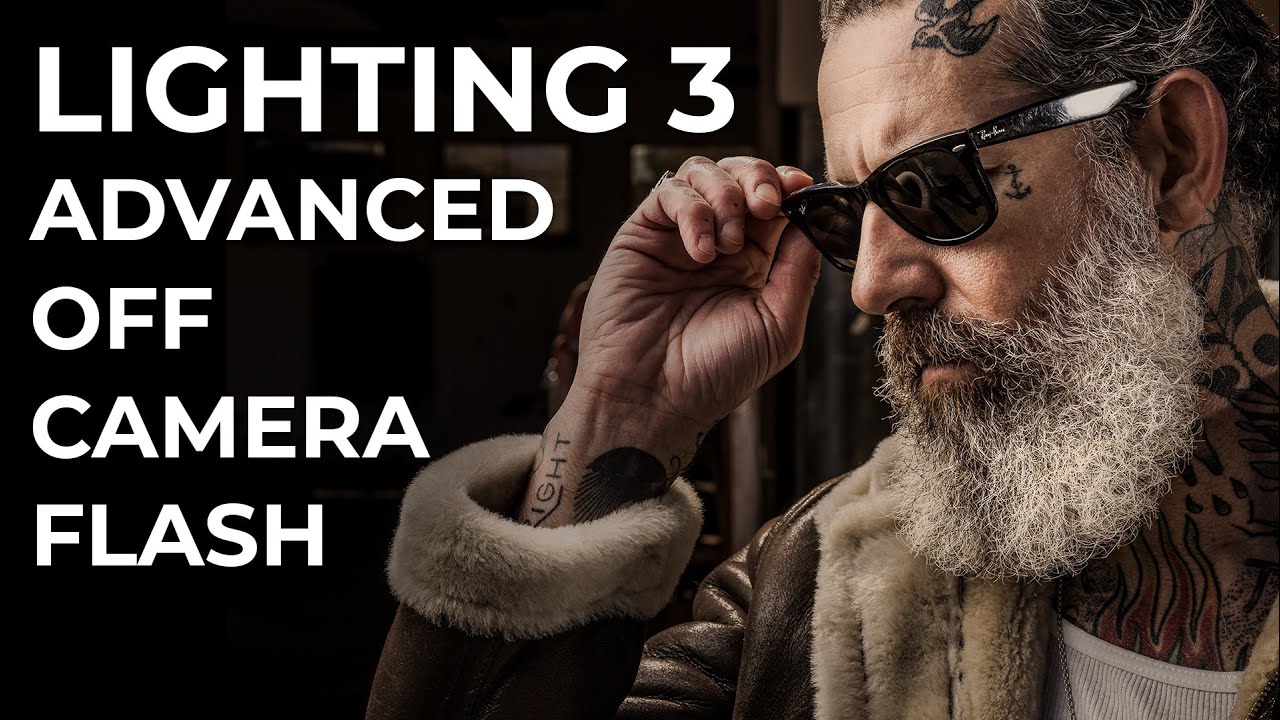
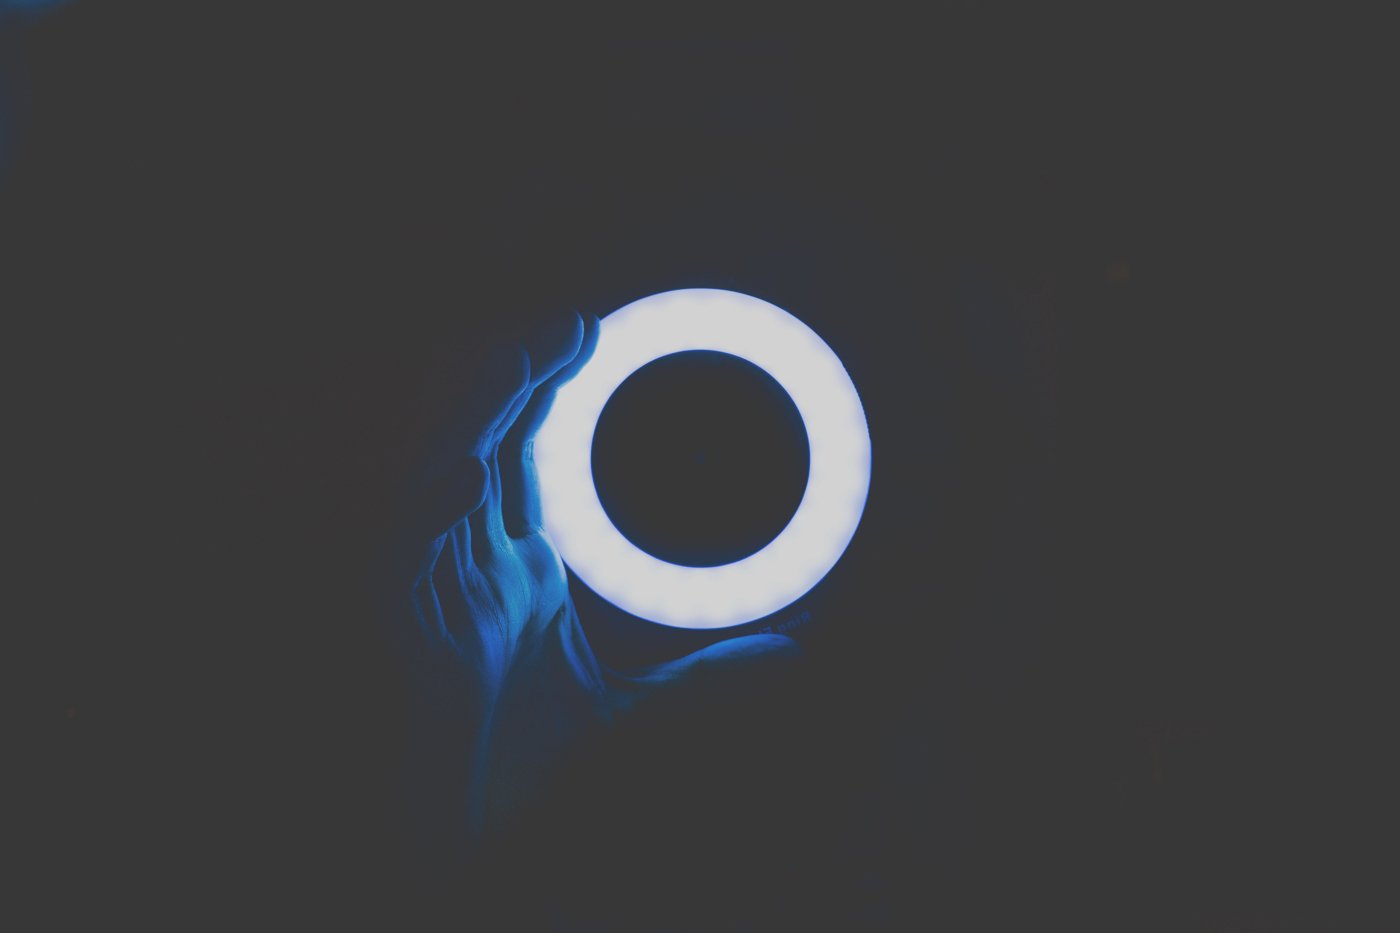
Ring Flash
A ring flash is a versatile lighting tool that can improve your photography. It fits around your lens and provides even 360-degree lighting on your subject. This setup reduces harsh shadows and creates a unique catchlight in the subject’s eyes.
Ring flashes are popular for macro, portrait, fashion, food, and underwater photography. They allow you to keep your ISO low and shutter speed fast, even when shooting close-up subjects.
In complex lighting setups, a ring flash can be used as a key or fill light. Many ring flash options are available, from dedicated units to adapters that work with your existing flash. Prices range from budget-friendly to professional-grade.
Our full article is the perfect starting point for those interested in ring flash lighting.
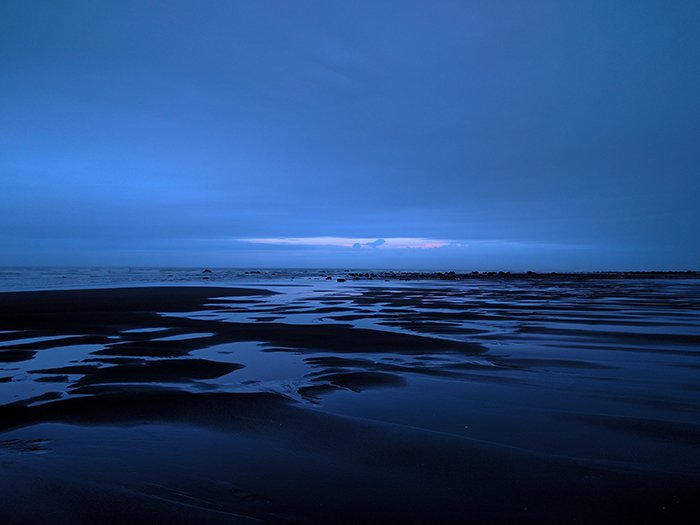
Natural Light
Natural light is the best light for photography. It’s free and available any time of day. The key is knowing how to work with different types of natural light to get the best results.
Direct light is great for emphasizing textures and creating dramatic shadows. Sidelight creates a moody, atmospheric look perfect for portraits, food, and still-life photography.
Soft light from cloudy days is even and balanced, making it a photographer’s best friend. Backlight is when the light source is directly behind your subject. It can create dramatic silhouettes or dreamy sun flares.
Golden hour light is before sunset and after sunrise. It’s soft and warm, allowing you to shoot from any angle. By using natural light techniques like these, you can take your photography to the next level.
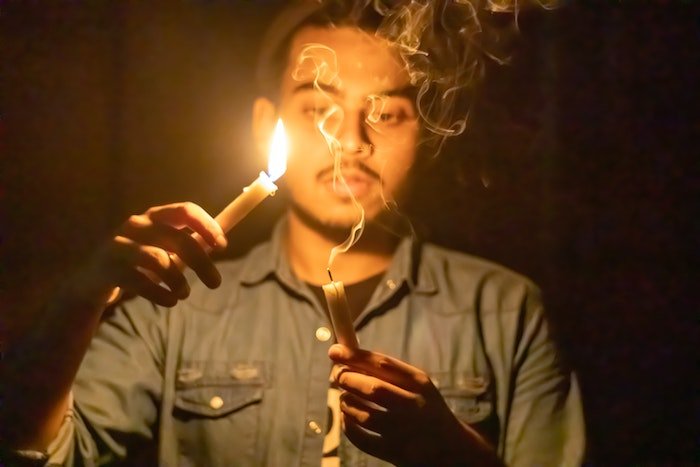
Candlelight
Candlelight photography creates a soft, warm glow that evokes emotion in your images. Use a tripod and adjust your camera settings for the low light to capture the best shots.
A wide aperture lens, like a 50mm f/1.8 prime, will let in more light and create a shallow depth of field that complements the soft candlelight.
Position your subject carefully and check the entire frame before shooting. You can use extra candles to add background light or reflectors to bounce light back onto your subject and define their outline in the dim setting.
Meter the light based on your subject. And experiment with their positioning to find the most flattering shadows.
Candlelight photos offer many creative possibilities. It includes everything from barely visible subjects emerging from darkness to subtly lit shadows. Candlelight photography is a great way to create unique, atmospheric images.
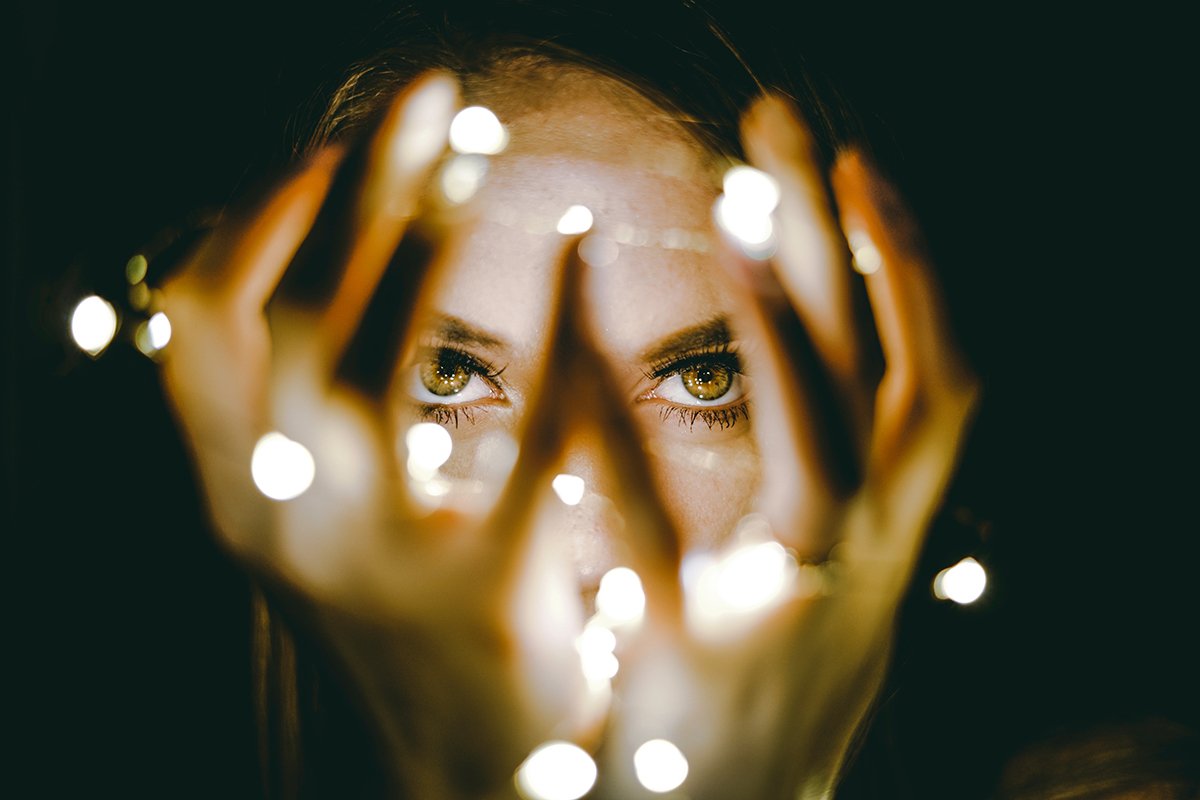
Fairy Lights
Fairy light photography is a fun way to take eye-catching photos while improving your lighting skills. You can use fairy lights to create dreamy self-portraits at home or stunning background bokeh with colored lights.
White string lights are perfect for glowing portraits in the dark. Cover part of your lens with the lights to add a gorgeous foreground to your shots. You can also use a long exposure to capture surreal photos of moving light.
Combine a clear umbrella with fairy lights for moody photos, or turn a kerosene lamp into a unique light holder. Fairy light photography lets you get creative and express yourself.
To learn more about fairy light photography, check out our in-depth guide.
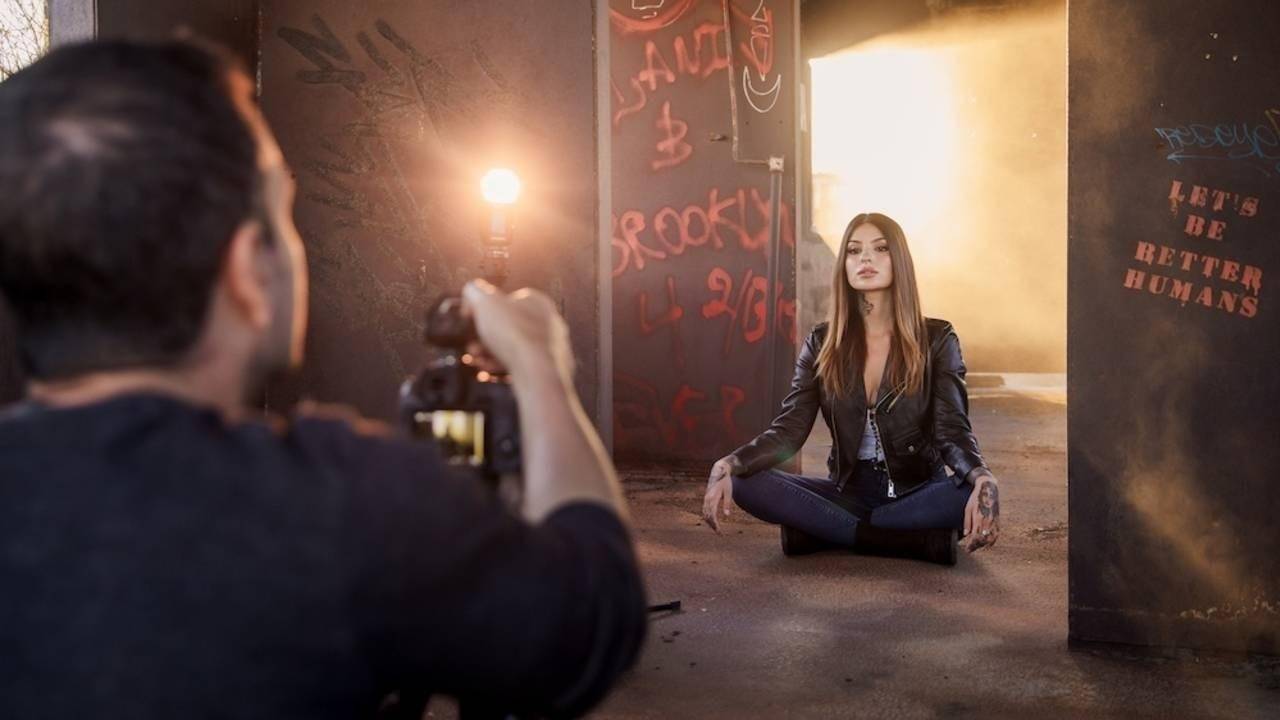
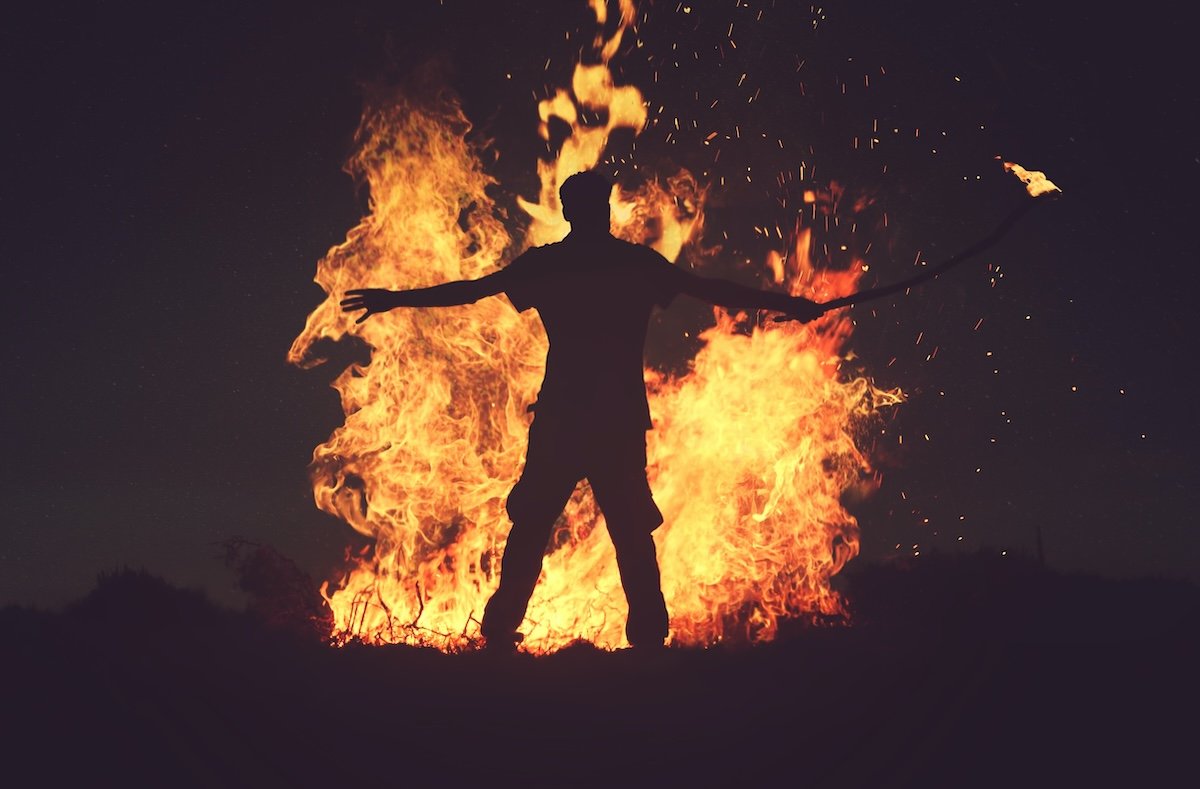
Fire Light
Fire photography is an exciting genre that lets you capture powerful images of flames, sparks, and glowing subjects. To take the best fire photos, use a narrow aperture like f/8 for sharp details or a slow shutter speed to show movement.
You can also use fire as a creative light source for portraits. But always prioritize safety when working with fire. Shoot in a spacious area away from flammable objects, keep your models safe, and have a fire extinguisher nearby.
You can capture friendly bonfire atmospheres, mysterious silhouettes, and beautiful bokeh. You can even recreate light leaks with the right techniques.
Fire photography encourages you to master your camera settings and think quickly. You can explore endless creative possibilities. Our article is a must-read if you want to learn more about capturing stunning fire photos safely and creatively.
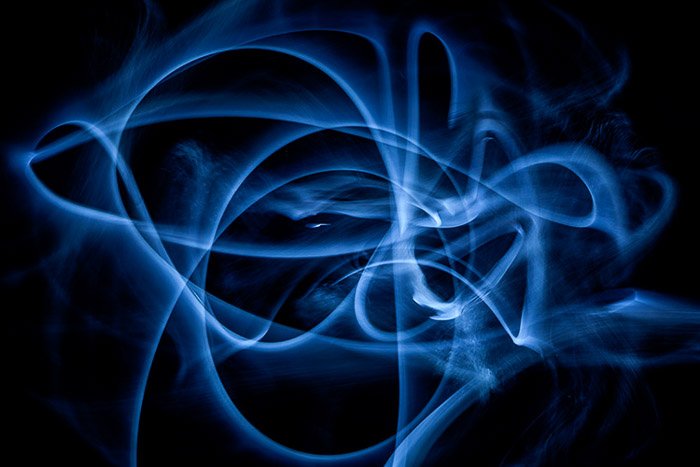
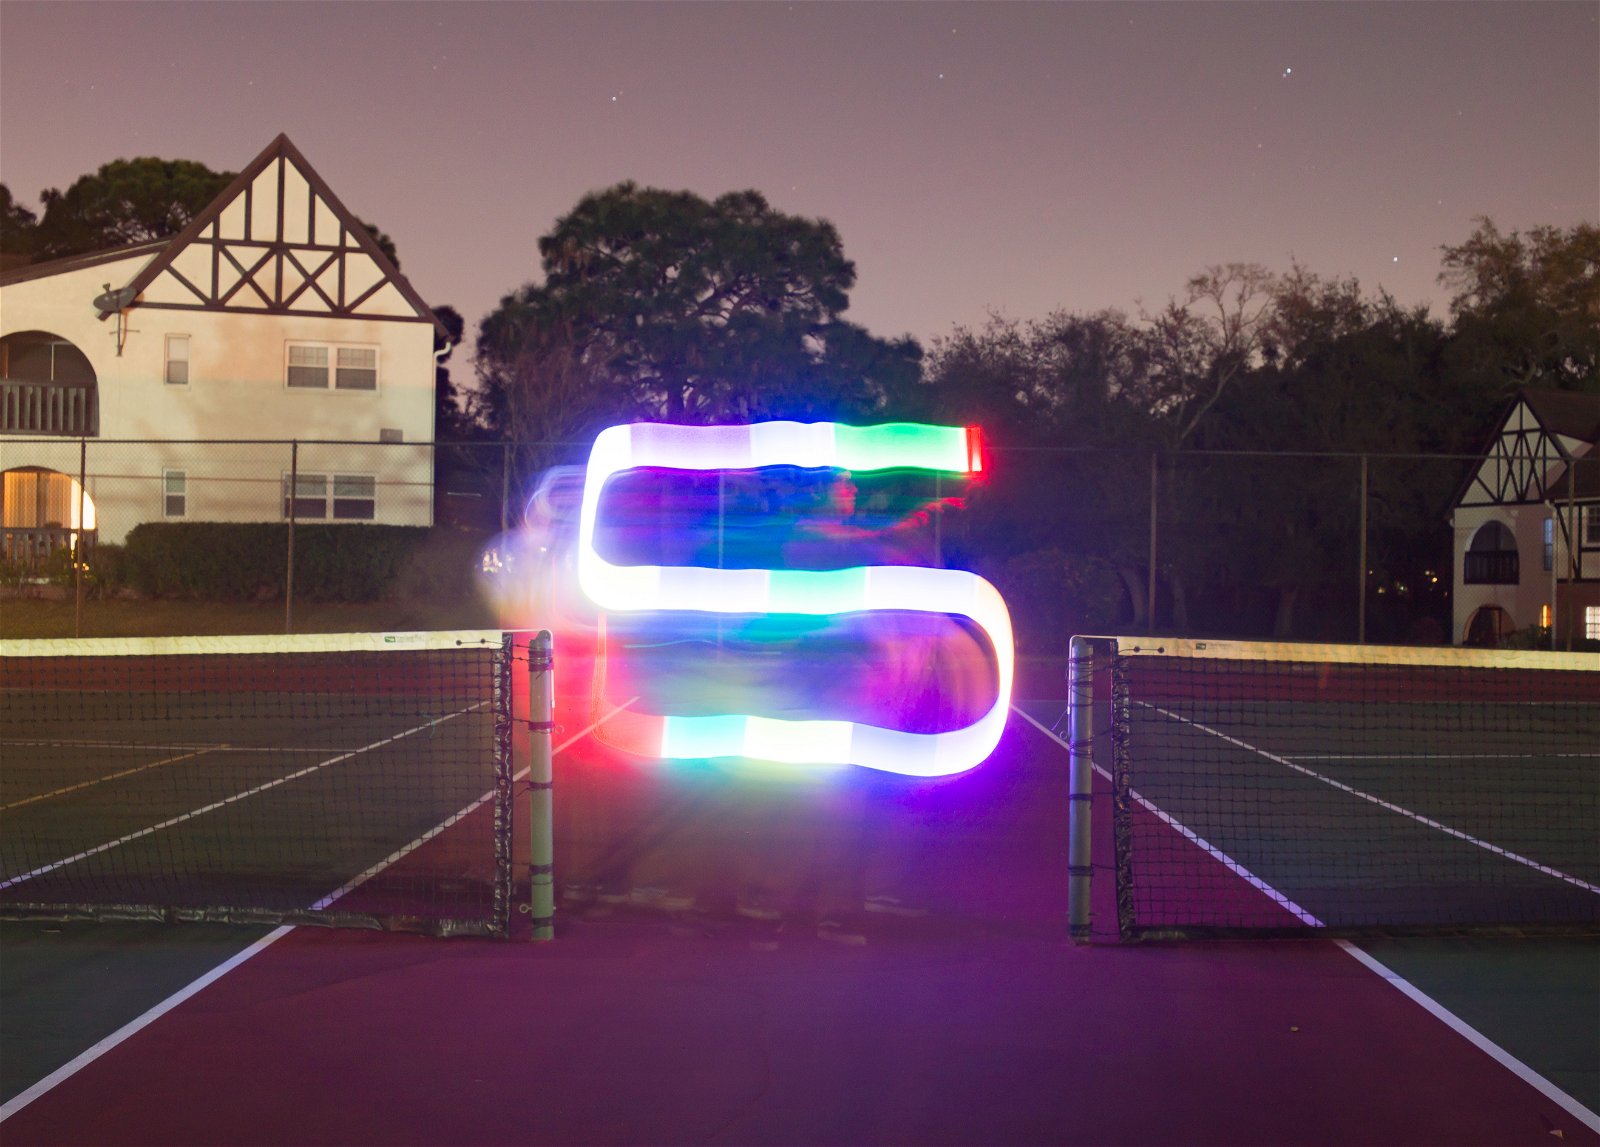
Light Sticks
Light stick photography is a fun and easy way to add flair to your photos. Use a light stick to create interesting patterns and designs by drawing in the air during a long exposure.
LED light sticks are a popular choice for light painting. They come in many colors and use less power than flashlights. Experiment with different light sources to make your images unique.
To begin with, you need a camera, tripod, remote, and portable lights. Set up in a dark location and use manual settings. Focus the camera, then start painting with the light off. Turn it on when you hear the shutter open, and turn it off before it closes.
Light painting is experimental, so try writing words, making abstract shapes, or adding color with gels. Basic edits like exposure, contrast, and noise reduction can improve light painting photos.
Read the full post if you’d like to learn more about light stick photography.
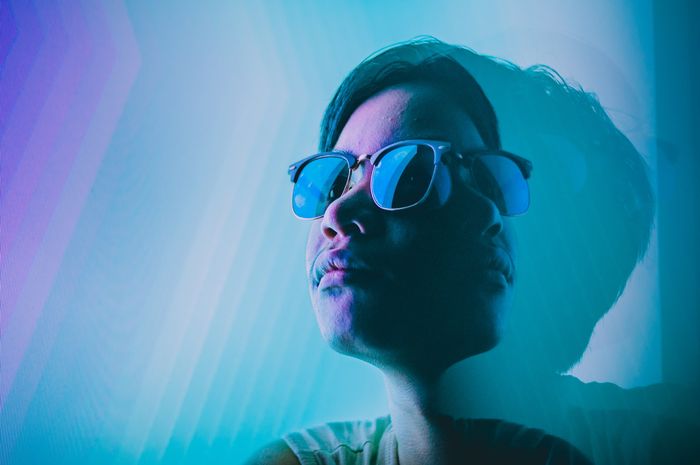
Prism
Prism photography is a fun way to add creative effects to your photos without Photoshop. Prisms can bend light to create rainbow colors, dreamy looks, and reflections in your images. They’re also affordable and fit in almost any camera bag.
You only need a triangular glass prism and a camera to get started. Place the prism close to your lens and slowly move it around to see the different effects you can create. Use manual focus and Live View to avoid focusing issues caused by the prism.
Experiment with placing the prism’s edge towards the camera for rainbow effects. Or, use reflections to create mirror images and doubles. With the prism, you can add extra light to your photos or hide unwanted background elements.
You can even blend objects or create kaleidoscope effects with trial and error. Prism photography is a playful way to make unique images.
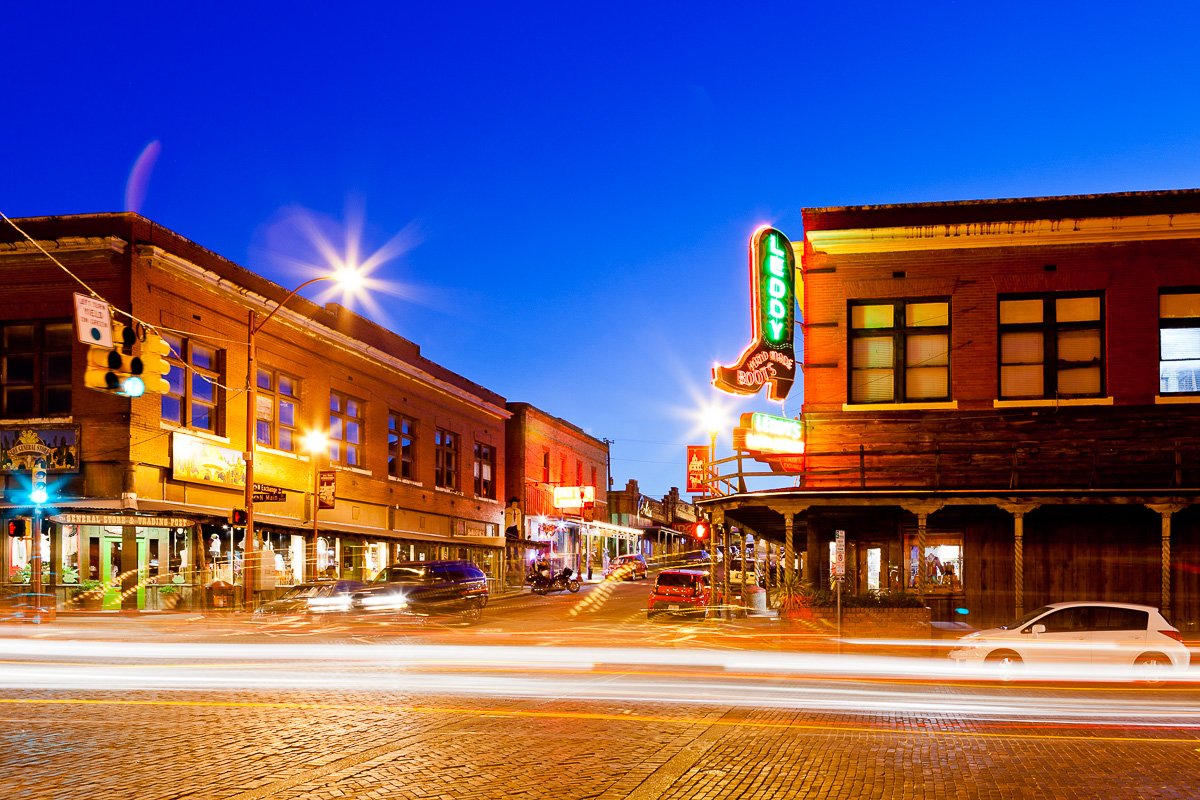
Starburst
You need a small aperture, like f/11 to f/22, to create a starburst effect in your photos. This setting closes the blades inside your lens. It creates a small opening that diffracts light from the sun or other bright sources, resulting in a starburst look.
During the day, partially cover the sun with an object like a tree or building to avoid overexposure. At night, street lamps work well without needing to be covered. Use a tripod and low ISO to minimize noise in low light.
Experiment with different aperture sizes and compositions to create the perfect starburst effect. Use Lightroom’s “whites” or “recovery” slider in post-processing to bring back detail in overexposed areas.
Starburst effects are a simple way to add visual interest to your photos.
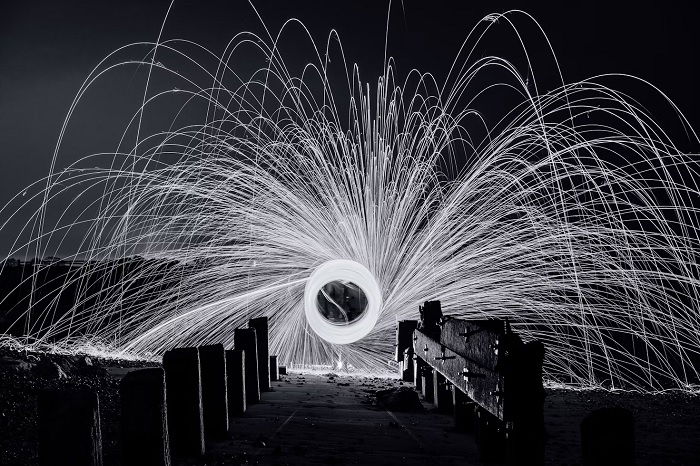
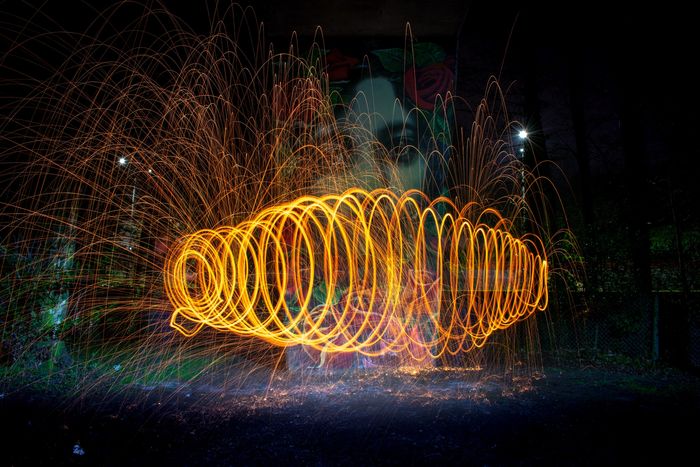
Sparks
Steel wool photography creates stunning images with flying sparks. You’ll need a camera, tripod, shutter release cable, steel wool, string, a metal whisk, lighter, and protective gear. Choose a safe location away from flammable materials.
Pack grade 000 or 0000 steel wool into a metal whisk attached to a 1-1.5m string. Wear gloves, a hat, and safety glasses. Set your camera to manual mode with a small aperture, low ISO, and a 5- to 20-second shutter speed.
Light the steel wool and start spinning as you press the shutter button. Try different spinning techniques, such as vertical, horizontal, or walking, for unique effects.
Steel wool photography is a creative way to capture incredible images with simple tools.
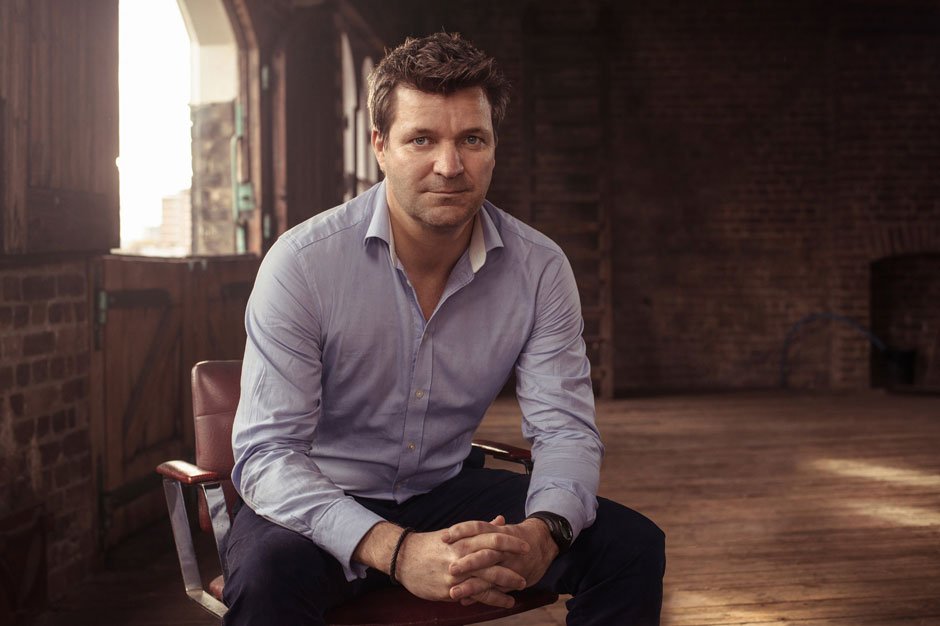
Loop Lighting
Loop lighting is a popular portrait technique that creates a small shadow of the subject’s nose on their cheek.
To achieve this effect, position the light source slightly above eye level and angle it down to create the desired shadow size. The ideal angle is around 45 degrees.
Move the light until the nose shadow is just about right—not too large or fused with the cheek shadow. If the light is too high, you’ll lose the catchlights in the subject’s eyes, resulting in a lifeless image.
Loop lighting tends to flatter most faces, making it a go-to choice for many portrait photographers. Explore our in-depth guide to learn more about loop lighting and how to master this technique.