Film photography remains quite popular even as supplies dwindle. These days, there are fewer film stocks available, fewer stores selling them, and fewer photo labs processing them. That is why it’s essential that you learn how to develop film yourself.
Thankfully, you can easily get cheap photo processing materials online and develop film at home. You can get by with just the developing chemicals, a developing tank, and a few kitchen items.
In this article, we will show you exactly how to develop film at home.
What You Need to Develop Film at Home
You will be surprised to find out how convenient it is to process your images yourself. In this tutorial, we will be using the C-41 developing process which is commonly used for widely available color film. It has a few differences from processing black and white film but once you become familiar with it, learning how to develop black and white is going to be easy.
The standard C-41 kit comes with a developer, Blix (a.k.a. Bleach fix) A and B, a stabiliser, and that’s it! Just make sure the film canister you are using is labelled C-41 as well, or you might end up ruining your photos.
You will also need four amber bottles. Label each one Developer, Blix, Stabiliser, and Hot Water. It would be best if you used dark bottles to prevent light from making the chemicals go bad. However, you can store them in regular bottles (yes, even soda bottles) as long as you keep them inside a dark storage room.
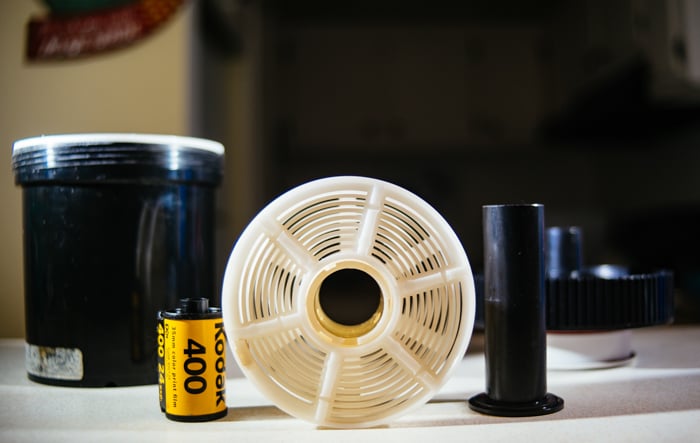
To handle the chemicals, you will need a graduated pitcher that can hold up to a gallon of liquid, a funnel, a pair of gloves, tongs, and an industrial thermometer. To develop your film reel, you will need an exposed film and a developing tank. You will also need a few extra accessories such as a scanner for digitising and viewing your photos.
Finally, you can use your smartphone to download a multi-timer app to help you stay on top of the developing times.
1. Loading The Film
The most challenging part of processing your own film is loading it into the tank in complete darkness. Make sure to practice the next few steps before actually doing it.
Ideally, loading the film into the spool should be done in a darkroom or by using a film-changing bag. But you can also do it in a dark room, such as a bathroom or closet. To make sure stray light does not ruin your film, you can do it at night with all the lights turned off. For added security, cover your door and any other gaps with towels.
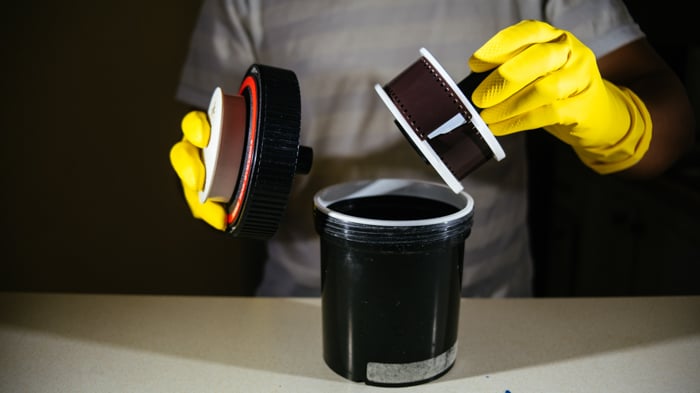
Once your room’s ready, place your film, scissors, and developing tank on a flat surface. Next, unscrew the tank’s lid and take out the spool and the tube inside. Remember where you put all of them because you will need to do the following steps in a completely dark room.
Switch off the lights. Take your spool and feel for the two arrows on each side. Once you locate them, start feeding the film leader into the spool until you hear the film sprocket holes click into place. Twist the spool back and forth and keep going until you reach the end of the film. Then, grab your scissors and cut off the film clips from the canister.
Once you finish, push the tube through the hole in the middle of the spool and put it inside the developing tank. Once the spool is in, screw the lid back on, and that’s it.
2. Mixing The Chemicals
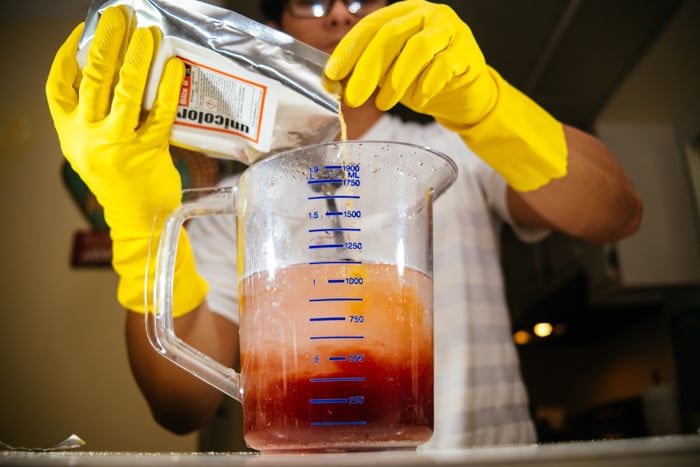
Before mixing the chemicals, you first need to pour 1000 ml of hot water (110°F/43.5°C) into the graduated pitcher. Remember to use a thermometer to make sure you have the right temperature. Once you reach the recommended temperature, add the developer and mix it thoroughly. After mixing, pour the solution into the amber bottle labelled Developer using a funnel.
Now repeat the exact process with Blix A (also 1000 ml at 110°F/43.5°C). Once all the powder from Blix A is in the pitcher, pour Blix B and start mixing. After that, pour it into the bottle labelled Blix.
The final step is pouring the stabiliser into the pitcher filled with 1000 ml of clean tap water (average temperature). Once you finish mixing the solution, transfer it into the bottle labelled Stabiliser.
Although not required, feel free to add hot water (110°F/43.5°C) into the bottle labelled Hot Water because you will need it when ‘pre-soaking’ the film later. To maintain the temperature of the bottles, you can put them in a tub filled with hot water.
3. Developing The Film
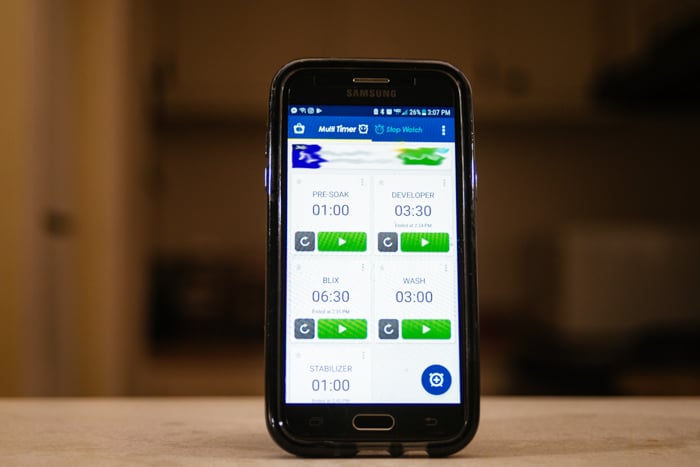
Each step is time-sensitive, so use the multi-timer you downloaded on your smartphone. Set a timer for each step listed below. After setting your timers, you can check the temperatures of the chemicals left in the tub. If they are around 102°F (38.9°C), you are good to go!
Developing Times
- Pre-Soak: 1 minute
- Developer: 3.5 minutes
- Blix: 6.5 minutes
- Wash: 3 minutes
- Stabilizer: ½ to 1 minute
Pre-Soak
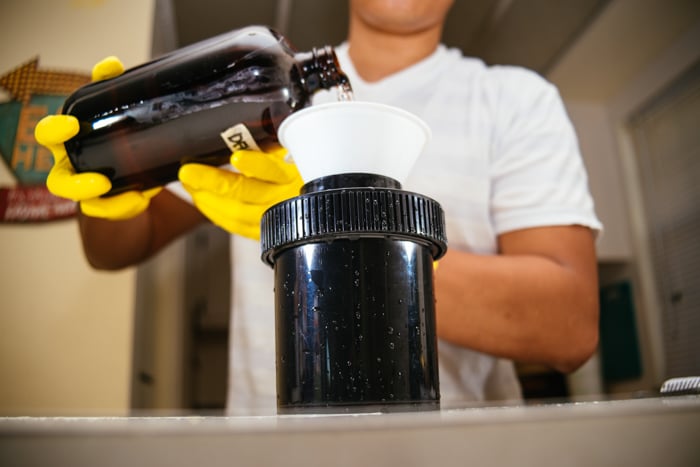
Take the lid off your developing tank, pour some hot water you saved in the amber bottle, and let it sit for one minute. When the time’s up, pour the water out and pour in the developer.
Once you fill the tank with the developer, you can start the timer and agitate the tank for the first ten seconds. Then, flip the tank every 30 seconds until the time’s up. Once the timer goes off, pour the developer out of the tank back into the amber bottle. You can use it (along with the Blix and the stabiliser) to develop seven more rolls of film before it expires.
Blix
Next, do the same process with the Blix. Agitating the tank causes the chemical to go through an endothermic reaction. So open the lid every once in a while to let it vent. Otherwise, the bubbles will cause the liquid to spill.
After mixing in the Blix, pour it out of the tank and back into its bottle. Then, wash the film with running water (95°F – 105°F/35°C – 40.6°C) for three minutes.
Stabilizer
Dump all the water out of the tank. Then pour in the stabiliser to remove all the chemical residue on the film. Agitate it for the first 15 seconds, and let it sit until the time is up.
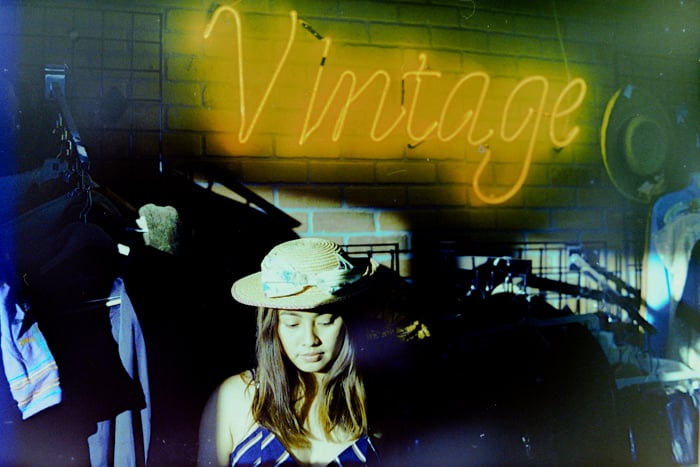
The last step is to remove the lid, take out the spool, and carefully unfurl the film. If you see images, you have successfully developed your film! All you have to do now is cut the film into smaller strips and let it dry.
4. Scanning The Film
Now that you have pictures on your negative, it’s time to digitise them with a scanner. You can use a dedicated scanner, but a regular flatbed scanner will work fine once you outfit it with a negative holder.
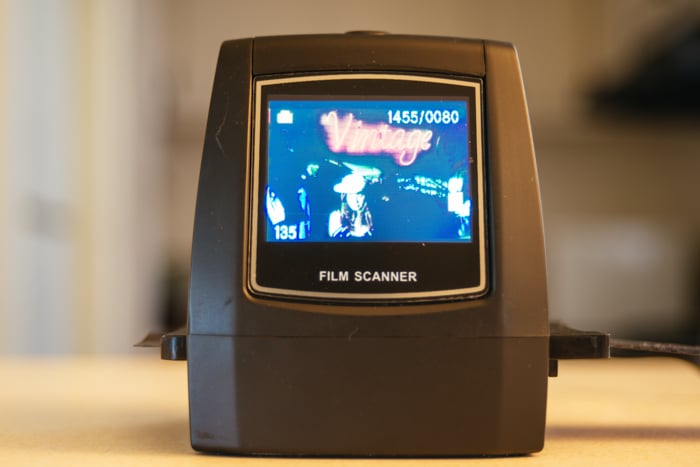
Apart from traditional scanners, you can download negative scanner apps on your phone. Just take a photo of a frame in your negative, and the app will turn the negatives into regular color photos. They are not as good as the real scanners, but they will do the trick if you want to see the results right away.
Conclusion
Working with film cameras and develop film at home may be more difficult than using digital options. But seeing your own photos appear on the negative is still pretty magical especially if it involves beautiful mistakes that digital cameras cannot replicate.
If you follow the above steps, you will learn how to develop film at home in no time.
Learn more complex concepts made simple with our Quick Capture Cheat Sheets!