Are you into film photography and wish you had a darkroom? What if we told you you only need a bathroom (or any room with a sink) to build a DIY darkroom? Our article shows you how to convert your space with just a few simple steps!
What Equipment Do You Need for a DIY Darkroom?
The most crucial element in creating your darkroom is not the location but the equipment. There are tons of tools you can buy for developing and printing film. But the ones below are what you’ll need to get started.
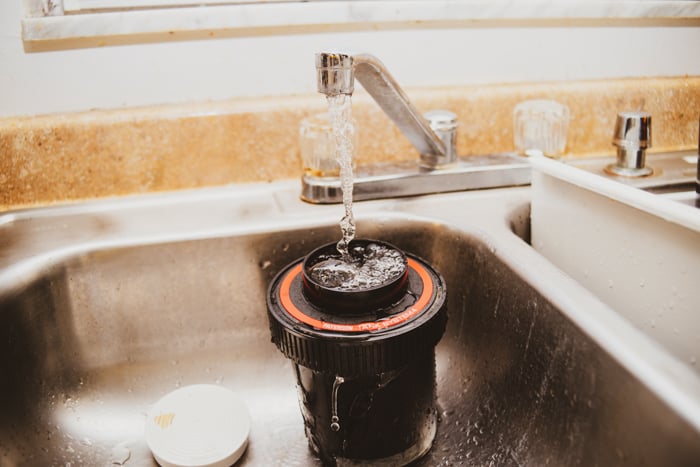
- Developing Tank: This is a leak-proof container where you place your roll of film for development.
- Film-Changing Bag: This lets you transfer the film from the canister to the developing tank without exposure.
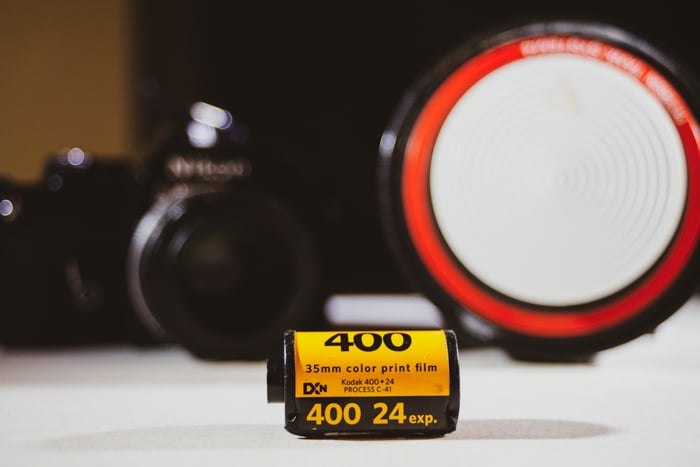
- Film Developing Chemicals: This consists of the chemicals you need for developing your film. The most popular ones are HC-110 for black and white and C-41 for color.
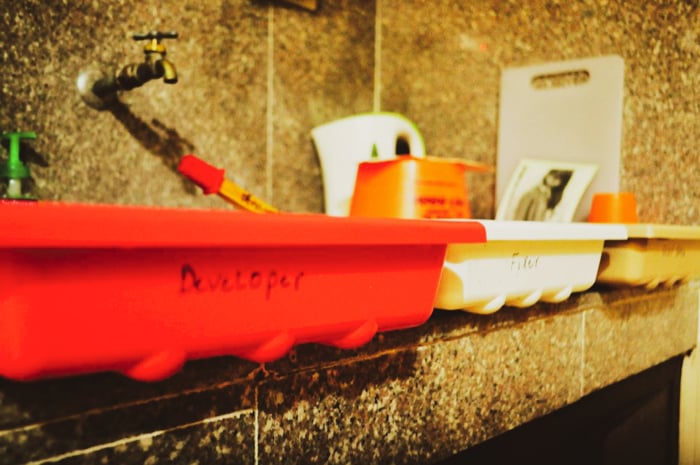
- Developing Trays: These hold the chemicals you need for printing your images. You typically need four for your developer, fixer, stop bath, and water for washing the chemicals off the print.
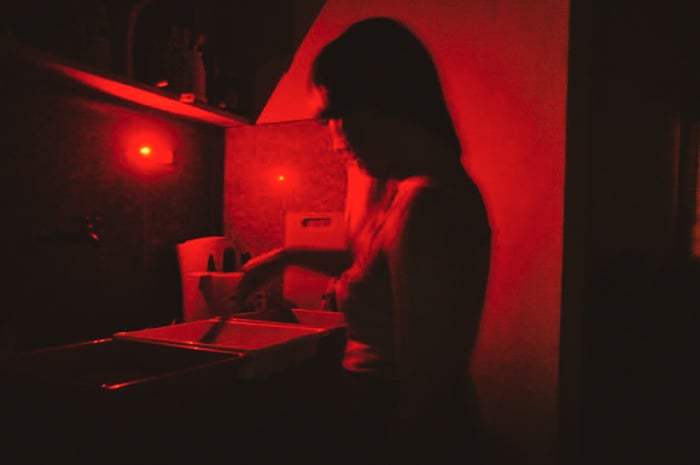
- Safelights These are the red lightbulbs or lamps used in darkrooms. They’re called this because they’re safe around photo paper, which is typically light-sensitive.
- Film Enlarger: This projects the image onto your printing paper to expose it.
- Darkroom Timer: This lets you time your developing process accurately. Find one with three-channel displays.
Of course, you can add a whole lot more to this list. But the equipment above is the bare essentials for film development and printing. There are also decent darkroom developing kits you can buy.
You can also find an enlarger off eBay or your local thrift shop. All the other equipment we mentioned is available on Amazon or photography websites like Adorama or B&H.
Identify a Good Darkroom Location
Your darkroom needs running water, and it must be lightproof. In most instances, the only place in your house that meets those requirements is a bathroom. But of course, you can also use the kitchen or even a laundry room as long as you have the means to lightproof those areas.
Another crucial requirement for your DIY darkroom is a ventilator, which most bathrooms have. Chemical fumes can sometimes be overwhelming, and having air circulation reduces the smell.
Lightproof Your Room
Film is extremely sensitive to light. Even a second of exposure to light could ruin your film. That’s why it’s essential to ensure the room you choose is lightproof, including small gaps between the doors and windows.
So how do you lightproof your room? The first step is to get inside and turn off the light. Stay for several minutes until your eyes adjust to the darkness. Now, look around if you see any light coming in because that’s where the work starts.
Once you figure out the areas where the light is coming in, you need to seal them. You can use black duct tape to cover gaps. And for doors that you can’t tape up, you can stuff them with thick towels instead. This works well, and you can easily remove them if you need to leave the room.
How about windows? You can buy cheap black poster boards and duct tape them to seal the sill. The thickness of the boards should be enough to prevent light from going through. At the same time, they’re light enough to be held up with duct tape.
After sealing the room, turn off the lights again and stay inside for a few minutes. If it’s pitch black, you’ve done a great job lightproofing your DIY darkroom!
Make Sure a Sink Is Easily Accessible
Having running water is critical in developing film. You use it mostly to wash off the chemicals from the film itself or the photo paper. Sometimes, you need to keep the water running for several minutes to make sure your film or paper is free of residues.
It would be best to keep your equipment close to the sink and make sure it’s free from clutter. That way, you don’t stumble into things while you’re in the process of developing film. Being in a darkroom doesn’t make things easier for you when you move around.
You should also ensure not to use hot water from your faucet since it could potentially damage your film. Regular tap water has more or less the proper temperature for developing film properly. But if you have doubts, check it with a thermometer.
Organize Your Darkroom Equipment
Since you’re working in a dimly lit room, you must know exactly where you place every piece of equipment. Some tools like the timer and photo enlarger need electricity, so you must create a dry and wet area for your darkroom.
You can place a table away from the sink for the dry area and set up the enlarger there. Doing so prevents your equipment from getting wet. And it also lessens the chances of getting electrocuted!
You can place your developing trays on the counter next to the sink for the wet area. That way, you can develop your photo paper quicker after exposing it underneath the enlarger.
Install a Safelight to Protect the FIlm
Before processing the film, remove the regular lamp bulbs in your bathroom. Those can easily expose your unprocessed film or photo paper and erase your photos. Install a safelight so you can still see what you’re doing in the darkroom without worrying about ruining your prints.
But remember that the safelight can only be used when developing photo paper. A safelight still affects unprocessed film. So make sure you turn it off completely when you’re loading the film into the film tank.
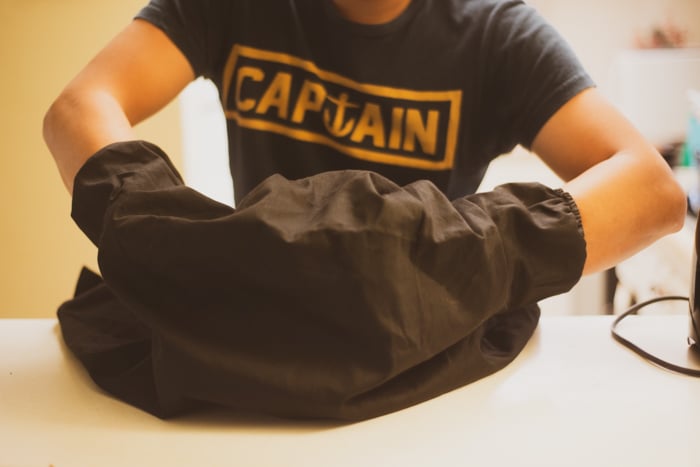
If you don’t want to turn off the safelight, use a film-changing bag instead. You can put the film canister and the developing tank inside and re-spool the unprocessed film. We’ll discuss more regarding changing bags in the next section.
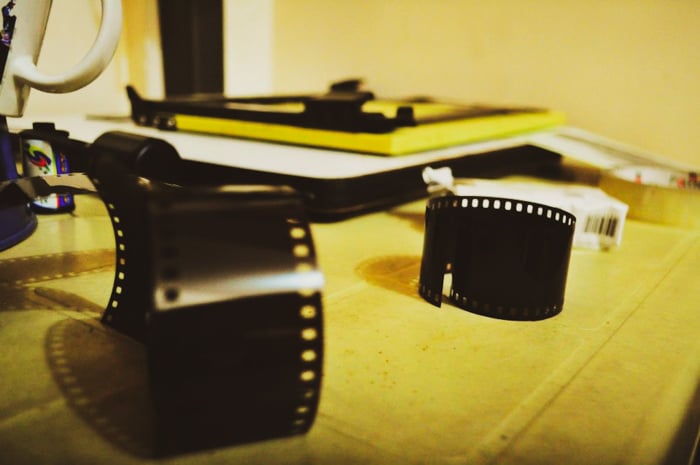
Use a Film-Changing Bag for Best Results
A film-changing bag is what you use when removing the film from the canister and into the spool of the developing tank. And it is arguably the most crucial tool you need for your darkroom. Since it’s lightproof, it won’t ruin your film.
So why should you use a changing bag to load the film if you have a safelight in your darkroom? The quick answer is that film is sensitive to the safelight. So it’s necessary to do the film loading process in the dark—hence the changing bag.
It’s best to place your film canister and developing tank in the bag. You must seal it and slide your arms into the sleeves to transfer the film into the spool.
The potential problem with using a bag is that you won’t see what you’re doing. So, practice loading the film into the spool before you do it with the bag.
Remember that once the film is in the developing tank, you can turn on the safelight and not worry about accidental exposures. The tank is lightproof even if you open the lid to pour in the chemicals, making it safe even in regular light.
Conclusion: Building Your Own DIY Darkroom
As you can see, finding a place to set up a DIY darkroom is not that difficult. In most cases, a bathroom is enough to fulfill your needs. The most difficult part of creating your darkroom is finding the equipment to process your film.
Thankfully, you can find just about anything on the internet these days. You can get all the essentials for less than $200 if you’re patient enough to look for the right pieces of equipment. So don’t be afraid to set up your studio. It’s not as intimidating as you may think.