Creating a mirror image or a reflection can add a unique perspective to your photos, making them more visually appealing. However, achieving this effect might seem challenging if you’re not familiar with photo editing tools like Photoshop. This guide is designed to help you effortlessly mirror an image in Photoshop. Whether you’re a beginner or an experienced designer, you’ll find these easy-to-follow steps handy and effective for creating that perfect mirrored effect. Let’s dive into the process.
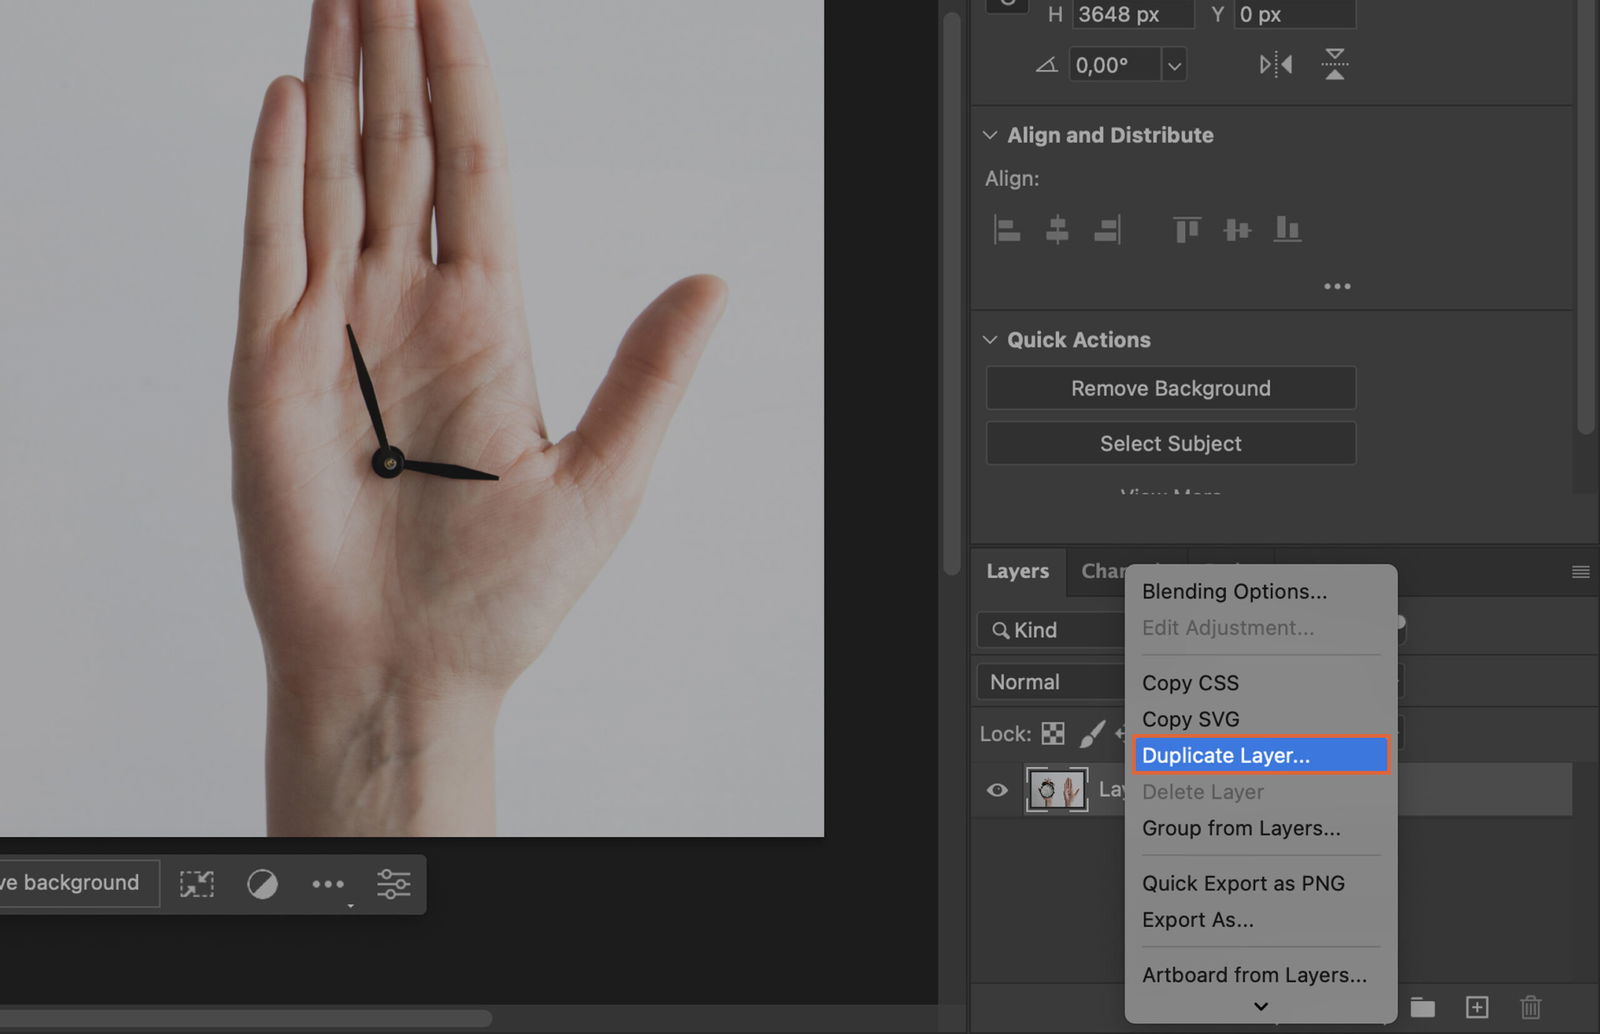
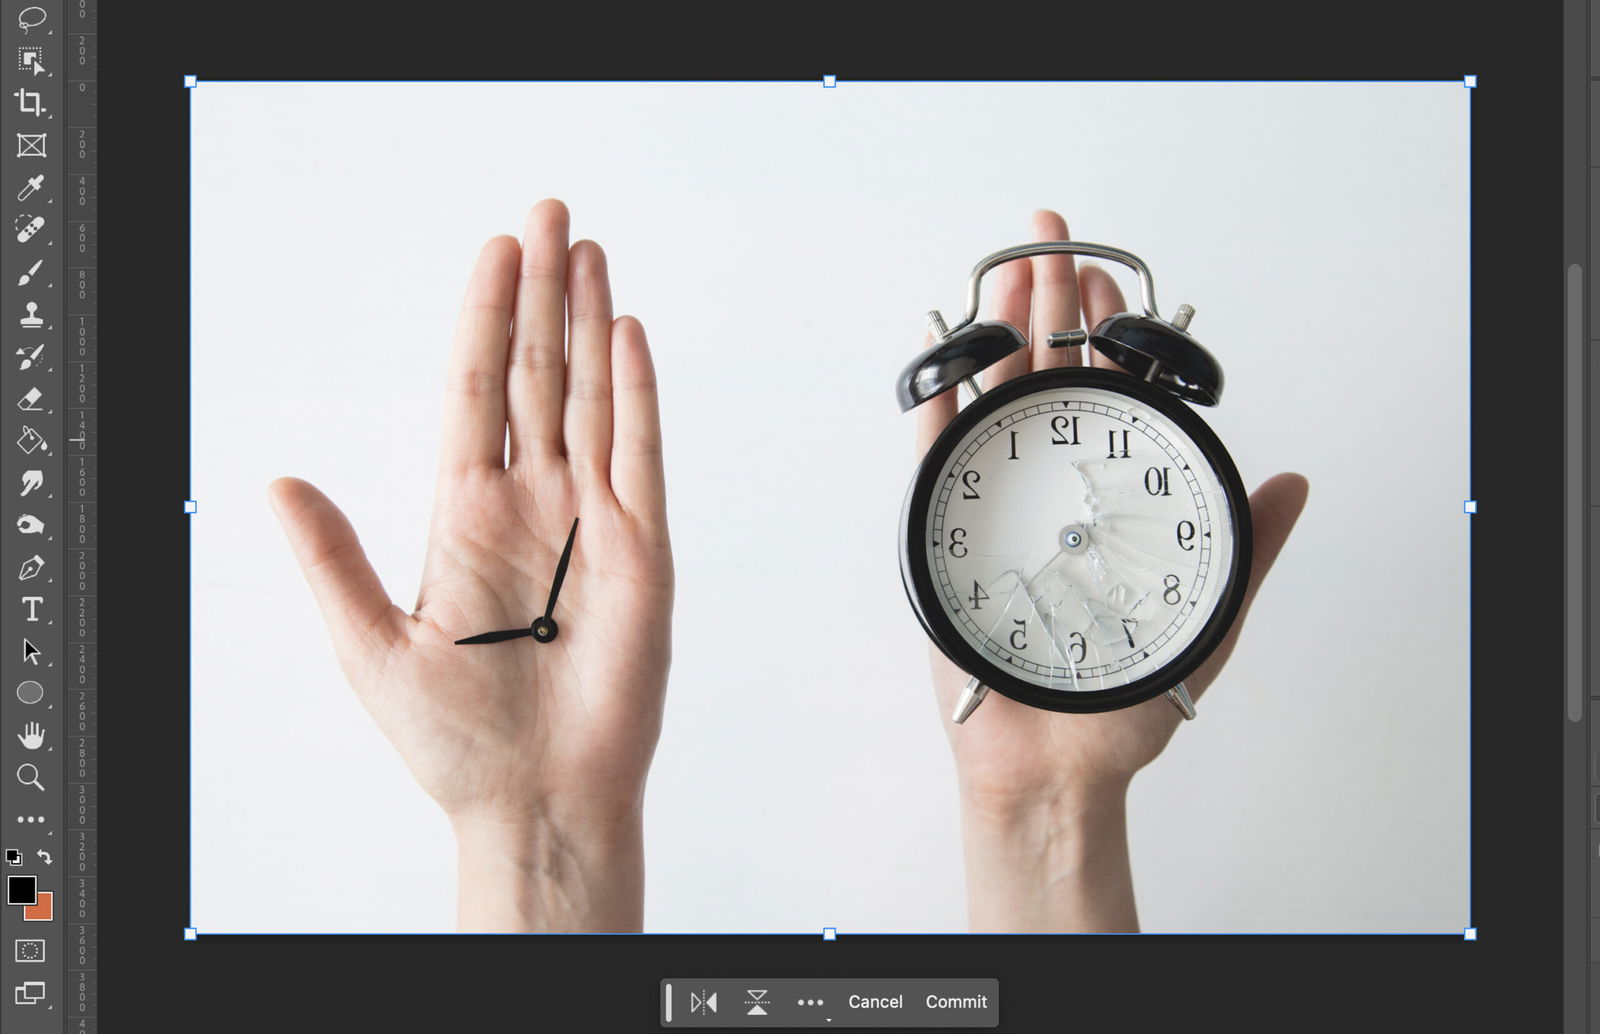
First things first, let’s create a copy of our image layer. This ensures the original stays intact and we can play around with the duplicate. In the Layer Panel, right-click your image layer and select ‘Duplicate Layer’. A new copy of your layer will appear in the Layers Panel.
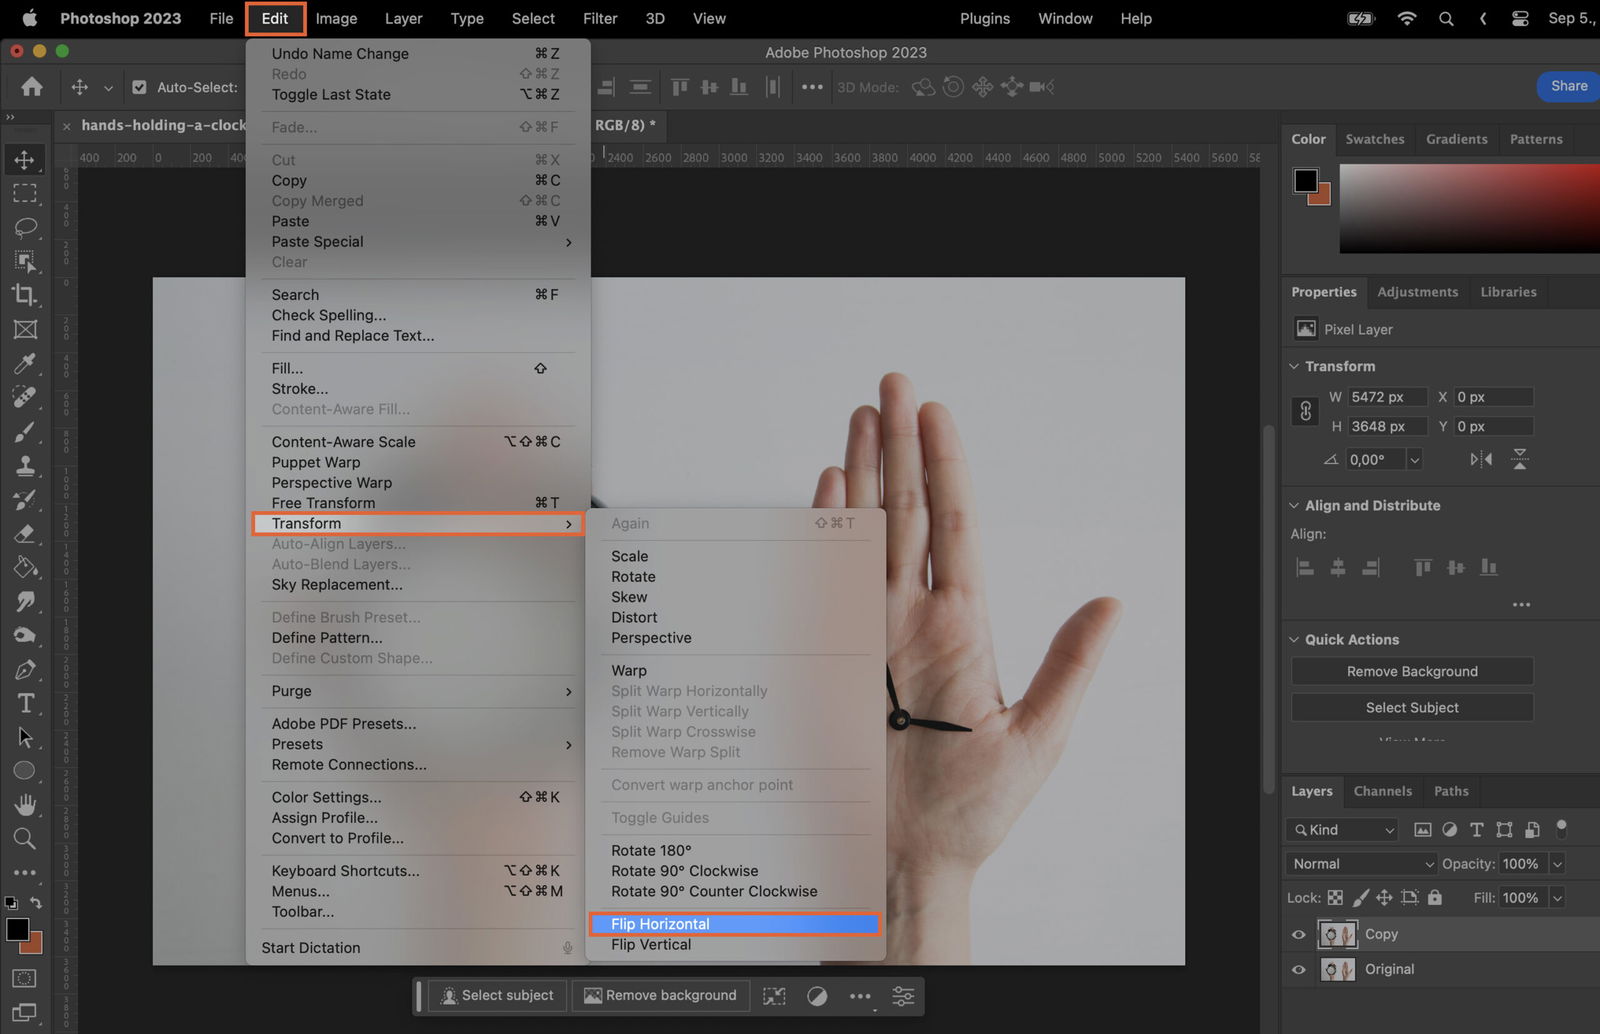
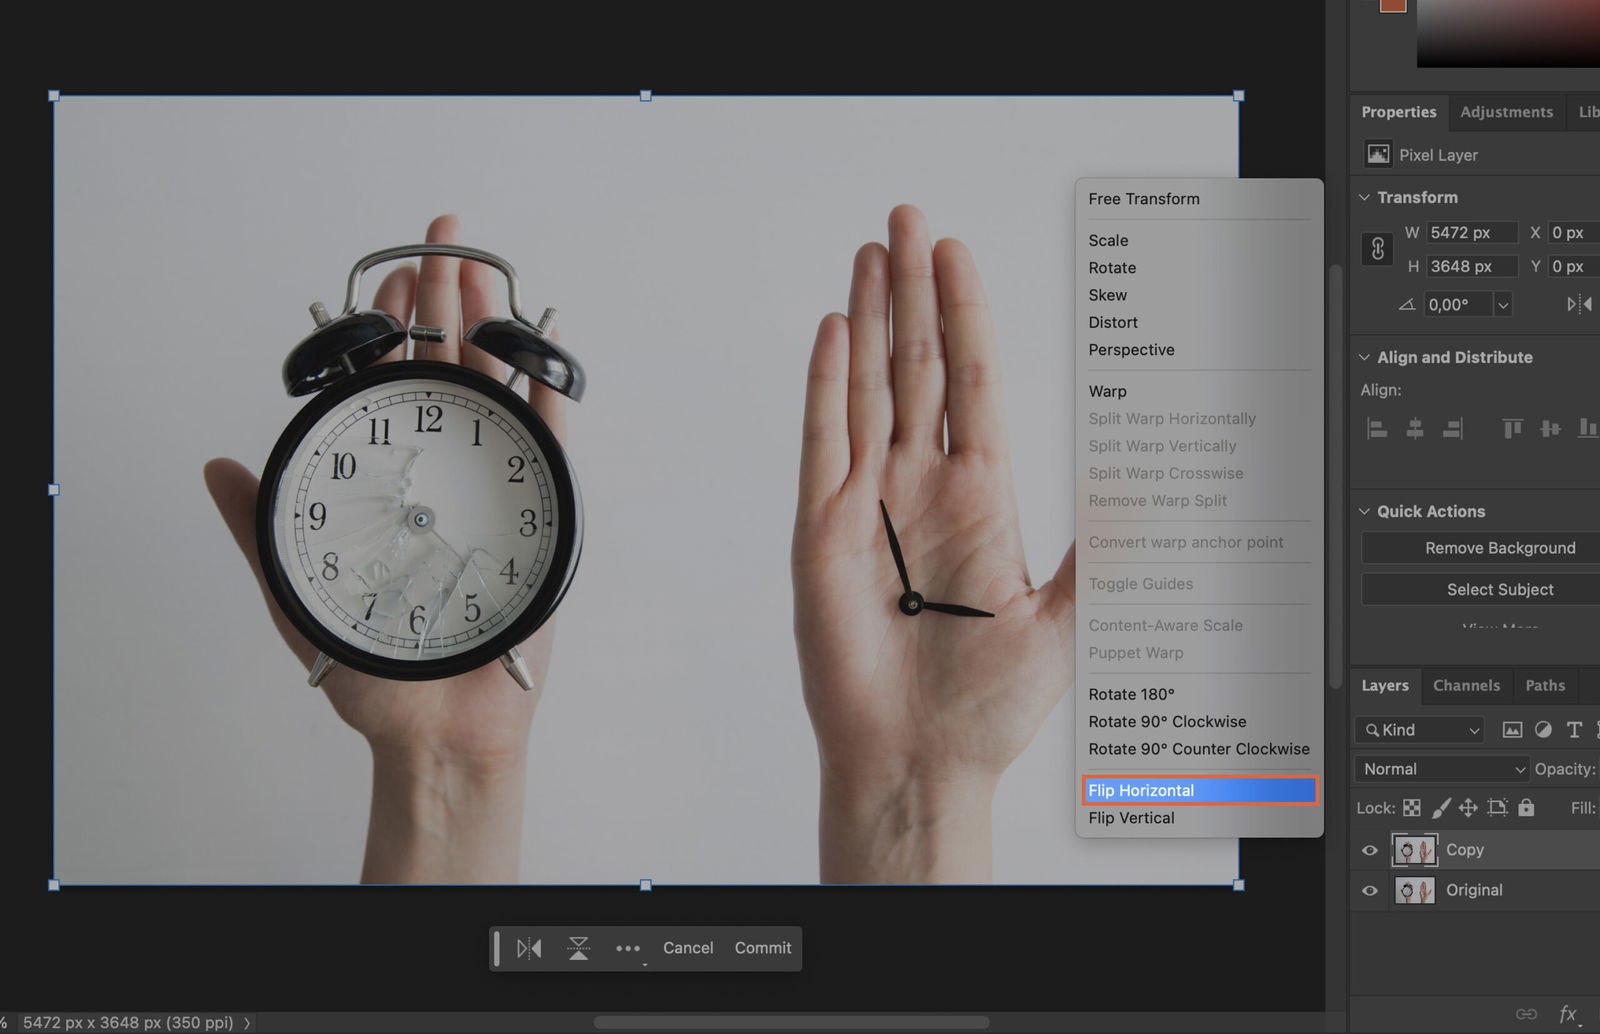
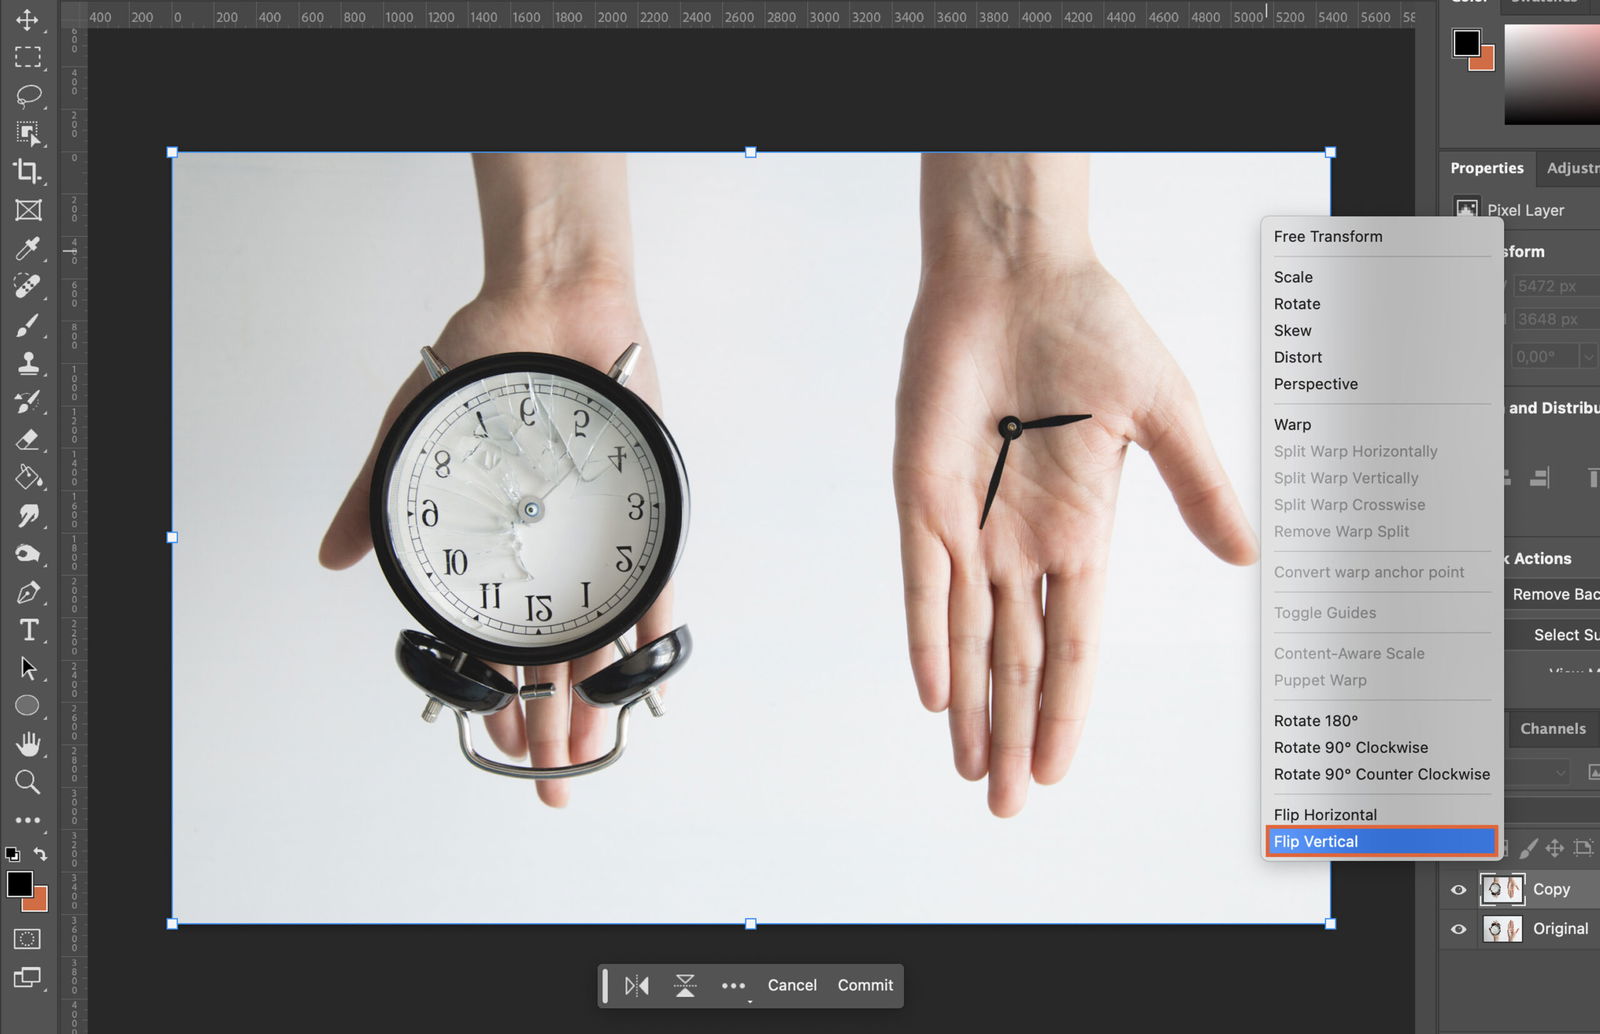
Next, we’ll use the Transform Tool to flip our image.
Go to the ‘Edit’ menu at the top, then choose ‘Transform’ from the dropdown and select ‘Flip Horizontal’ or ‘Flip Vertical’ as per your preference.
For the keyboard savvy, press Ctrl+T (Windows) or Command+T (Mac) to activate the Transform Tool. Right-click within the transform box and select the flip option you want.
Now, let’s flip our image.
Select ‘Flip Horizontal’ to create a mirror image along the vertical axis. The right side becomes the left and vice versa.
If you choose ‘Flip Vertical’, your image is mirrored along the horizontal axis. The top becomes the bottom and the bottom becomes the top.
It’s time to align our images for the perfect mirror effect.
Select the Move Tool from the toolbar (or press V), click and drag the mirrored layer next to the original one.
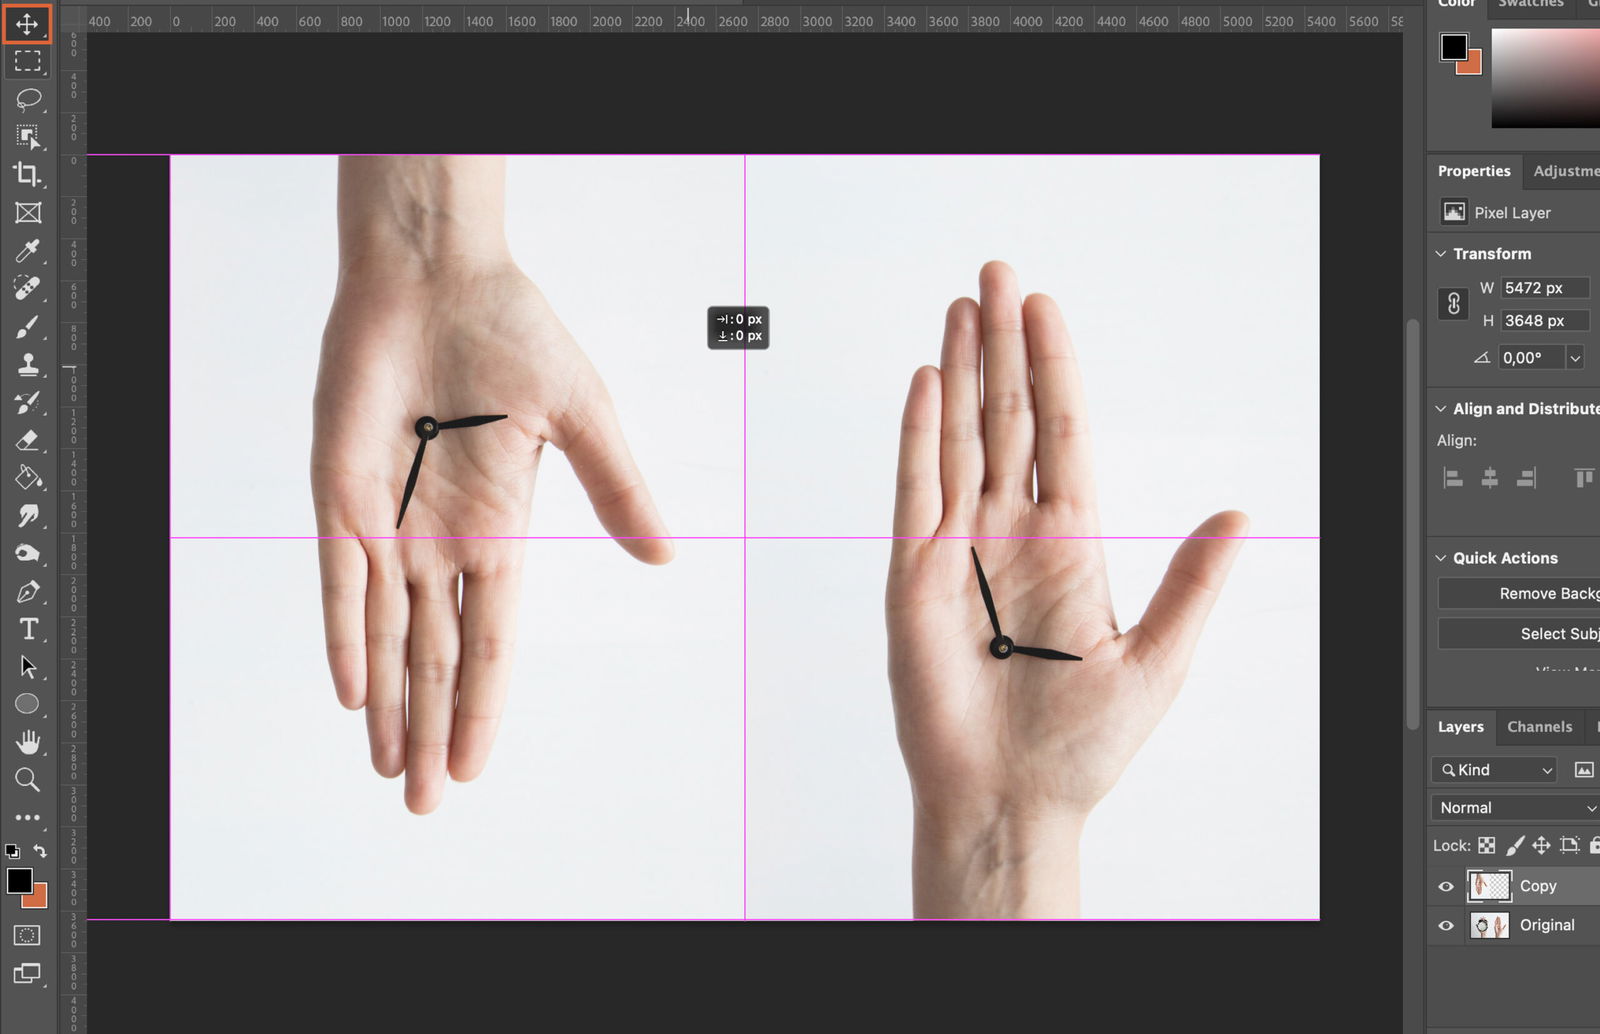
For precision, use arrow keys to nudge the layer pixel by pixel until perfectly aligned.
We’re nearly done. We just need to merge our layers.
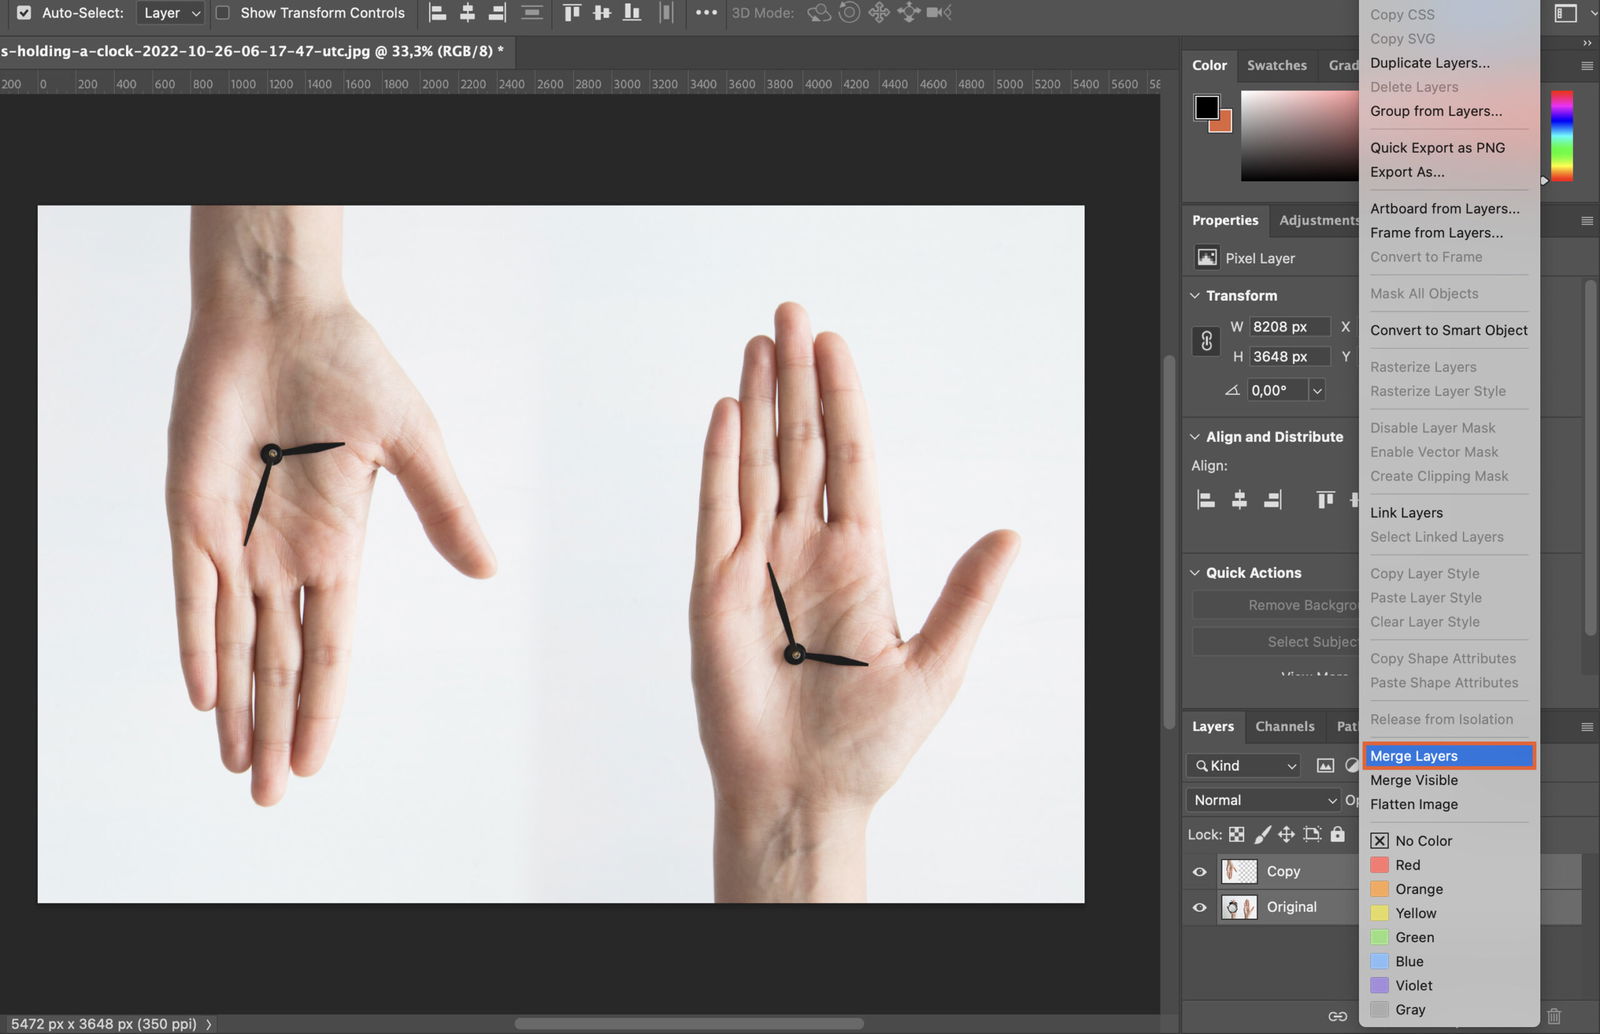
Select both layers in the Layers Panel. Right-click and choose ‘Merge Layers’ to combine them into one.
Alternatively, select both layers, right-click on the image in the workspace and choose ‘Merge Layers’ from the context menu.
Now for the finishing touches.
Go to Image > Adjustments > Brightness/Contrast. Play around with the sliders until you’re happy with the look.

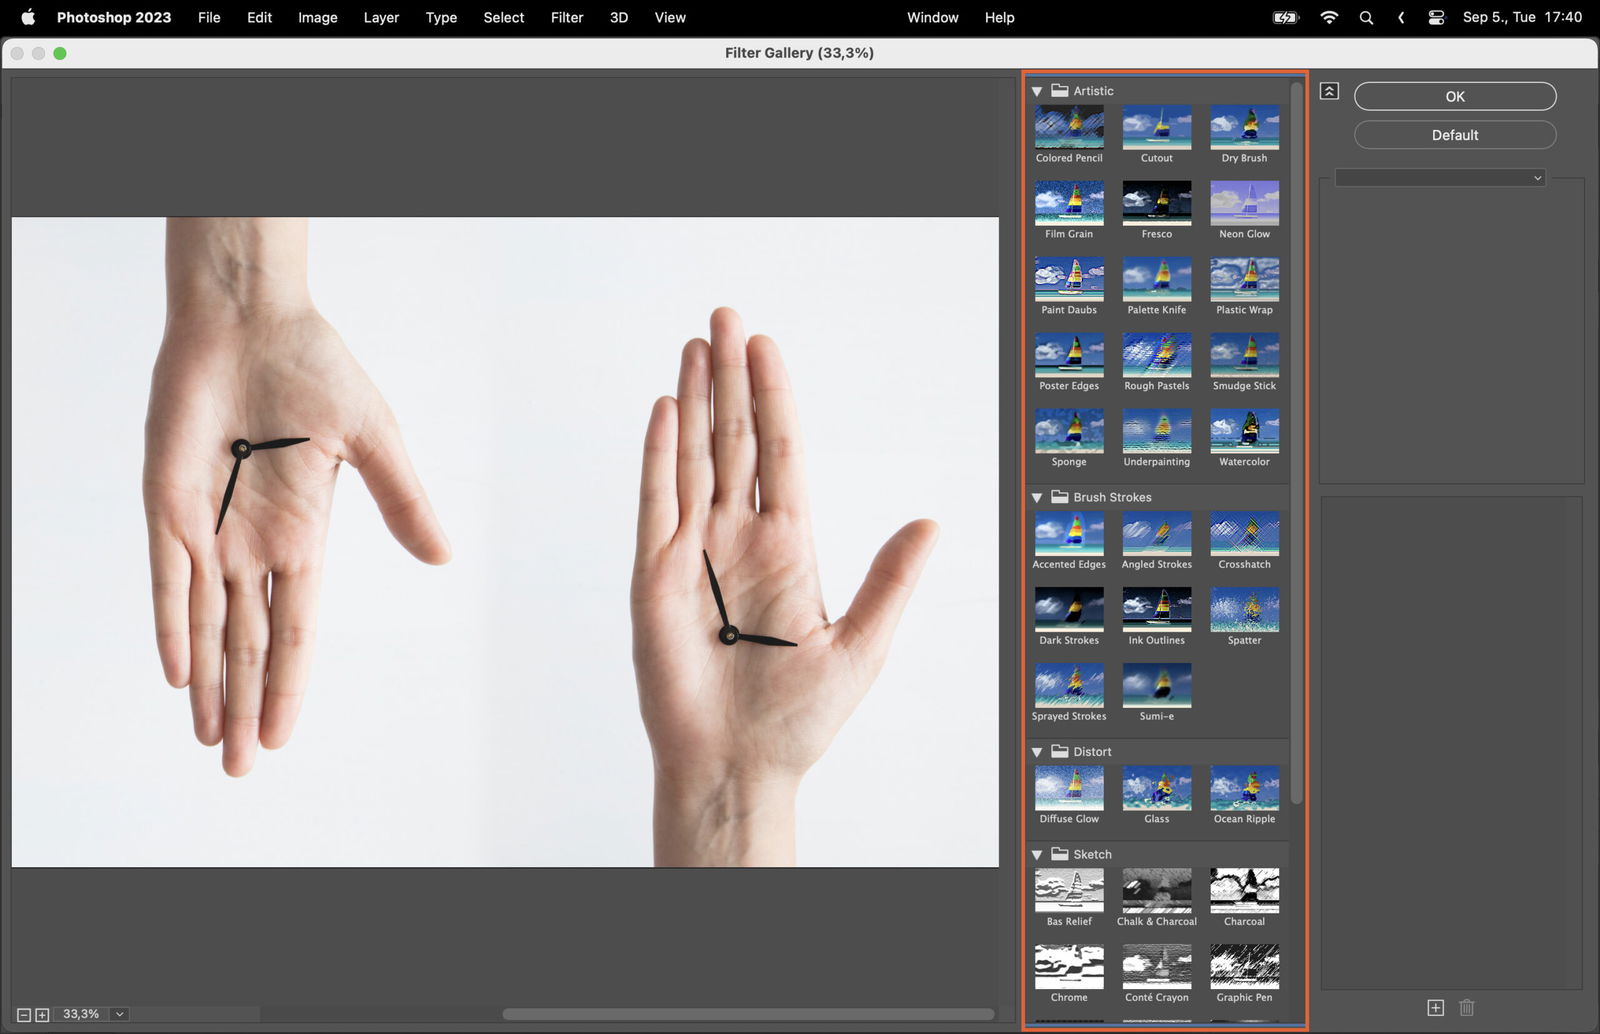
Why not add a filter? Go to Filter > Filter Gallery and choose one that fits your style. And voila, you’ve mirrored an image in Photoshop!