The Lightroom Brush tool is a feature that lets you edit specific regions without affecting the rest of the image. A brush tool feature means we can perform advanced edits inside Adobe Lightroom.
Today, we’ll show you all the benefits of using the Lightroom Brush tool. We will show you how to use it and get the most out of your adjustment brush tool. By the end of this article, you will be ready to create advanced photo edits.
The Adobe Lightroom Brush is a tool that lets you select areas of your photograph. You can then apply a wide range of adjustments to this specific area.
You can also apply multiple brushes to the same image. Thus, this tool is a great intro to layered editing, which is found inside advanced editing software like Adobe Photoshop.
The Lightroom Brush tool gives you complete control over editing. You can spend as much time as you want refining the perfect mask. Luckily, Lightroom also provides AI masking.
Sometimes, the AI results are imperfect, so familiarity with the Lightroom Brush tool can help refine these masks. There are also other brushes and filters in Lightroom.
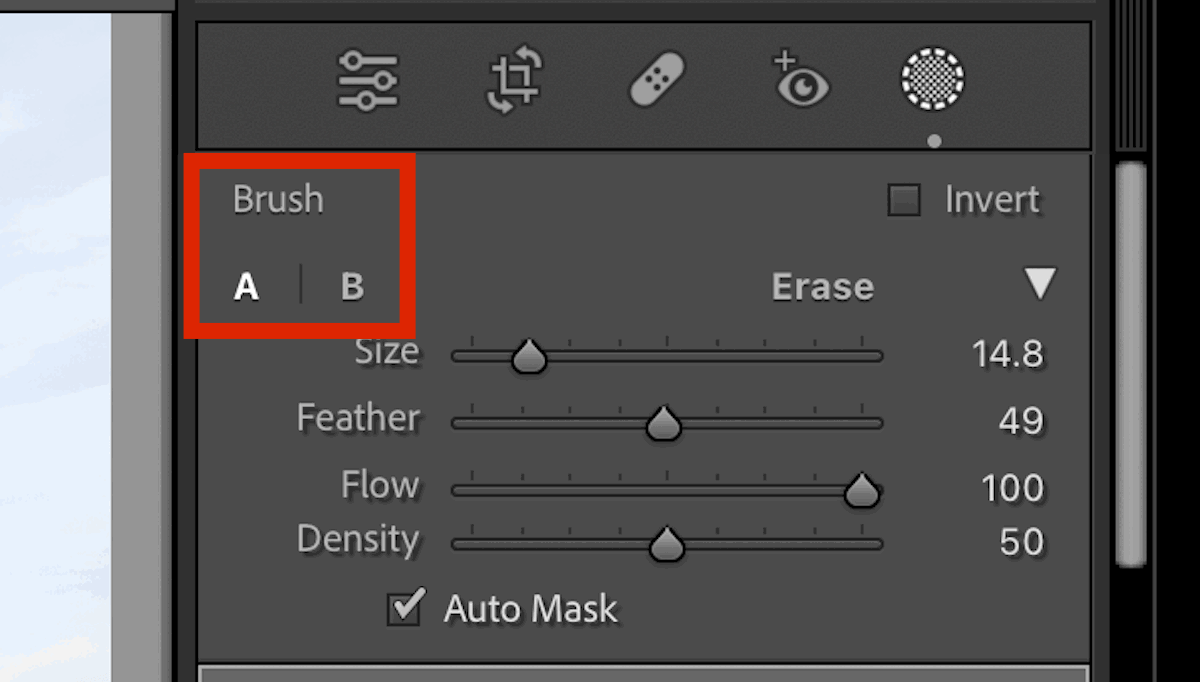
Lightroom gives you complete control of the brush itself. You can edit its size, feather, flow, and density. You can also switch between two preset brush qualities you can set yourself! We will touch on all these features later in this article.
The Lightroom Brush tool functions the same way in both versions. The only difference is that Lightroom Classic lets you swap between two preset brush settings. This is helpful if you want to quickly switch between a soft and harsh feathered brush.
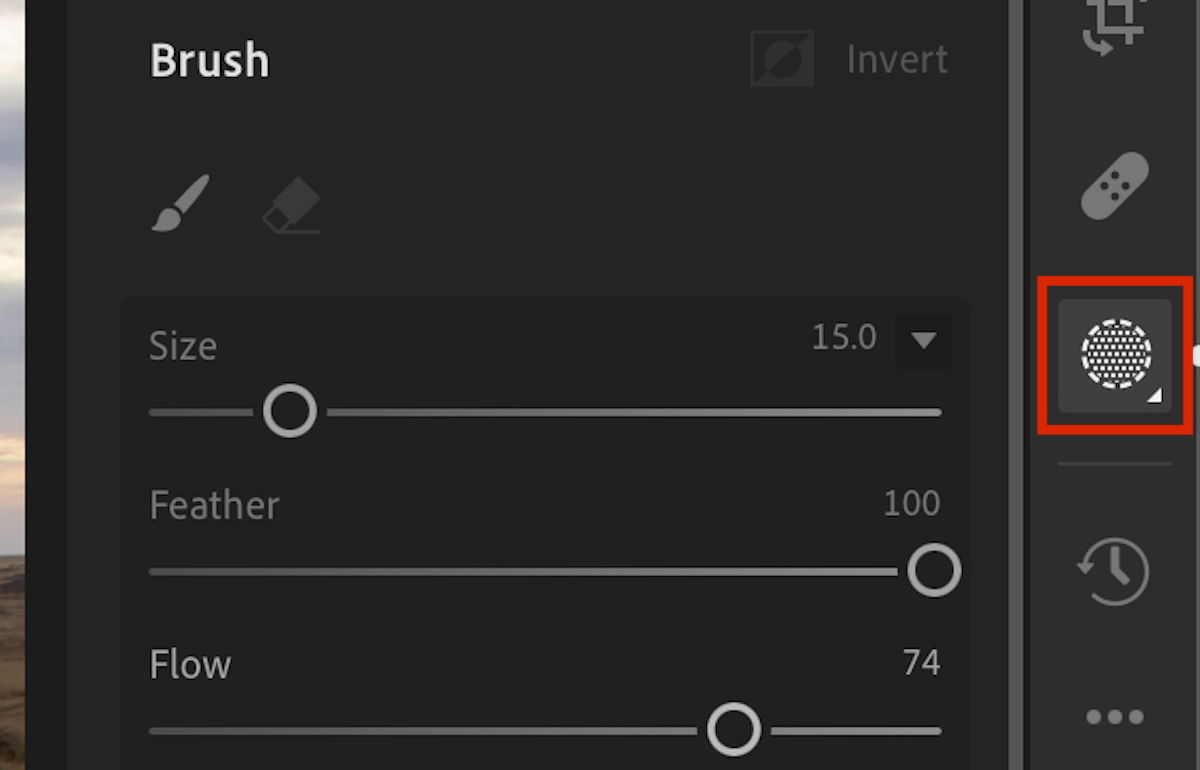
In either version of Lightroom, you can access the brush through the Mask section by clicking the dotted-line circle icon. You can see a wide range of masking abilities here, but you should choose the Brush tool.
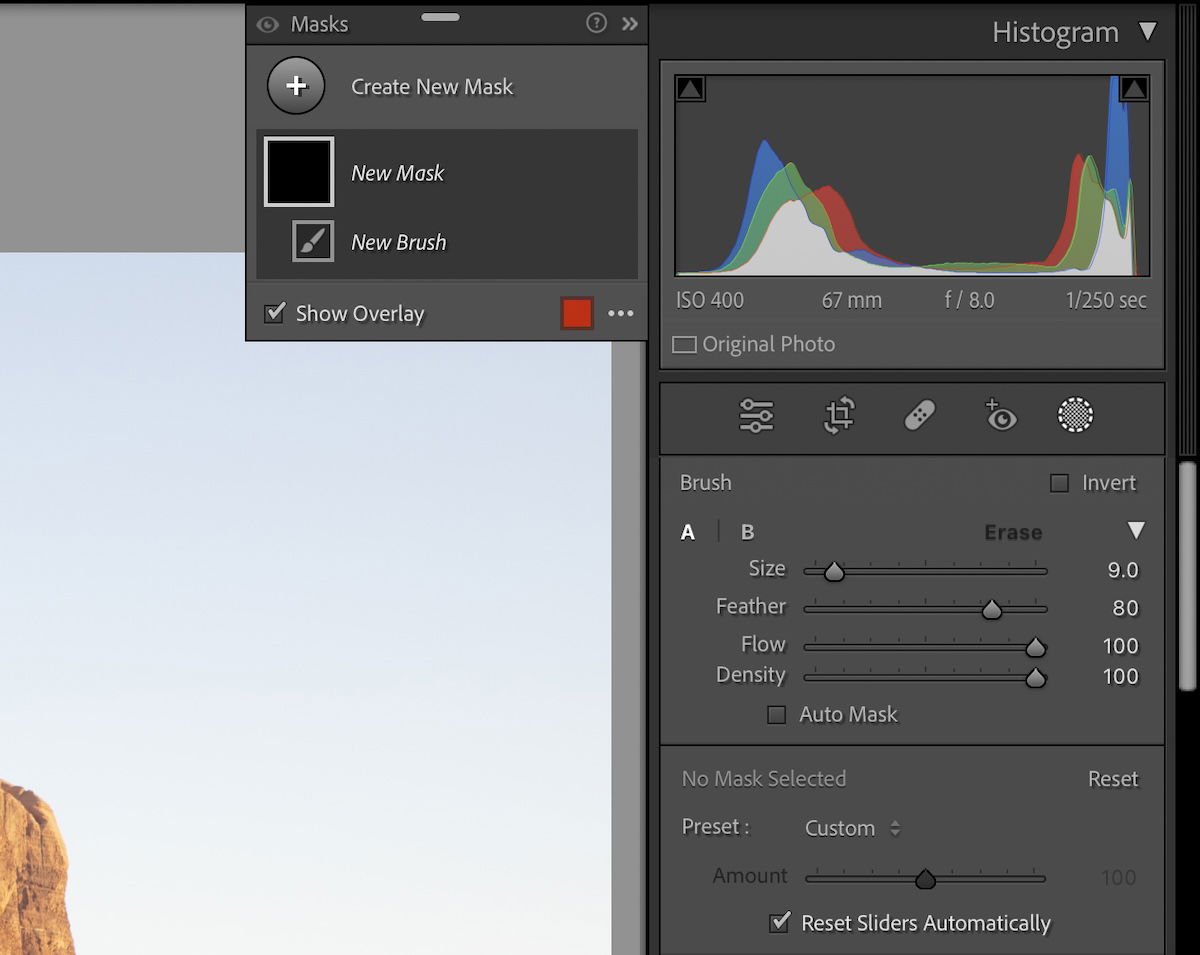
First, you must find the Brush tool. This can be located inside the Mask section in the Develop (Lightroom Classic) or Edit (Lightroom CC) mode. Then, you want to select Brush. You can access the brush anytime by clicking the “K” key as a shortcut.
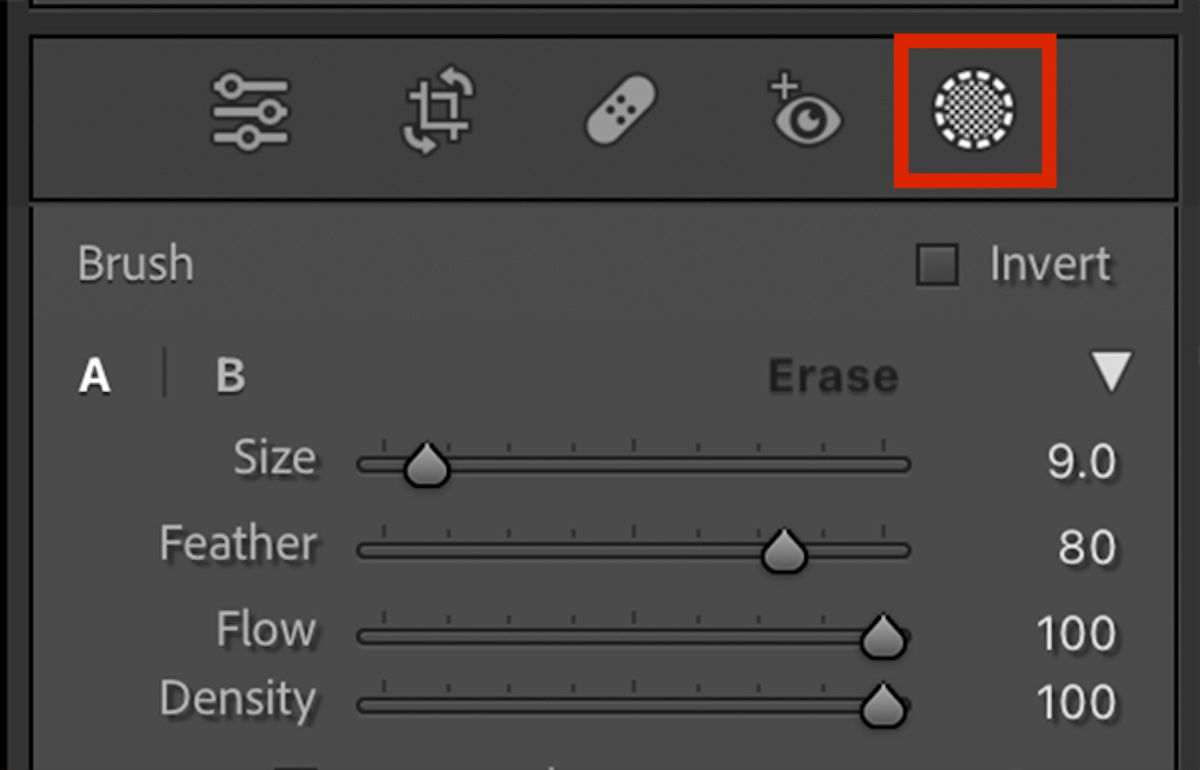
Now, you want to select how your brush acts. This is done through Size, Feather, Flow, and Density settings. Let’s give you a quick rundown of how these different sliders affect your brush.
Size is self-explanatory. It lets you increase or reduce the size of your brush.

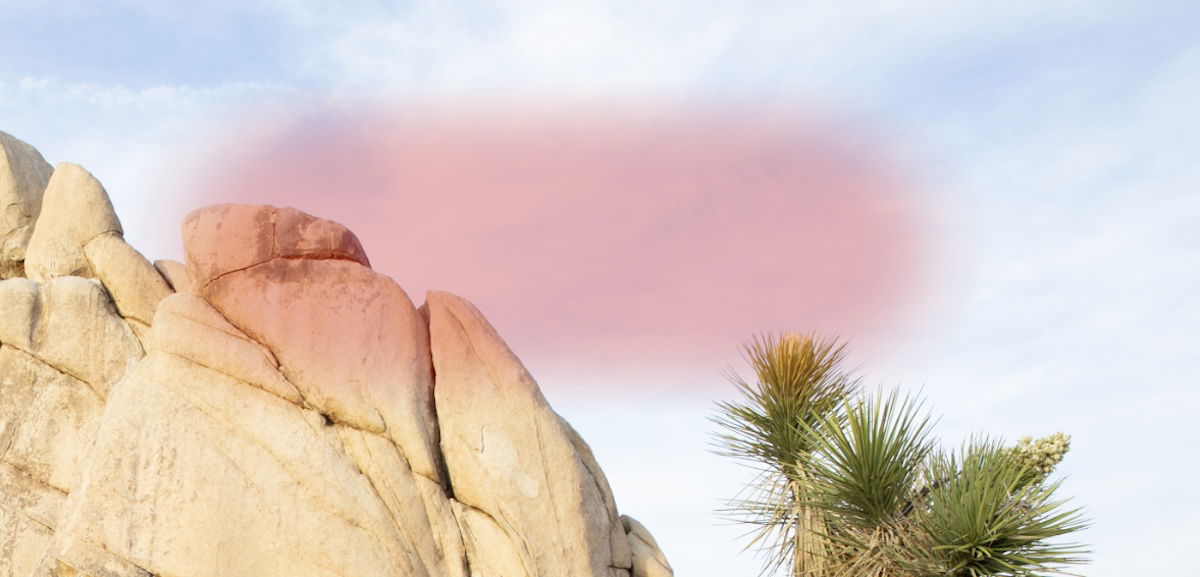
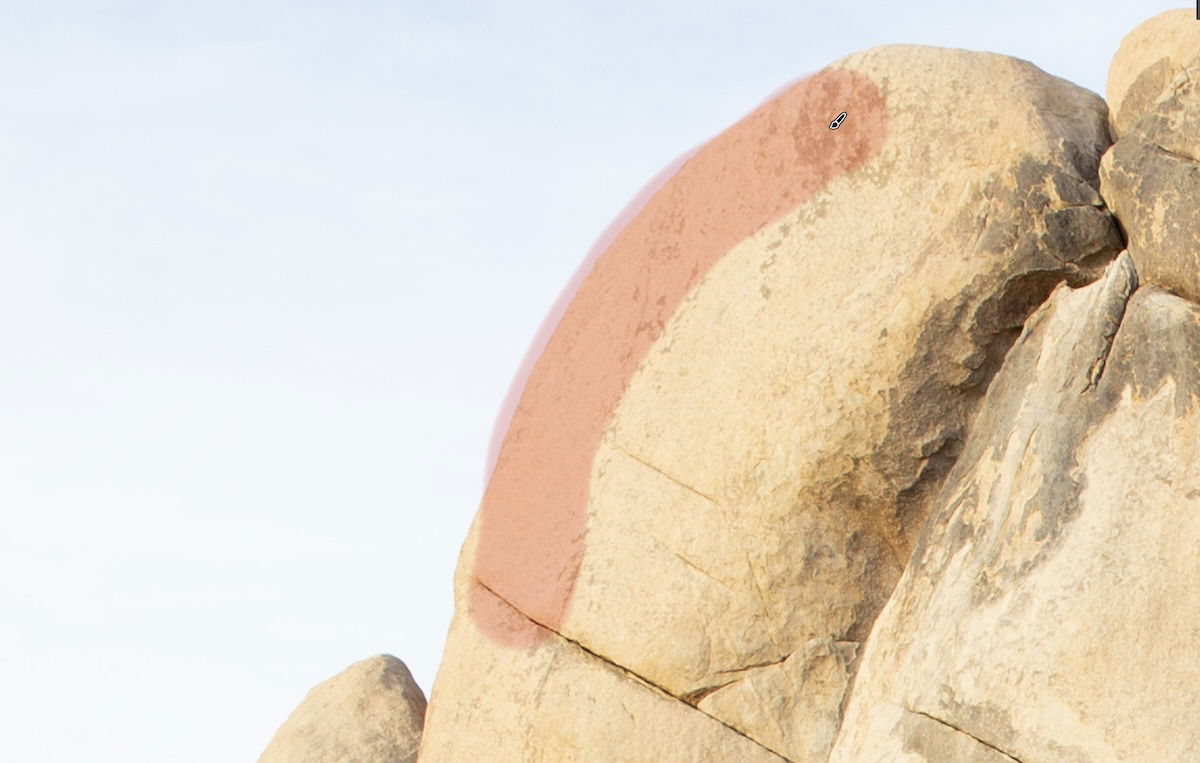
When hovering over your images, you should see two circles. Everything inside the inner circle will be masked. The outer circle will provide a gradient between the inner circle and this point.
Adjusting the feather increases or decreases the distance of this gradient. This is extremely useful to help blend your selection for more convincing edits.
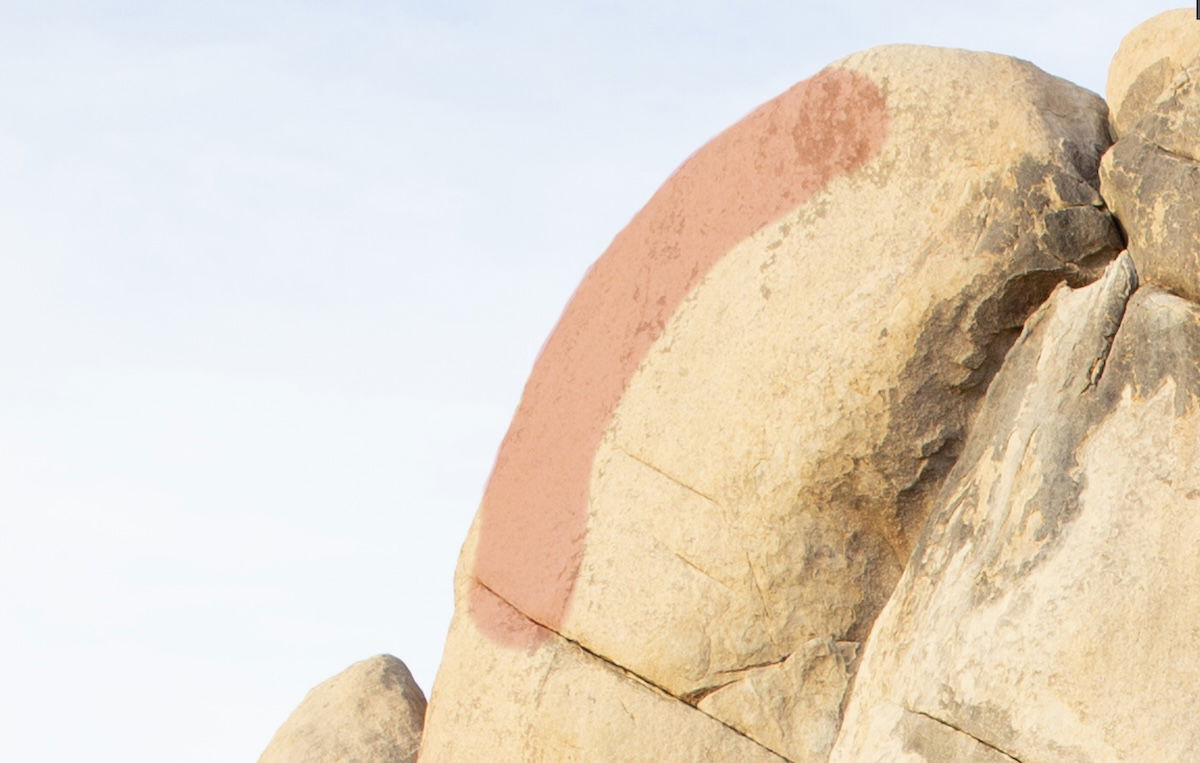
The flow determines how much opacity a single click applies on each stroke. If the flow is 100, the center circle produces a full mask. Any value below 100 produces an opaque mask.
A low brush flow is useful for making edits blend seamlessly. You can repeatedly brush in an area to build up the density until you have the perfect amount of blending.
Brush density is like flow. The main difference is that flow lets you brush over previous edits to make the selection area more dense. The density of a brush always remains at its value, no matter how often you brush over the image.
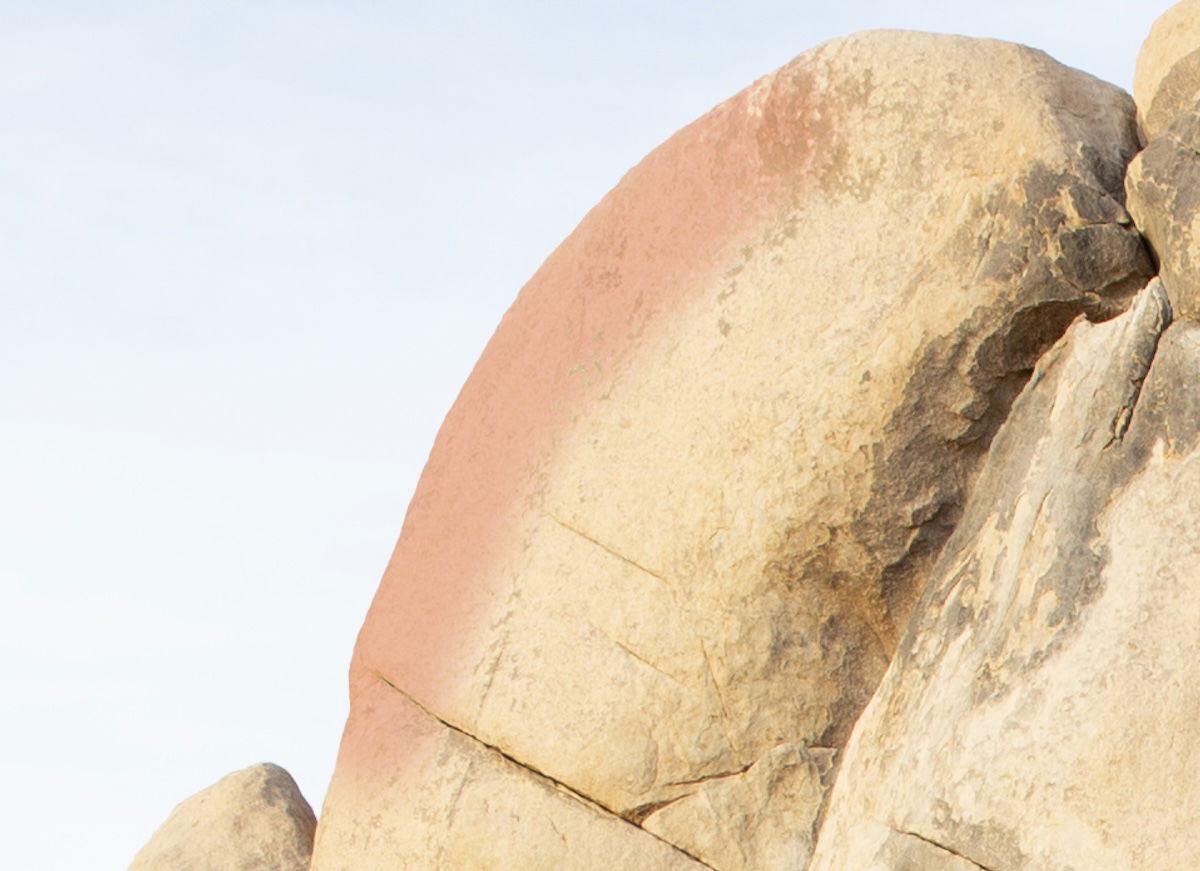
The eraser is extremely useful because it lets you refine brush marks that may have strayed from the desired areas. The eraser has the same Size, Feather, and Flow options but no Density setting.
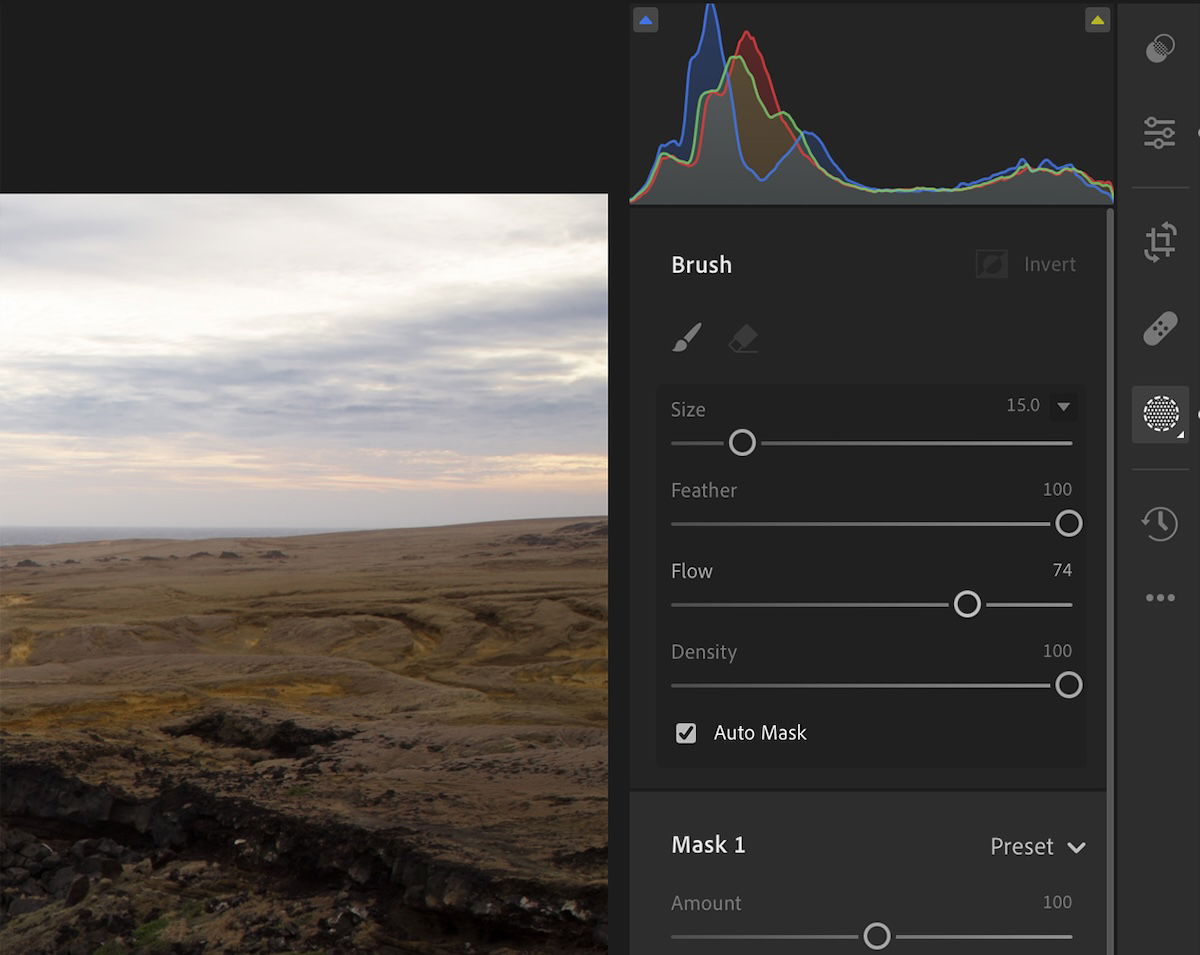
The Auto Mask (A) brush setting is useful for areas that pop out of the image. Lightroom’s AI reads areas of high contrast or differences in texture and color to determine a particular object.
The auto mask then lets you brush inaccurately, and it only applies to the area you brush in.

This feature is only available in Lightroom Classic. It lets you set up two brushes (A and B) with different settings to flip between while creating your mask. This is helpful because you may need to adjust a brush’s feather or size to get specific details.
You might also not remember the details you were working with before. So, you can quickly switch between two brush types and return to your favorite settings.
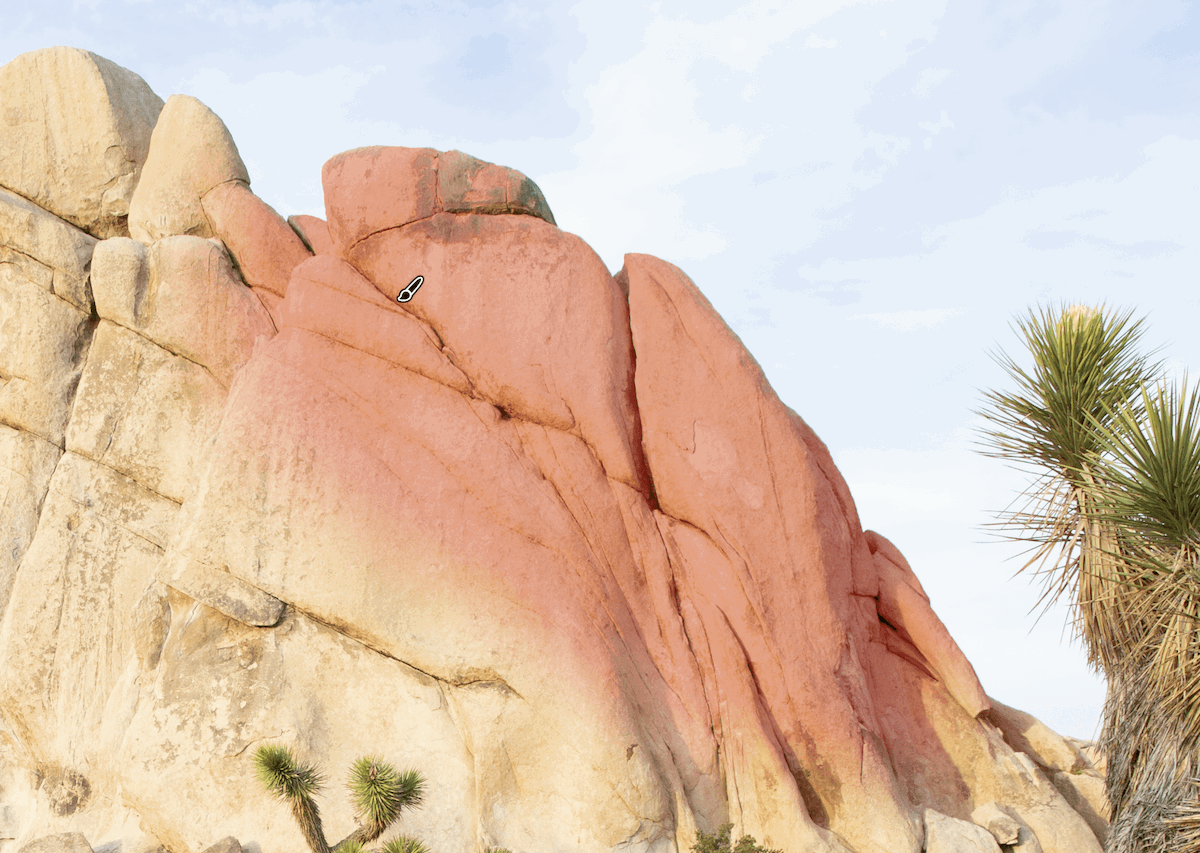
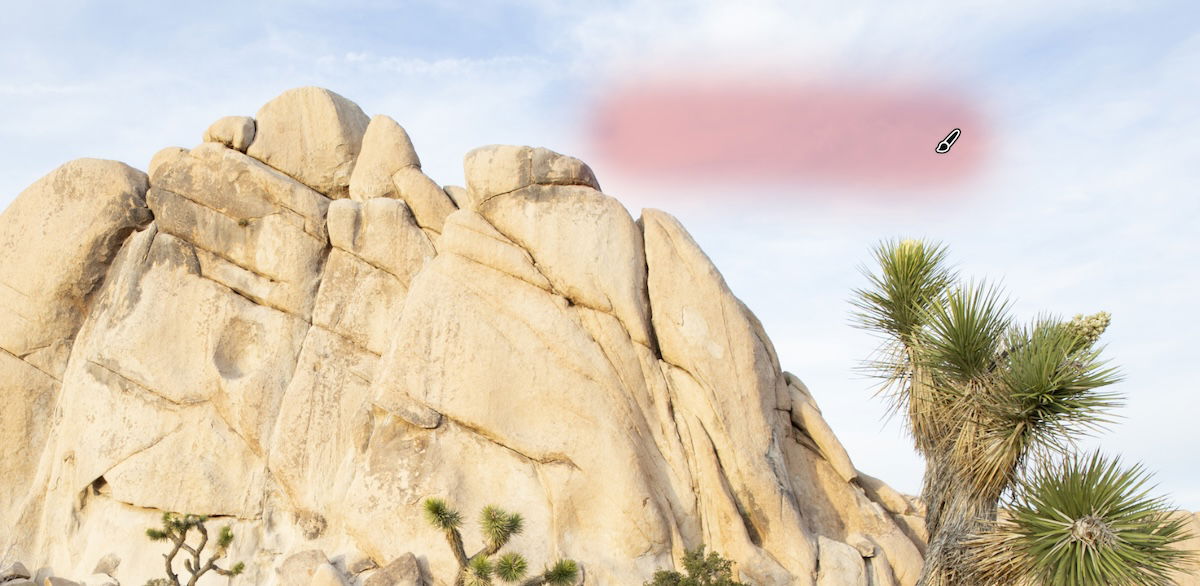
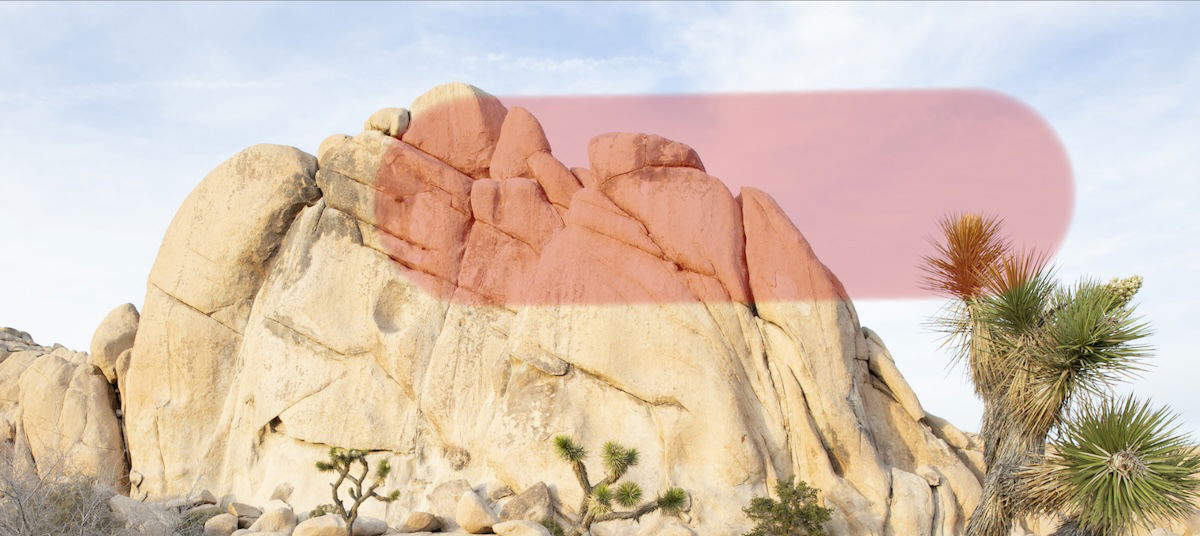
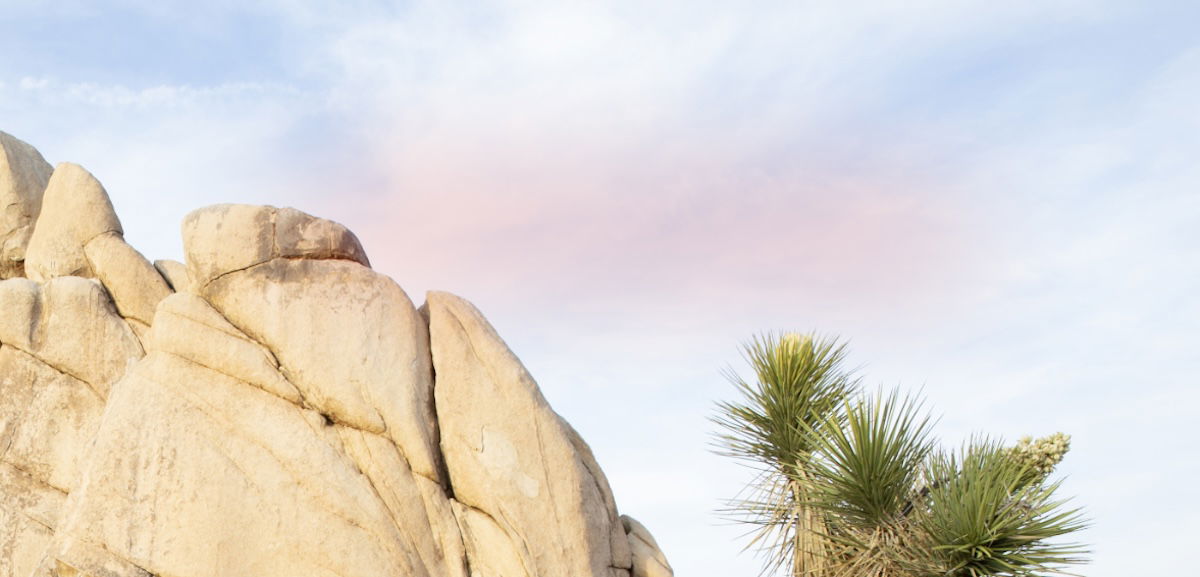
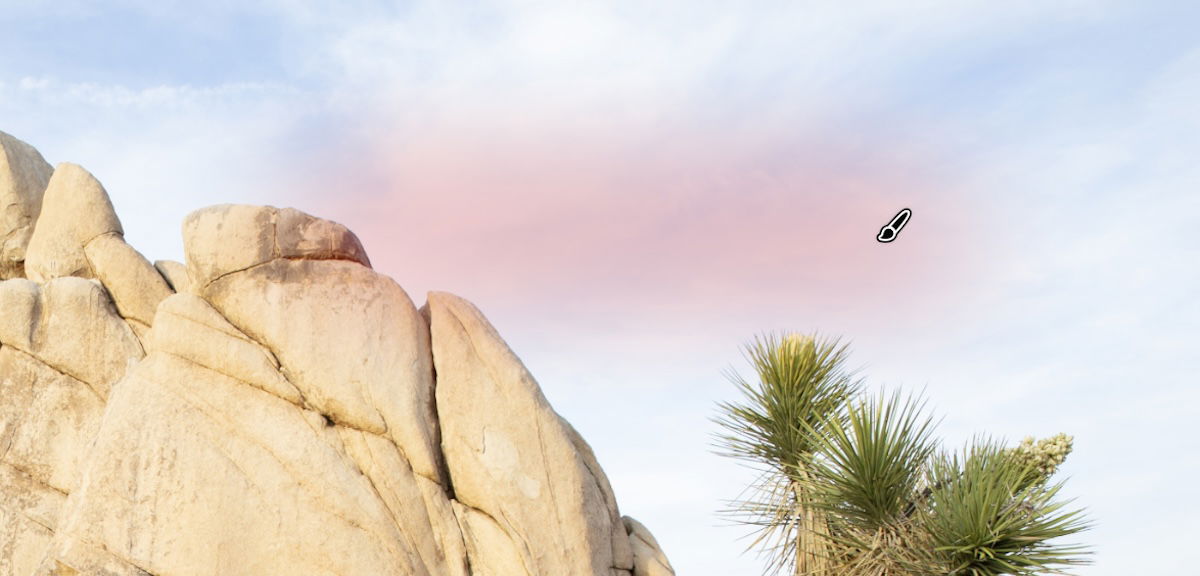
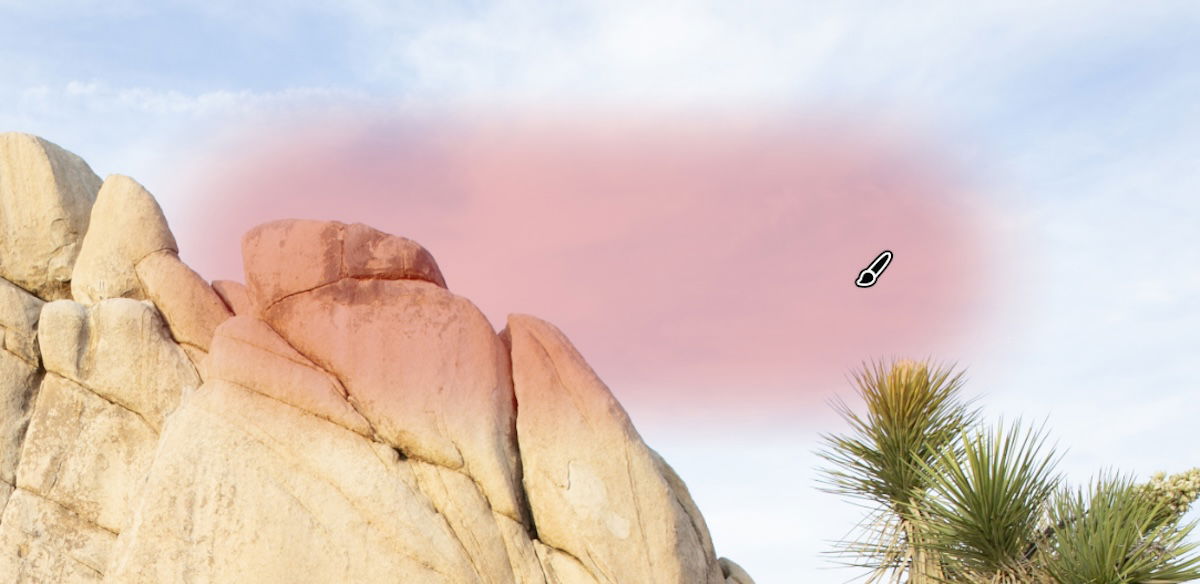
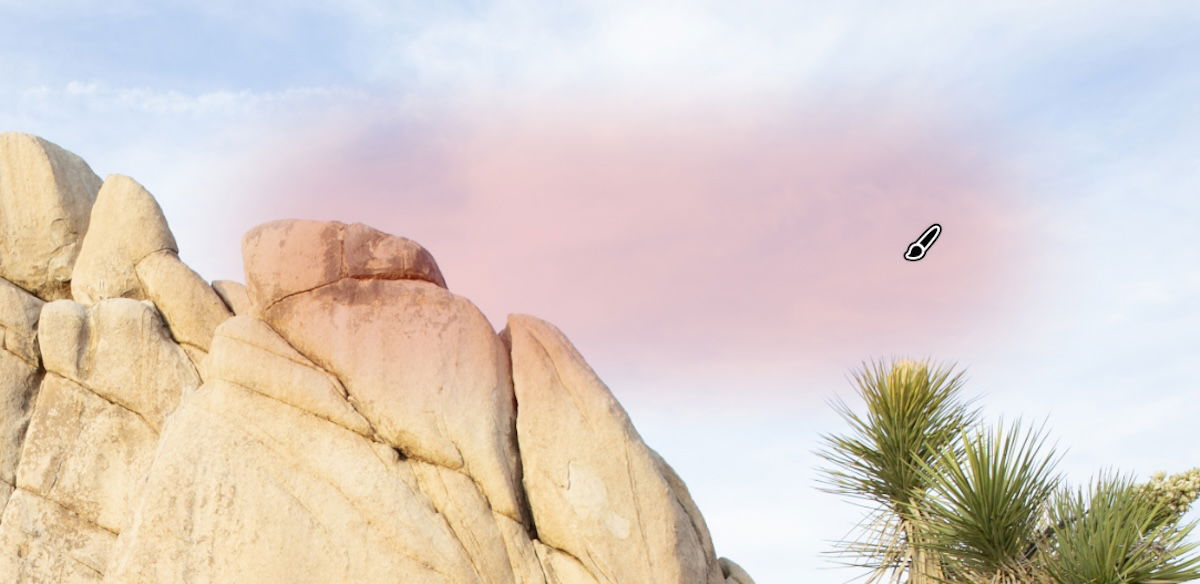
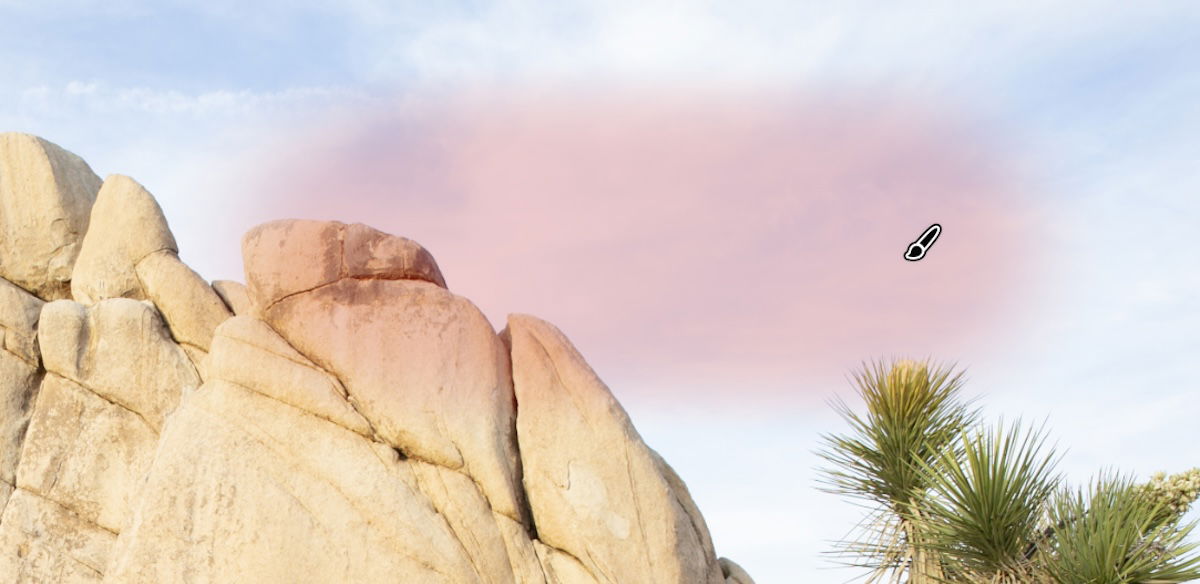
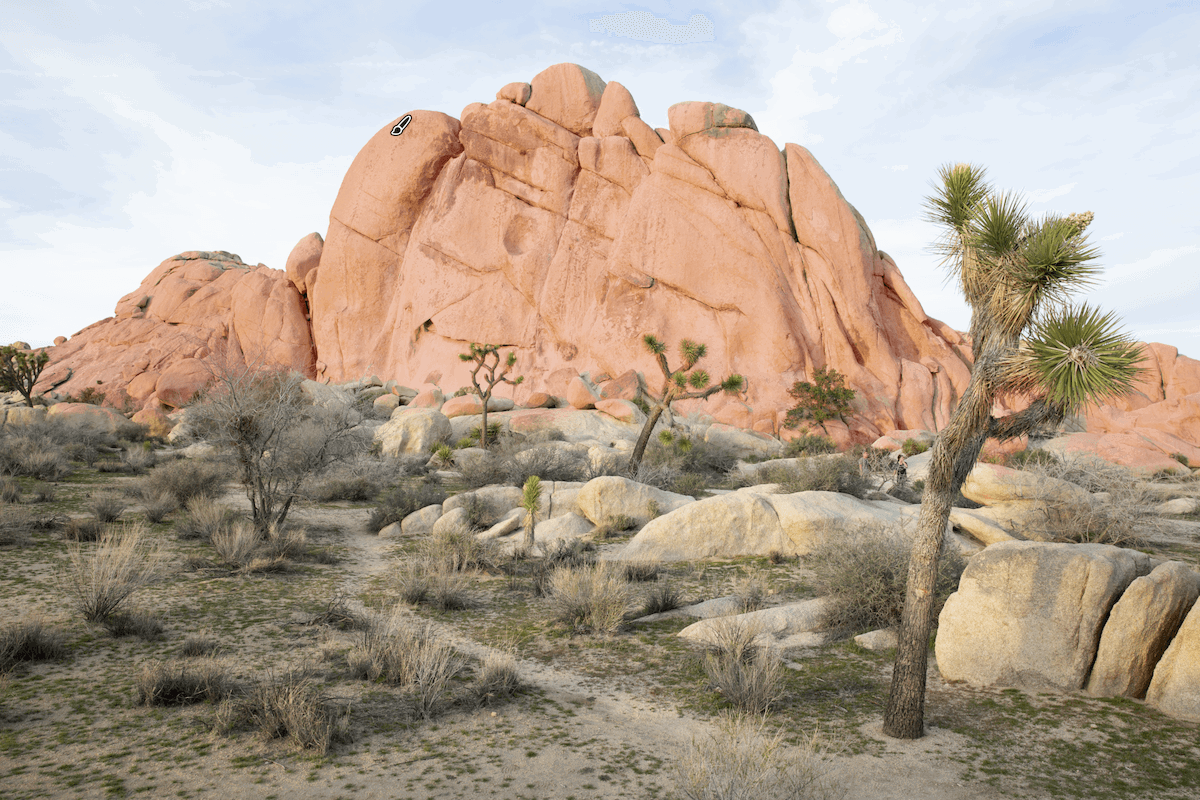
You are ready to start brushing in the area you want to affect. You want to click and drag your mouse over the areas you want to edit. You produce a red trail as you click and drag. This is the mask overlay that shows you the area that you have selected.
You can untick the Show Overlay box if you do not want to see these red marks over your photo while editing. You can also change the color of the mask overlay next to this box.
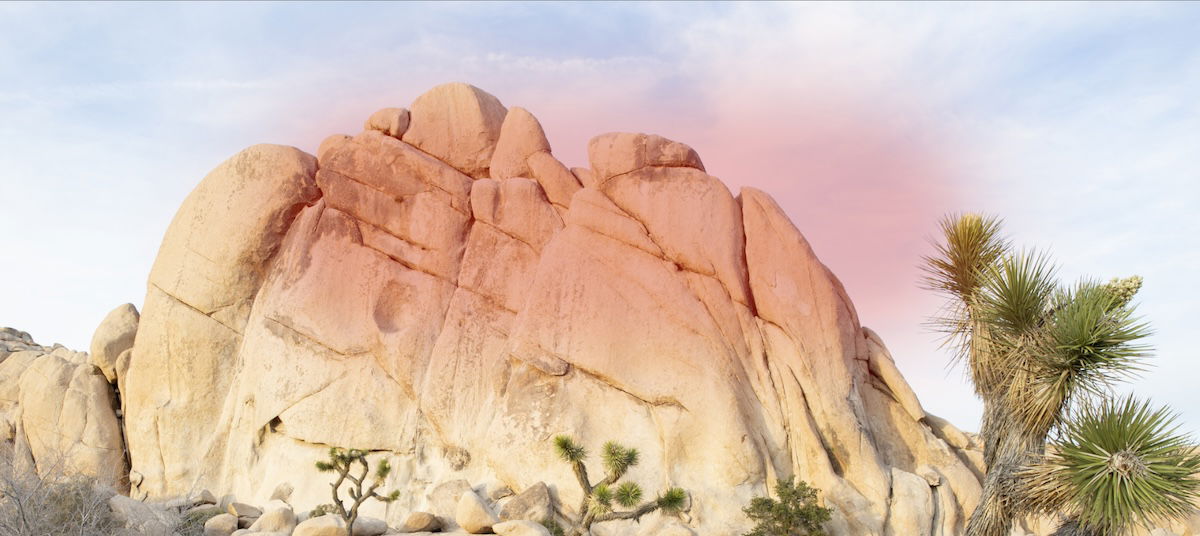
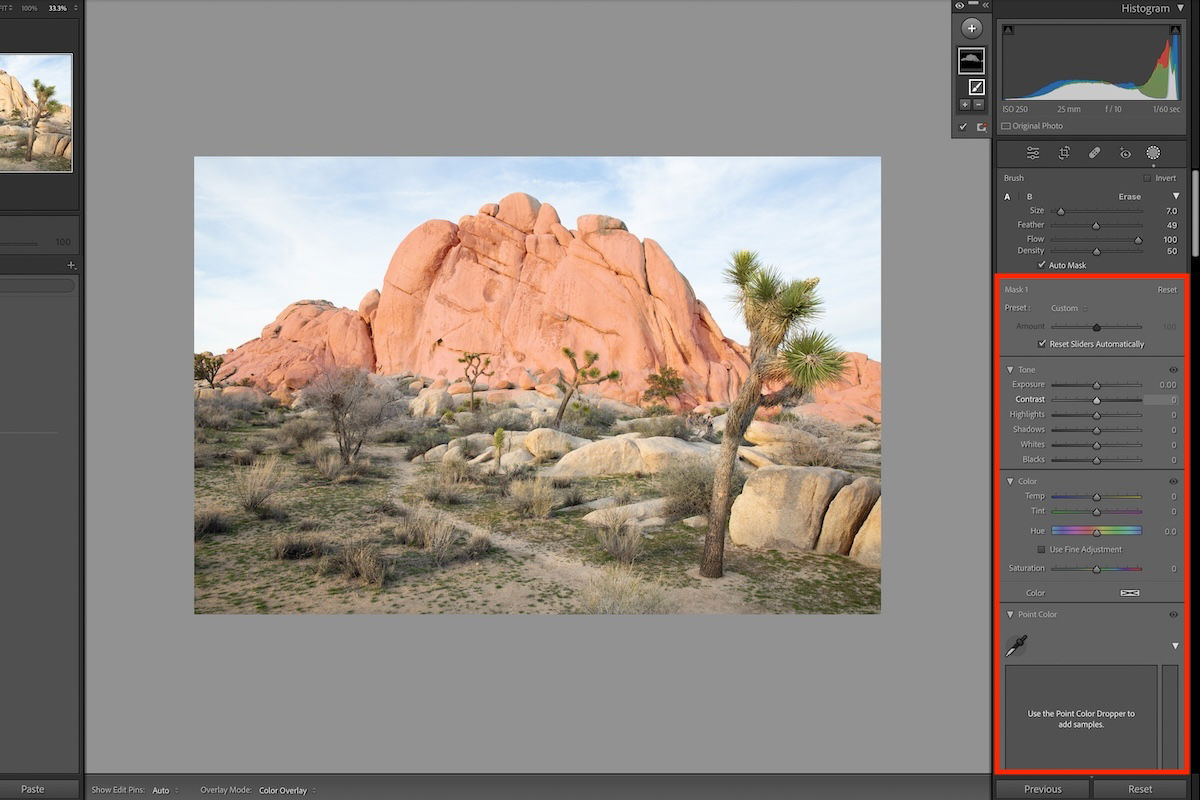
Now, you can add adjustments to your Lightroom Brush selection. Lightroom lets you make a wide range of adjustments. This includes tonal adjustments or adjustments to texture and clarity.
Below the Lightroom Brush tool settings, you will find the entire selection of adjustments. This includes the Tone, Color, Point Color, Curve, Effects, and Detail adjustment sections.
You can always go back to drawing your mask to refine your selection. You can also add as many masks as possible to control different effects. This is a super easy way to make complex photo edits.
After reviewing this feature, we can see how important the Lightroom Brush tool is to making complex edits. If there is one technique you should learn early on, it is masking. This lets you have the most control over your edits.
Luckily, Lightroom provides a wide range of brilliant AI masking options to simplify this process. But AI masks can never replicate the precise control that you need. So, it’s best to familiarize yourself with the Lightroom Brush tool, as you will need it at one point!


![P08 [Lead Gen] Product Sidebar_v2_date_20230223](https://expertphotography.b-cdn.net/wp-content/uploads/2023/02/P08-Lead-Gen-Product-Sidebar_v2_date_20230223-300x295.jpg)
![P08 [Lead Gen] Sidebar Banner 2_date_20230223](https://expertphotography.b-cdn.net/wp-content/uploads/2023/02/P08-Lead-Gen-Sidebar-Banner-2_date_20230223-300x245.png)
![P08 [Lead Gen] Sidebar Banner 3_date_20230223](https://expertphotography.b-cdn.net/wp-content/uploads/2023/02/P08-Lead-Gen-Sidebar-Banner-3_date_20230223-300x245.png)