If you want more control over your edits, consider using Lightroom filters and brushes. Lightroom is an excellent digital photo editing software. It incorporates filters and brushes, allowing us to make advanced edits that can remove the need for Photoshop!
Let’s look at the wide variety of Lightroom filters and brushes inside the program. By the end of this article, you will know the full range of filters and brushes Lightroom has to offer and how to use them.
- Learn to use every tool for quick, professional edits.
- Discover seamless subject selection with a single click.
- Unlock hidden details in photos with our unique method.
What Are Lightroom Filters and Brushes?
Lightroom filters and brushes are tools that give you more advanced control over your photographs. Unlike most Lightroom adjustments, these tools do not use sliders. Instead, you must learn how they work to get the most out of each tool.
Lightroom filters are actions like gradients and masks. You can put these filters over a photo, allowing you to adjust specific sections of a photograph. By using these tools, we can fine-tune our edits to get the most out of each photograph.
Lightroom brushes work similarly to brushes in Adobe Photoshop. These brushes allow you to edit images by clicking or painting over particular sections. The adjustments range from removing unwanted features to painting in adjustments to specific areas.

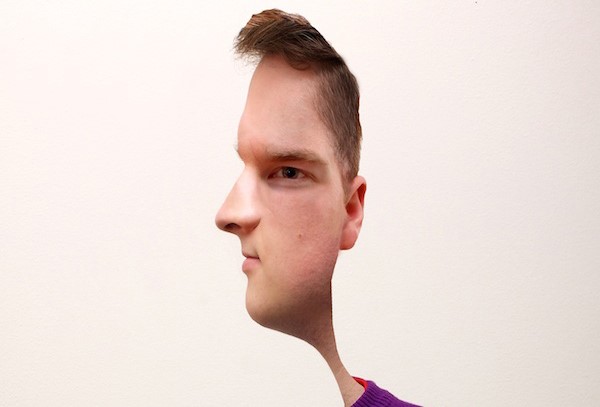
Photo edited using all Lightroom brushes and filters
Lightroom Filters and Brushes in Lightroom CC vs Lightroom Classic
The tools and their locations in the two current versions of Lightroom are the same.
The Clone, Heal, and Remove brushes are located in the Heal section. You can access this section by clicking the plaster icon under the histogram in Lightroom Classic or on the right-hand panel in Lightroom CC.
The Radial and Gradient filters are in the Masks section, which is identified by an icon of a dotted circle with a shaded-in center. The brush for making custom edits is also in this section, as it is technically a mask.
Lightroom Filters and Brushes
Below is a quick summary of what these tools allow us to do. Make sure you click the link in each article to learn about any method in more detail.
Clone Tool
The Clone tool is effective if you want lots of control over your healing brushes. The Clone tool directly clones a certain section of your photograph and places it over your selected area. This is extremely useful if you have a repeating pattern in your photograph, for example.
To use this Lightroom brush, you click or paint over the area you want to remove from the image. Lightroom then selects an area it thinks would be a good replication. This may not always be accurate, so you can move the source spot wherever you like.
Lightroom CC may not show the source spot. If it doesn’t, select the “Show Overlay on Hover” button. Here is our full article on how to use the Clone tool in Lightroom.


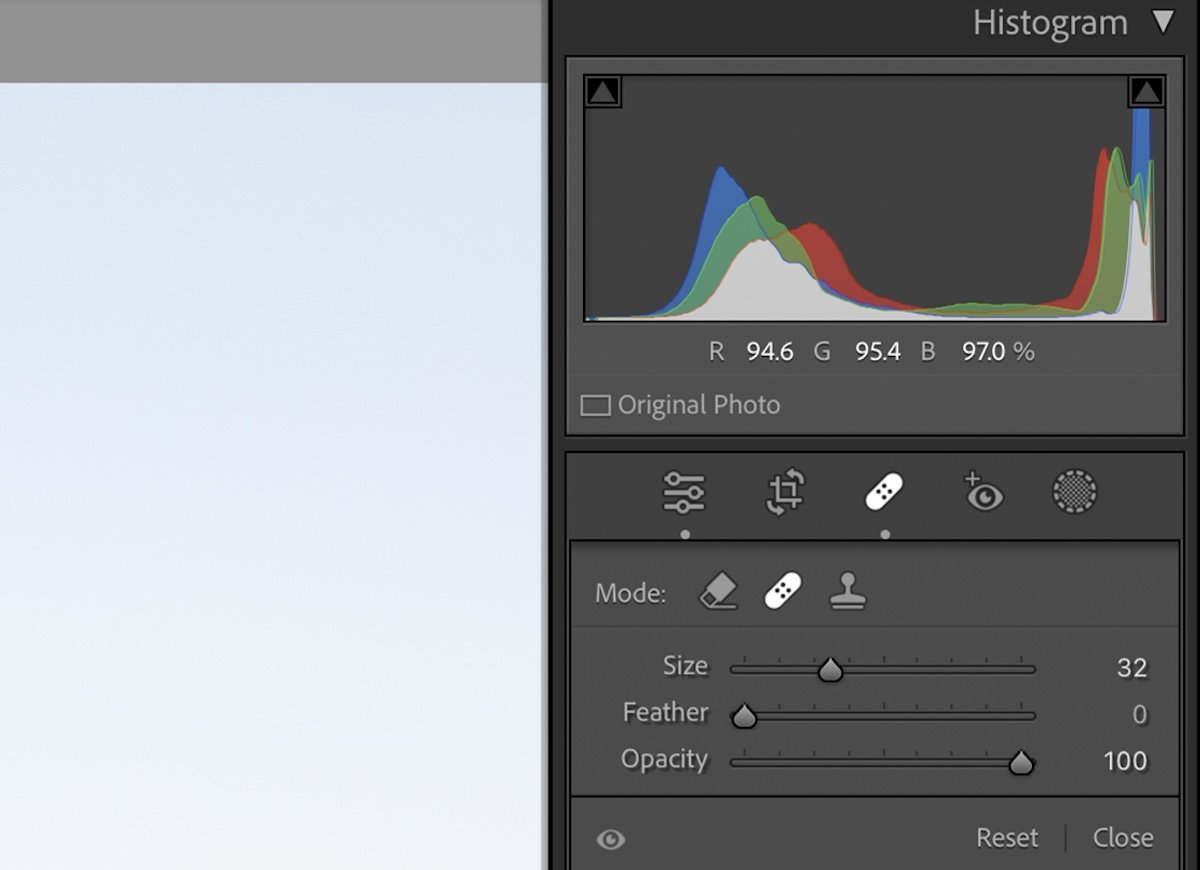
Heal Tool
The Heal tool is perfect for quickly clearing up small unwanted items like blemishes on your model’s face or dust on your lens. The Heal tool differs from the Clone tool in that it doesn’t directly clone the referenced area. Instead, it copies the texture while attempting to keep the color and tone similar to its surroundings.
The Heal Lightroom brush functions similarly to the Clone tool. Unlike the Spot Healing brush in Photoshop, Lightroom allows you to change the location your spot or stroke is referencing. This is similar to how the Clone brush functions.
Select the “Show Overlay on Hover” button in Lightroom CC to move your reference point. Here is our full article on how to use the Heal tool in Lightroom.


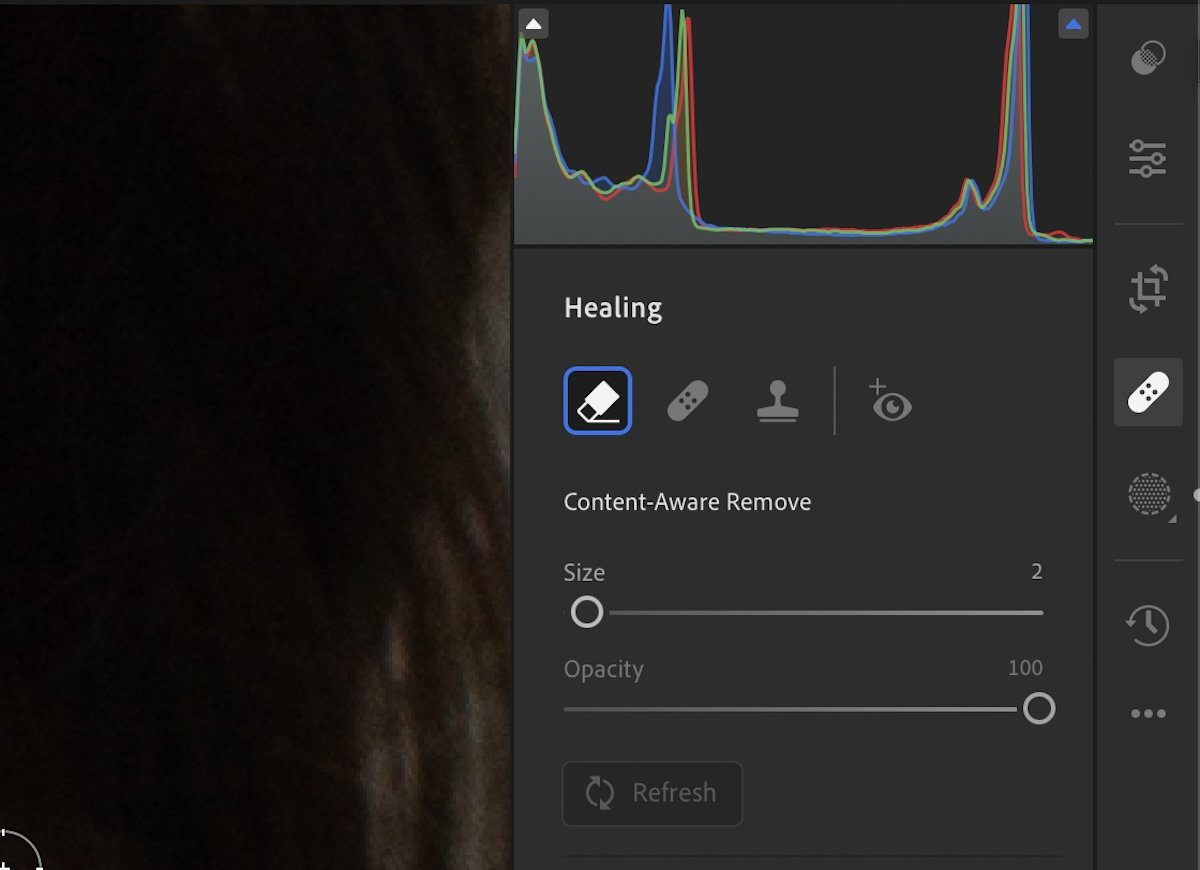
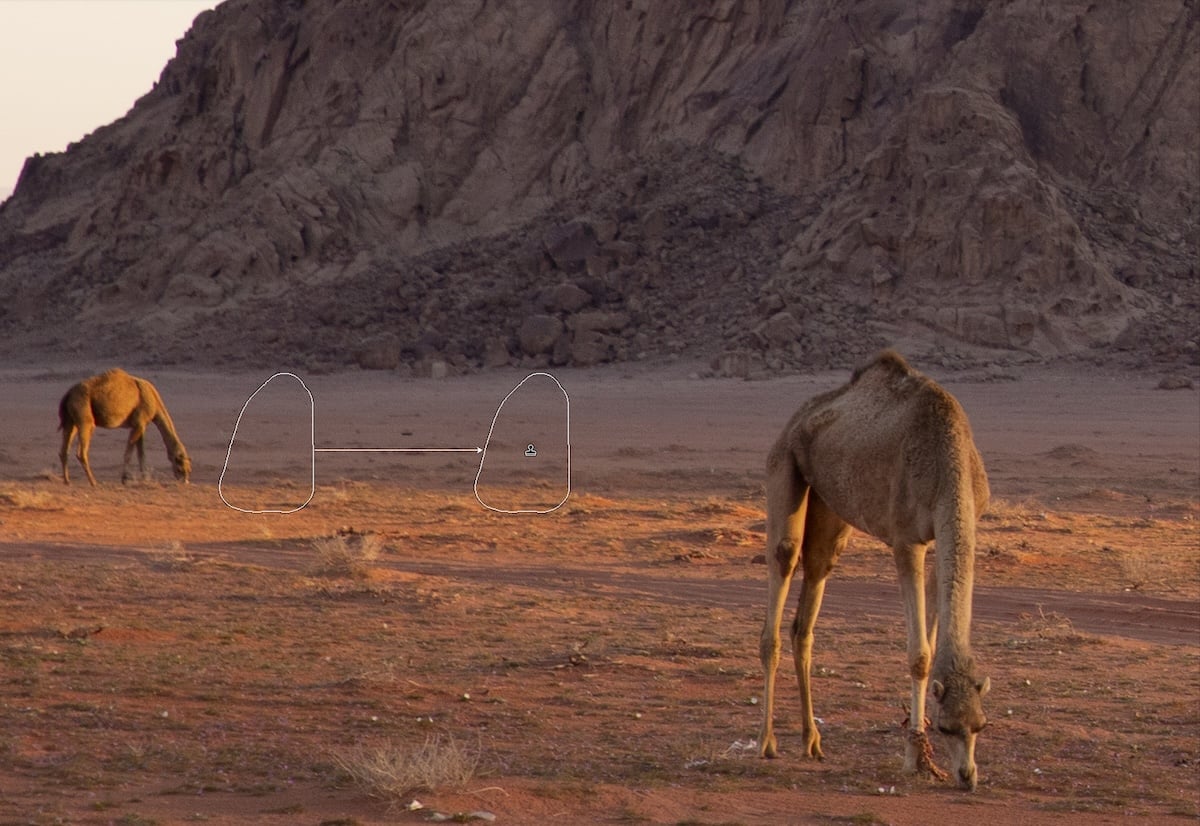
Content Remove
The Content-Aware Remove tool is an excellent feature for photographers. It allows us to brush away particular features we don’t want in our photos. Unlike the Heal tool, the Remove tool produces computer-generated imagery inside your selected area.
The Remove brush in Lightroom can sometimes create unwanted effects. This is likely because a computer cannot easily replicate the surrounding area. AI is dramatically improving this technology, but even the most advanced versions of these tools struggle in certain situations.
If your result is close but not perfect, try adjusting the size of your brush or the selection area. I do this regularly and it works most of the time.


Masking
Lightroom’s masking has dramatically improved in recent years. Thanks to the integrated AI, Lightroom can identify key features in our photographs and apply a mask. The current masking options are Subject, Sky, or Background.
The most impressive feature comes from the People option. This feature allows you to mask different body features such as the lips, eyes, facial skin, body skin, and more. You can even group these masks together! This feature makes advanced portrait editing extremely accessible.
You can make masks in many different ways. Here is our full article on how to use masks in Lightroom.

Automatically masking the sky with Lightroom’s AI abilities
Masking Brush
To make controlled adjustments in a particular area of your photograph, you must become familiar with the Masking brush. This Lightroom brush allows you to make any Lightroom adjustments and then brush them into your photograph. You also get control over how your brush acts, including the size, feathering, flow, and density.
Using the Lightroom Masking Brush tool is an easy way to start making advanced edits. Here’s our full article on how to use the Brush tool in Lightroom.


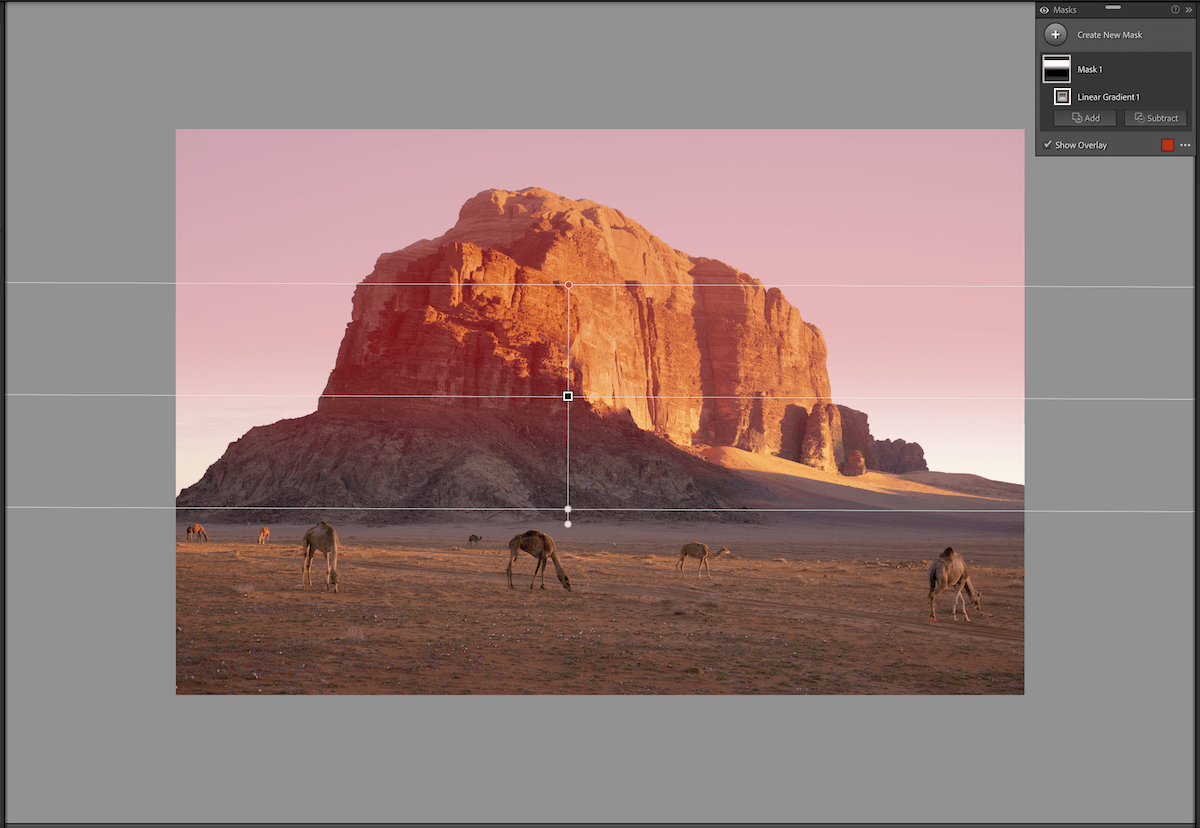
Linear Gradient Filter
The Linear Gradient filter allows you to place a gradient over your photograph in Lightroom. Gradients were traditionally produced as a filter you would place over your lens. Gradients are useful because they allow us to see more detail in particular areas of our photograph. This is mostly relevant for the sky.
Lightroom’s Linear Gradient filter is extremely easy to use and provides multiple levels of customization. You can select the area that the gradient covers, the direction it comes from, and even how harsh it is. Here’s our full article on how to use the Linear Gradient tool.

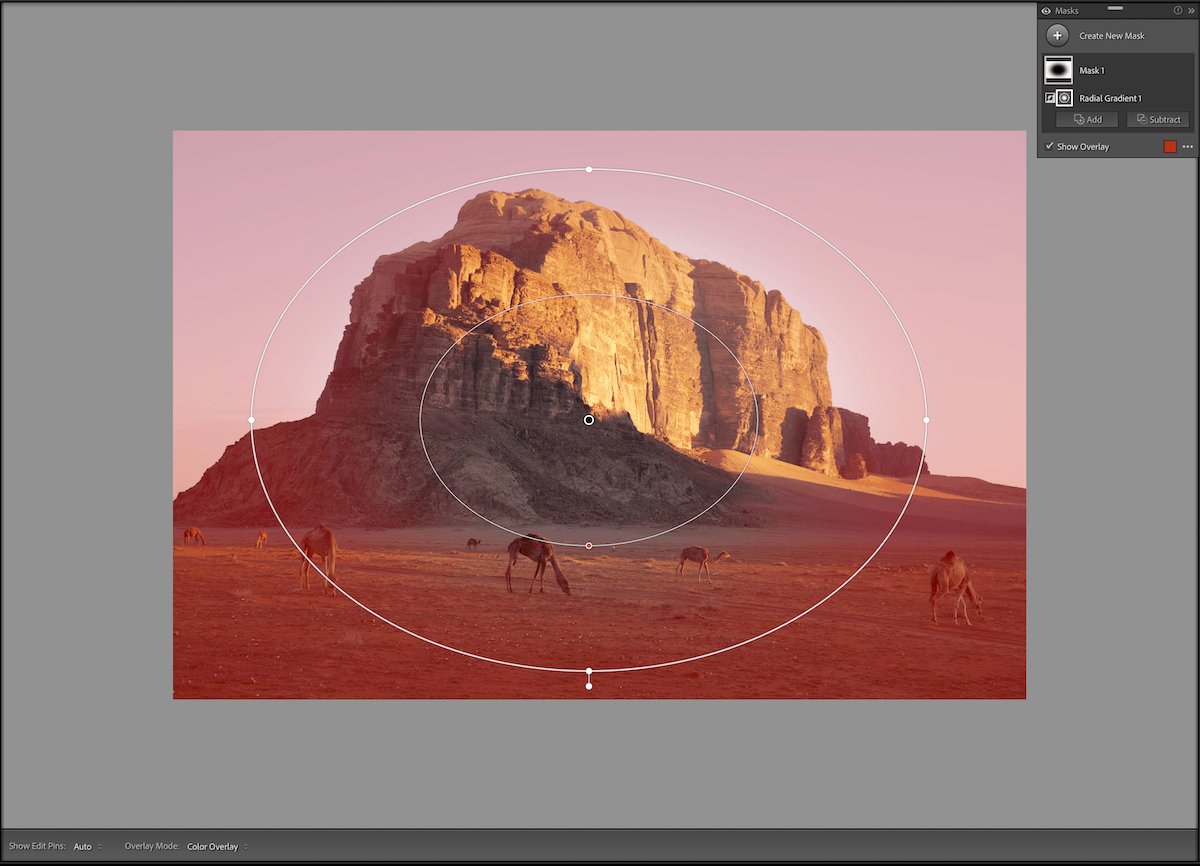
Radial Gradient Filter
A Radial Gradient filter is very similar to the Linear Gradient filter, but it takes a circular shape instead of a line. This Lightroom filter is brilliant for drawing attention to a specific area of your photograph or creating a vignette.
Lightroom makes this tool extremely accessible, even for beginners. Simply click and drag and a circular shape will appear that you can edit. You can always adjust the size and shape even once you let go of the click. Lightroom also gives you a single button to inverse this selection.
Here’s our full article on how to use the Radial Gradient filter.

Conclusion: Lightroom Filters and Brushes
Adobe gives photographers key editing tools in Lightroom that enable them to create detailed edits. If you learn to use all of these tools effectively, you may never have to open up Photoshop again!
Make sure you read all our in-depth articles to get the most out of each tool. If you understand all these Lightroom filters and brushes, you will be able to perform advanced digital photo edits.
- Learn to use every tool for quick, professional edits.
- Discover seamless subject selection with a single click.
- Unlock hidden details in photos with our unique method.