Today we will show you how to open a RAW file in GIMP. This involves using RAW file reading programs to transfer our files. We will be exploring both free and paid options so everyone has a choice.
GIMP is a brilliant great open-source image editor we can access for free. The one issue that you will come across using GIMP is that it cannot open RAW files. This is a big problem as RAW files are crucial for photo editing to get the most out of our images.
What is GIMP?
GIMP is a free, open-source alternative to Adobe Photoshop. It allows you to perform advanced edits using various tools and adjustments.
This photo editing software is available for Windows, macOS, and Linux users. It is constantly being updated with new features and upgrades.
You will not find the same expert controls as Adobe Photoshop. But it is a brilliant way for photographers to start photo editing without having to pay a ridiculous price. Also, you will learn many techniques that will help with Photoshop in the future.
The one issue with GIMP is that it cannot directly open RAW files. This article will show you how to open these files without losing any information.
Open A RAW File In GIMP Using RawTherapee
The best feature of GIMP is that it is free. Using RawTherapee will ensure that your workflow is all free. Follow the steps below to see how you can do this.
Step 1: Download RawTherapee
RawTherapee is a free photo editing and organization software. It is similar to Adobe Lightroom and performs many of the same tasks. You can download RawTherapee here.
RawTherapee is available to download for Windows, macOS, and Linux users. This means that we will all be able to access this program no matter our operating system.
The download is straightforward and shouldn't take long at all.
Step 2: Import Your RAW Files
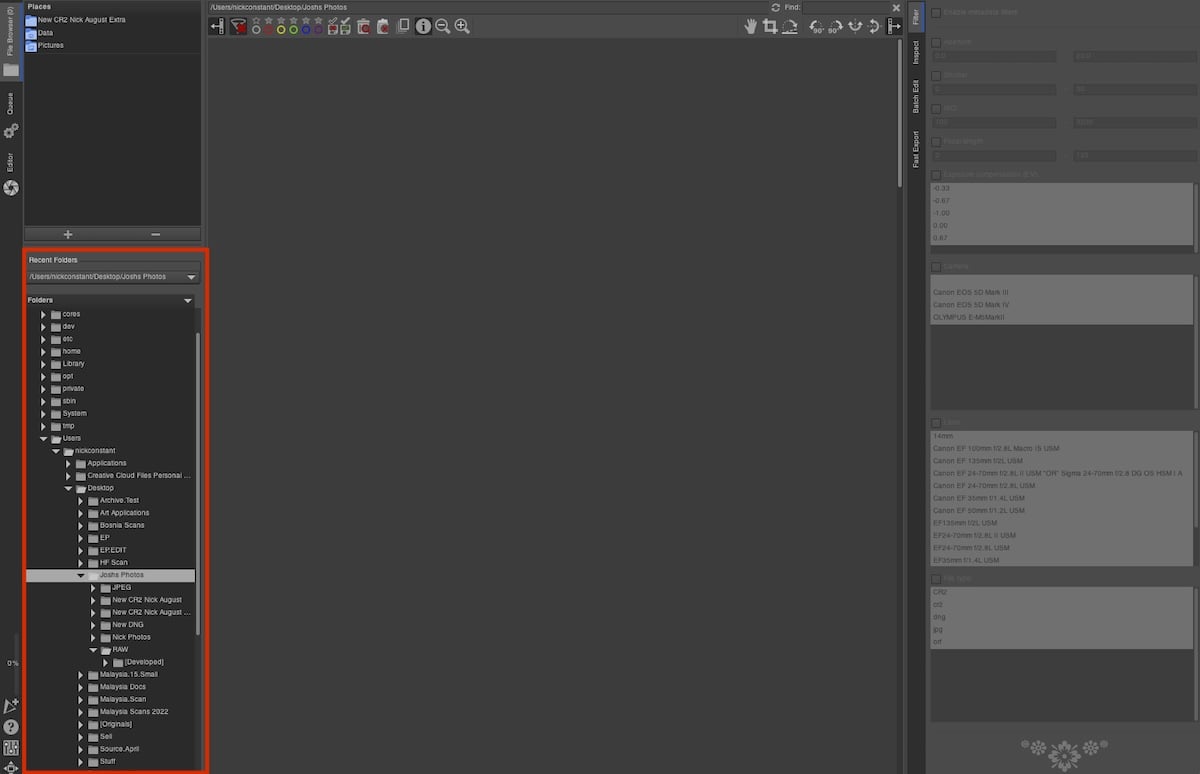
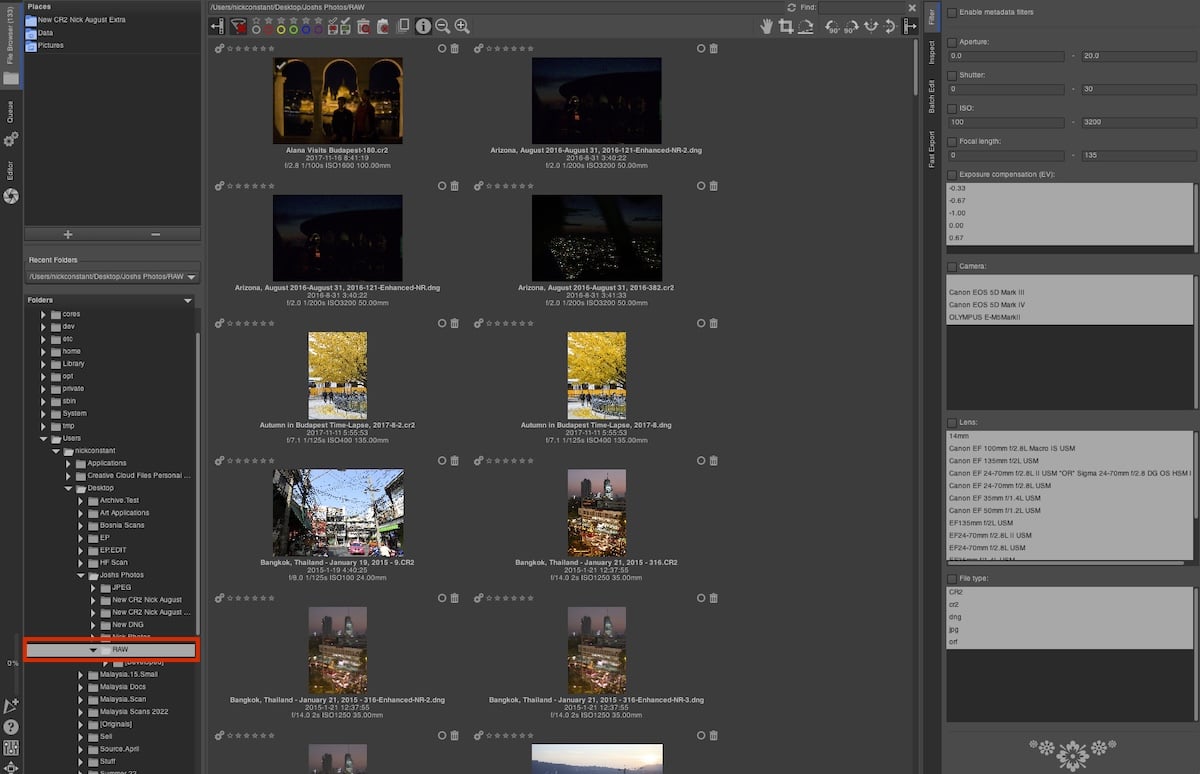
RawTherapee has a file browsing system inside the program. Instead of importing your photos, you will find them through the relevant folder structure system.
Once you have located your folder, double-click it, and the images will start pouring into the program.
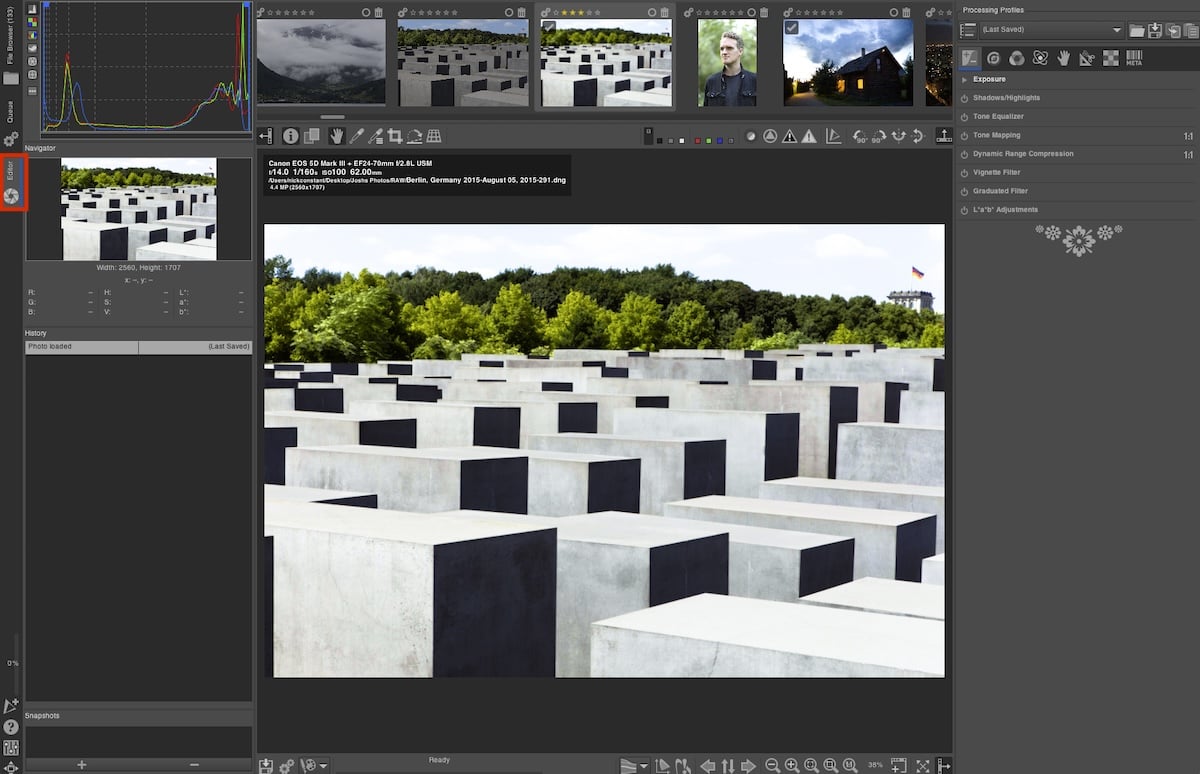
If you like, you can perform some initial edits here. Go to the Editor workspace to see the photo editing adjustments this software offers.
Step 3: Connect RawTherapee to GIMP
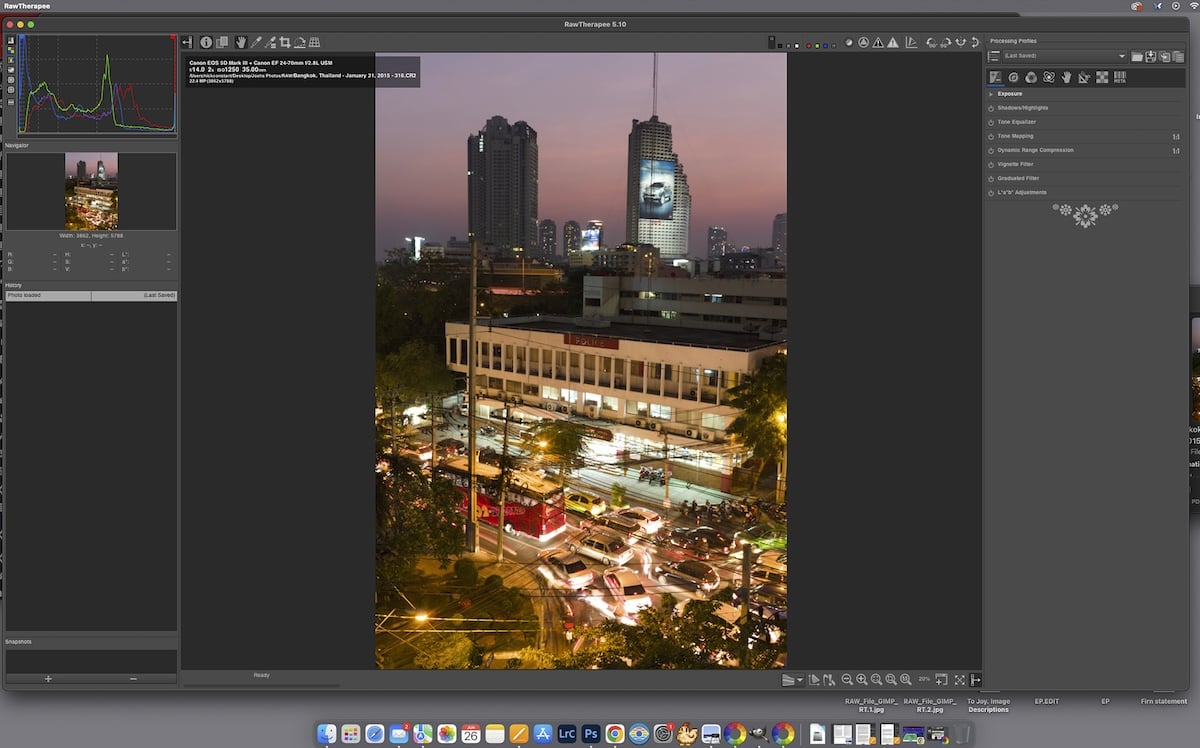
To open a RAW file in GIMP, you will need to connect the two programs. The quickest way to do this is to drag your RAW file into the GIMP application.
Upon opening the image for the first time, GIMP will ask you for your permission to use RawTherapee as an external program. When you accept this, your image should open in RawTherapee.
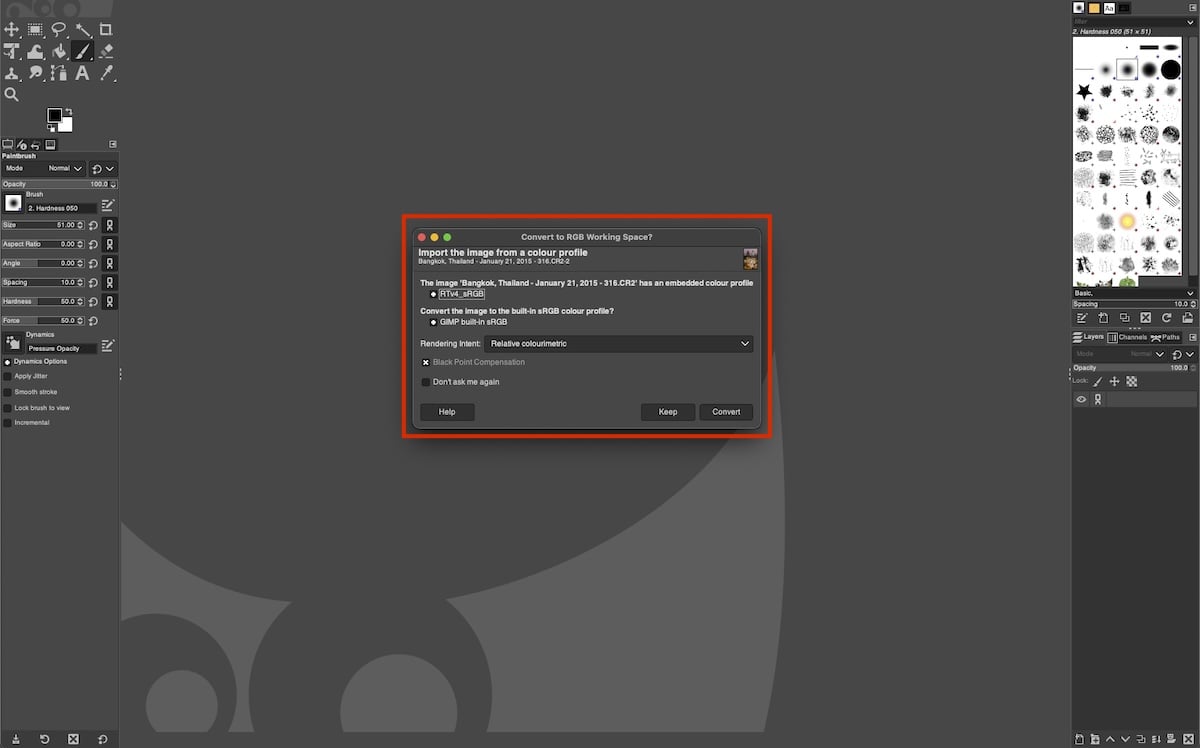
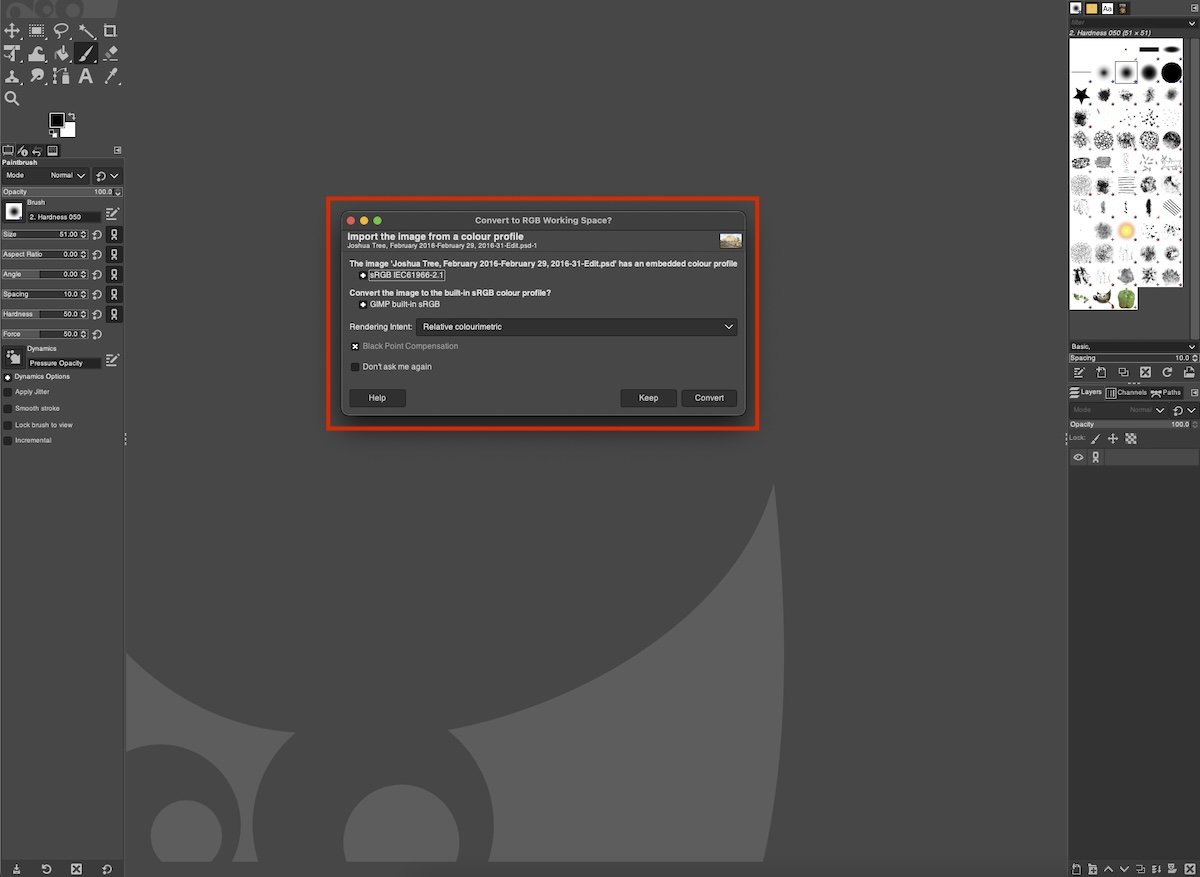
Every time you close the image in RawTherapee, GIMP will ask you what color space to convert the image to.
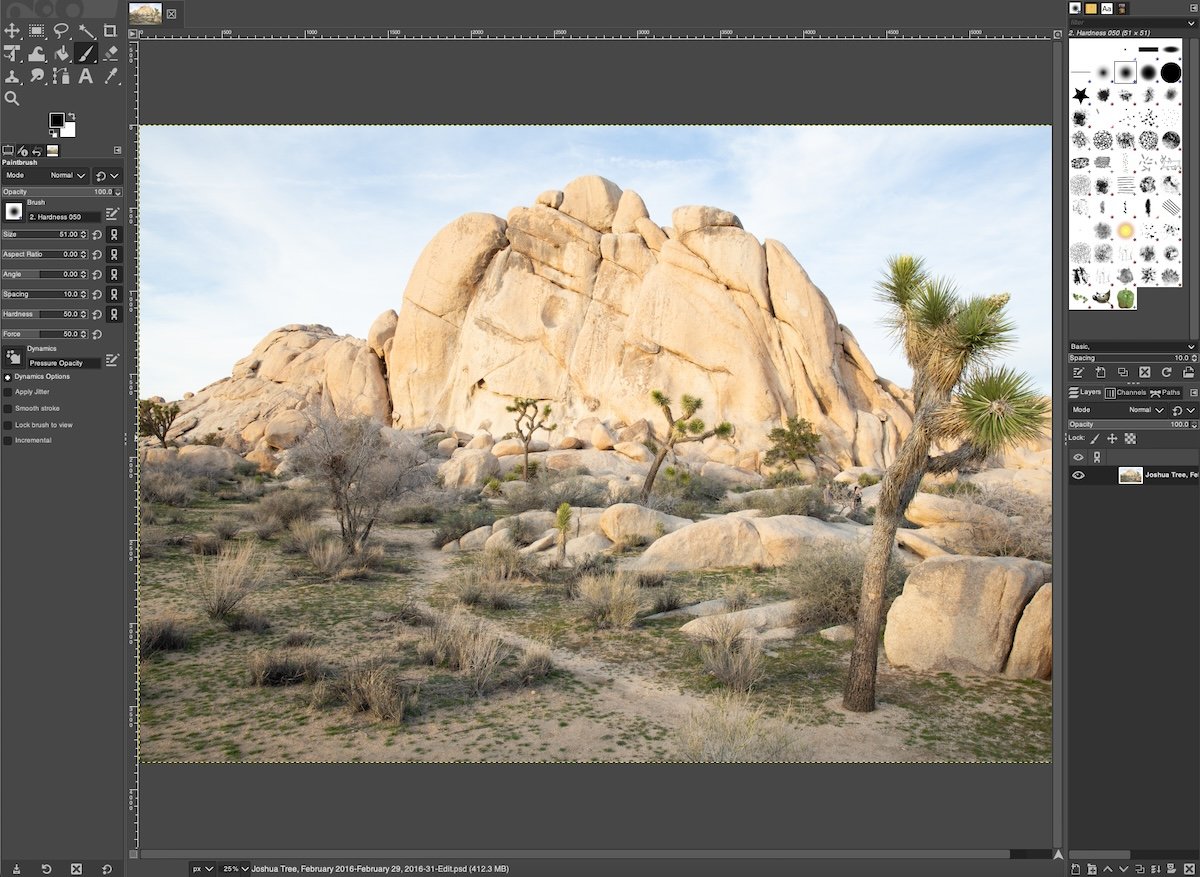
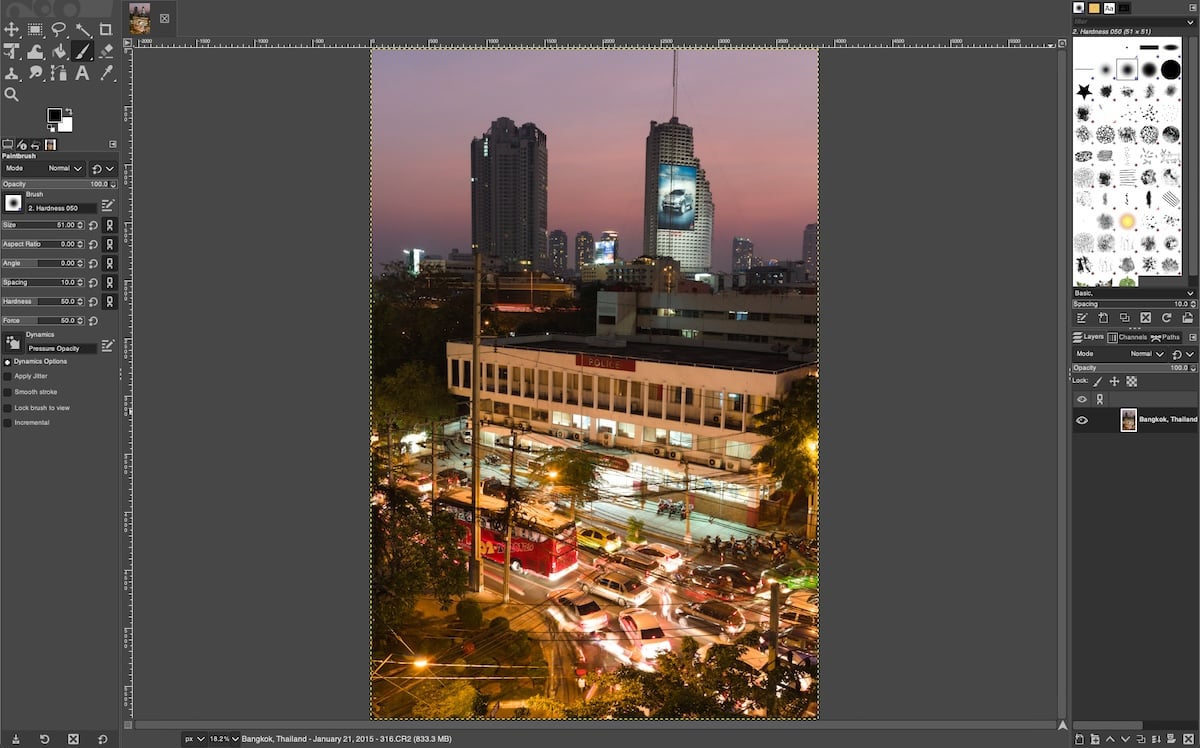
Now, you can edit your picture. When you are finished, simply close the image, and it should then open up in GIMP.
Open A RAW File In GIMP Using Lightroom
There may be photographers out there who own Lightroom but not Photoshop. If this is you, then we will show you how to open photos in GIMP from Lightroom.
Step 1: Download Lightroom
Adobe Lightroom is a paid application that requires a subscription. There are different price points and options.
Adobe only operates on Windows and macOS. Linux users will have to use the free option, RawTherapee.
Once you have paid for the program, install Lightroom to begin. This process only works with Lightroom Classic. Luckily, Adobe gives you both versions together
Step 2: Import Your Files
Lightroom can import files directly from your camera or a computer folder. Use the import function to find the folder of photos you want to edit.
Once you have selected your photos, you can import them into Lightroom Classic.
You are now able to perform initial edits to your photographs. Head to the Develop workspace in Lightroom Classic to do this.
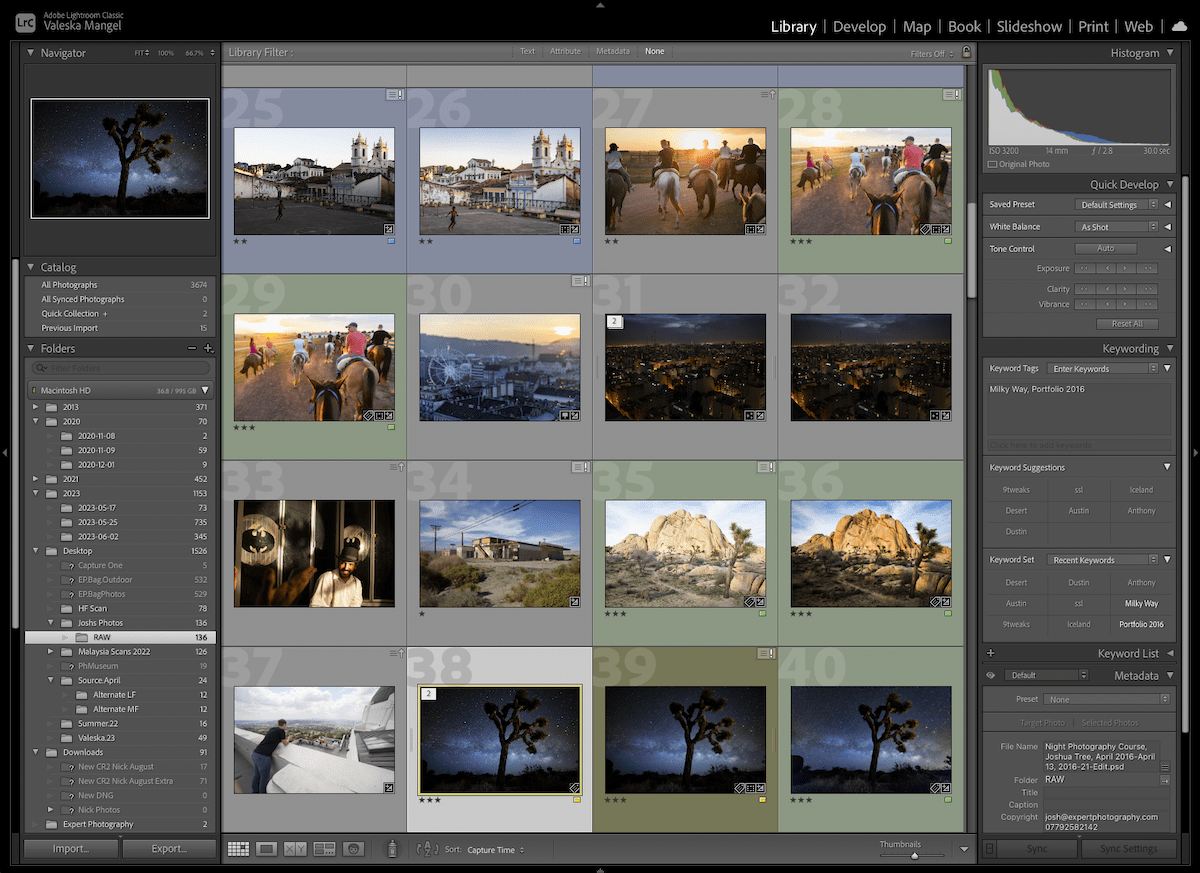
Import your images into Lightroom Classic
Step 3: Connect Lightroom to GIMP
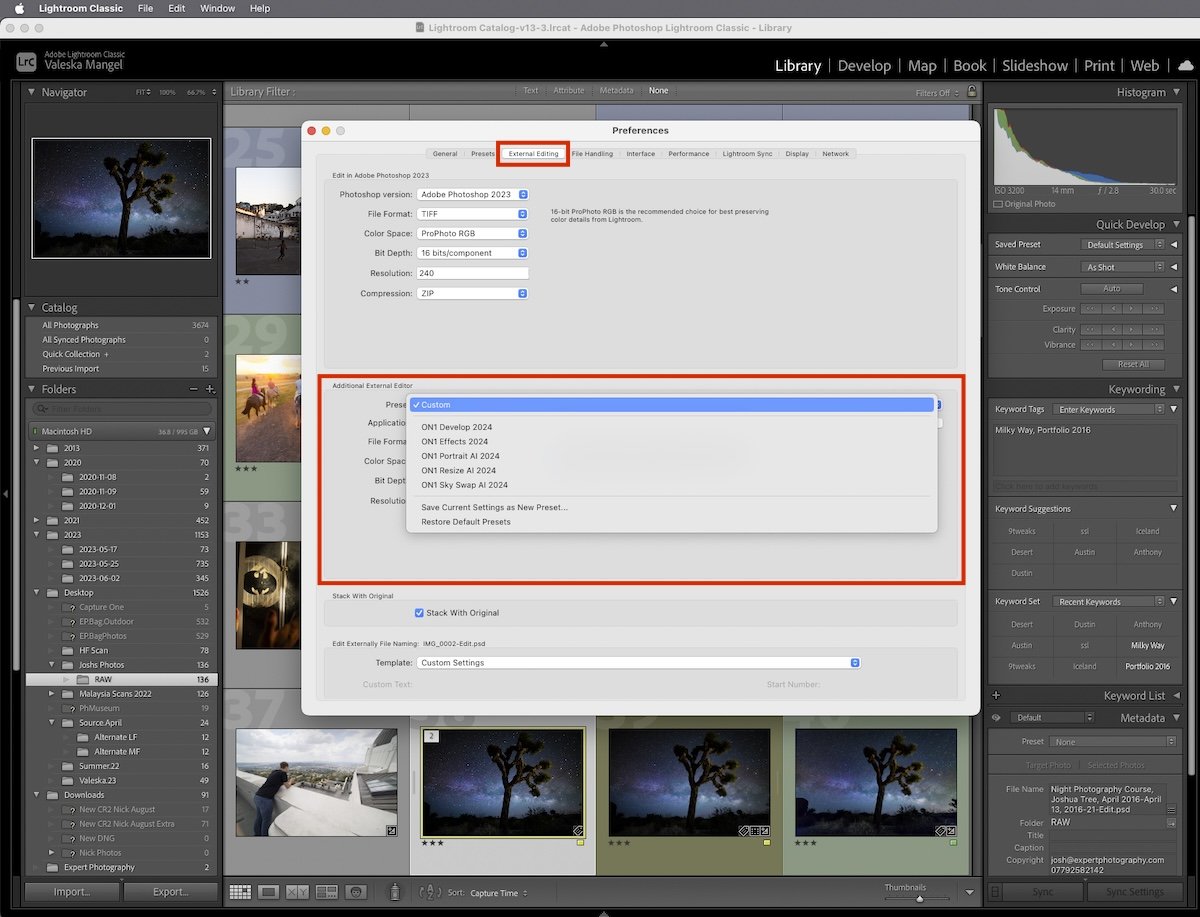
To open a RAW file in GIMP from Lightroom, you will need to connect GIMP as an external editor. To do this, click Lightroom on the top left and go to Preferences.
In this settings window, there is a section entitled External Editing. There will then be a section here entitled Additional External Editor.
In the Preset dropdown menu, choose Custom. Then click Choose under the dropdown menu to the right.
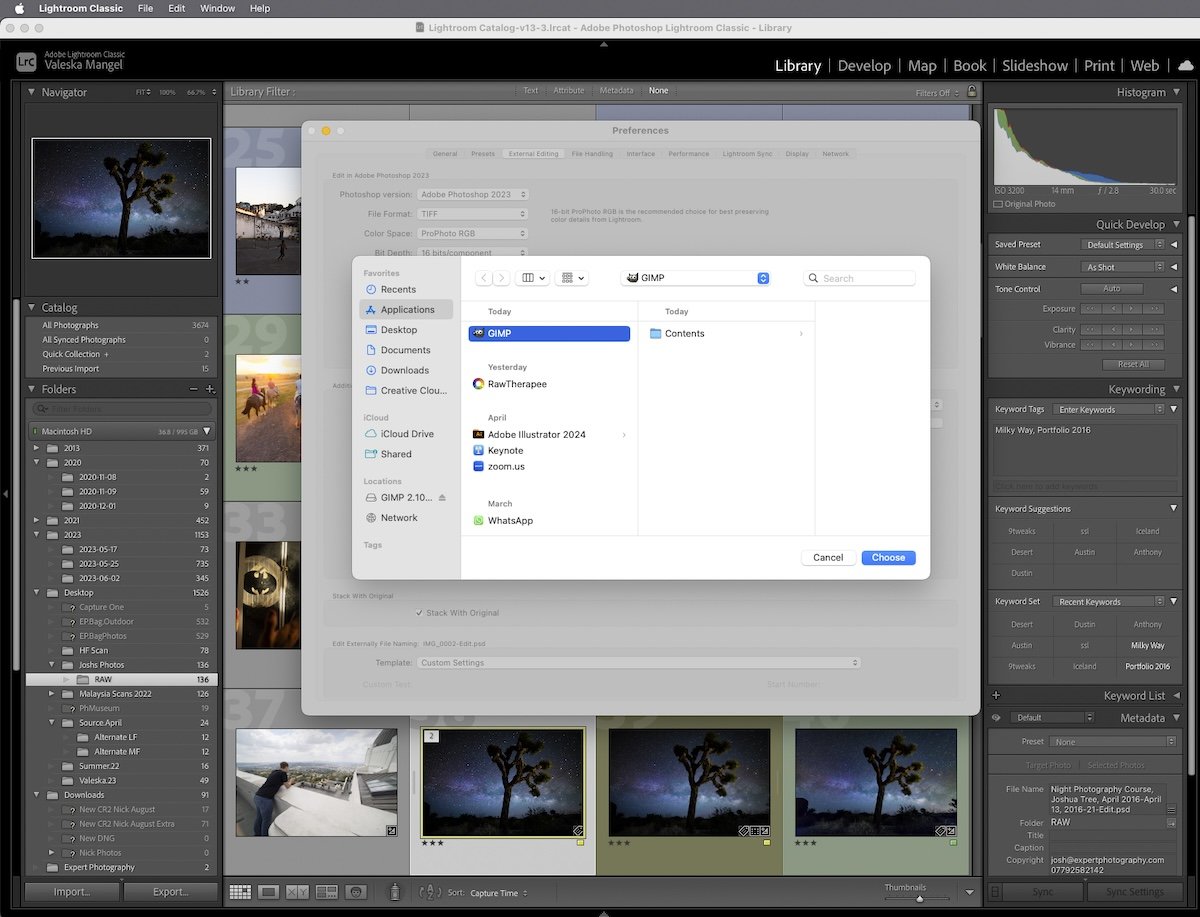
You can then find the GIMP application through the file browsing system. GIMP will be in the applications section.
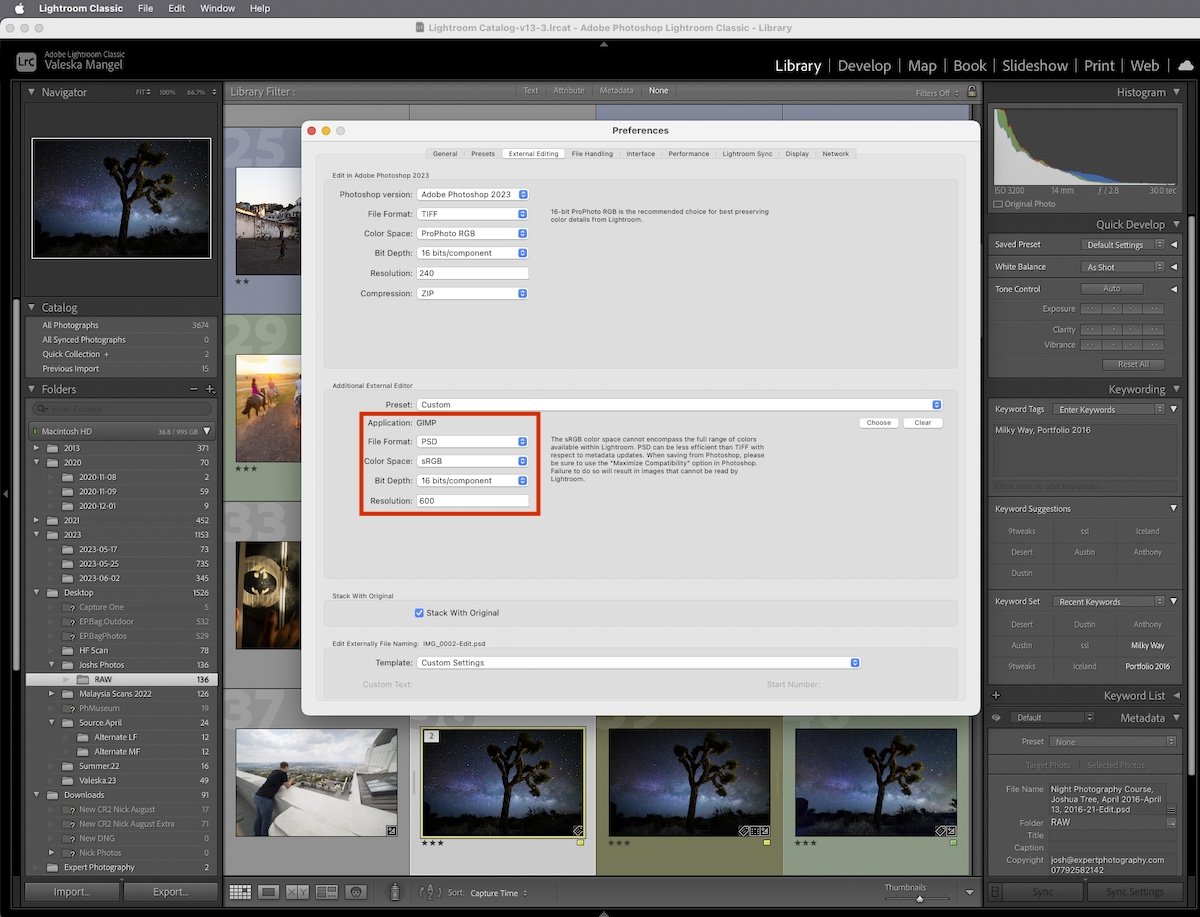
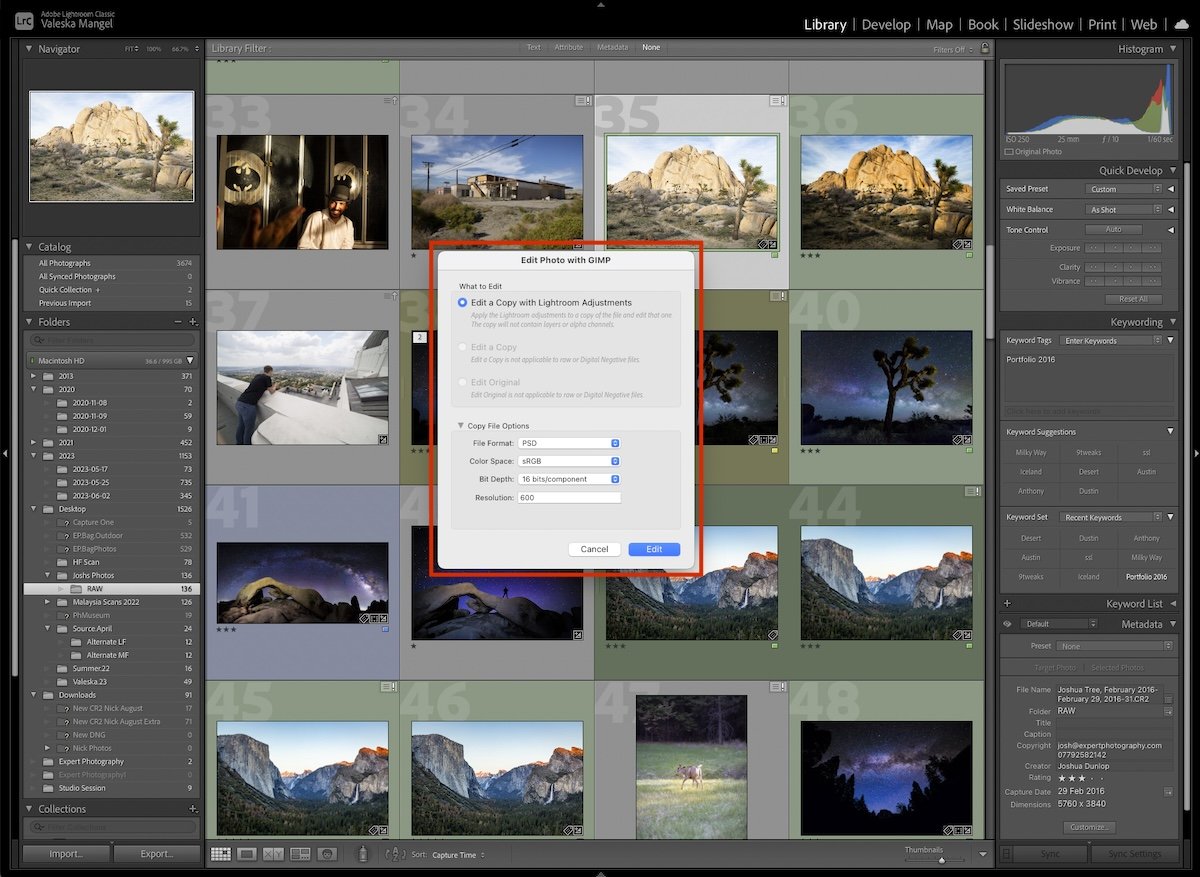
Lightroom doesn't directly export the RAW file; it can export as a JPEG, TIFF, or PSD. The latter of these options, TIFF and PSD, are the best options to keep as much information as possible.
Lightroom allows you to choose the file type in the dropdown menu entitled File Format. You can then choose the color space and the bit depth.
You are then able to choose the resolution. A high-quality resolution is normally 300 dpi. I would suggest putting the resolution at 600 to ensure you have the best resolution possible.
Step 4: Open Image In GIMP
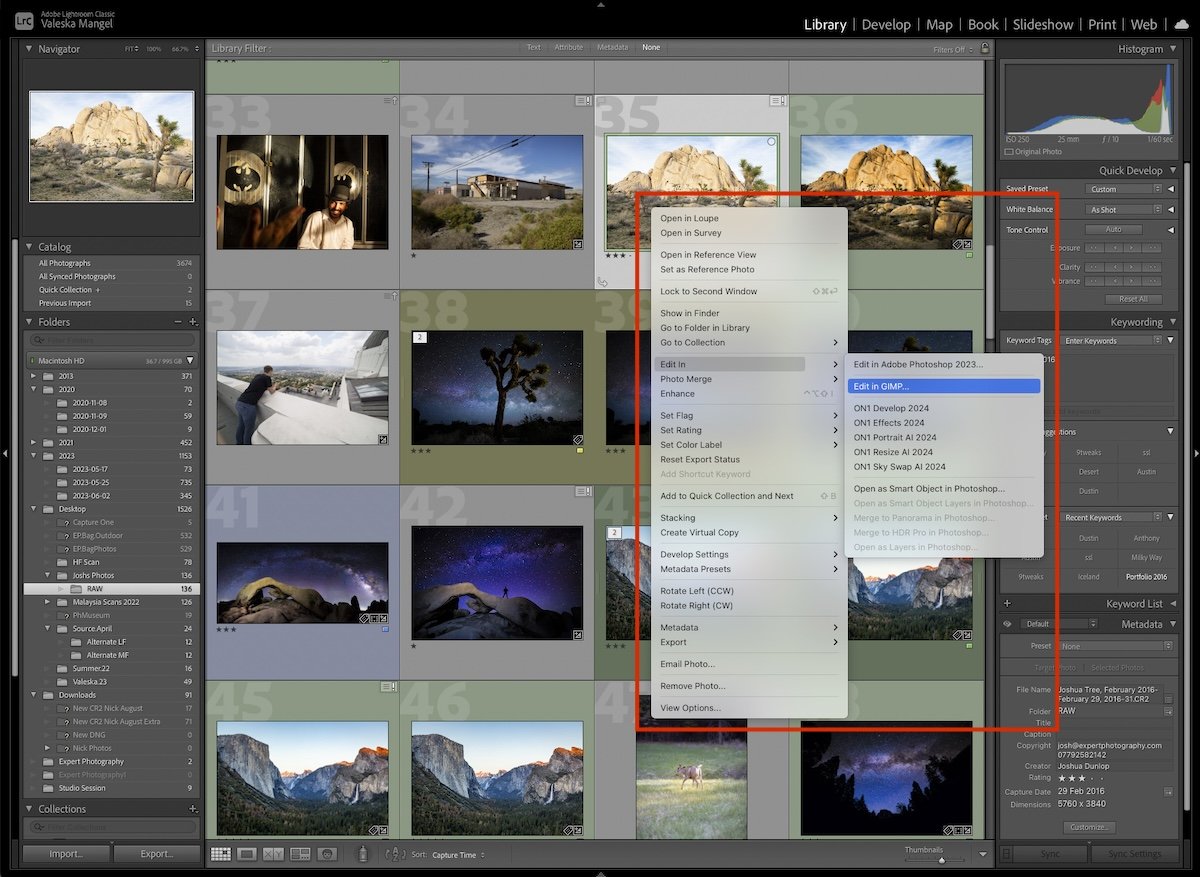
Now you can open your photo in GIMP. From the Library page, find the photograph you want to continue editing.
Right-click your file. Go to Edit In, and you will see one of the first options is Edit In GIMP. Click this option.
Upon clicking this, Lightroom will offer you three different exporting options. If you are opening a RAW file you will have to select the top option. You can also fine-tune your import settings here.
This will then open your photograph in GIMP.
Conclusion: How To Open A RAW File In GIMP
Now you have two different avenues that allow you to open a RAW file in GIMP. Either of these options will ensure you are editing a high-quality file to get the most out of your photograph.
GIMP is a great free alternative to Photoshop. However, nothing can compete with the constant development of Adobe products. If you want to take photography seriously, consider purchasing Adobe products for editing.