Today, we are exploring the architectural photography genre. This complete guide will explain this genre and how to get the best results from your camera. We will also give you inspiration and wider points to consider when taking pictures.
Every photographer will want to explore architectural photography at some point in their photographic development. The genre spans a wide spectrum, from travel photography to editorial photography. Let’s now dive into this genre. Make sure you click each highlighted article to find out more.
What is Architecture Photography?
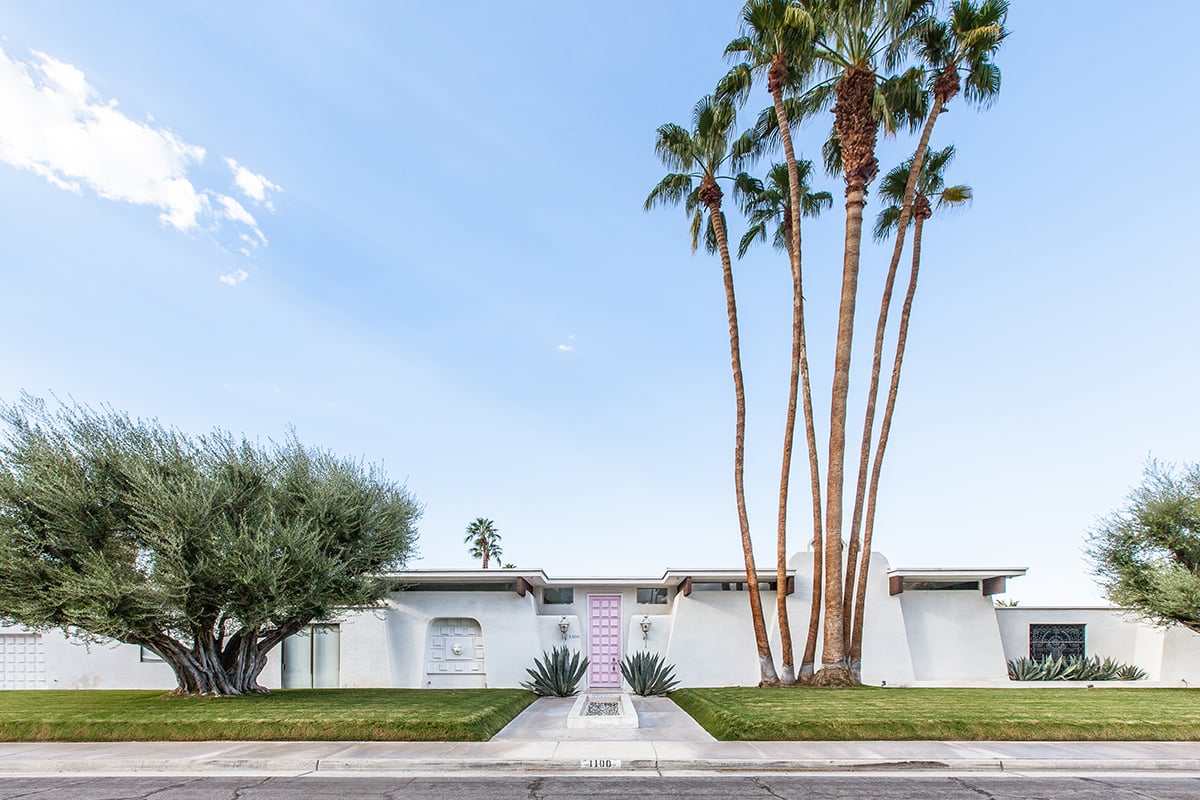
Architecture photography is simply taking photographs of buildings. Although this may seem simple, it takes work to execute like a professional. There are many elements to consider, such as simple elements like the background and its surroundings. Also, there are more complex ideas, such as the building’s personality or highlighting its unique features.
There are many photographic techniques and equipment that will aid architectural photography. Read our full guide on architecture photography to find out what these are and how you can use them to the fullest!
Guide to Architecture Photography
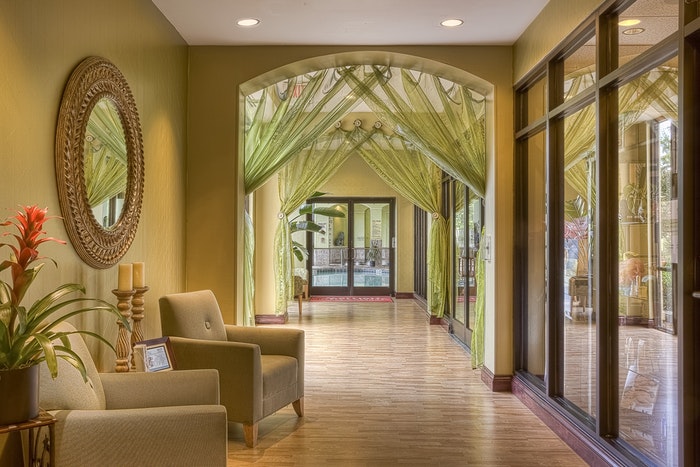
Architecture photography is all about capturing buildings, monuments, interiors, and exteriors. Use a low ISO, shoot in Raw, and edit your photos for the best results. Composition is key, so focus on using composition rules to make the building look its best.
Having the right camera gear helps you photograph different structures and scenes. A tripod keeps your camera still for sharp shots and long exposures. Accessories like graduated ND filters and cable releases are also useful.
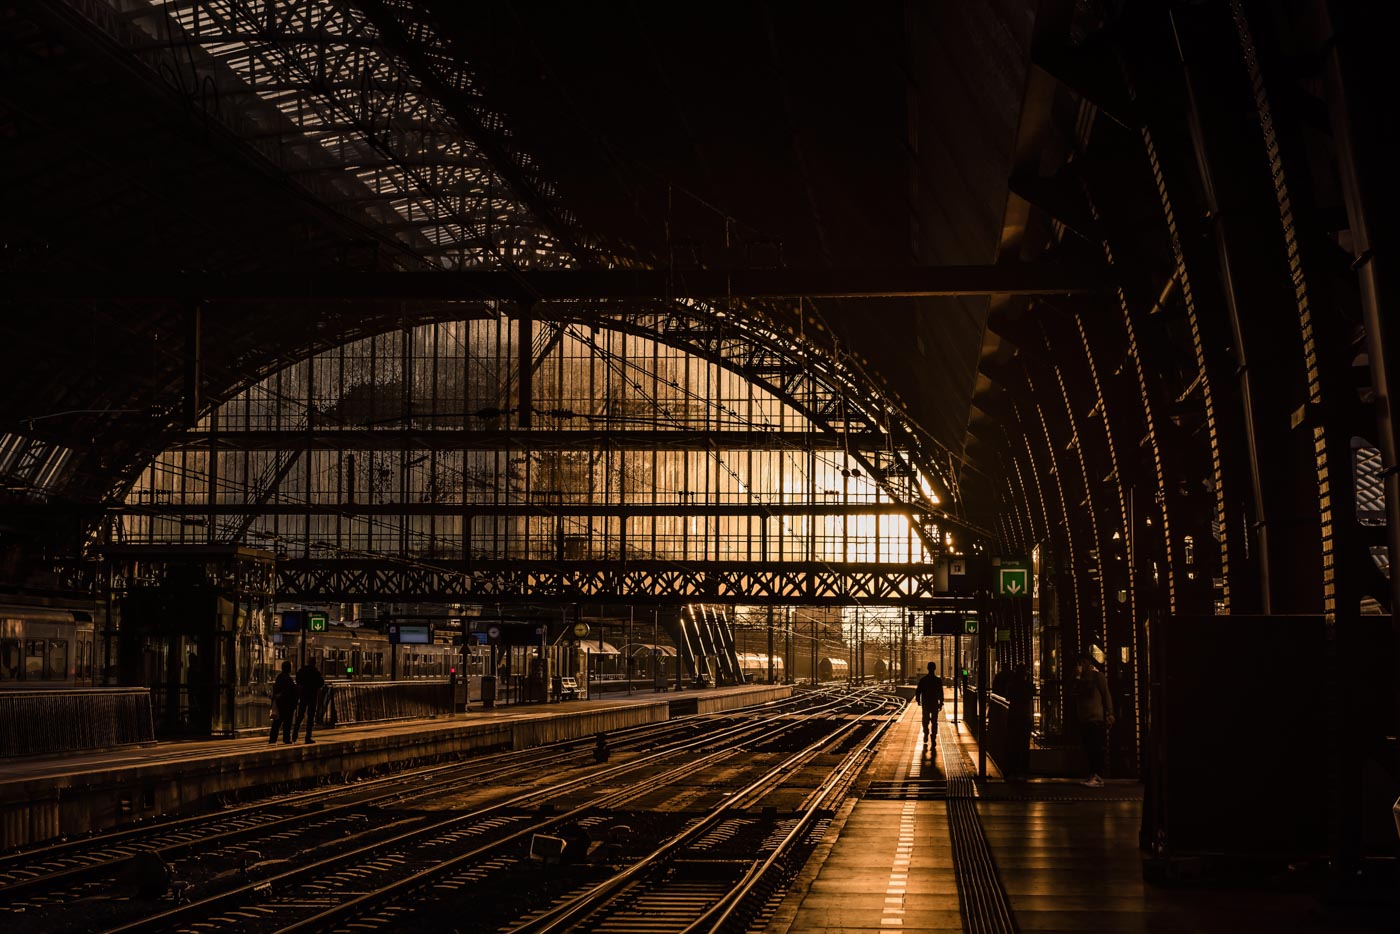
Architecture photography is a great way to show off buildings in a unique way. Visit the same spot at different times of day to capture the building in various lighting conditions. Including people in your shots can add meaning and show the structure’s scale. With some practice and creativity, you’ll be taking stunning architecture photos in no time.

Understanding Architecture Photography
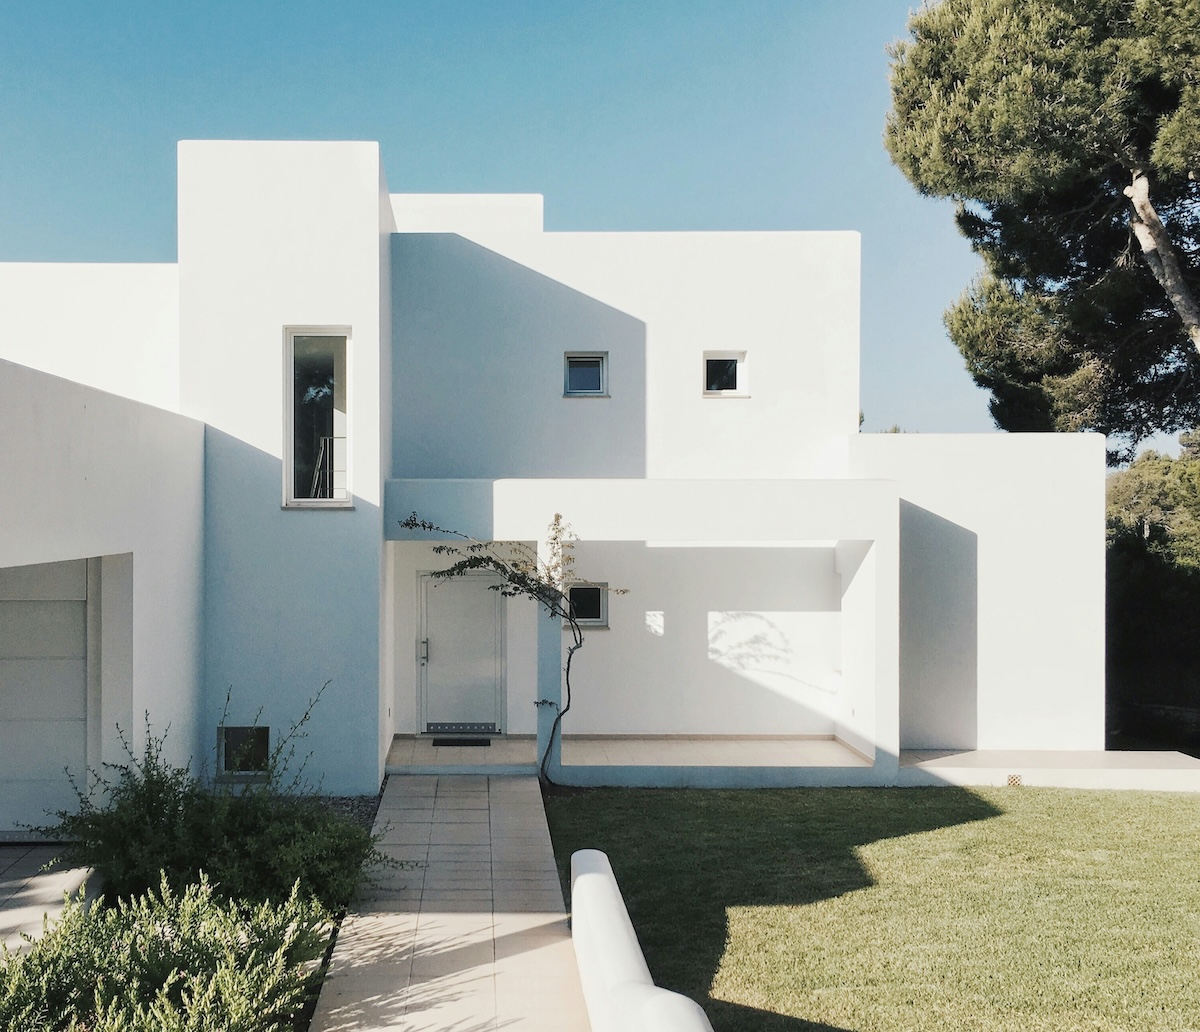
To understand architecture photography, you have to familiarise yourself with a few photographic concepts. The most important element comes from the composition of the building inside your frame.
You will want to use a narrow aperture to have as much in focus as possible. Using a tripod is advantageous as a narrow aperture will require longer exposures. A tripod will also make you consider the framing much more. You can make small changes to achieve the perfect composition.
Composition
Composition is key in architecture photography. With the right techniques, you can make your photos stand out.
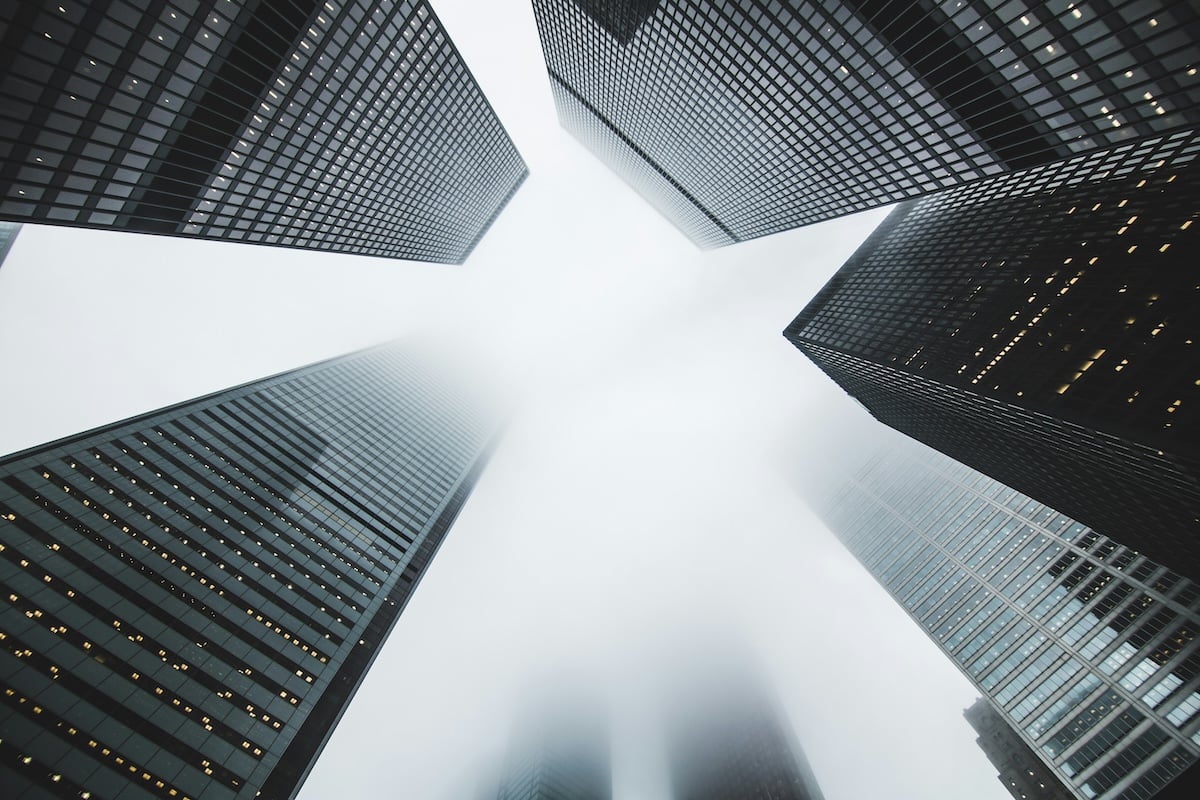
Use a wide-angle lens to capture the bigger picture and add context to your shots. Include leading lines to create points of interest and direct the viewer’s attention. Add a sense of scale by including common elements like people or cars.
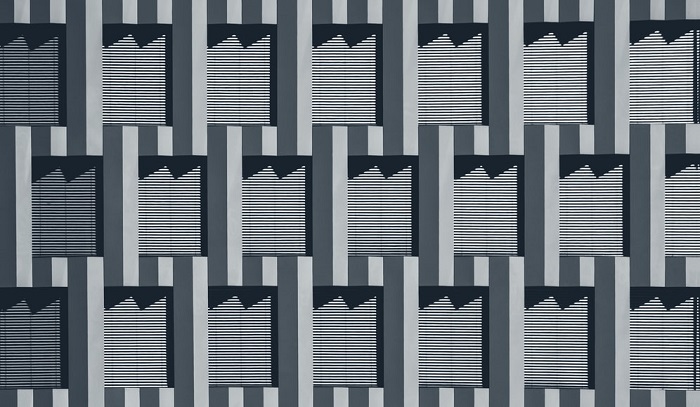
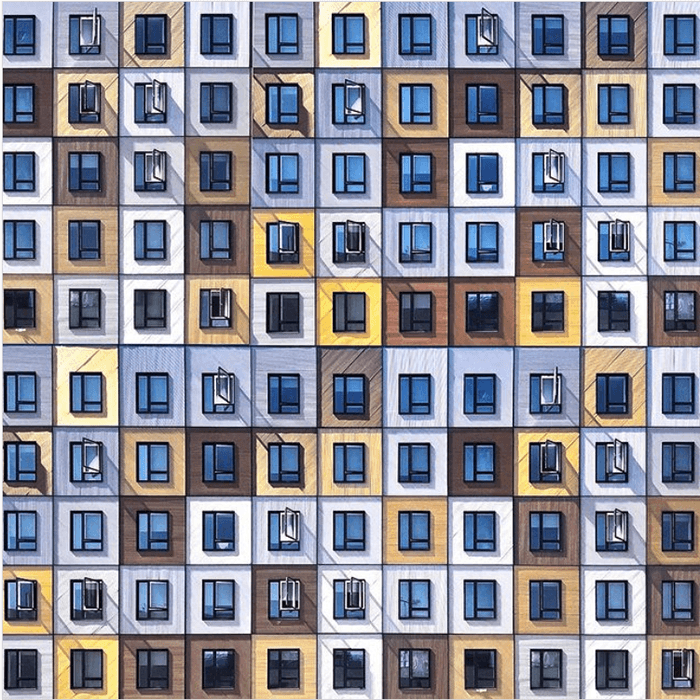
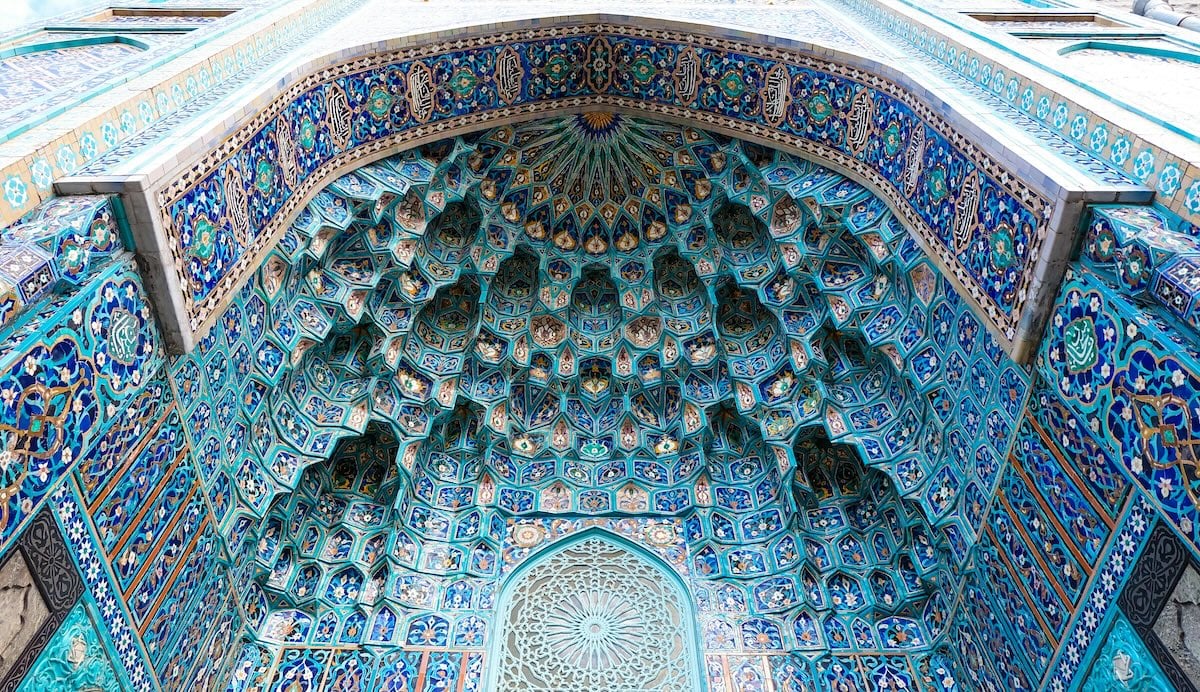
Don’t forget to focus on the details for a unique perspective. Look for reflections to add symmetry and contrast. Shoot during blue hour to capture vibrant colors in the sky. Experiment with angles and incorporate patterns for dynamic compositions. Including a human element can make your photos more authentic and relatable.
By using these architecture photography composition tips, you’ll be able to create stunning images of any building or structure.

Architecture Ideas
There are a few different ways you can approach shooting architecture. You can shoot singular buildings or shoot an entire cityscape. Each one of these approaches will require a different technical approach. Shooting singular buildings may require a wide-angle lens, whereas cityscapes benefit from a long lens.
Let’s now walk through different subject matter to consider when shooting architecture photography. The subject matter can range from the number of buildings, different times of day, or internal architectural elements.
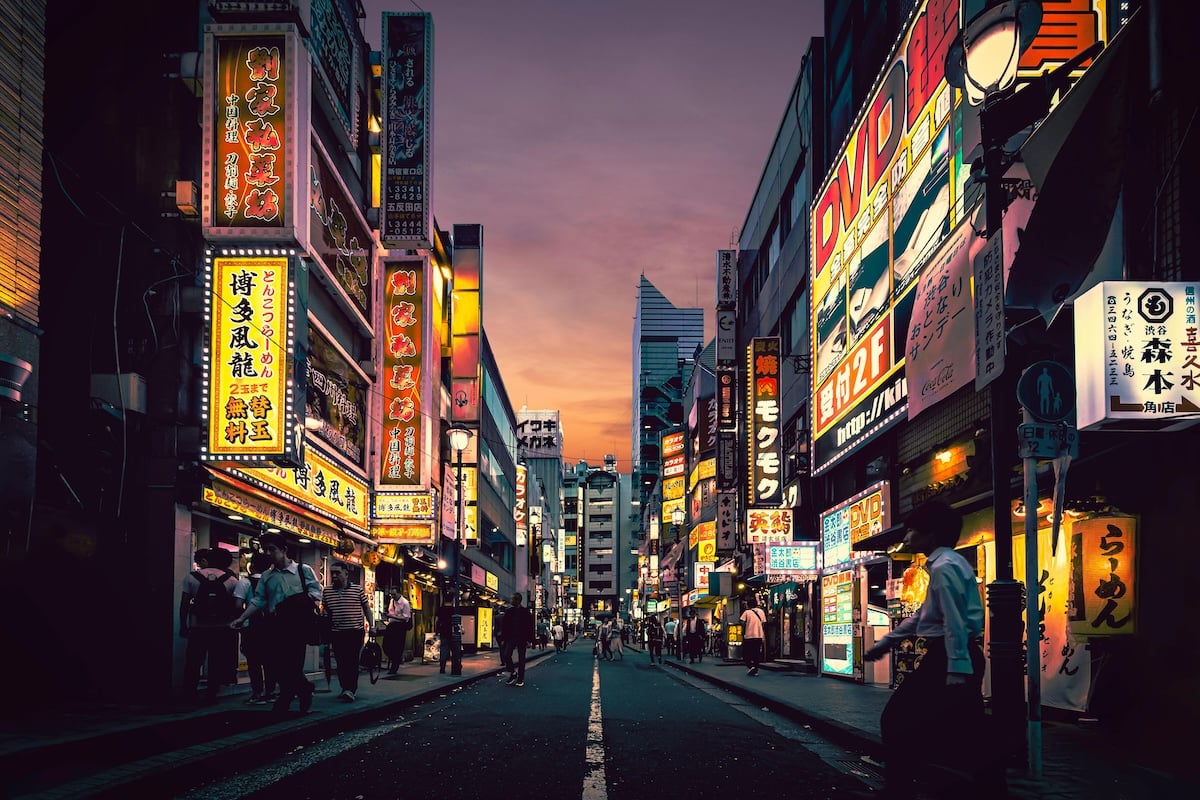
Shooting in the City
Let’s explore some tips for taking great city photos. You should look for interesting details like street art, patterns, and colors. Cities are full of hidden gems if you keep your eyes open. Try shoot from different angles to capture unique perspectives.
You should use a wide-angle lens to photograph buildings and cityscapes. Visit popular spots at golden hour and blue hour for the best light. Capture the city’s energy by including people in your shots.
Reflections are everywhere in cities – look for puddles, fountains, and glass buildings. For more city photography ideas, check out this in-depth guide.
Cityscapes
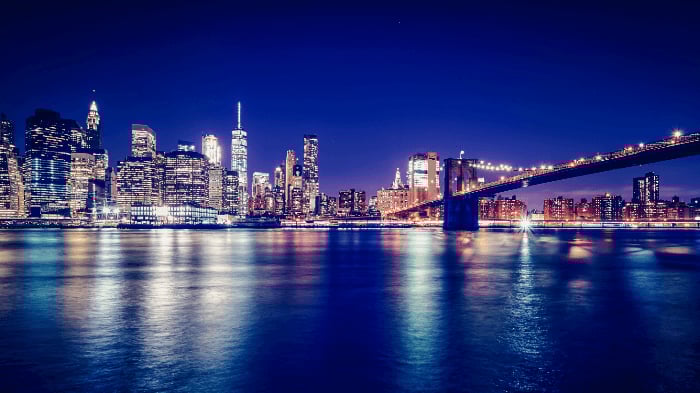
A cityscape is a landscape that consists of buildings in urban areas. You will want to use a tripod to avoid camera shake and get sharp images. Consider keeping your ISO low to reduce noise. An aperture of f/8 or higher will give you a large depth of field.
You may want to shoot during golden hour just after sunrise or before sunset for soft, warm light. Blue hour is also a great time to capture cityscapes with water, as the ambient light creates beautiful reflections. Use long exposures at night to capture light trails from traffic for added drama.
Frame your shots using the rule of thirds for balanced compositions. Look for unique angles and use the foreground as a point of interest. If you want to learn more about cityscape photography, there are many great resources available here.
Night Time
Night time architecture photography can produce stunning results. To get started, you’ll need a stable tripod and a camera with manual settings. Use a wide aperture, low ISO, and long exposure to capture sharp, noise-free images.
Look for interesting compositions that highlight the building’s unique features. Incorporate light trails from passing traffic or reflections in puddles to add dynamic elements. You can also use the moon and stars to create moody, low-key images.
Experiment with different lenses to capture wide cityscapes or isolate small details. Black and white conversions can simplify chaotic scenes and emphasize patterns and shapes. With a bit of creativity, you can transform ordinary buildings into works of art. To learn more about nighttime architecture photography, check out this in-depth guide.
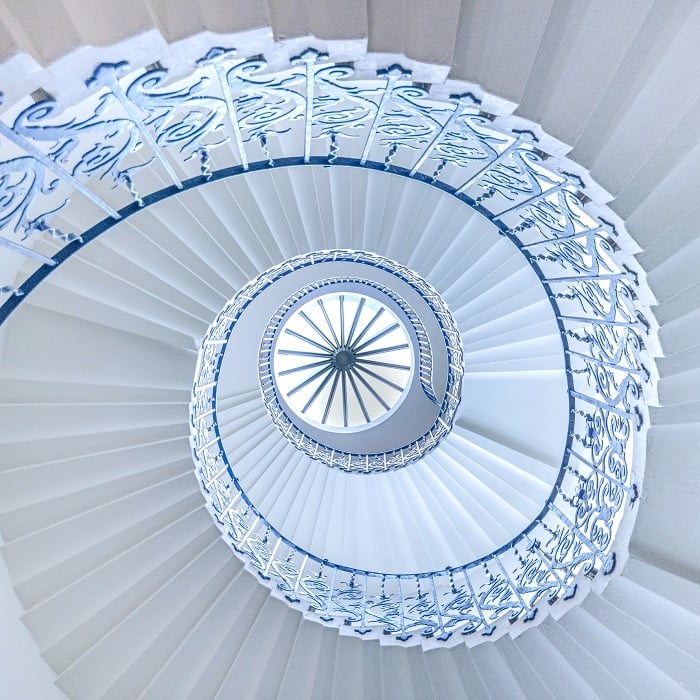
Staircases
Staircases offer unique opportunities for creative photography. Use stairs to lead the viewer’s eye and create a sense of curiosity. Straight lines in staircases can form interesting patterns, especially when you change your perspective or camera angle.
Spiral staircases are full of curves and twists that make for intriguing photos. Wide-angle lenses can accentuate the curves and add a dream-like quality. Look for symmetry in staircases, as the uniform lines and curves create symmetrical patterns.
Adding people to your staircase photos can create new points of interest and bring emotions to your shots. Use a long exposure to add motion blur, which can contrast with the lines of the stairs and add feelings like dizziness or loneliness. If you want to dive deeper into the world of staircase photoshoot, there are plenty of resources available to help you take your photography to the next level.
Best Gear
Professional architecture photography requires professional equipment. You can shoot architectural photography on standard stock equipment or even your smartphone! But, you will struggle to achieve the same compositions and views of the professionals.
This section will discuss the top equipment and accessories you may need in architecture photography. We will look at a wide range of camera and lens brands so you will have options to fit your current kit. Look at each article in detail to get the full list of equipment.
Cameras for Architecture
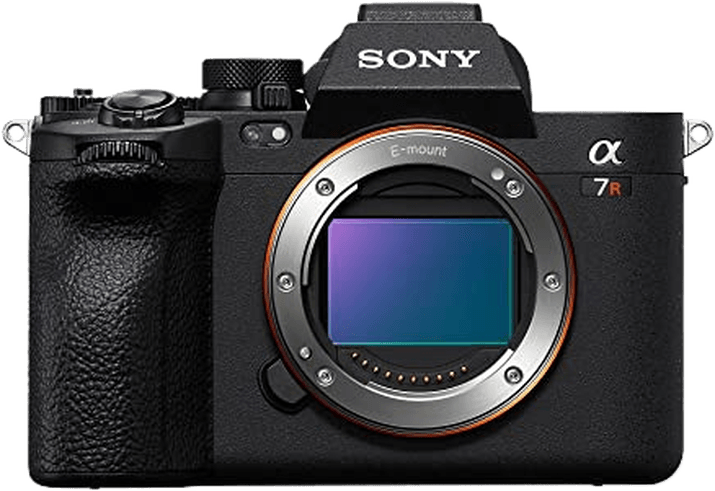
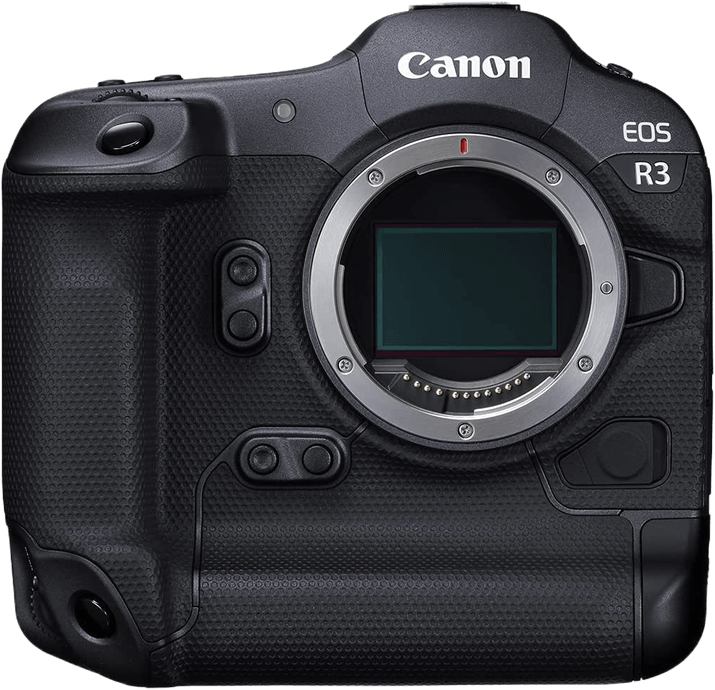
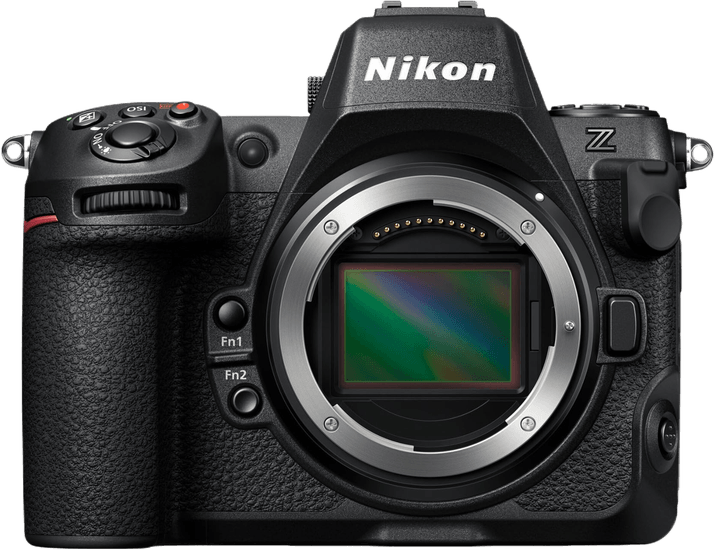
The best camera for architectural photography has a full-frame sensor. This allows you to capture more detail and shoot in low light. Mirrorless cameras are a great choice, with models like the Sony a7R V and Canon EOS R3 leading the pack.
DSLRs like the Nikon D850 are also excellent options. They offer robust performance and a wide range of lenses. Micro Four Thirds cameras like the Olympus OM-1 are smaller and lighter, making them easy to carry.
Smartphones have come a long way in recent years. The iPhone 15 Pro Max and Google Pixel 8 Pro have impressive cameras that can handle architectural photography in a pinch. To learn more about the camera for architectural photography, check out our in-depth guide.
Our Top 3 Choices for the Best Camera for Architectural Photography
Lenses and Accessories for Architecture
Having the right gear and lenses is essential for capturing stunning architectural photos. A stable tripod is a must-have accessory. It allows you to take sharp photos in low light and use creative techniques like long exposure.
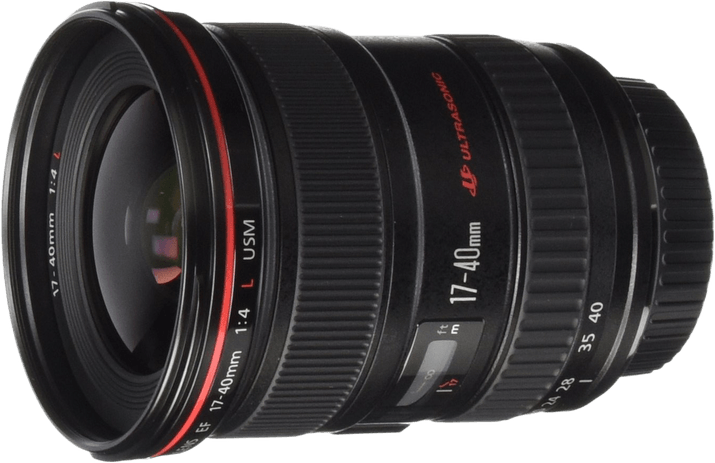
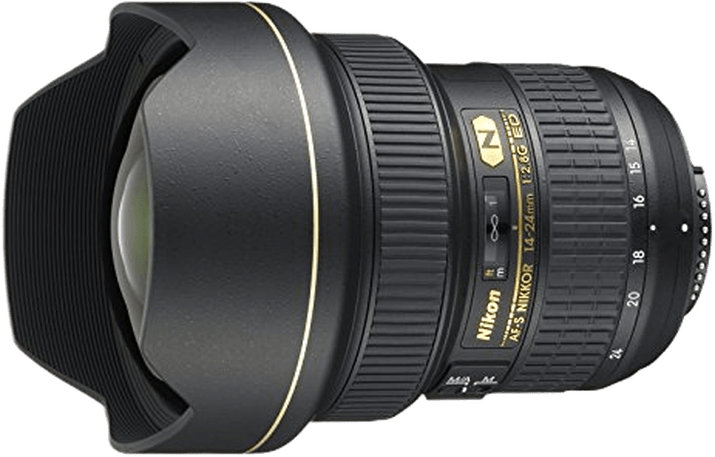
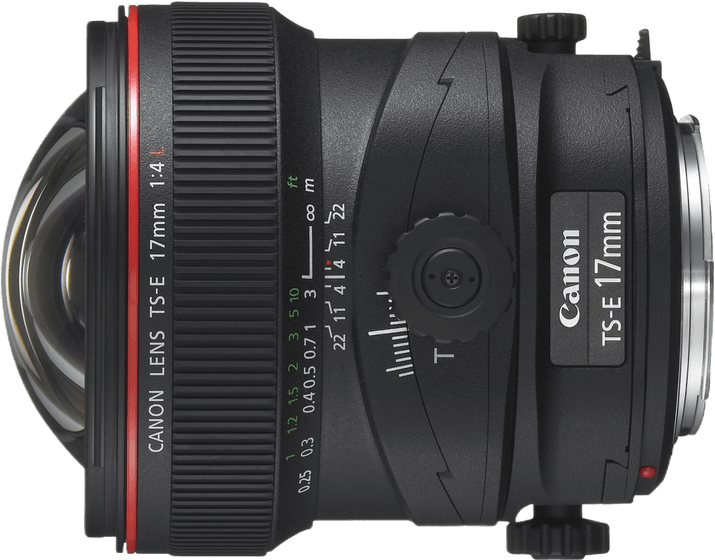
Wide-angle lenses are the most popular choice for architectural photography. Ultra-wide lenses like the Canon EF 17-40mm f/4L USM or Nikon AF-S 14-24mm f/2.8G ED offer striking views of interiors and exteriors. Tilt-shift lenses like the Canon TS-E 17mm f/4L are specialized options that help correct converging lines.
Other helpful accessories include remote shutter releases for reducing camera shake and circular polarizing filters for improving skies and reflections. With the right lens for architectural photography, you can take your images to the next level.
Our Top 3 Choices for the Best Gear for Architectural Photography
Finding Inspiration
Architecture is all around us. If you live in a city, you will notice its unique persona through its architecture. If this is not the most inspiring for you, find elements or places that do. These could be a short drive away or a city halfway around the world.
Use unique architectural shapes and patterns to frame your view of the buildings around you. Photography has a unique ability to allow you to make your own art out of your existing environment. This next section will show you how previous artists have done this to give you inspiration for your photos.
Architecture
Looking at beautiful architecture photos is a great way to get inspired for your own projects. Alleyways are perfect for capturing the era in which they were built and make great leading line compositions. Castles offer settings for some of the best books and films, while churches showcase stunning details that make for amazing images.
Doors are gateways to hidden elements, with endless connotations. Filling the frame with an architectural subject makes it seem much bigger than it actually is. Grandeur buildings like parliaments and old banks provide a range of photographic opportunities, from details to wide-angle shots.
Industrial complexes are rich in shapes, forms, textures, and lines, making them ideal for photographic essays. Lighthouses, often located next to water, are great for showing the juxtaposition between nature and man-made structures.
By using light within architectural areas, you can emphasize details, form, and textures to create alluring images. Architecture photos are a fantastic way to capture the beauty and diversity of the built environment.
Famous Photographers
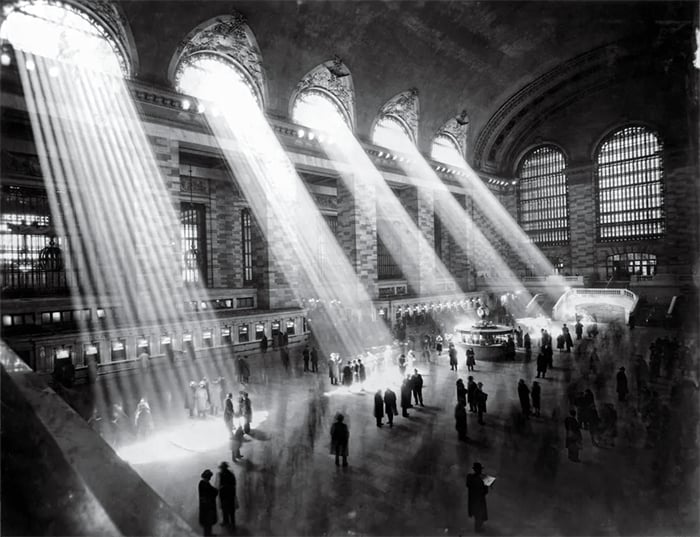
Let’s now look at some of the most famous architectural photographers you should know. Berenice Abbott captured stunning high contrast black and white photographs of New York during the Great Depression. Julius Shulman’s work glamorized modern California lifestyle and promoted modernism.
Lucien Hervé portrayed space, texture, and structure in a unique way that influenced modern architecture photography. Hilla and Bernd Becher spent 40 years documenting industrial architecture through typologies.
If you’d like to learn more about famous architectural photographers, there are many other influential photographers to discover. From early 20th century pioneers to contemporary masters, studying their work can provide endless inspiration for your own architecture photography.
Start Your Own Business
Once you have familiarised yourself with architecture photography, you may want to make it your full-time job! There are a few avenues you can take to make this happen. You can either join an architecture firm or a real estate company. You can also make your own art by photographing buildings that have significance to contemporary or historical issues.
If you take architecture photography further, there are a few points you want to consider. One of these is copyright law. You may also want to have people in the picture to show a public space. If you plan on selling your work, you must consider these points so amateurs don’t have to worry.
Copyright Law
Copyright law for photography can be tricky, especially when it comes to architecture. As a photographer, you automatically own the copyright to any photo you take. However, there are some important factors to consider when photographing buildings.
Public buildings constructed before December 1, 1990 are not subject to copyright protection and can be freely photographed. For buildings constructed after that date, you can still take photos without a release as long as the photo is taken from a public place. Private homes and interiors may require a property release to protect the homeowner’s privacy.
It’s also important to be aware of any unique design elements or artwork that may have their own copyright protection. To learn more about copyright law for photography, including how to protect your own work, be sure to check out our in-depth guide.