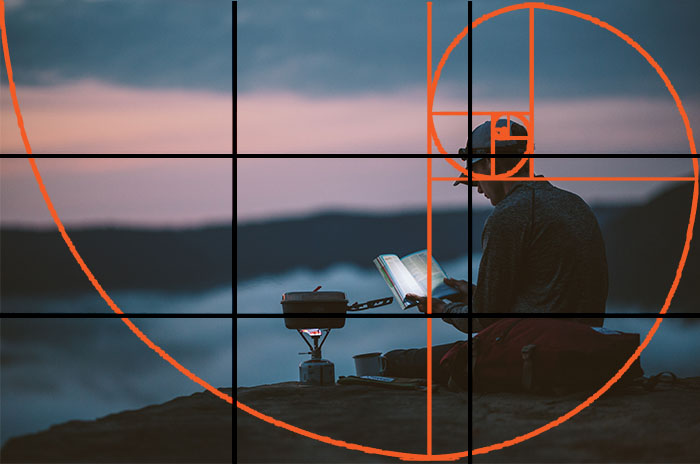
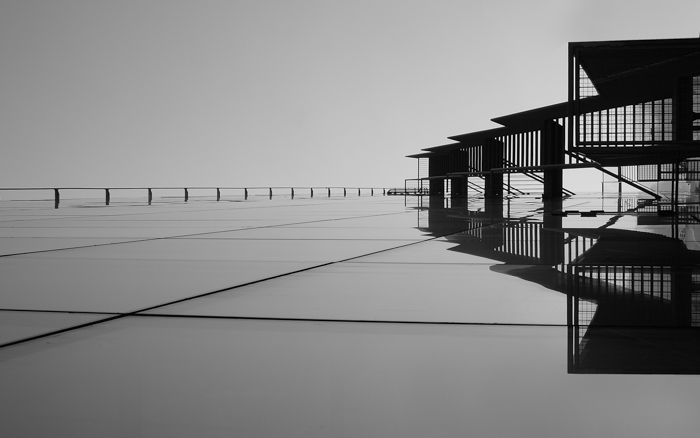
A frame within a frame is a composition technique that uses something in the scene—such as a doorway, window, arch, or branches—to surround all or part of your subject. The photograph has its outer edges, and this second frame sits inside them.
It can add depth, show the setting, and draw attention to a clear focal point. The frame can be in front of your subject or behind it, and it does not need to cover all four sides.
Start with a subject, find a frame, then move until the two line up. These seven examples show how to make that relationship work.
1. Use a Foreground Frame to Surround Your Subject
A foreground frame sits between your camera and the subject. Doorways, arches, and windows are useful places to start because they give you a clear opening to shoot through.
In the photo below, the stone arch surrounds the distant castle. The dark edges separate the view from its surroundings, while the nearby stonework gives the scene a sense of depth.
Choose the subject first, then look for a shape that holds it. Move a little left, right, up, or down until the opening leaves the important parts visible. Check that an edge does not cut across the subject by accident.

2. Look for a Frame Behind Your Subject
A frame does not have to be in the foreground. A background doorway, arch, or pair of vertical shapes can surround a person from behind.
The portrait below is a subtler example. The building's towers sit on either side of the subject's upper body. They provide visual balance around him rather than a complete border.
Look at the background before you take the shot. Shift your position to separate the person's outline from distracting details. With a portrait, check that a tower or branch does not appear to grow out of their head.

3. Use a Partial Frame to Lead the Eye
You do not need a complete rectangle. Branches along two sides or an arch across the top can suggest a frame while leaving the rest of the scene open.
In the volcano photo, the branches in the upper left and lower right surround the mountain without enclosing it. Their diagonal lines help direct attention inward.
Keep enough of the frame to make its shape clear, but watch for thick branches that hide the subject. Compare a slightly wider composition with a tighter one. Choose the version in which the subject is easiest to see.

4. Add Depth with Layers and Selective Focus
A nearby frame and a more distant subject create distinct layers. You can keep both clear or use a shallow depth of field to let the frame become soft.
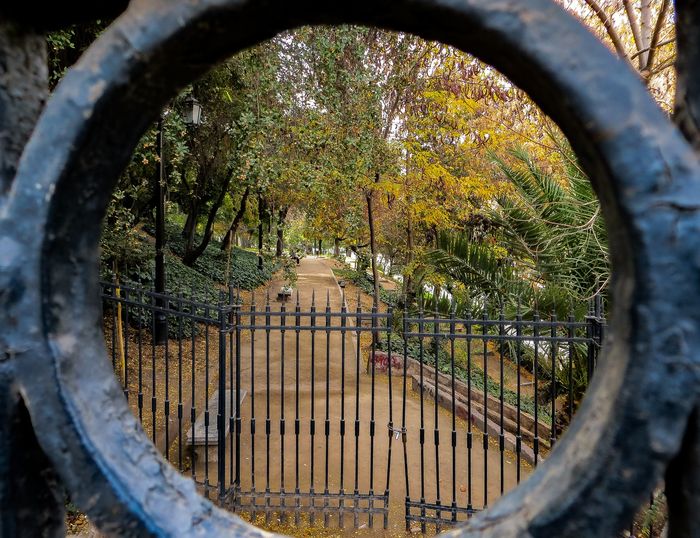
In the park photo, the circular opening is close to the camera. Beyond it are a gate, a path, and trees. These overlapping layers give the eye a route into the scene.
Focus deliberately on the main subject; do not let the camera choose the nearest frame by accident. With the focus distance unchanged, a wider aperture (lower f-number) gives a shallower depth of field. A smaller aperture (higher f-number) gives more depth of field, as Nikon's aperture guide explains. Check the result: an aperture change alone does not guarantee that a very close frame and a distant subject will both be sharp.
5. Line Up Repeating Frames
Repeating doorways, arches, or trees can create a path through a photograph. As the openings recede, they appear smaller and draw attention toward the far end.
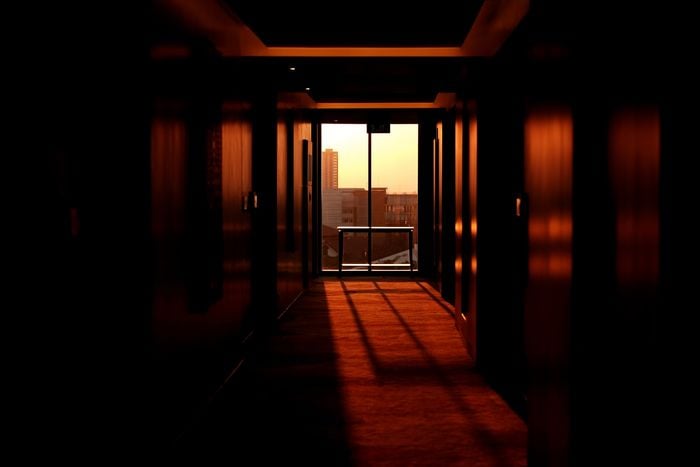
In the hallway below, the repeated rectangular shapes lead toward the bright window. This combines framing in photography with the depth suggested by a vanishing point.
Try a central position to make the repetition feel orderly. Then step to one side and see how the spacing changes. Pay attention to where the sequence ends: a person, a view, or a patch of light can give the viewer a reason to follow it.
6. Choose How Bright the Frame Should Be
A shaded opening around a bright view can be difficult to expose. Your camera does not always expose for the brightest point in the center. Its response depends on the metering mode and the scene. For example, Nikon's metering guide distinguishes wide-area matrix metering from spot metering of a small area.
Decide which detail matters. A dark frame can work as a silhouette around a well-exposed subject. If you want texture in the frame too, check that bright parts of the view have not lost detail as you increase exposure.
Take a test shot and inspect the bright view and the shaded frame. Use exposure compensation in an automatic exposure mode, or adjust your settings in manual mode. Changing modes alone will not reduce the difference in brightness between the two areas.
If you cannot retain the detail you need in both, try softer light or accept a darker frame. For a still scene, multiple exposures combined into an HDR image are another option; Nikon's HDR guidance explains the principle and warns that camera or subject movement can cause problems. A dark area is not automatically a mistake—judge underexposure and overexposure against the detail you want to keep.

7. Make the Frame Part of the Story
If the frame is particularly interesting, don't neglect it. Use it!
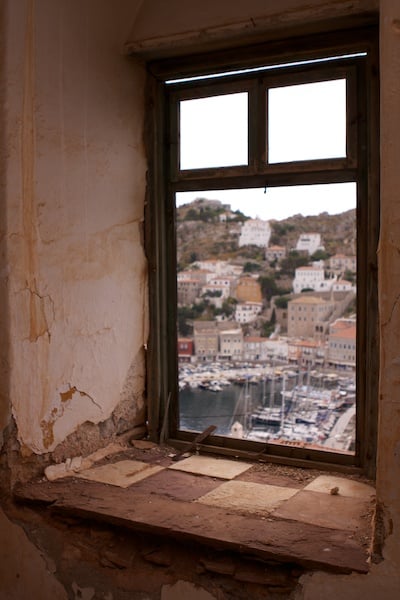
I found this rundown old building in Greece. The window frame was so full of character that I considered it just as important to the composition as the view through it.
The worn window and walls show where the photo was taken from. They turn a harbor view into a view from inside a particular place.
When the frame matters this much, leave enough room to show its texture and shape. Check focus on the frame as well as the view. The two do not have to be equally sharp, but the frame should contribute something worth looking at.
Put the Technique into Practice
Find one subject and photograph it both with and without a frame. Compare the results: does the frame make the subject clearer, add depth, or explain the setting? If it only blocks the view, change your position or leave it out.
For more ways to arrange a scene, explore our photography composition guide. A frame within a frame is one option—use it when the scene gives you a reason.