Emphasis in photography means making your main subject stand out within the frame. Light, color, focus, size, and composition can all help—but their effect depends on what surrounds the subject.
The ten techniques below show how to give your subject more visual importance, with examples from the original photographs.
What Is Emphasis in Photography?
Emphasis is a principle of design: one part of an image receives more attention than other parts. The Getty Museum's explanation of emphasis describes how differences in size, color, texture, or shape can make an area stand out.
In photography, your focal point is the area you want viewers to notice. Emphasis is how you give that area prominence. A small subject can have strong emphasis if it is isolated against a simple background; a large subject can still compete with a bright object at the edge of the frame.
Emphasis is not the same as correct exposure, high saturation, or sharpness. A well-exposed photo can have no clear main subject. A sharply focused subject can compete with an equally sharp background. Increasing saturation across the whole image does not necessarily make one object stand out.
Start by deciding what matters in the picture and what competes with it. You can then use one or more techniques to support that choice. They can help you tell stories, but they do not guarantee that every viewer will look at the same thing first.
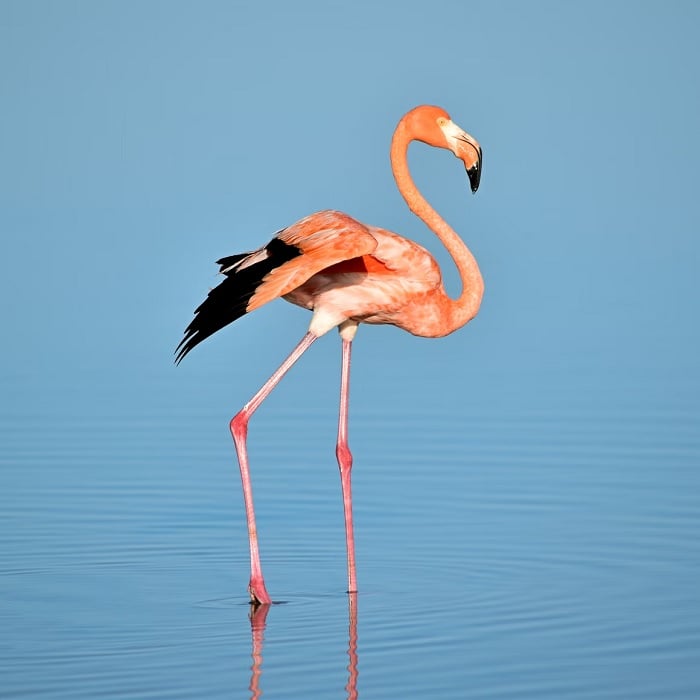
© Alejandro Contreras
The flamingo above is distinct from the water around it. Its color and recognizable shape provide emphasis without making it fill the frame.
10 Tips to Emphasize Your Subject in Photography
These techniques work through relationships: light against dark, detail against simplicity, or one distinctive object among similar ones. Choose the approach that suits the scene rather than trying to use every technique in one photograph.
1. Use the Rule of Thirds as a Starting Point
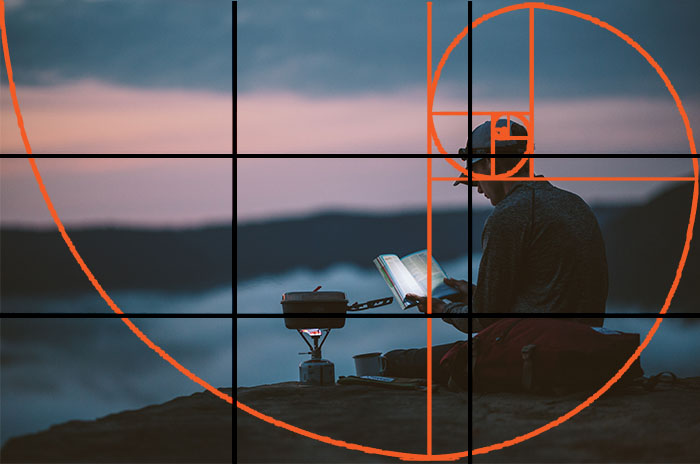
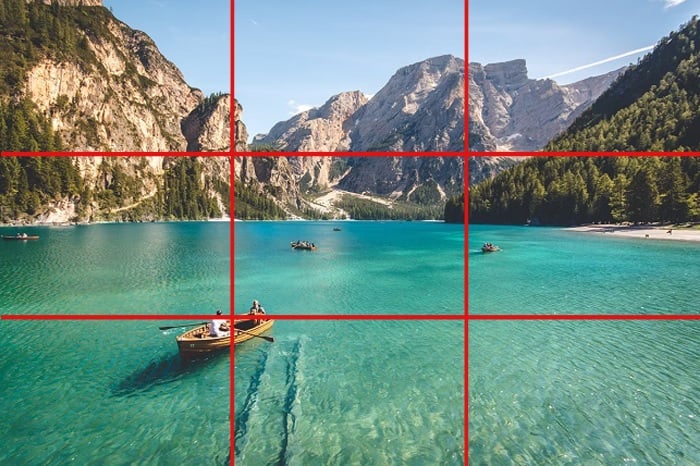
The rule of thirds divides the frame into nine equal rectangles with two horizontal and two vertical lines. Placing a subject near a line or intersection is one way to organize a composition, especially when you want to show its surroundings.
Use the comparison below to see the grid over the same photograph. It is a placement guide, not a set of mandatory focal points. Centering a subject can work well too, particularly when the scene is symmetrical or a surrounding frame supports it.
Try both positions. Check whether the background supports your subject and whether enough space remains in the direction a person is looking or moving. Simply moving a subject onto an intersection will not make it more prominent if distractions still dominate.

2. Use Color Differences
Color theory can help you recognize useful relationships between a subject and its background. Complementary colors sit opposite each other on a color wheel. Red and green, for example, can create a distinct color contrast.
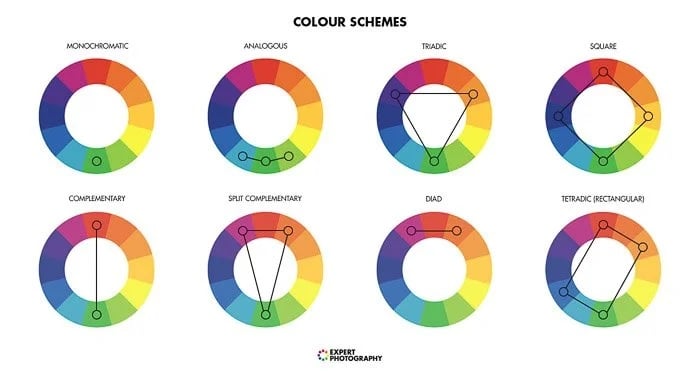
You do not need every color in a scene to be vivid. One colored subject against a muted background can be enough. A triadic color scheme uses three colors spaced evenly around a wheel, but using three colors does not automatically establish a main subject. Their brightness, saturation, and area in the frame also matter.
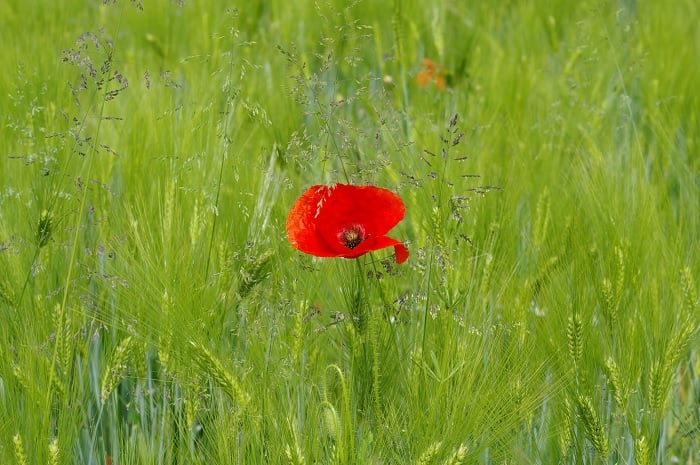
The red poppy below is distinct from the green grass. Look for that kind of separation while composing, rather than relying on a saturation increase across the whole photograph.
© Immo Wegmann
3. Use Light and Tonal Contrast
Contrast means a difference between parts of an image. Tonal contrast is a difference in brightness; color contrast is a difference in color. Both can help separate a subject from its surroundings.
A lit face against a dark background is one option. A dark silhouette against a bright background is another. Look for a background that makes the subject's outline or important detail easy to distinguish.
In Gift Habeshaw's black and white photography example below, the lighter face stands apart from the dark surroundings. The contrast comes from the relationship between those tones, not from making the whole photograph brighter.
When you compose, check for bright patches elsewhere in the frame. They may compete with your subject. Change your position or framing if a small distraction is pulling attention away; increasing overall contrast may make that distraction stronger too.

© Gift Habeshaw
4. Isolate Your Subject with Negative Space
Negative space is the relatively quiet space around your subject. It can contain subtle detail or texture; it does not need to be completely empty or white.
A clear sky, plain wall, or smooth area of water can provide space that helps define the subject. The useful question is whether the area supports the subject or competes with it.
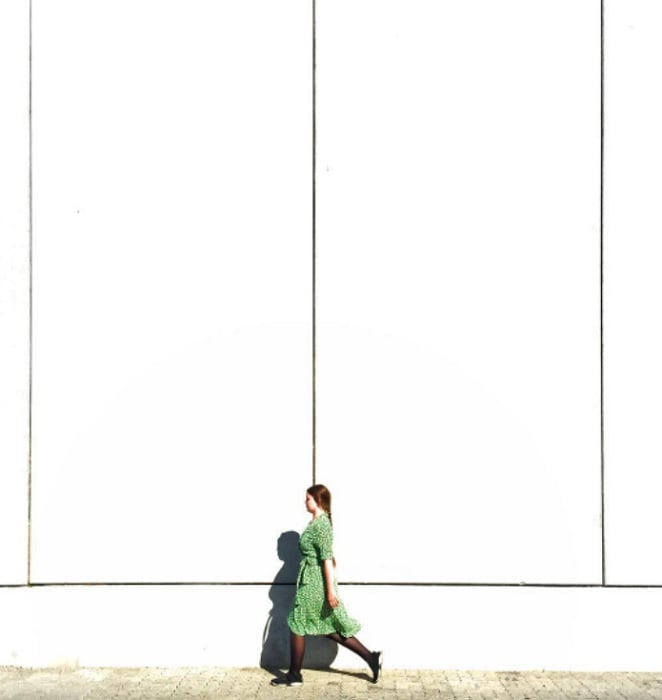
In Karen Vikke's photograph below, the woman stands out against the broad pale wall. The open space helps separate her from the background even though she occupies only a small part of the image.
Move your viewpoint to place the subject against a simpler area, then check the edges for clutter. You do not need a fixed proportion of negative space: keep enough to give the subject room without removing surroundings that matter to the picture.
© Karen Vikke
5. Use Selective Focus and a Shallow Depth of Field
Depth of field is the distance range that appears acceptably sharp. A shallow depth of field gives you a narrower sharp range, which can separate a focused subject from a blurred foreground or background.
Bokeh describes the visual quality of out-of-focus blur, not the amount of the scene that is sharp. Nikon's bokeh guide explains this distinction and how aperture and subject-to-background distance affect the result.
For stronger background blur, try a wider aperture (a lower f-number), move closer to the subject, or increase the distance between the subject and its background. Focus on the detail that matters, such as the nearer eye in a portrait. Check that the depth of field still covers the features you want sharp.
The portrait below shows a face against a softer background. That visible difference illustrates selective focus; it does not tell us the lens or aperture used. Bright or strongly colored shapes can still compete for attention even when blurred. If the surroundings explain the subject, keeping more of them sharp may serve the image better.

© Dani
6. Use Leading Lines to Support the Subject
Leading lines create a visual route through a picture. Look for paths, railings, shadows, or edges that connect with the subject you want to emphasize.
Lines can be straight or curved, including diagonal lines that travel into the scene. Their placement matters more than their type. A prominent line that leads away from the subject may give emphasis to something else.
In Majestic Lukas's photograph below, the bench and surrounding lines give you a way to follow the composition toward the seated person. When composing your own image, change position until the lines support your subject rather than cutting awkwardly through it or leading out of the frame.

© Majestic Lukas
7. Find a Frame Within the Frame
Use natural frames, such as doorways, windows, branches, or gaps between objects, to surround your subject. A frame can make one part of a busy scene easier to identify.
Find a vantage point where the opening reveals the important detail. The subject does not have to sit exactly in the center. Check that the framing object does not obscure it or become the most conspicuous part of the picture.
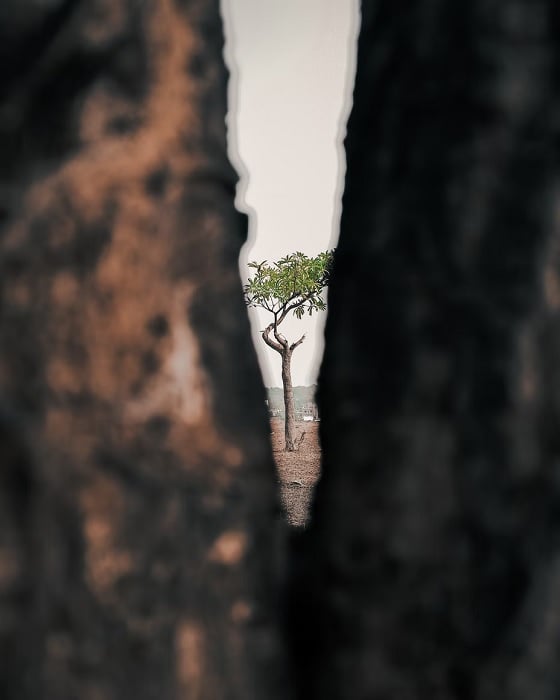
The tree seen through the gap in Sneaky Head's photograph is an example of a surrounding frame. In your own scene, you can try keeping the frame sharp or letting it blur, depending on how much context you want. Either choice needs to support the subject.
© Sneaky Head
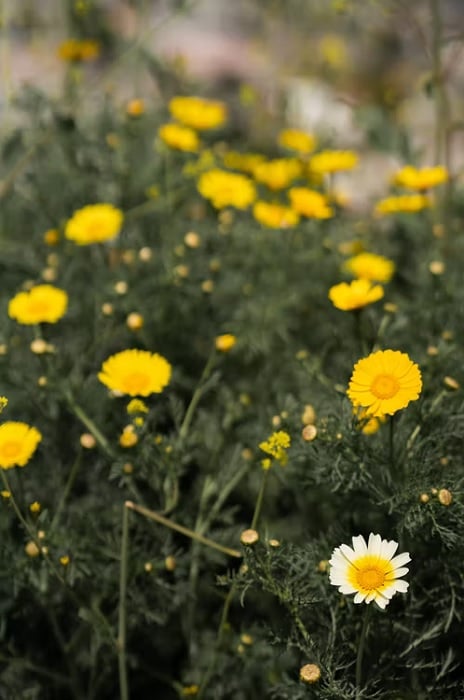
8. Look for a Break in a Pattern
One different element among similar ones can create emphasis. You might juxtapose a single red object with green ones, or a round shape with a row of angular shapes.
The flower example below works through a visible difference in color. That difference gives one flower a distinct role within the surrounding group.
Look for the exception, then compose so the repeated elements establish the pattern. If several objects are equally unusual, they may compete rather than give one subject clear emphasis. You can simplify the frame or wait for a moment when the subject is more separate.
© Kaleb Tapp
9. Contrast Texture with a Quieter Surface
Textures can add interest, but a rough surface does not always have more visual importance than a smooth one. What matters is how the surfaces differ within the picture.
Detailed bark against a plain sky, or a smooth object among rough stones, can create a useful contrast. If every surface is equally busy, texture may make the subject harder to distinguish.
Jeremy Wermeille's photograph below shows the tortoise's detailed head and shell against softer surrounding areas. Look for a similar difference in your scene. You can use selective focus to reduce background detail, but blur does not change the physical texture of the objects themselves.

© Jeremy Wermeille
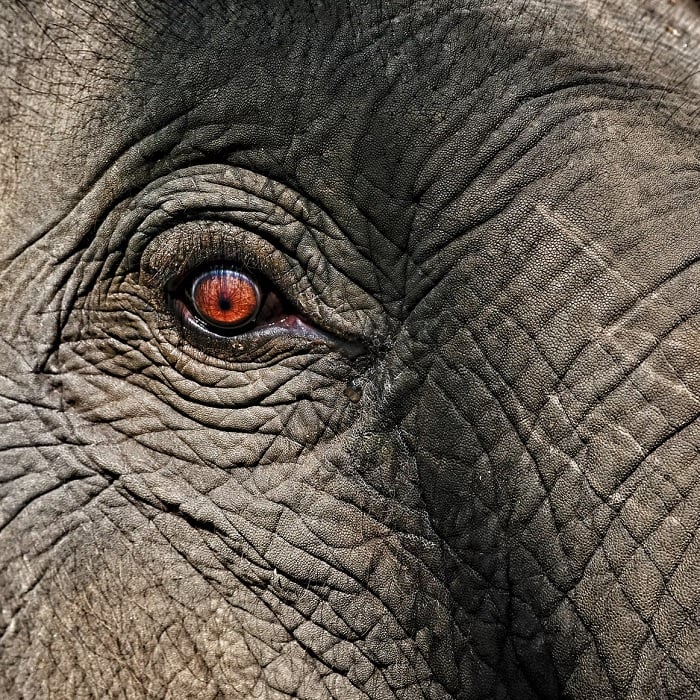
10. Fill the Frame or Crop to a Key Detail
A tighter composition can increase the subject's size within the frame and remove competing surroundings. Move closer when it is safe and appropriate, adjust your framing, or crop the photograph afterward.
Choose the detail that carries the picture. In the elephant photograph below, the eye becomes the main point of interest while the surrounding skin supplies context and texture.
A close crop can create a more intimate view, but it does not guarantee an emotional response. Before cropping, check whether you are removing something that explains the subject. A wider view may tell the story better, especially when the relationship between the subject and its surroundings matters.
© Inbetween Architects
Conclusion: Check What Competes with Your Subject
Emphasis comes from how your subject relates to the rest of the image. It can be small or large, centered or off-center, sharp or silhouetted. The aim is to make its role clear through choices that suit the scene.
Before you take the photo, name the subject and scan the background and edges. Choose one useful change: a simpler viewpoint, better tonal separation, more space, or a tighter frame. Afterward, view the image at a small size and ask what draws your attention. If something else dominates, adjust the composition rather than adding more effects everywhere.
Check out our Photography Unlocked ebook to learn everything you need to know about adding emphasis to your images!