Today, we explain how to use the Lightroom Effects panel. This section of the editing process in Lightroom considers the effects of specific cameras or film. By the end of our article, you will know how to make the most of certain effects inside Lightroom CC and Classic.
We review all the adjustments in the Lightroom Effects section to offer the best advice. You can then click links for each adjustment in each section to learn more about how they work.

The Lightroom effect panel is a section found in the Edit (Lightroom CC) or Develop (Lightroom Classic) section. Each slider replicates an effect that comes from different photographic tools or techniques.
These effects are useful because they can help replicate a camera or technique in post-production. This is practical if you want to achieve a particular style or aesthetic but don’t have the right equipment.

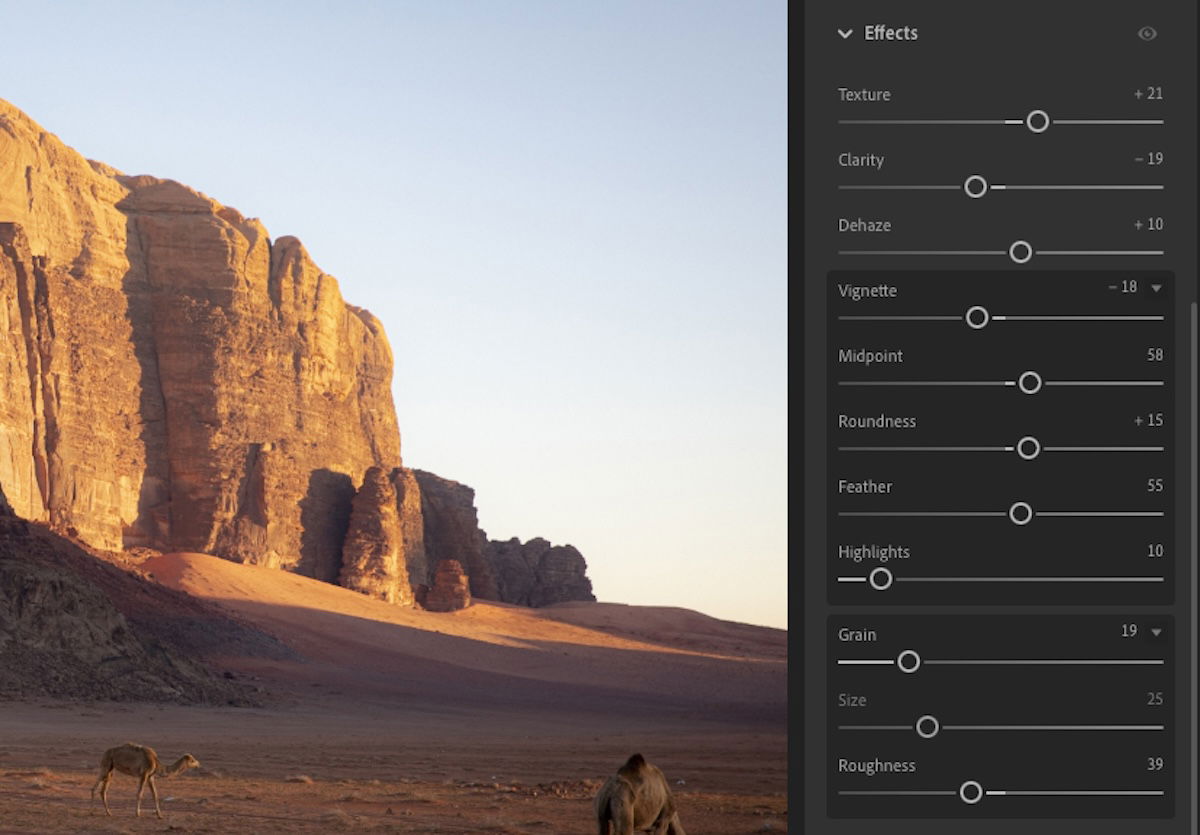
Lightroom CC and Classic differ slightly in their approach to the effects panel. The Lightroom CC panel features Texture, Clarity, Dehaze, Vignette, and Grain adjustment sliders. The Vignette and Grain sliders have a dropdown menu, so you have extra control over these Lightroom effects.
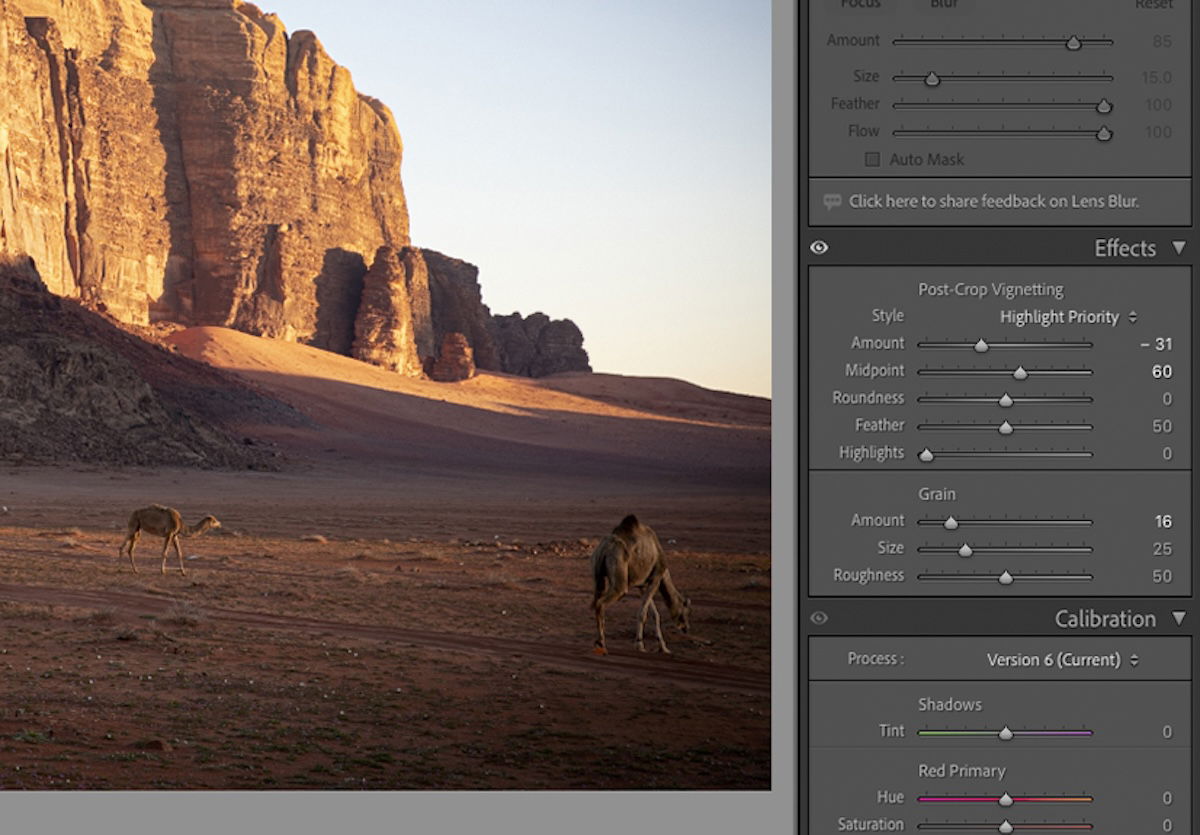
In its Effect panel, Lightroom Classic only features Vignette and Grain. It doesn’t feature the same dropdown menus as Lightroom CC. Instead, the extra controls over each action are already displayed. Texture, Clarity, and Dehaze are found in the Presence section in Lightroom Classic.
The vignette is labeled as Post-Crop Vignetting. This is useful as it will always apply an even vignette over your image, even if you decide to crop your photo further after editing.
A dropdown menu in the Post-Crop Vignette section dictates the style in which the vignette affects your image. This is an extra level of detail not found on Lightroom CC. We will look at how these work later in this article.
We summarize five Adobe Lightroom effects. Follow the links for more in-depth articles covering each one.
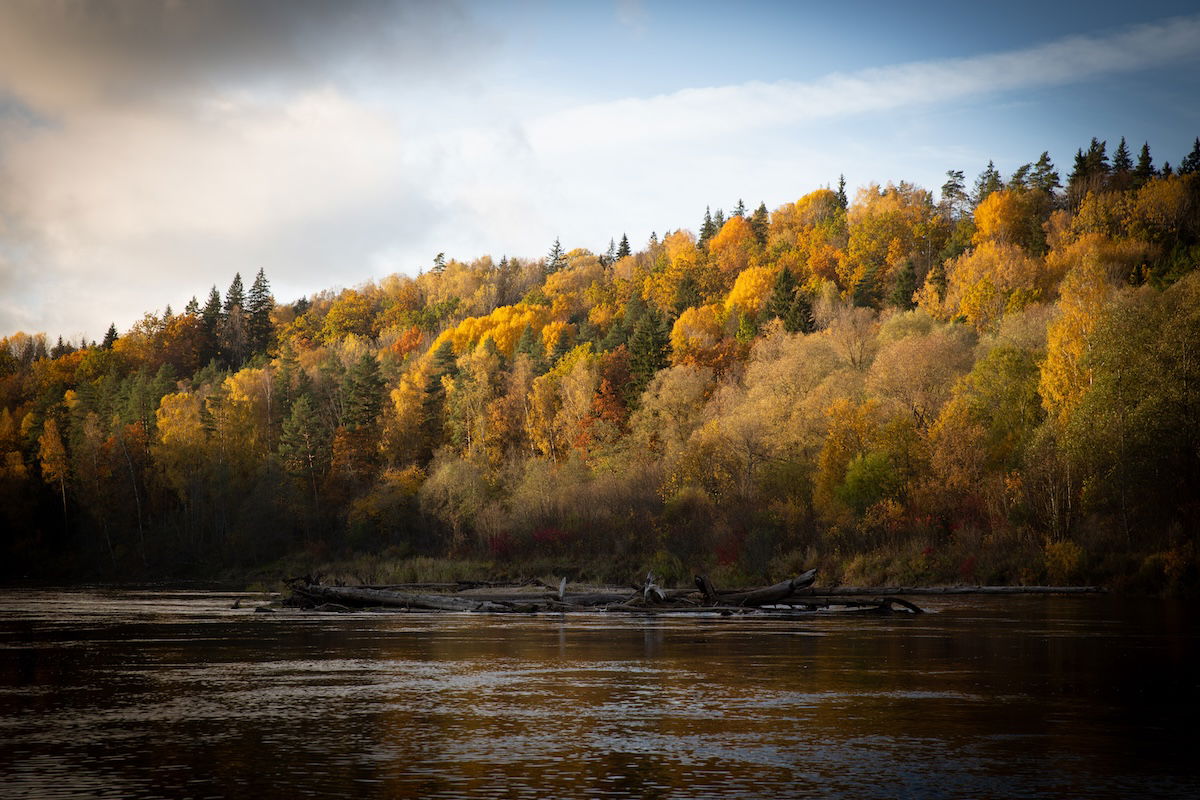
One of the most popular effects in photography is a vignette. A limitation of photographic equipment causes a vignette effect.
A vignette happens when the sensor or film is larger than the lens’s covering power. This causes an even and gradual fade into the edges of the frame.
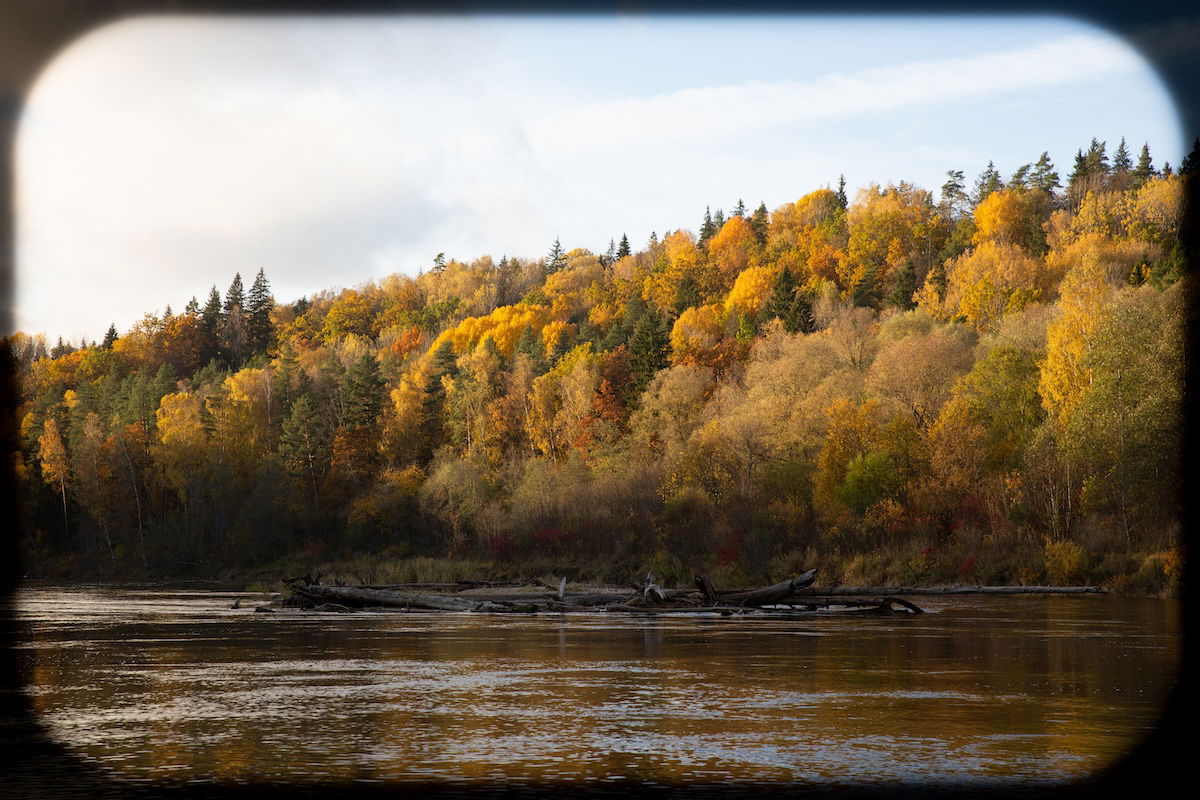
Photographers now use vignetting to draw attention to the center of the photograph. This helpful tool can be as subtle or as harsh as you like. A vignette organically fades into black, but now editing software like Lightroom lets you fade the image into white.
Vignette adjustments in Lightroom CC and Classic work similarly, apart from the Style in Lightroom Classic. Read our full article to see how each vignette adjustment slider changes our image.

Another important Lightroom effect is grain. Grain is an optical effect found in film photography. It is a texture formed in the chemical process that lets film capture light. Film grain changes depending on the film type and its ISO.
Photographers now use film grain as an artistic effect. Grain adds a gritty, rough aesthetic to a photograph. It is particularly effective in black-and-white photography. It is also useful for achieving a dated or low-fi feel in photos.
The Grain slider sets the amount of grain you want in your photograph. This is a simple 0 to 100 adjustment slider that increases the intensity of the grain effect.


The Texture adjustment is in the Lightroom Effect panel for Lightroom CC and the Presence section in Lightroom Classic. It is similar to the Clarity or Sharpening adjustments but acts slightly differently.
Multiple types of photography equipment can strengthen or weaken a texture effect. This gear ranges from the camera and sensor type to specific photo filters.
The Texture adjustment affects the smoothness and contrast of tones in the mid-range. It’s not as harsh as the Clarity slider. It subtly does exactly what it says, boosting the texture of specific details. You can also turn it down to smooth over these specific textures.
Check out our full article about the Lightroom Texture tool.

The Clarity adjustment is in the Lightroom Effect panel for Lightroom CC but is in the Presence section in Lightroom Classic. It aims to make finer details more visible. This is handy if you upload your image in a small format (like social media) but want the details to pop more.
Numerous factors affect the clarity of an image, from equipment to film or filter types. Analog post-production methods can also boost an image’s clarity.
Clarity affects the contrast in the mid-tones, particularly the luminance. This is done so in a harsh way that can quickly blow out the colors in this range. Like texture, this adjustment appears to add more detail to a small image.
Read our extended article on the Clarity effect in Lightroom.

The last adjustment in the Lightroom CC effects section is dehaze, which you can find in the Presence section in Lightroom Classic. Dehaze is another self-explanatory action. It aims to reduce haze that may be blocking the clarity of your image.
You can combat slight atmospheric haze with UV filters. These are mostly helpful for shooting landscapes with a good distance between us and our subject.
The Dehaze adjustment reduces the atmospheric haze apparent in photos. And it lets us extract much more detail than a photography filter would.
Increasing the Dehaze value gives us a clearer, contrasting view of our scene. Reducing it adds haze. It is great for adding more atmosphere to your photo.
See our extended article on the Dehaze feature in Lightroom for more info.

Now, you should understand each adjustment in the Lightroom effects panel. We have outlined how these effects come from old photographic problems and how they still exist in modern photography.
Luckily, we live in a time when photo-editing software like Adobe Lightroom can perform these tasks with a simple slider.
If you want to know more about each adjustment, click the link in each section. Our articles give you a step-by-step guide for each effect. So you can get the most out of each adjustment!
Try our Effortless Editing With Lightroom course for more tips to edit photos quickly and beautifully!


