To transfer photos from a MacBook to an external hard drive, choose the method that matches what you want to keep. Export from Photos to get individual image files. Copy the complete Photos Library to keep using your albums and edits in the Photos app from the external drive.
If your photos are already files in Finder, you can copy those files directly. Copying them does not remove the originals or free space on your Mac. Check the copy and keep another backup before you remove a source.
Before You Transfer Photos From Your Mac
Apple Photos Library or Individual Files?
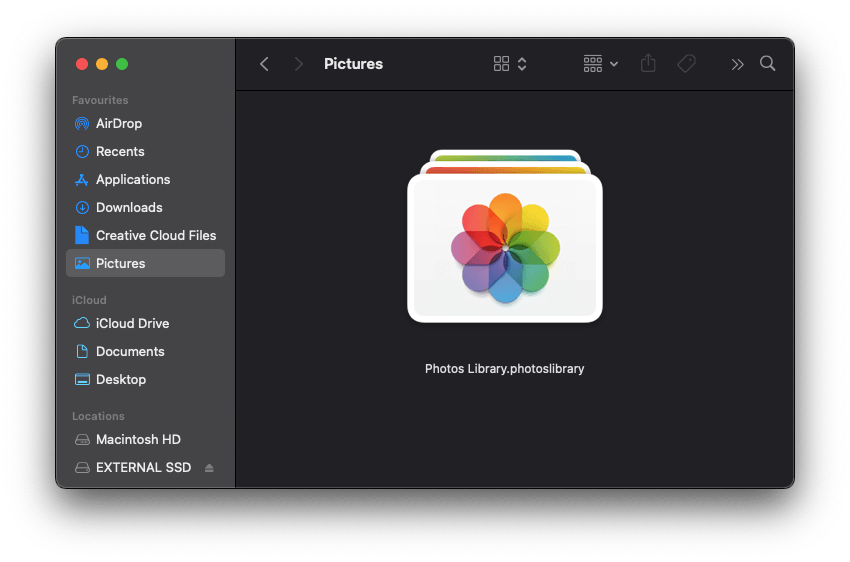
Photos normally stores the images you import to your computer in a library in your Pictures folder. That library is a package that Photos manages. Copy the whole package when relocating it; do not open it and rearrange its contents in Finder.
Exporting creates separate files that you can open outside Photos. A library copy is useful when you want to keep the Photos organization. Follow the export section for individual pictures, or the library section for the complete collection.
An External Hard Drive or SSD
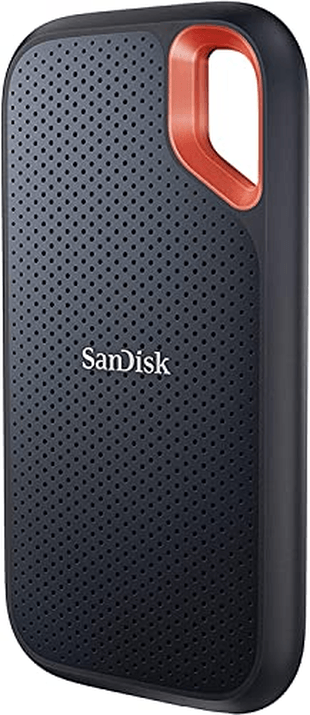
I use and would recommend an external solid-state drive (SSD) such as the SanDisk Extreme Portable SSD. These external hard drives can travel in your camera bag, but a drive that holds your only copy is not a backup.


Connect the drive and make sure it has enough free space for your files, including full-resolution originals if you use iCloud Photos.
For a Photos Library, Apple requires APFS or Mac OS Extended (Journaled). Do not use a Time Machine backup device, an SD card, a USB flash drive, a network share, or a cloud-synced location for the working library. See Apple’s storage requirements.
An exFAT drive can hold exported image files for use on Mac and Windows. It is not the supported format for a working Photos Library. If you need to change a drive’s format, first copy its existing files elsewhere: reformatting erases the drive.
Check iCloud Originals Before Making a Backup
If you use iCloud Photos with Optimize Mac Storage, some full-resolution originals can be in iCloud rather than stored locally. A copy of the library package should not be assumed to contain every original.
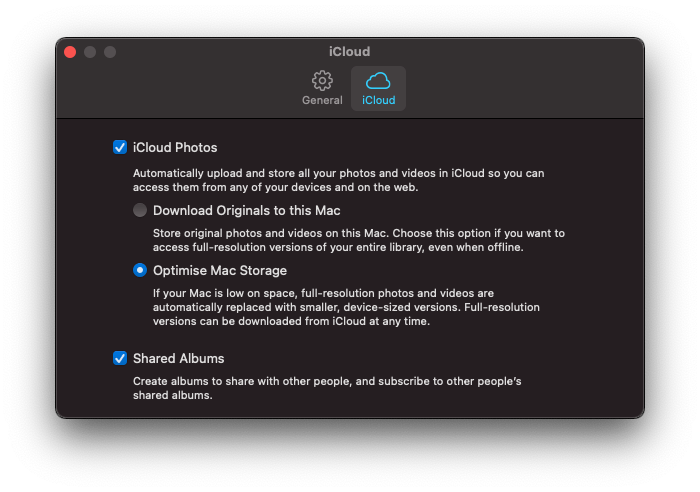
For a complete local copy, open Photos > Settings > iCloud and choose Download Originals to this Mac. Wait for the downloads to finish before treating the library copy as an offline backup. The full collection needs enough storage space. Apple describes this setting in its iCloud download guide.
If the originals will not fit on your Mac, you can relocate the library to a suitable external drive first. Open that copy, set it as the System Photo Library, then select the download setting there. Keep the original library while you finish the move and verify the external copy.
How to Export Photos to an External Hard Drive
Use this method for selected pictures or albums that you want as individual files. Apple’s export guide explains the two export options.
- Connect your drive and open Photos.
- Select the photos you want to copy. For an album, open it and select its pictures.
- Choose File > Export > Export [number] Photos for the versions with your edits. Choose the format, such as JPEG, and the size and quality you need.
- For the files as originally imported, use File > Export > Export Unmodified Original instead. This does not include your Photos edits. You can select Export IPTC as XMP to save assigned IPTC metadata and keywords in separate sidecar files.
- Click Export, select a folder on your external drive, and confirm the export.
An unmodified Live Photo exports as two files: a still image and a video. Keep both if you want both parts. If you need the edited result as well as the original, export both versions into separate folders so you can identify them.
Wait for Photos to finish. In Finder, open some exported pictures from the external drive and check the intended format and image dimensions. Check that all selected items exported; Live Photo pairs and XMP sidecars mean the file count can differ from the number of photos.
Exporting does not move your Photos albums or remove pictures from the app. If iCloud Photos is on, deleting a picture inside Photos also deletes it from iCloud and your other synced devices. Do not use that as a way to remove only the local copy.
How to Copy Photos Already Stored in Finder
If your images are in folders such as Pictures, Downloads, or a camera import folder, you do not need Photos to transfer them.
- Select the files or folders in Finder and press Command-C.
- Open your external drive in Finder. Open or create a destination folder.
- Press Command-V and wait for the copy to finish.
- Open files from the destination to check them before you consider removing the source.
Use the library procedure below for a Photos Library package. Use Photos’ export command for pictures that you can see only inside the app.
How to Move Your Complete Photos Library
These steps copy your library first, then make the external copy your working library. The original remains available while you check the result. The existing screenshots show an older interface; Settings is called Preferences on older macOS versions.
Step 1: Connect Your External Storage Device
Use a directly connected drive with APFS or Mac OS Extended (Journaled) format and enough free space. Keep it connected through the copy. Transfer time depends on the library size, drive, cable, and connection; there is no fixed completion time.
If you have imported images as referenced files outside the library, copying the library alone will not copy those images. Back them up separately, or select them in Photos and use File > Consolidate, then Copy, before copying the library. Apple explains referenced files and consolidation.
Step 2: Find Your Photos Library in Pictures
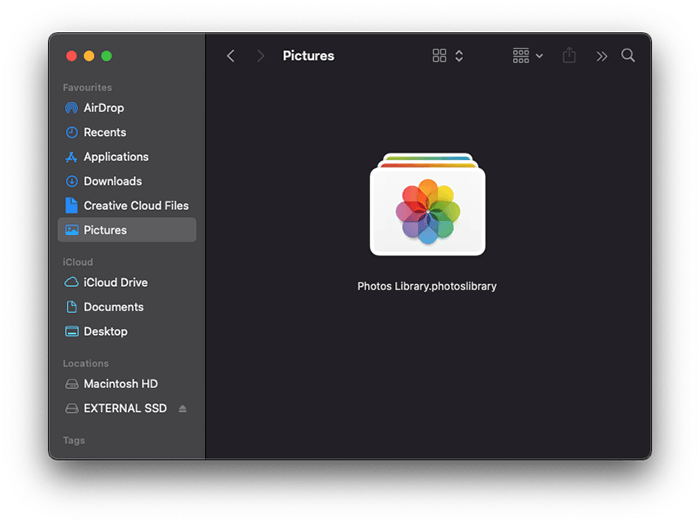
Quit Photos. In Finder, choose Go > Home, then open Pictures. Look for your Photos Library. If you saved it elsewhere, use that location instead.
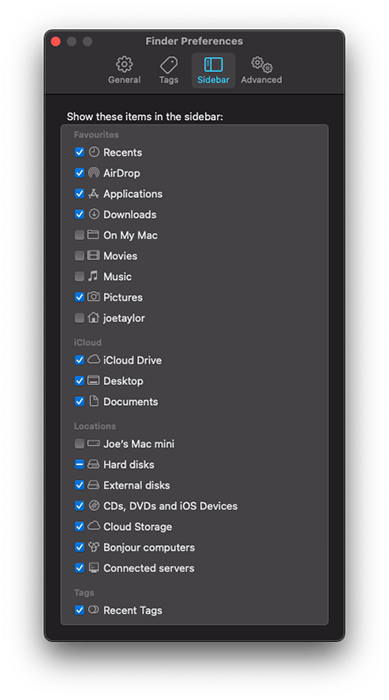
To display Pictures in the Finder sidebar, choose Finder > Settings > Sidebar and select it. The older screenshot below uses the Preferences label.
Step 3: Copy the Library to the External Drive
Drag the Photos Library from your Mac to the external drive in Finder. Wait for the copy to finish. Leave the source library in place.
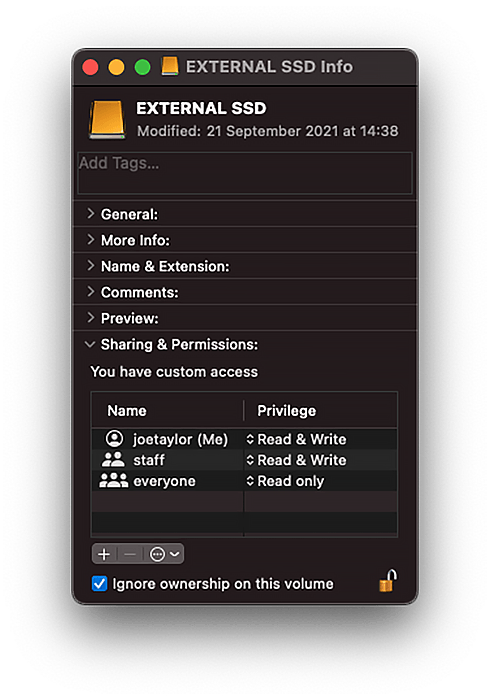
If you get a permissions error, select the external drive and choose File > Get Info (Command-I). Expand Sharing & Permissions and check Ignore ownership on this volume. You may need to unlock the setting first. If the option is unavailable, check the drive format and whether the device was used for Time Machine. Do not erase a drive while it holds files you still need.
For a manual backup, you can keep the original as your working library. Verify the external copy before you rely on it, and do not set it as the System Photo Library just to store a backup. Future changes are not automatically added to this copy; make updated backups. See Apple’s library backup guide.
Step 4: Open and Check the External Copy
Double-click the Photos Library on the external drive to open it. Check your albums, photo and video counts, and a selection of older and newer images. Open full-size pictures and play some videos. If you use iCloud, check the library status and allow originals to finish downloading before relying on the copy offline.
A successful file copy or a visible thumbnail is not proof that every original is present. Resolve missing files or download errors before removing the source.
Step 5: Set the System Photo Library if Needed
Only one library can be the System Photo Library. Set your external copy as that library if you want to use it with iCloud Photos or the Photo Picker in other apps.
- With the external library open, choose Photos > Settings (or Preferences).
- Select General.
- Click Use as System Photo Library. If the button is grayed out, this is already the System Photo Library.
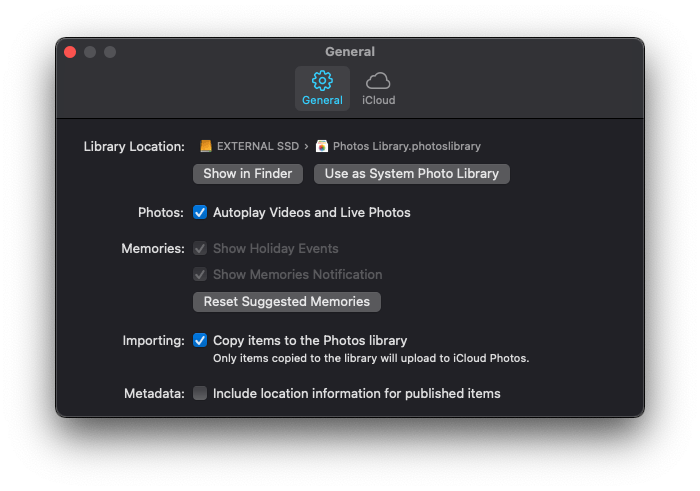
Then check the iCloud tab. Turn on iCloud Photos if you want this library to sync. Select Download Originals to this Mac if you want full-resolution originals stored locally in this library. When you designate another System Photo Library and enable iCloud Photos, its contents merge with the photos already in iCloud; it is not a separate cloud archive. See Apple’s System Photo Library guide.
Step 6: Keep a Backup Before Removing the Source
Before you delete the old library, confirm that you opened the external copy, that the images and albums you expect are present, and that the required originals are downloaded. Keep an additional backup on another device. If you cannot verify the copy, keep the source.
When those checks are complete, quit Photos and identify the old library in its original location in Finder. Removing that package is different from deleting individual pictures inside Photos. Only remove the old package if you need the space and have verified your copies. Emptying the Trash makes recovery harder, so do not rush this step.
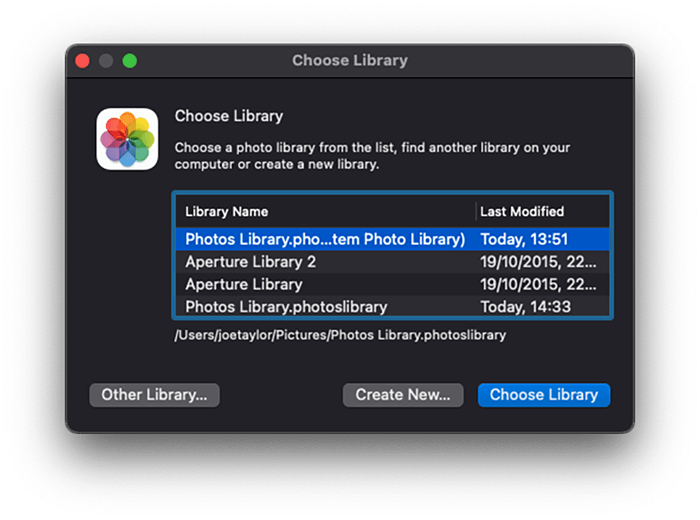
Keep the external drive connected and available before you open Photos. If Photos cannot find it, it can create a new empty library in the default Pictures folder. An empty library does not mean that the external library’s images have been erased. Quit Photos, reconnect the drive, then hold Option while opening Photos to choose the correct library.
Quit Photos when you have finished, then eject the drive in Finder before you disconnect it.
Conclusion: Choose the Copy You Need
Export individual images for files you can use outside Photos. Move the complete library when you want Photos to keep managing your collection from an external drive. In either case, verify the copy before removing a source, and keep a separate backup.
I have a desk drawer full of external drives. Each major shoot or event is in its own library. Each drive is dedicated to a different kind of shoot (weddings, events, theatre, etc.).
My family album synchronizes through my iCloud photo library and updates with photos from each new adventure. This way, I do not have to wait for thousands of other shots to load or wade through hundreds of headshots to get to those most important images.
If you also want to back up your photos directly from an iPhone, our flash-drive guide covers that separate task.