Want to add a subtle effect to your photos to draw the viewer’s attention? Adding a vignette in Photoshop will do just that.
In this article, I’ll show you three different ways to create a vignette effect.
Creating a Vignette in Photoshop
The vignette effect is probably as old as photography itself. It’s a darkening of the photo towards the corners.
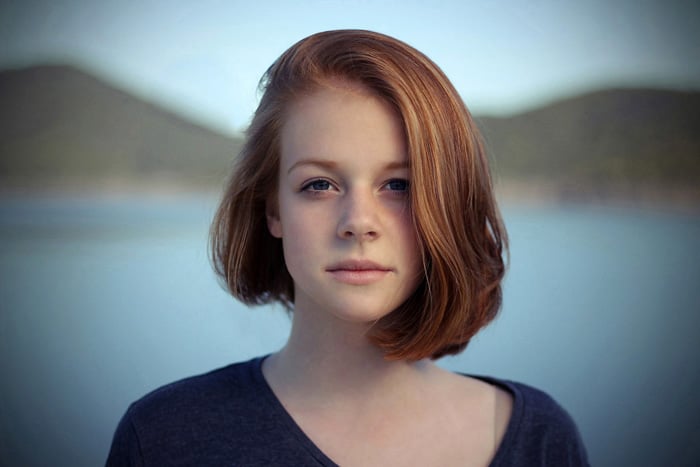
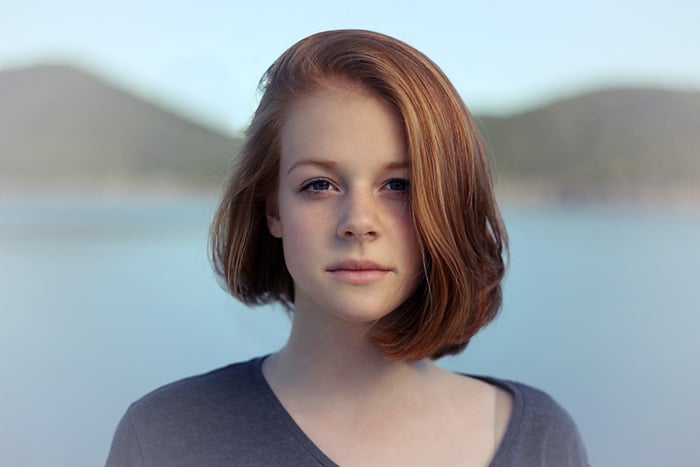
© Pixabay
It’s still popular today because by applying a vignette, you’ll draw more attention to the subject.
How to Add a Vignette in Photoshop
Photoshop gives you a lot of possibilities if you want to create a vignette effect. Here are some of the most common methods.
1. Add a Vignette With the Lens Correction Filter
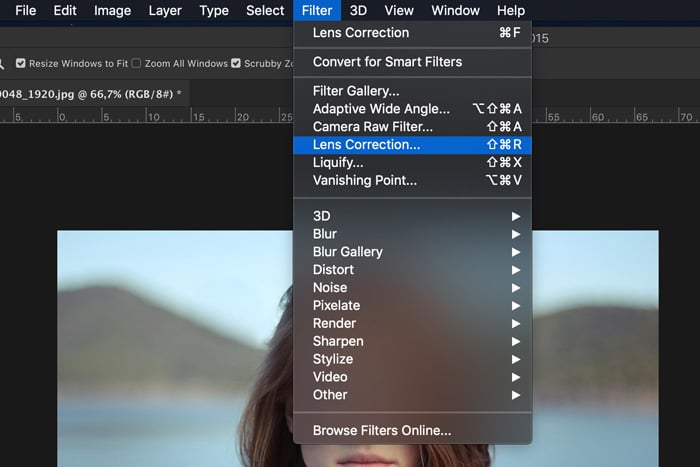
Step 1: Open the Lens Correction Window
Open the photo you want to use for the vignette effect. Choose "Lens Correction…" from the Filter menu.
Step 2: Add the Vignette Effect
Select the Custom tab.
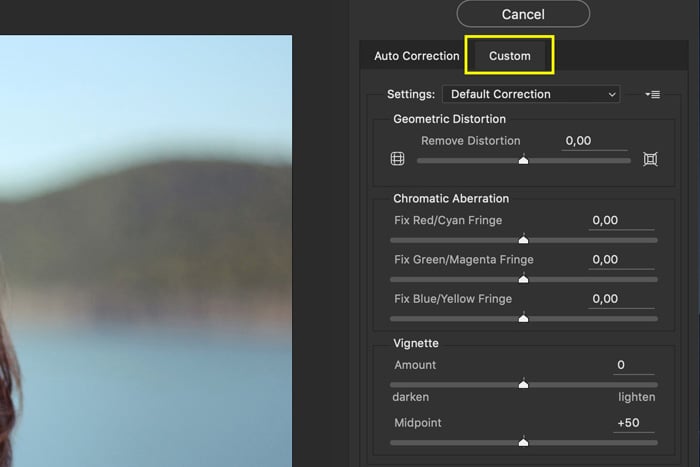
You’ll see two sliders to control the vignette effect. One to set the amount and one to set the midpoint. You can see how it will look in the preview image.
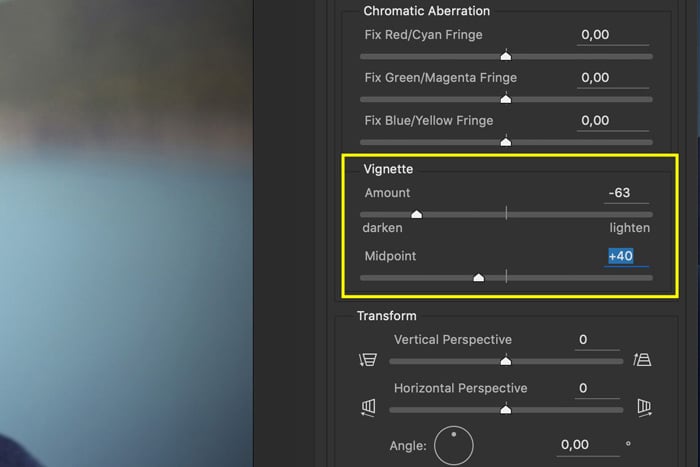
This is definitely the easiest way to add a vignette in Photoshop. The problem is that it doesn’t allow you to customize the effect.
2. Add a Vignette With a Levels Layer
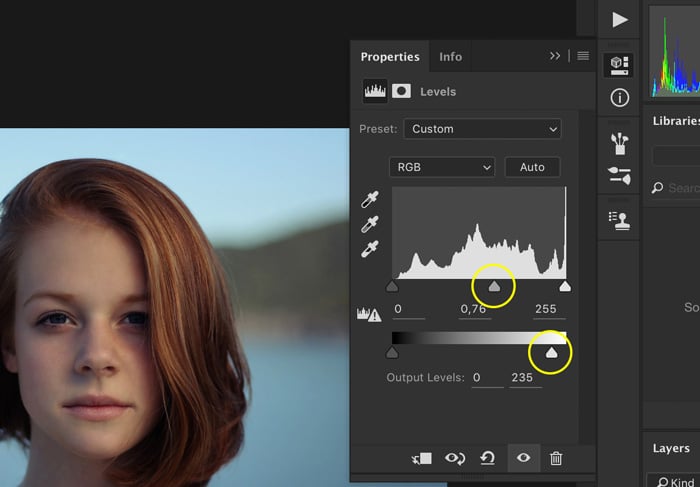
Step 1: Add a Levels Layer
Click on the "Create new fill or adjustment layer" icon and select "Levels…". The Levels panel will pop up.
![]()
Pull the grey triangle to the right. This will darken the image. If you want the effect even more intense, pull the white triangle of the slider below to the left.
Step 2: Masking
Select the Paint Brush tool and make sure the color is set to black.
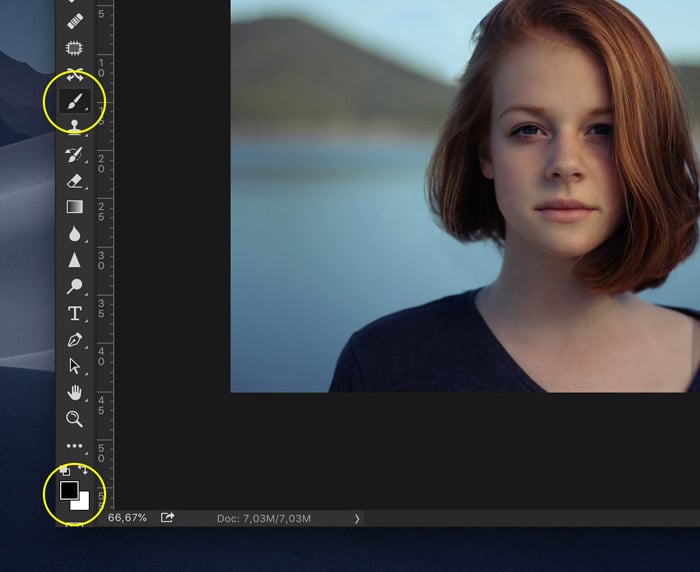
Make sure the layer mask thumbnail of the Curves layer is selected.
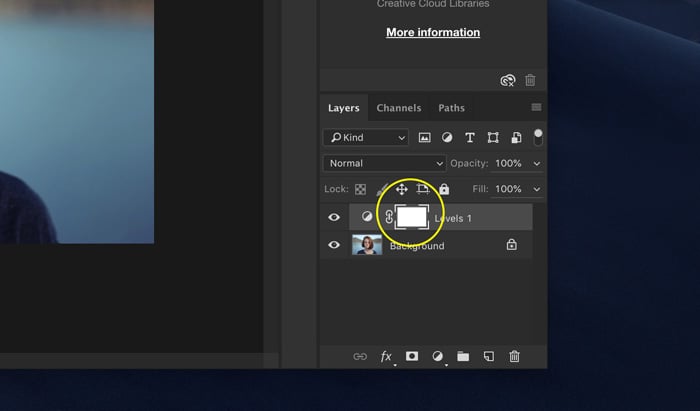
Pick a large and soft brush and paint over the middle of your photo. The darkening will disappear where you paint with black.
You can see how the mask thumbnail changes.
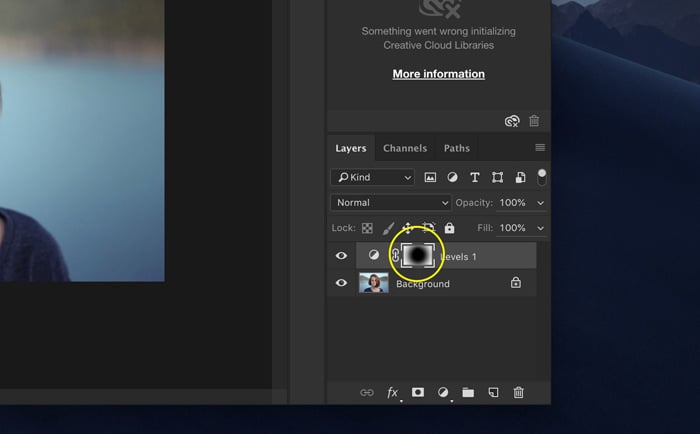
If you want to add darkening again, paint with white over your photo.
This method allows you to adjust not just the size but also the shape of the vignette effect. You can go for a circle, oval or even a straight line.
You can always change the intensity of the effect by double-clicking on the Levels layer.
3. Add a Vignette Effect With Solid Color Layer
Step 1: Add Solid Color
Click on the "Create new fill or adjustment layer" icon and select "Solid Color".
![]()
Select Set the color to black in the Color Picker and click OK.
Step 2: Change Blending Mode
Set the opacity to around 30%. Change the blending mode to "Multiply".
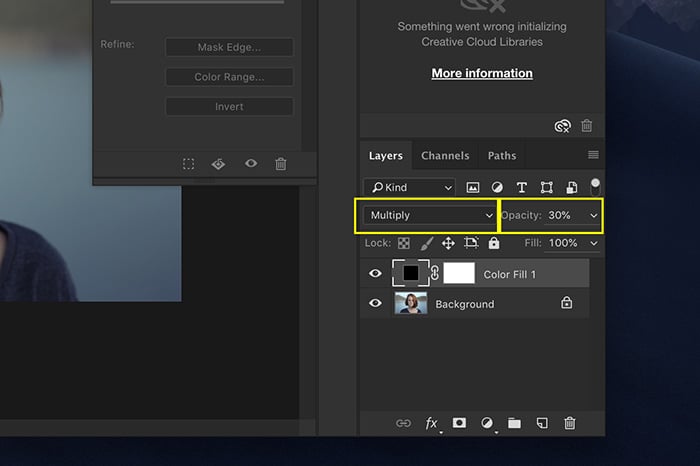
Step 3: Masking
Use step 2 of the previous method to create a vignette effect.
This method is similar but it’s even more versatile. Now, you can also experiment with different colors. Choose brown for a subtle difference or use white to create something entirely different.
If you decide to use a light color, make sure to set the blending mode to Lighten instead of Multiply.
Conclusion
There are probably more than a dozen ways to create a vignette in Photoshop. However, the best vignette draws attention to the subject and not to the effect itself.
Experiment with different shapes and colors depending on your photo and the position of the subject. Avoid making the vignette too dark because it will lose its power.
We have great posts on how to use the High Pass Filter or brushes in Photoshop to check out next!


