Capturing the grace and strength of yogis with yoga photography is rewarding yet challenging. You can create stunning yoga portraits with the right techniques, equipment, and creativity.
Our article covers what you need to know about yoga photography. Are you looking to improve your pictures of yoga practitioners? Perhaps you want to learn a trick or two for your own practice. We go over everything from settings to composition to location.
Our Best eBooks and Courses for Yoga Photography

What Is Yoga Photography?
Yoga photography is a niche portraiture that captures yoga practitioners in various asanas or poses. Skilled yoga photographers understand proper lighting, angles, and storytelling. They create inspiring images depicting yoga’s strength, grace, and spiritual elements.
People all over the world practice yoga. Social media is bursting with yoga pictures of yoginis twisting their bodies in various poses (asanas).
They push the limits of their physical endurance. As a yogi, I found that yoga photography is an excellent way to show the beauty of this ancient practice.
The best-known type of yoga photography is when a yogi performs a sequence of poses and is photographed throughout. For this reason, yoga photography has much in common with portrait photography.
But there are some differences. Yoga photography also involves some movement, like sports photography.
Recommended Camera Equipment and Accessories
- A digital camera that lets you change aperture, shutter speed, and ISO
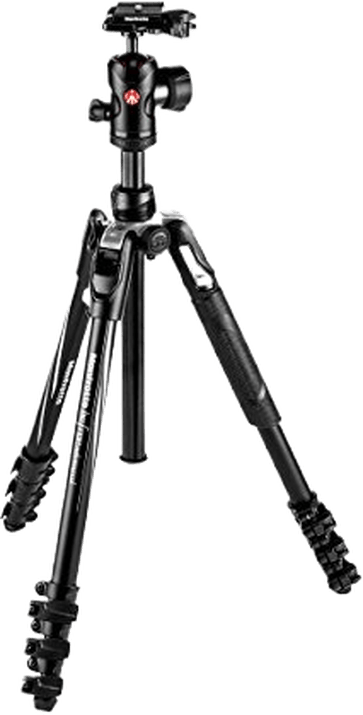
- Tripod (optional)
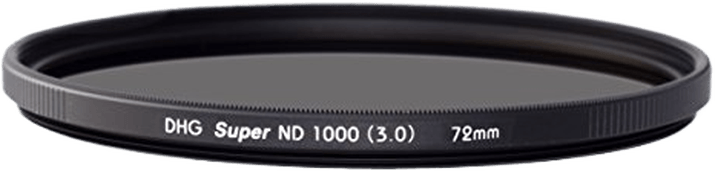
- Neutral density filter (optional)
- Backdrops (optional)
- Cleaning spray and a towel for the yoga mat (a spray of water with vinegar works)
- A collection of yoga poses (buy a book or chart or make a collection of photos or list yourself)
Recommended Starter Kit for Yoga Photography
10 Tips for Yoga Photography
Perhaps you’re just starting with yoga photography or looking to improve your skills. These 10 tips will help you capture the essence of yoga with stunning imagery.
1. Do Your Research Before a Yoga Photo Session
The more you know about yoga, the better you can prepare for the photo session. Research also helps you build up your yoga pose collection.
These days, many resources are available (yoga sessions on YouTube, online courses, and yoga books). You can even try a yoga class to better understand the yogini or yoga model.
Connecting with the yoga practitioner beforehand is also a good idea if you’re working with a client. Go over what they’re looking for in the photoshoot. You can create a shot list together and review expectations.
Shot with a Canon EOS 6D. 35mm, f/1.4, 1/3,200 s, ISO 100. Patrick Malleret (Unsplash)
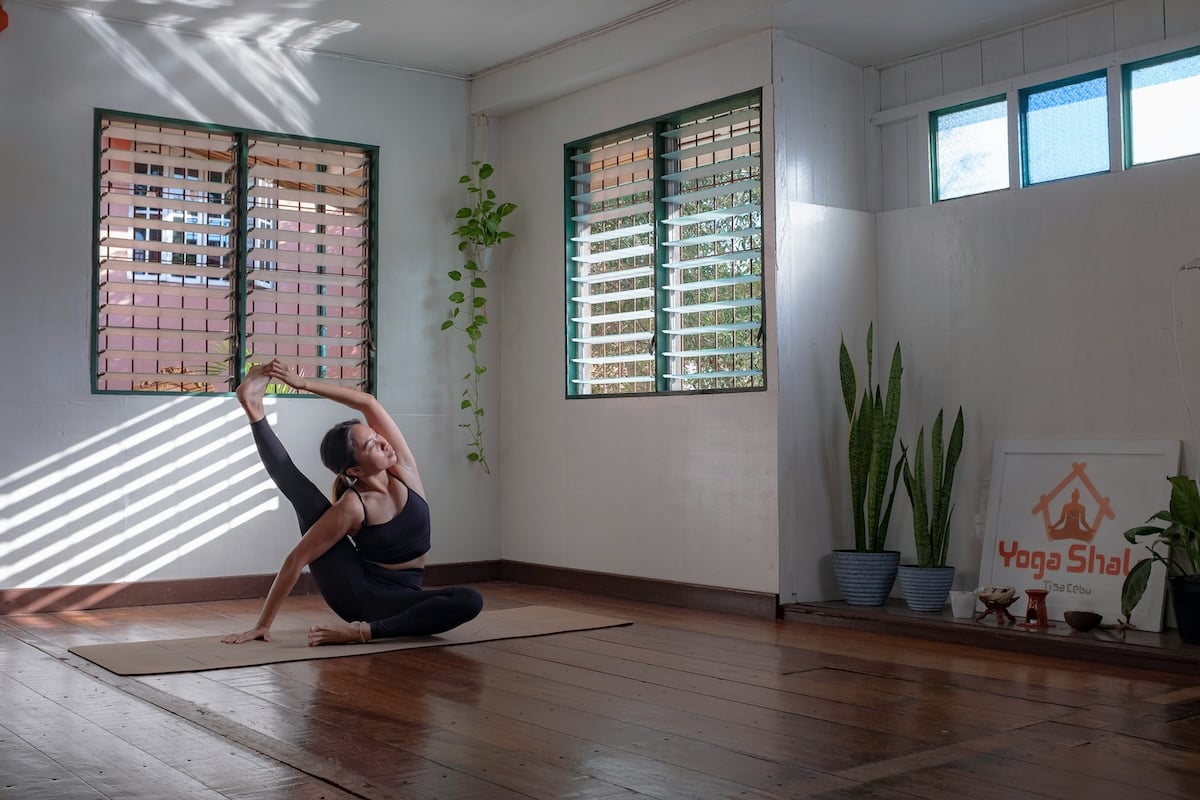
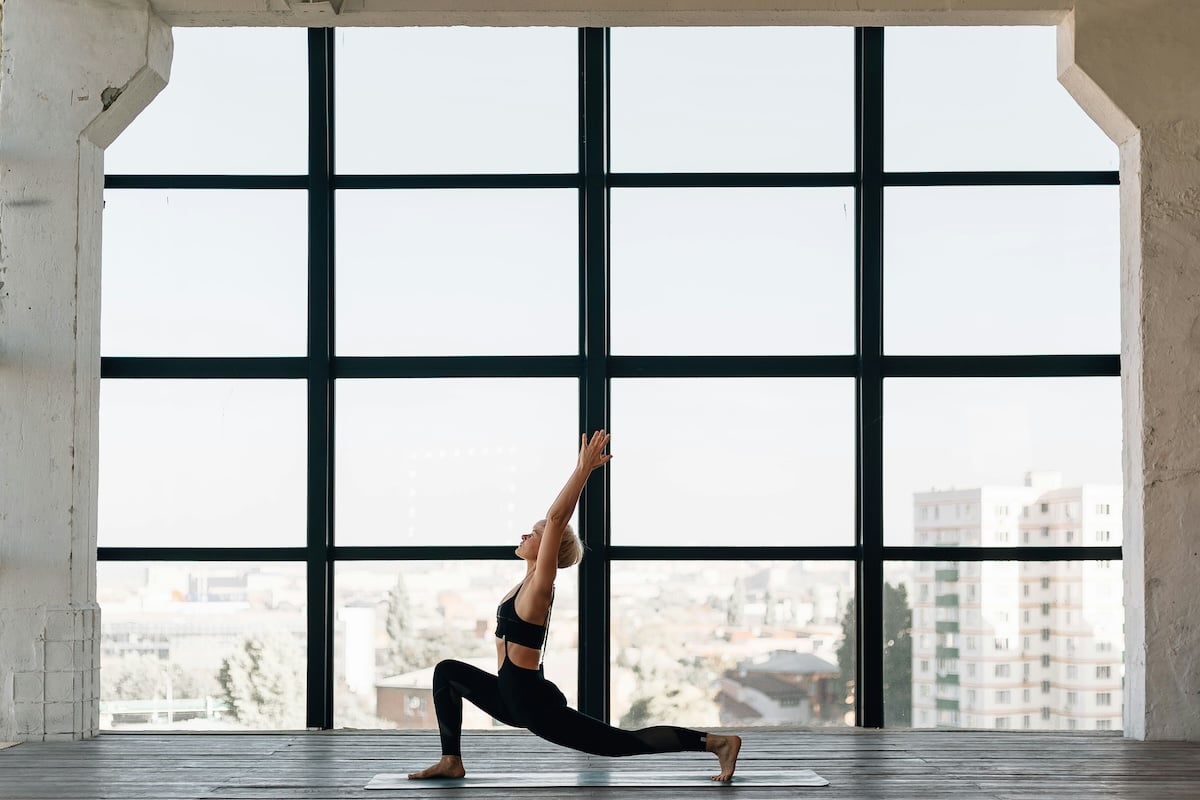
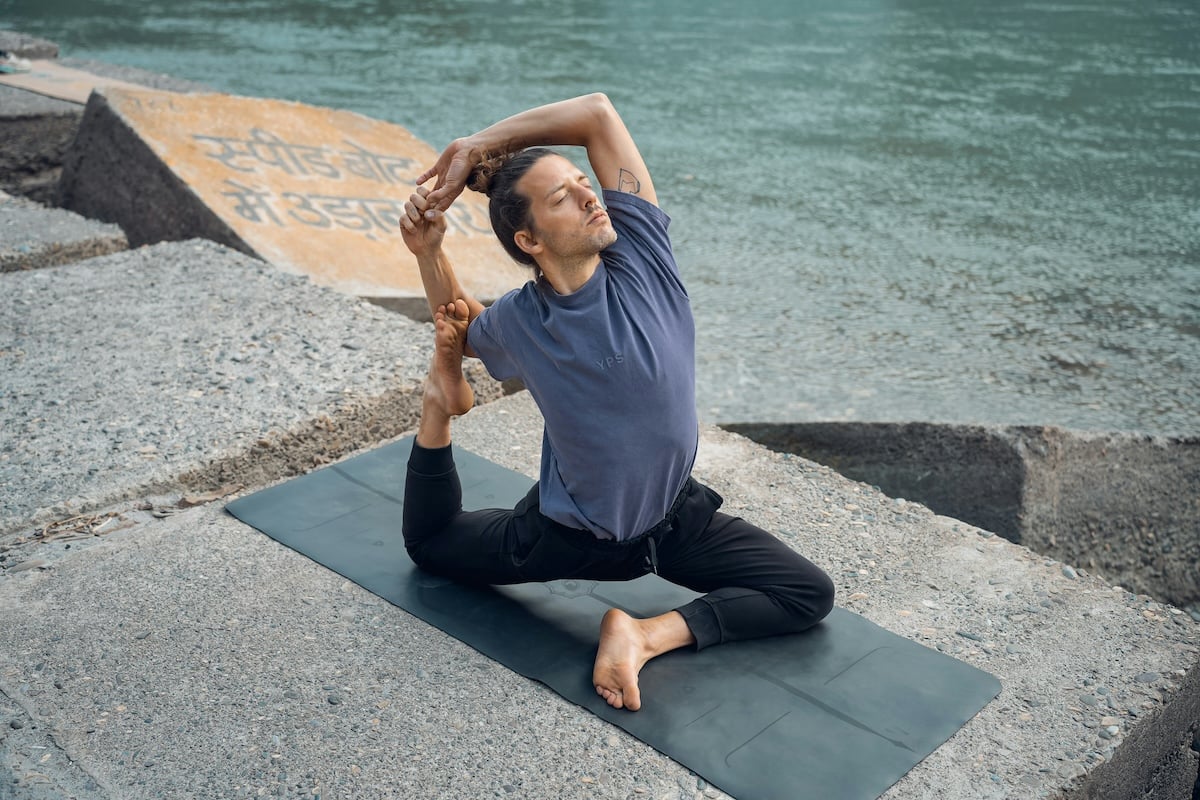
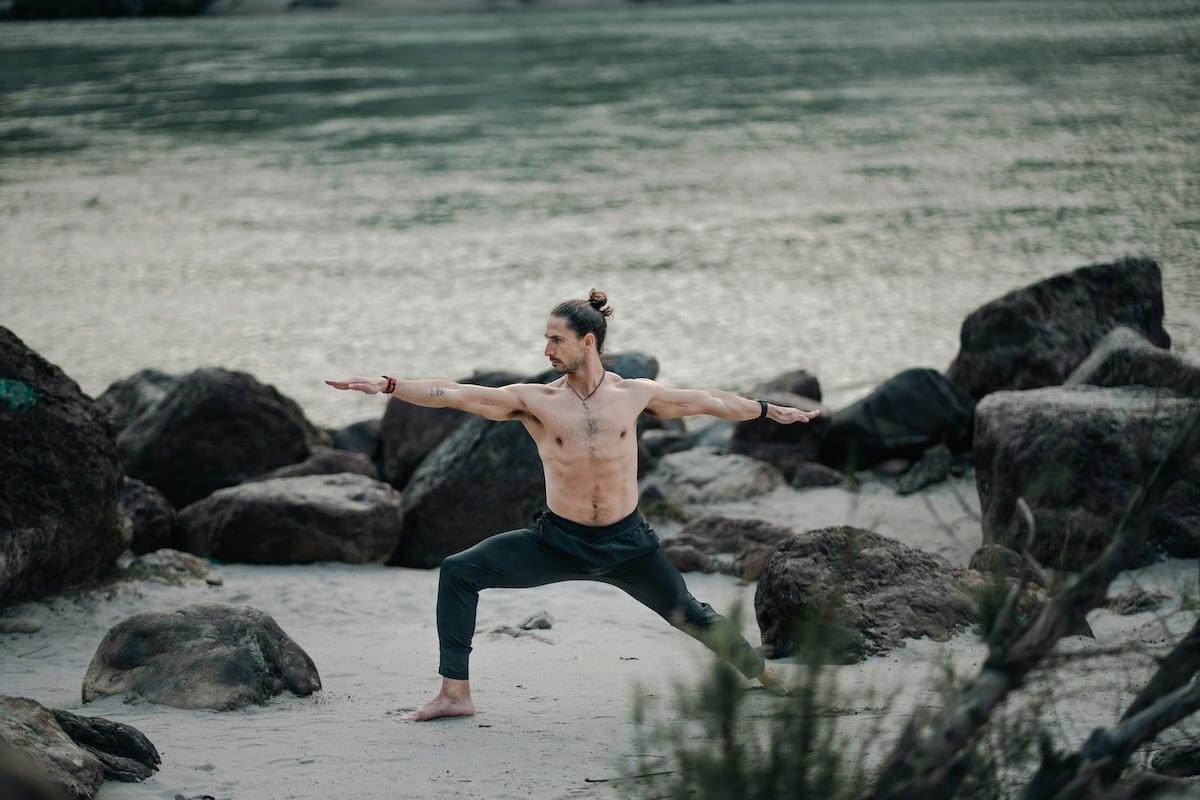
2. Pick Locations That Mesh With Your Model
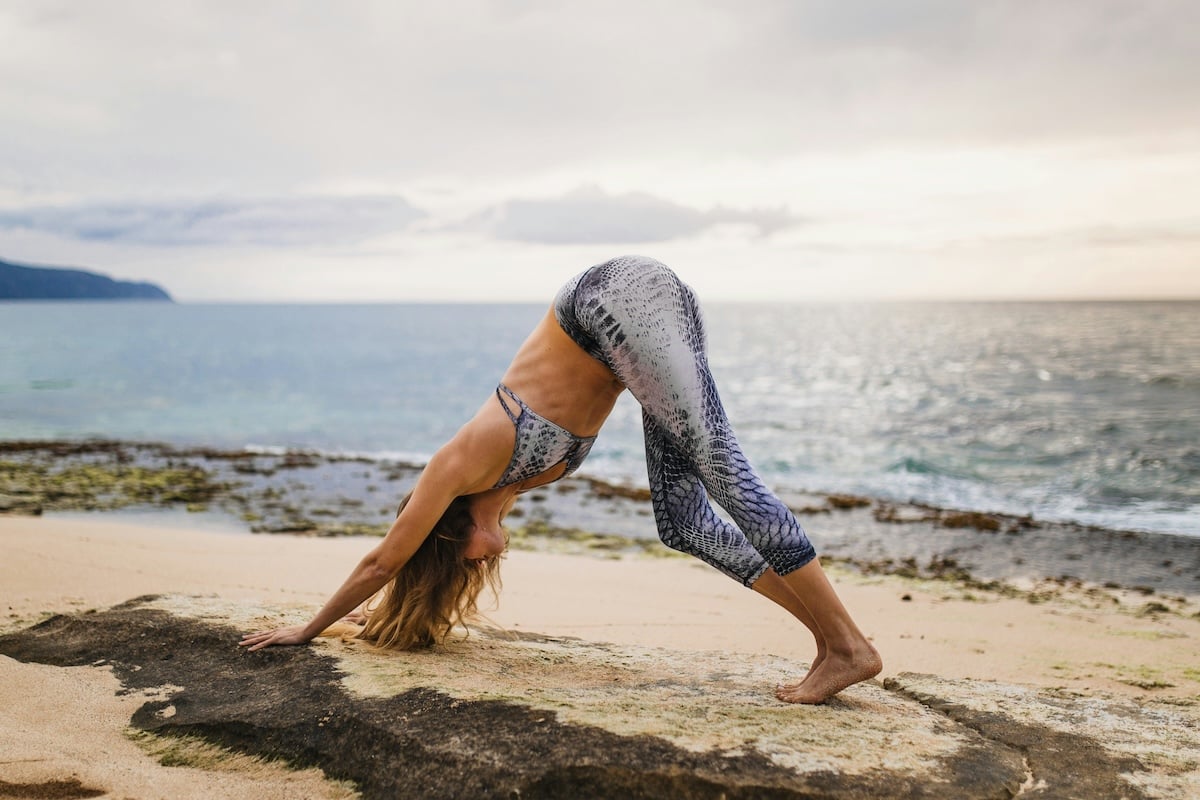
You can practice yoga anywhere. This means you can take yoga pictures anywhere, from the yoga studio to a beach or forest.
Nature photos are great because they show the yogi’s connection with the environment and give a feeling of peace and freedom. Many yogis like that.
But photos with a contrasting location, like an urban area, add a different dimension to the photo and make it eye-catching. You can even take photos at somebody’s professional yoga studio or their yoga space at home.
You don’t have to stick to one location. You can choose locations that resonate with your model and provide good natural lighting opportunities.
Shot with Fujifilm X-T20. 50mm, f/1.0, 1/125 s, ISO 400. Maryjoy Caballero (Unsplash)
3. Use the Best Camera Settings for Each Pose
Your camera settings will vary depending on the yoga pose. For still poses, you can use the same settings as those used for a portrait. But learn about sports photography camera settings to incorporate any movement.
Shutter Speed
Since your model generally won’t move, you can use a shutter speed between 1/250 and 1/125 s (seconds). Don’t go lower than that if you’re not using a tripod and are shooting handheld.
Some yoga poses are hard to hold for long, so your model will likely move. In those cases, sticking with faster shutter speeds is a good idea.
Also, use a shutter speed with the same or a higher number than your lens’s focal length to avoid camera shake. (E.g. 1/60 s with a 50mm lens.) This rule applies to full-frame cameras. With crop-sensor cameras, you should shoot with a faster shutter speed due to magnification.
For moving poses, you must use settings suitable for action photography. This means faster shutter speeds are needed to avoid blurring the model.
Aperture
The aperture setting depends on how blurry you want the background to be. If you want photos to be sharp front to back, use a narrow aperture setting like f/14.
If you want a blurry background to make your subject stand out, you can use a wide aperture, like f/2.2. Remember that if your subject moves, you might get blurry body parts. This is due to the shallow depth of field with a wide aperture.
An intermediate value, such as f/8.0, is a good option. It gives you some separation between your subject and the background while keeping your subject sharp.
I wouldn’t recommend using a wide aperture setting for the aperture because the model can easily go out of focus. An f/8.0 setting does the job in this case.
ISO and Overall Exposure
I like setting the ISO as low as possible for the best image quality. But I always consider and set the aperture and shutter speed values first. If I need to compromise on one of the three exposure values, it is ISO.
To get a well-exposed image, faster shutter speeds and narrow apertures might require increasing the ISO values. Watch for that, and don’t be afraid to experiment with different settings until you get it right.
Shot with a Canon EOS 60D. 60mm, f/7.1, 1/160 s, ISO 100. Yogi Madhave (Unsplash)
4. Use Proper Autofocus Modes for Best Focus
I recommend using autofocus (AF) to focus on your subject faster. For still poses, I use single-shot AF. Canon calls it One Shot mode. Nikon and Sony call it AF-S (single). When you press the shutter button halfway, the camera focuses once and holds it until the photo is taken.
For moving poses, I recommend using continuous autofocus. This mode is AI Servo mode in Canon cameras or AF-C (continuous) for Nikon and Sony cameras. When you press the shutter speed halfway, the camera focuses on your subject.
If you keep the shutter-release button pressed like that, the camera tracks the movement of your subject. And it continuously refocuses to keep it sharp until you take the photo.
You still miss some photos with continuous focus (moving models are hard to catch). But you miss out on much less than using the single-shot mode.
Shot with a Nikon D800. 50mm, f/2.0, 1/1,000 s, ISO 100. Dmitriy Frantsev (Unsplash)
5. Vary Shooting Distances to Show Different Details
If you want to take advantage of the background, take wide-angle shots. This includes a lot of the background and makes your model look like they’re part of a bigger story.
You can take medium shots if you want to focus on your model. They are closer, and their body fills up most of the frame. You can also take close-ups, where the model is even closer, and you can create a dramatic effect. Close-ups don’t have to be the face, either!
They are great for taking photos of details such as mala beads, tattoos, or body parts. Hands, feet, and cropped backs can also make fantastic photos! Experiment with it and have fun.
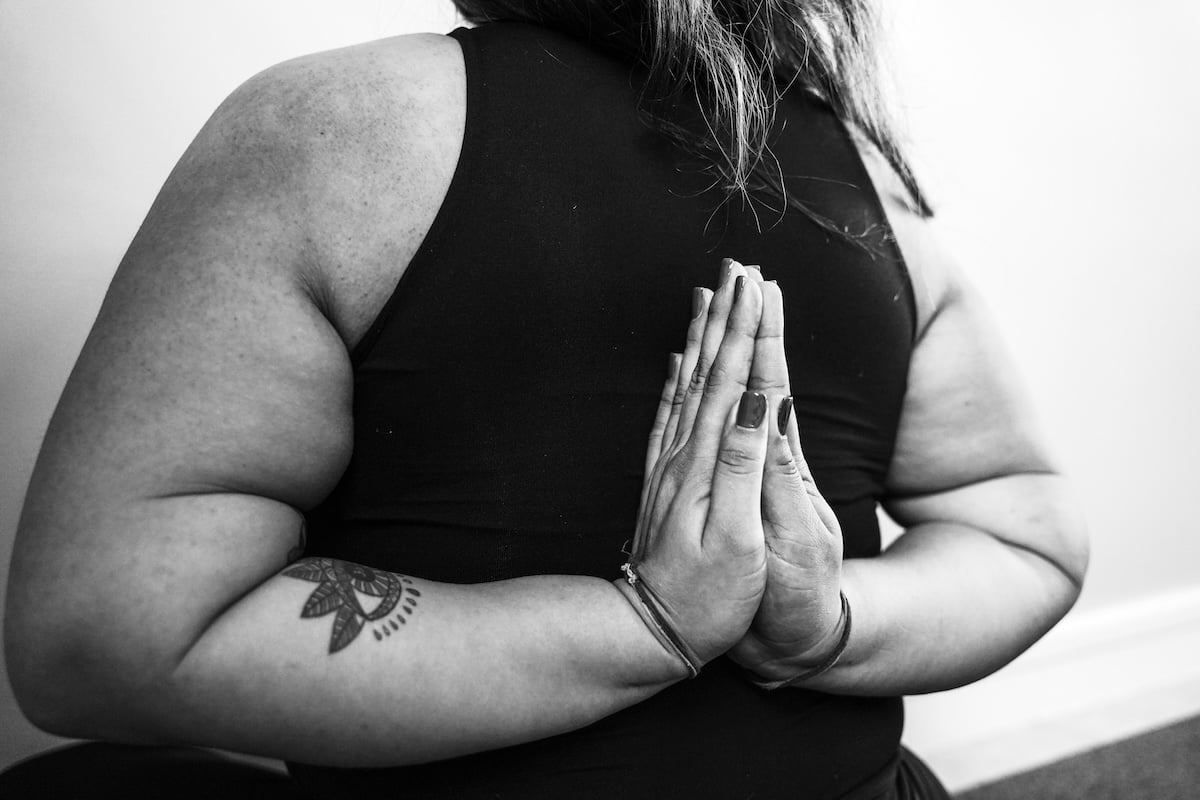
Unplash photos by Ariana Fragoza González. Shot with a Sony a7 III. 29mm, f/2.8, 1/100 s, ISO 1,250 (left). 30mm, f/2.8, 1/125 s, ISO 2,000 (right).
6. Try Different Camera Angles for Various Looks
Camera angles that are different from eye level work well in yoga photography. They are lively and exciting and let you emphasize other aspects of the yoga poses. Taking a shot from a low angle makes the yoga practitioner look stronger.
You can do the opposite and take a photo from a high angle. This emphasizes your model’s face, and these photos are usually quite flattering.
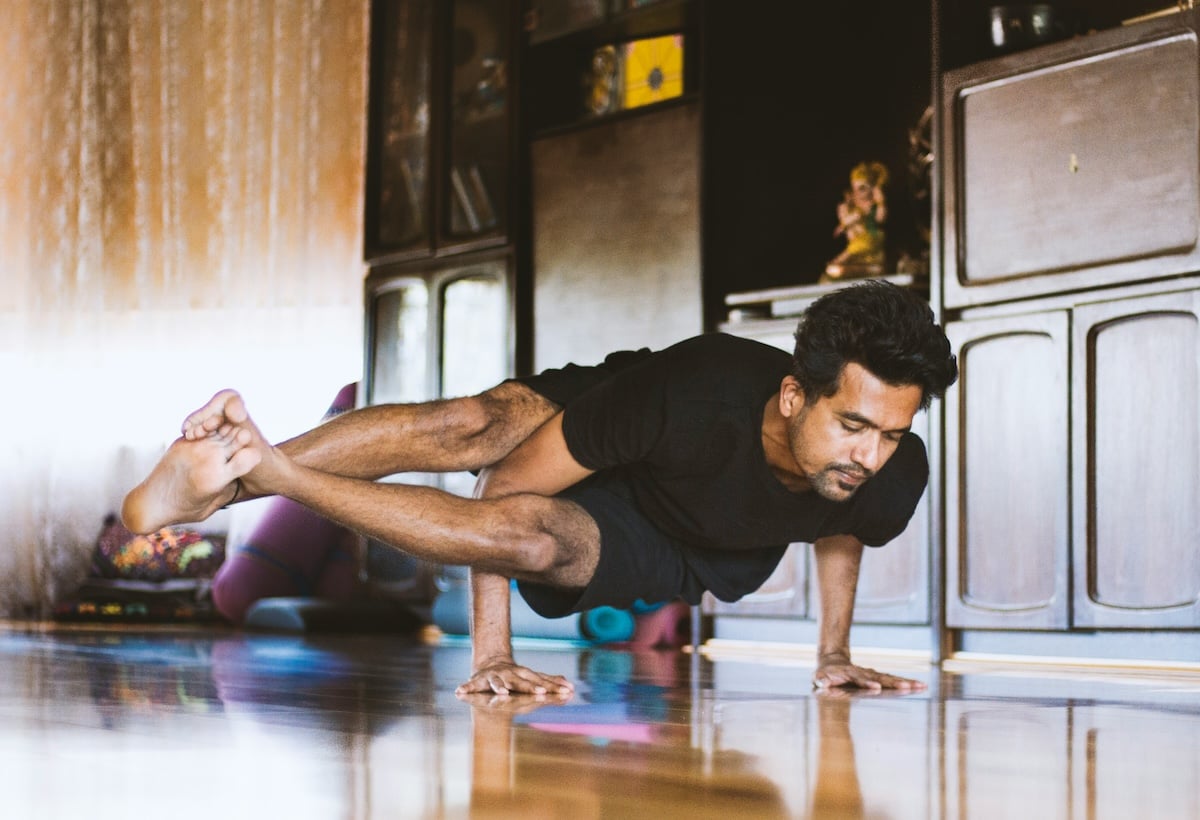
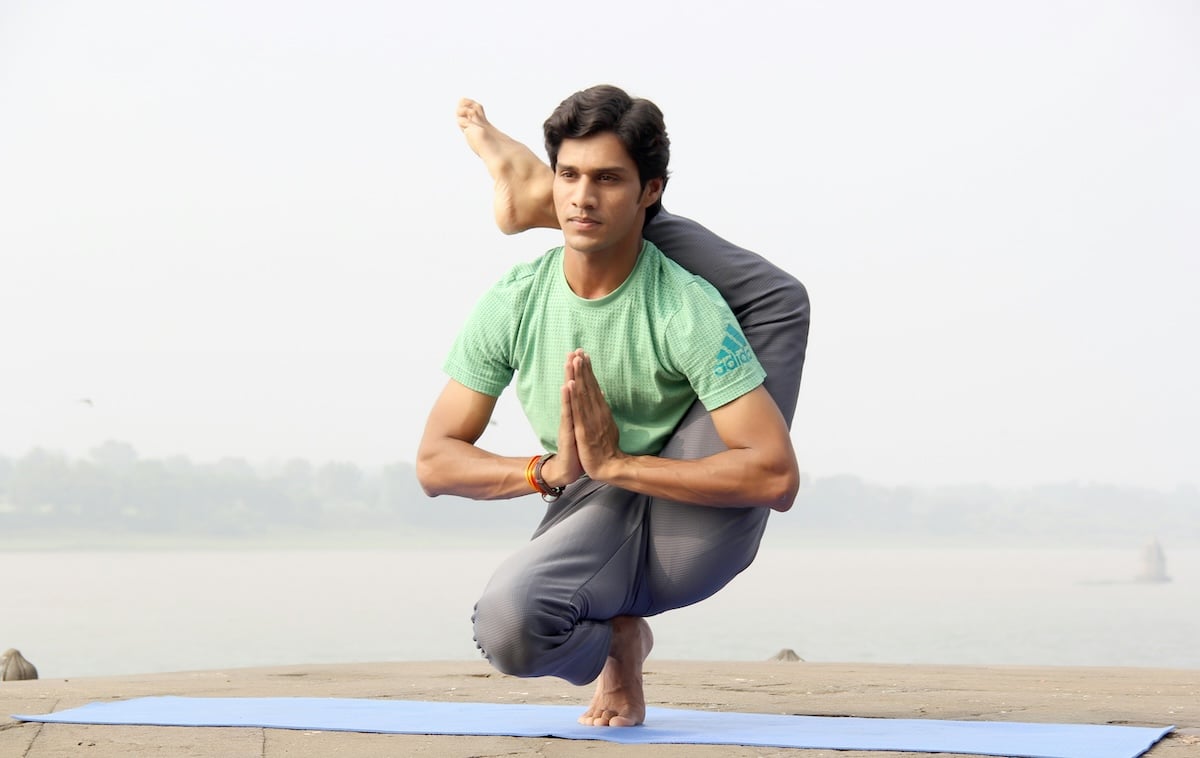
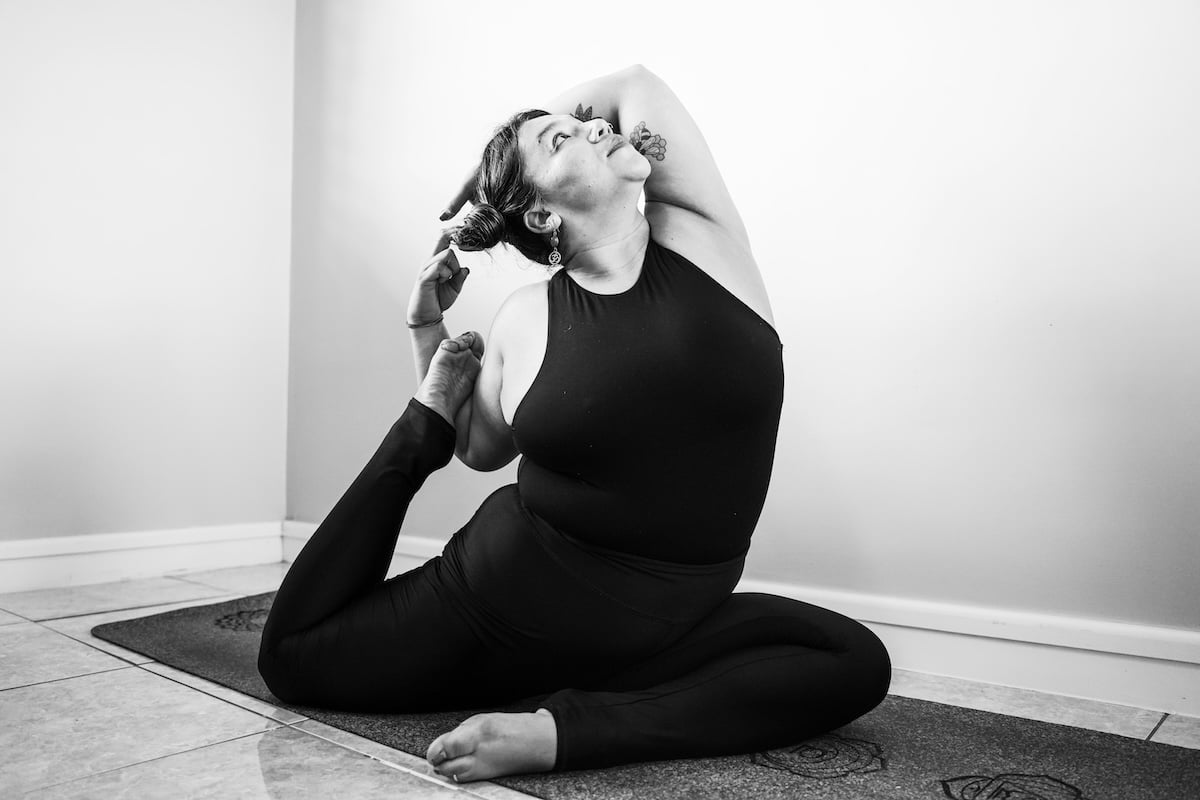
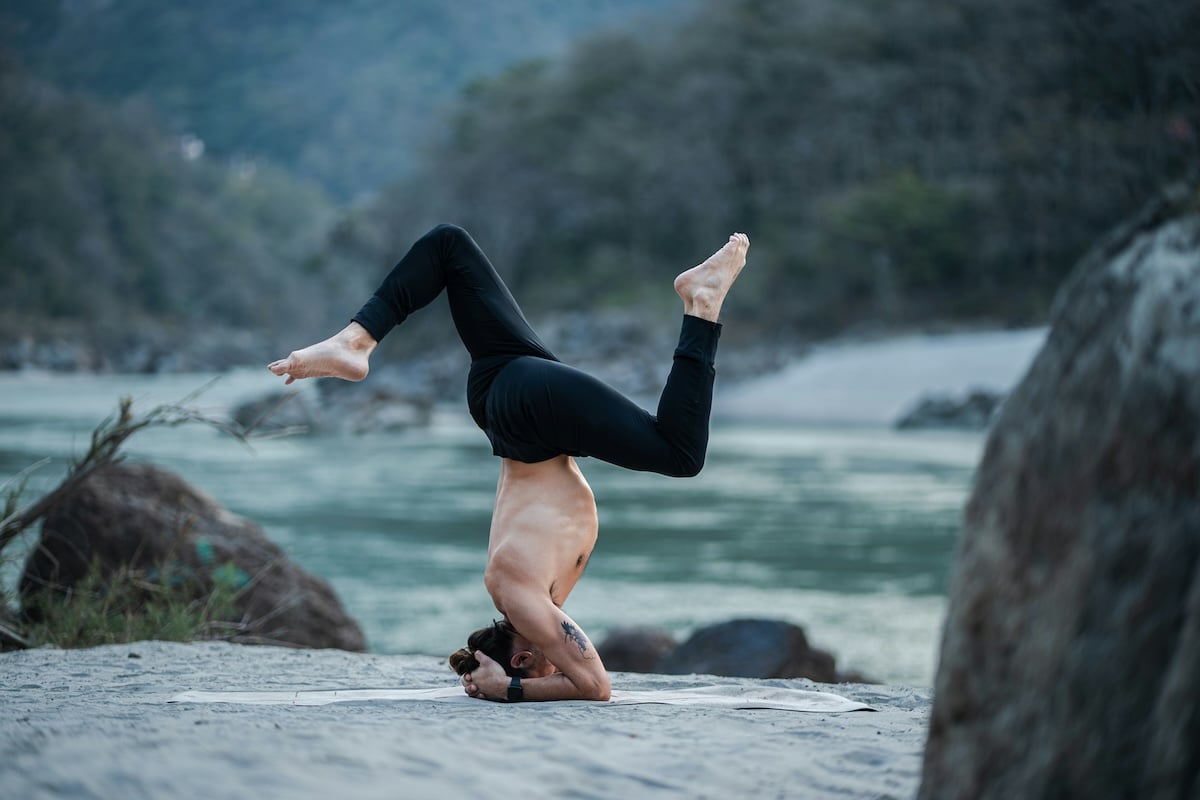
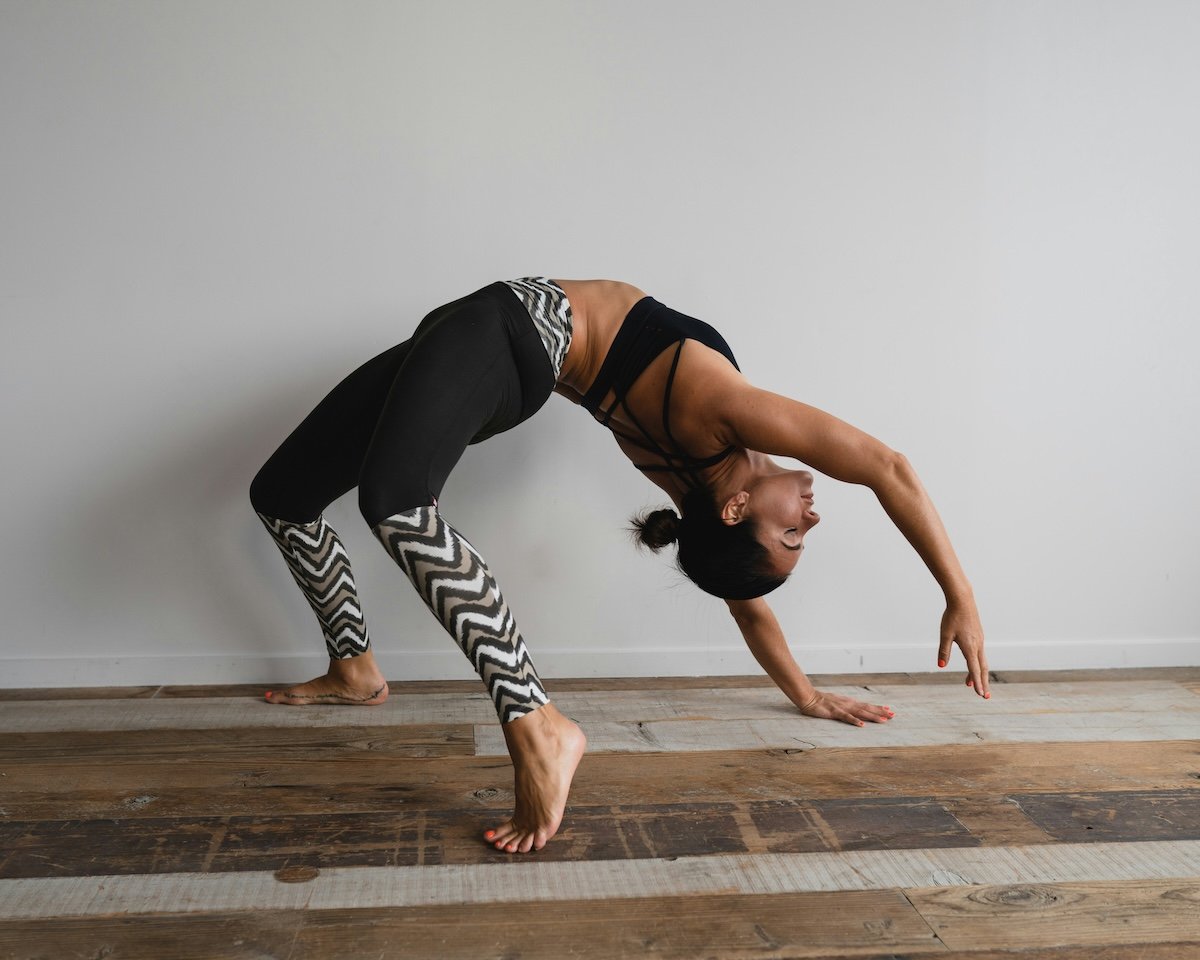
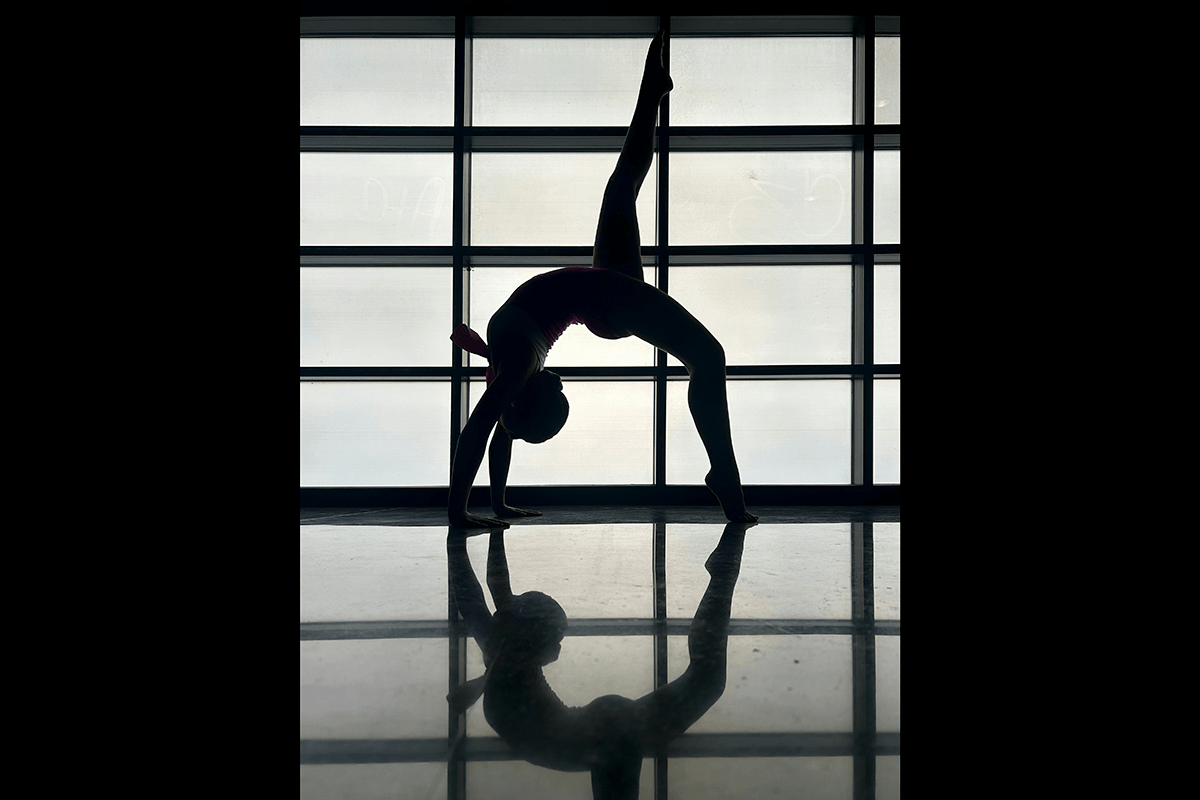
7. Shoot Numerous Poses for a Good Variety
Yoga poses can be divided into general groups. They can include standing, sitting, back bending, arm balances, etc. You can build up a great yoga photo session by including a few poses from each group.
Combine poses from different groups with different locations and distances from your model. You end up with a great variety of photos to choose from. This also increases your chances of getting that perfect shot.
Unsplash photos by Jaspinder Singh. Shot with a Sony a7 IV. 85mm, f/1.4 (left). 1/800 s, ISO 80, 85mm, f/1.4, 1/125 s (middle). ISO 50, 85mm, f/1.4, 1/200 s, ISO 50 (right).
8. Let Models Look at Photos to Ensure Correct Posing
Letting your models see the photos helps them correct their stances and poses. A yogi won’t use a photo in which they pose incorrectly. Since they can’t see themselves while posing, they will want to see the photos before moving to the next pose.
If you practice yoga yourself, watch your model’s alignment and guide them while they do the pose. If not, ask them to explain what they want to achieve and what you should look out for to help them.
Shot with a Sony a7R III. 35mm, f/2.8, 1/320 s, ISO 320. Dane Wetton (Unsplash)
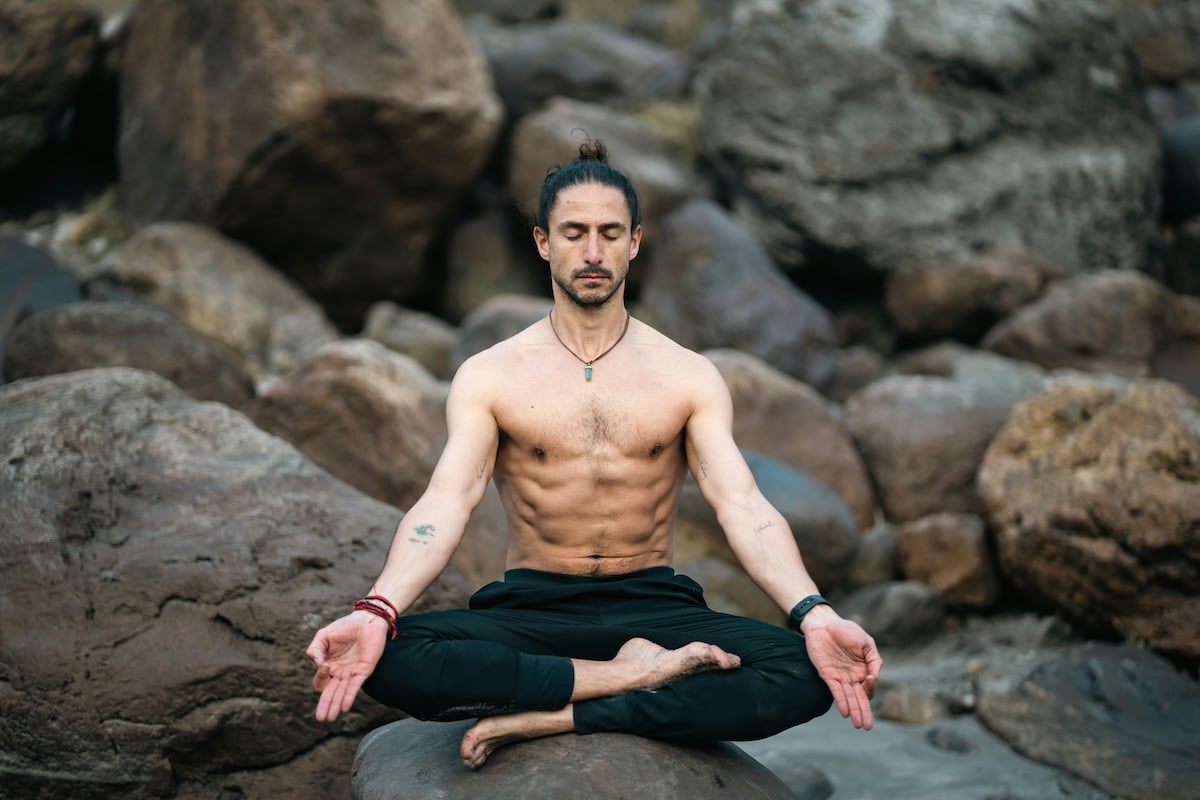
9. Get Creative to Make Your Photos Unique
Artistic yoga photography can be fun for the yogi and helps your photos stand out more. Experiment with different perspectives, compositions, and poses. And have some fun! Our Creative Portrait Concepts eBook can help you develop ideas to try.
You can experiment and see how different backgrounds change the mood of your photos while the model performs the same pose. You don’t even need anything fancy to do this. A big piece of fabric placed behind your model does the job.
You can also play with shutter speed. If you increase it, you can blur the movement in the scene. You can even use a neutral density filter to darken the scene and use an even lower shutter speed.
If you do this, it’s best to use a tripod. Your model must also be very still. Otherwise, the photos will be blurry. But blurring your model or surroundings can also be something to try with a long exposure.
Unsplash photos (left) by Paula Hamby. Shot with an iPhone 14, 5.7mm, f/1.5, 1/342 s, ISO 50. iStock photo (right). Shot with a Nikon D700, 52mm, f/16, 1/2 s, ISO 100.
10. Keep the Mat and Scene Clean for Easy Edits
The yoga mat is an integral part of many yoga photo sessions. Keeping the mat clean makes your life easier later when touching up photos with editing software like Adobe Lightroom.
Yogis often pose barefoot. So, the mat accumulates markings, smudges, and footprints throughout the day. I usually bring a spray bottle of water, vinegar, and a towel.
I clean the mat from time to time during the photoshoot, depending on how dirty it gets. Models appreciate this, too, as it gives them the sense that they are working with a professional photographer.
Besides cleaning the mat, pay attention and remove unwanted objects from the frame. This is especially key if you are shooting portraits in an urban setting. This also saves you time in post-processing.
For some poses, it is easier for your model to be barefoot. Remember to remove the shoes from the frame!
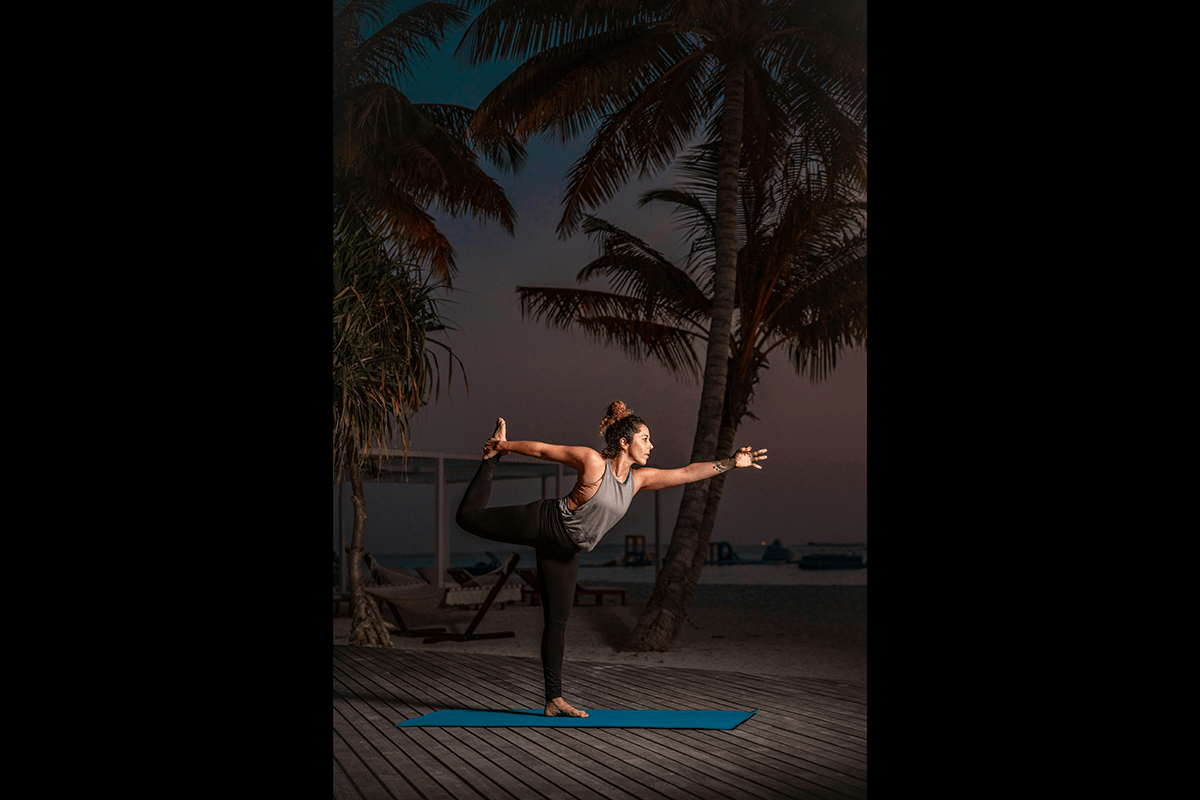
Shot with a Nikon D810. 62mm, f/2.8, 1/250 s, ISO 400. Rayyu Maldives (Unsplash)
Conclusion: Yoga Photography
Yoga photo sessions are challenging and fun. Shoot as if you’re taking a portrait when taking photos of still poses. For moving poses, shoot like you would for sports photography. And remember to keep your model safe (don’t have them pose in places where they could get injured).
Yoga photography offers endless opportunities for artistic expression and storytelling. Use the principles of composition and lighting and explore diverse locations and angles. This will help elevate your yoga portraits to new heights of beauty and emotional impact.
Our Best eBooks and Courses for Yoga Photography