Bend and warp are two of the most powerful tools in Photoshop, and they can be used for some amazing effects. In this tutorial, you’ll learn how bend and warp in Photoshop. It’s a cool trick that will wow your friends and family.
Bend and Warp in Photoshop: How to Do a Trick
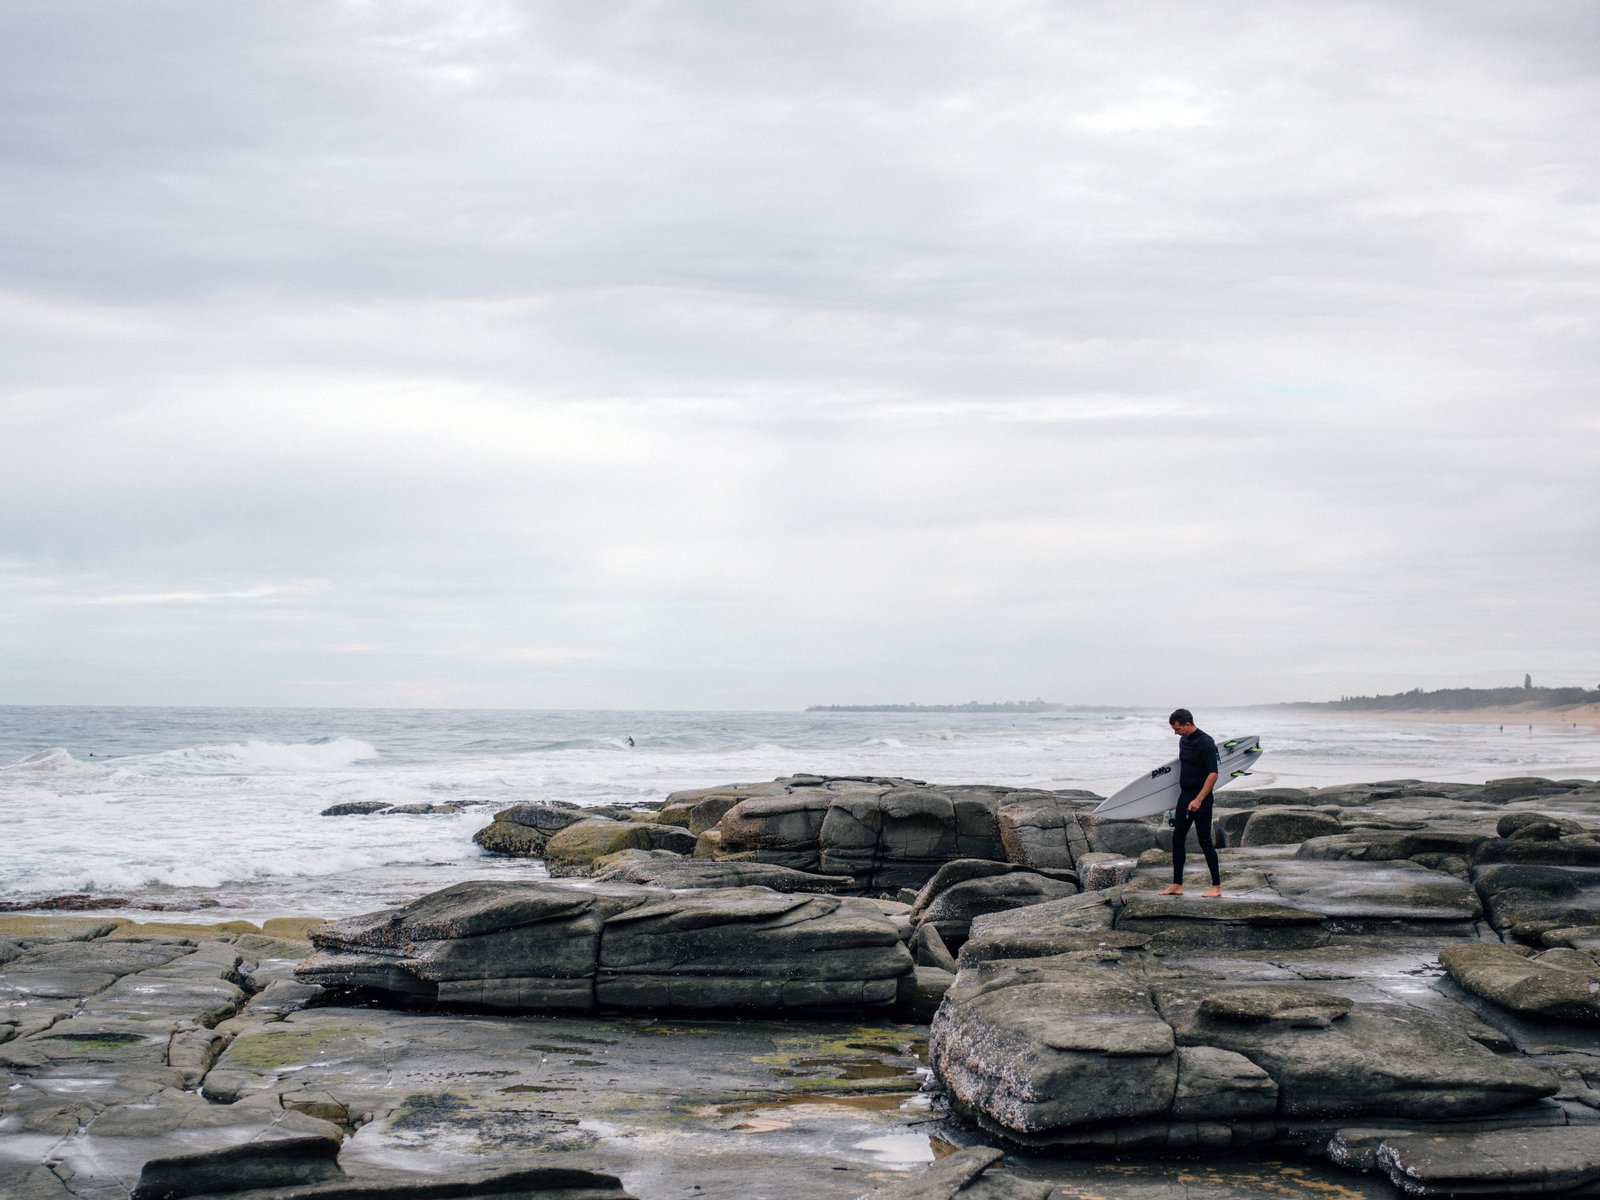
It starts with picking the right photo. Photos with a straight and clear horizon work best. Once you know the different steps, you could try and step up to more difficult projects.
I’ll use a photo of a surfer in Australia for this bend and warp trick…
To create this surreal photo:
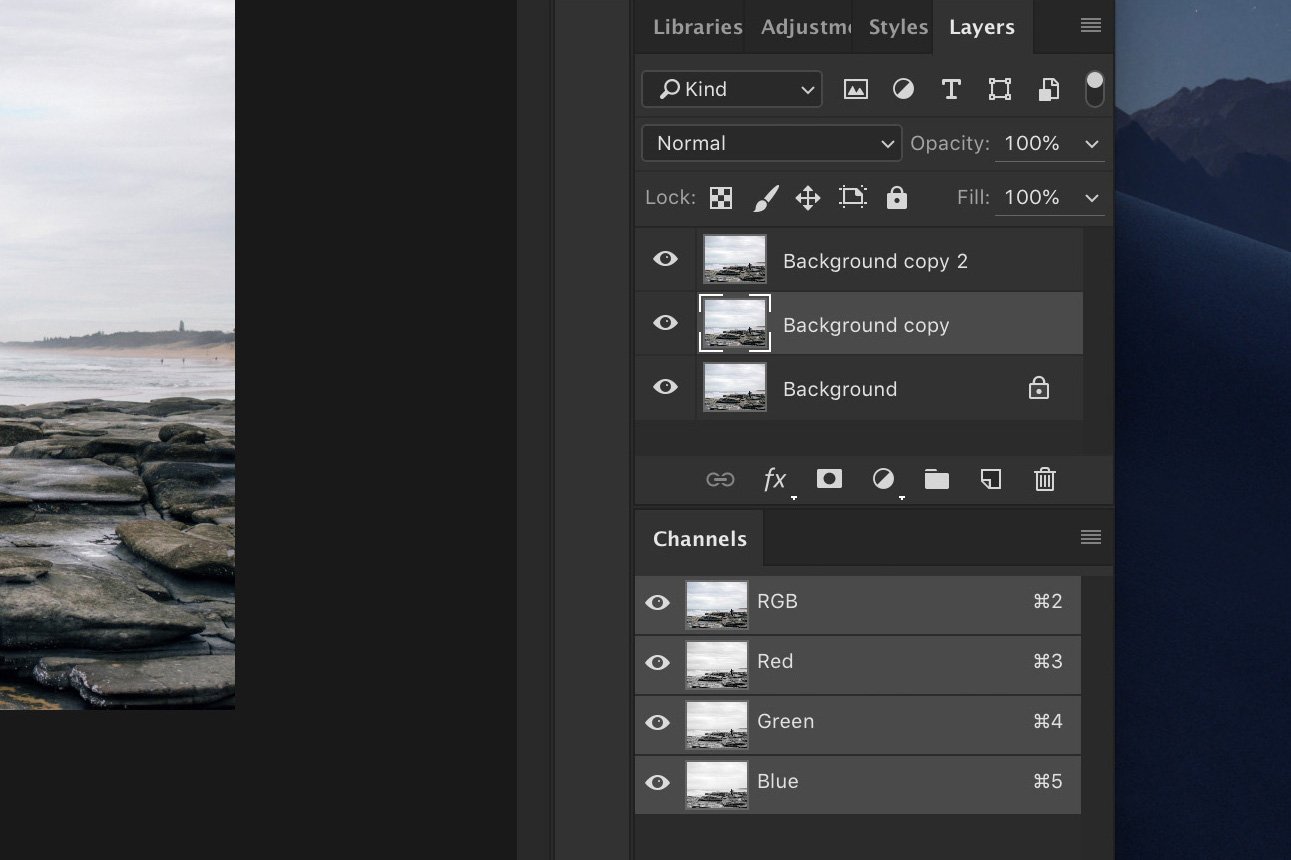
Step 1: Open and Duplicate
Open the photo. Right click on the background layer and select ‘Duplicate’. Do this two times.
Step 2: Rotate
Rotate the two new layers. One needs to rotate clockwise and the other, counter clockwise.
Select the layer you want to rotate and go to Edit > Transform. Select ‘Rotate Clockwise’ or ‘Rotate Counter Clockwise’. It should look something like this.
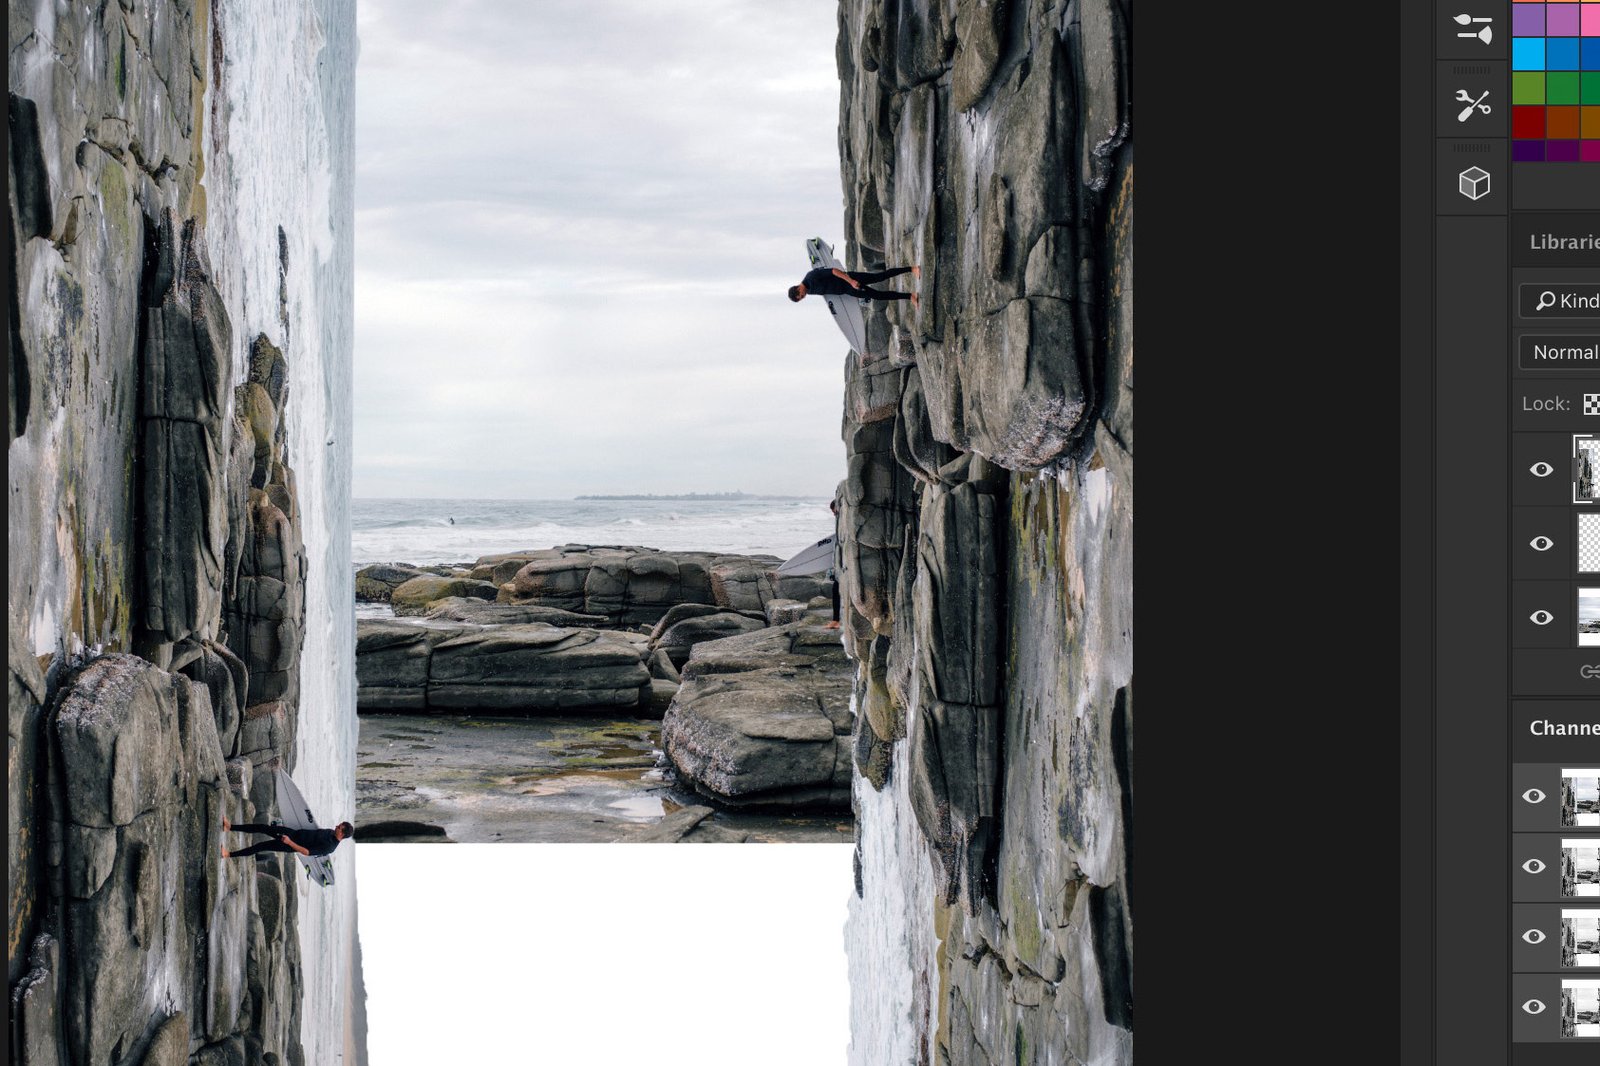
I’ve made the layers transparent to show you the position of each.
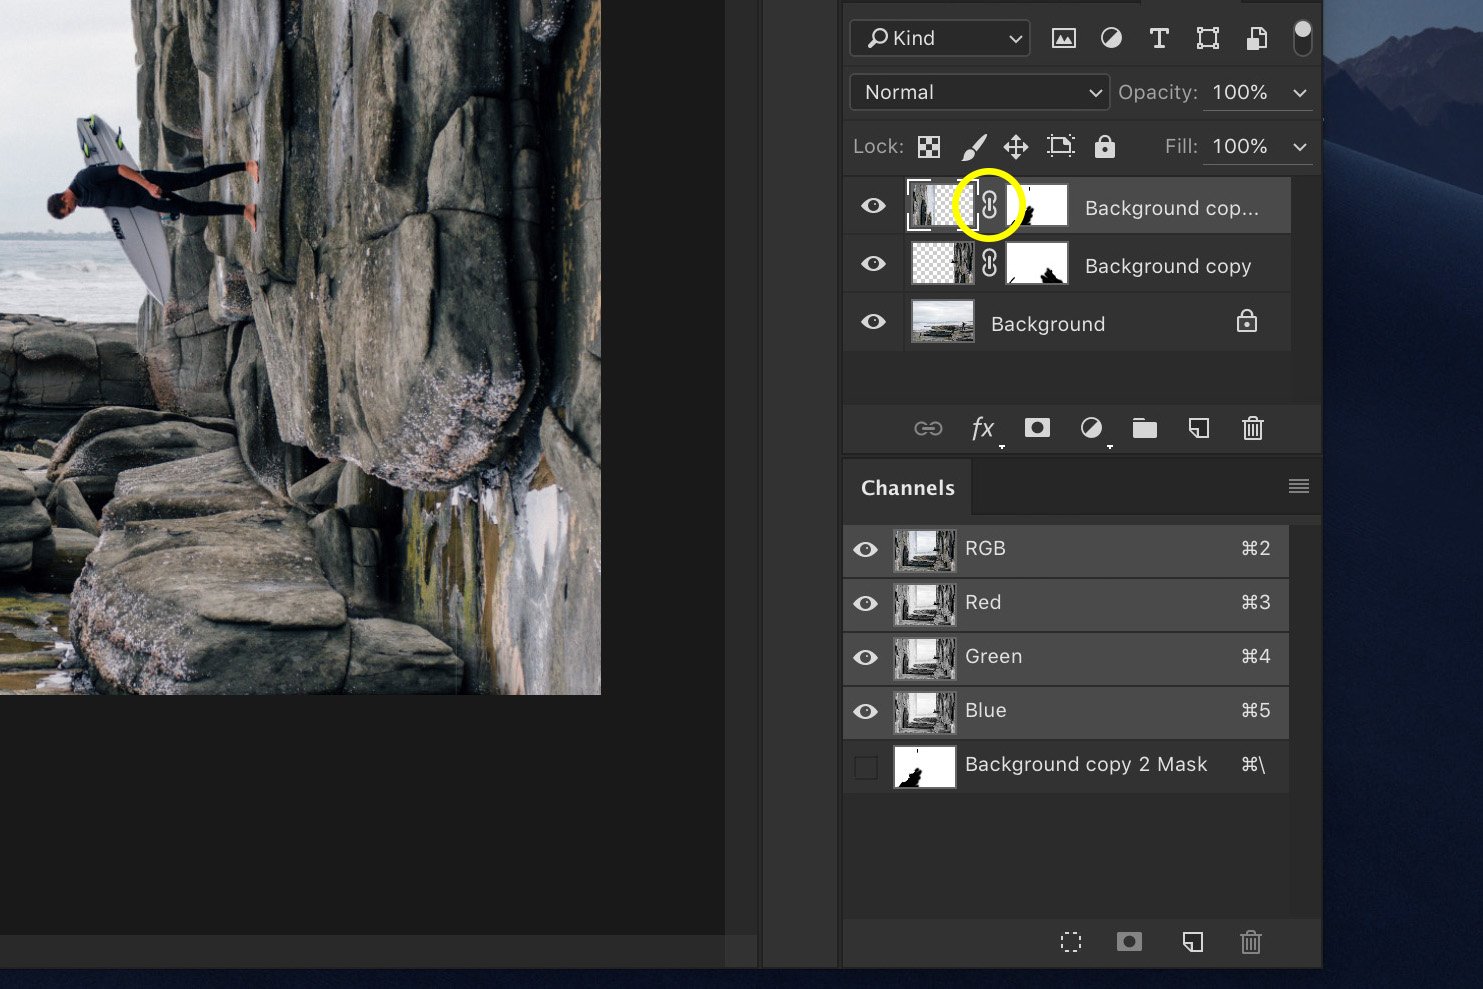
Here’s what it looks like in the layers panel.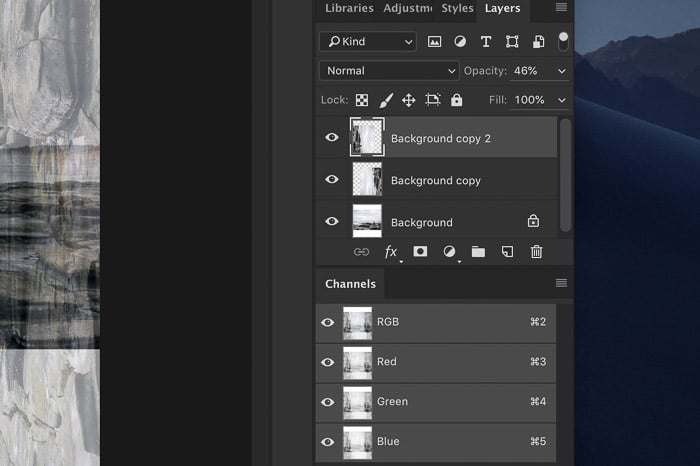
Step 3: Delete the Sky
Select the Quick Selection tool from the toolbar on the left. If the toolbar is not available go to Window and select ‘Tools’.
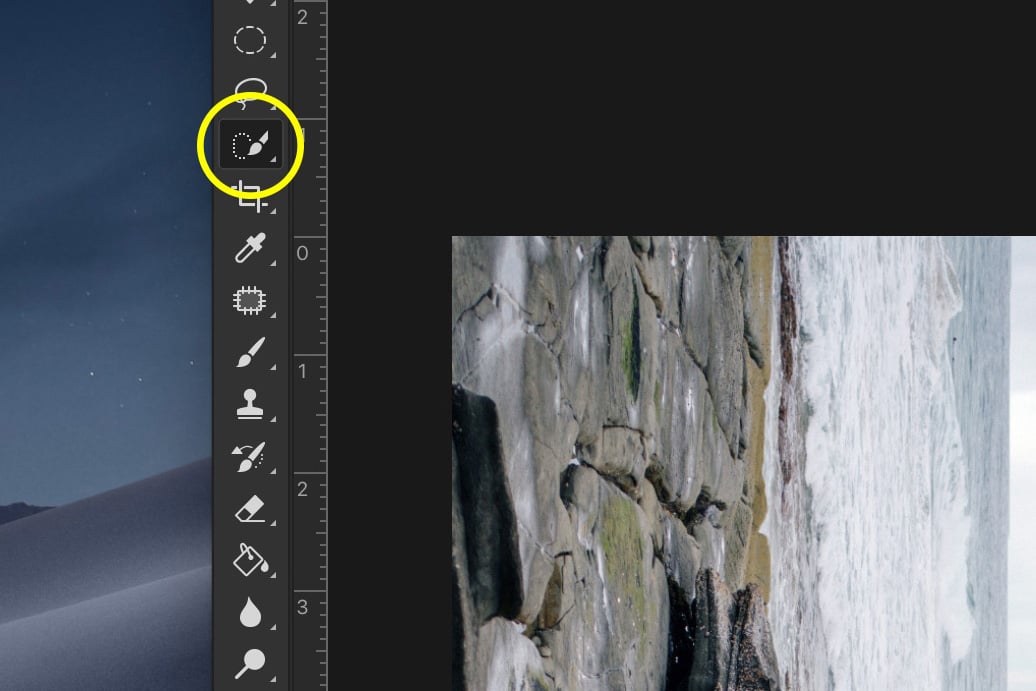
For each of the rotated layers, select the sky and hit ‘Delete’.
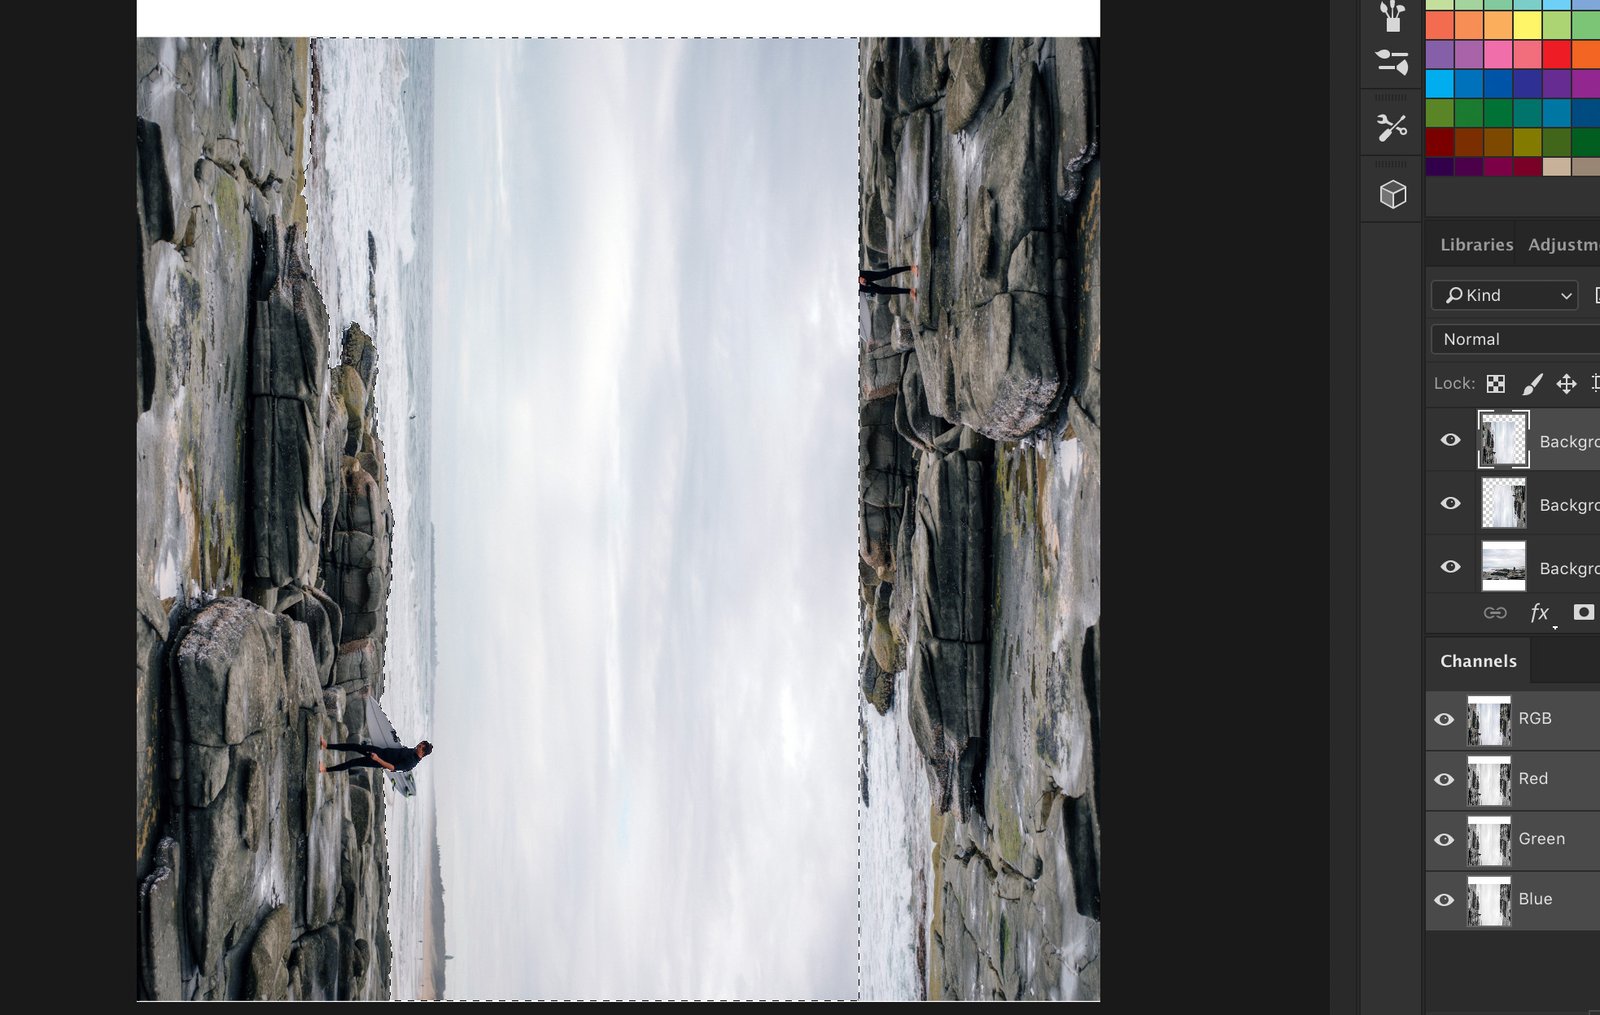
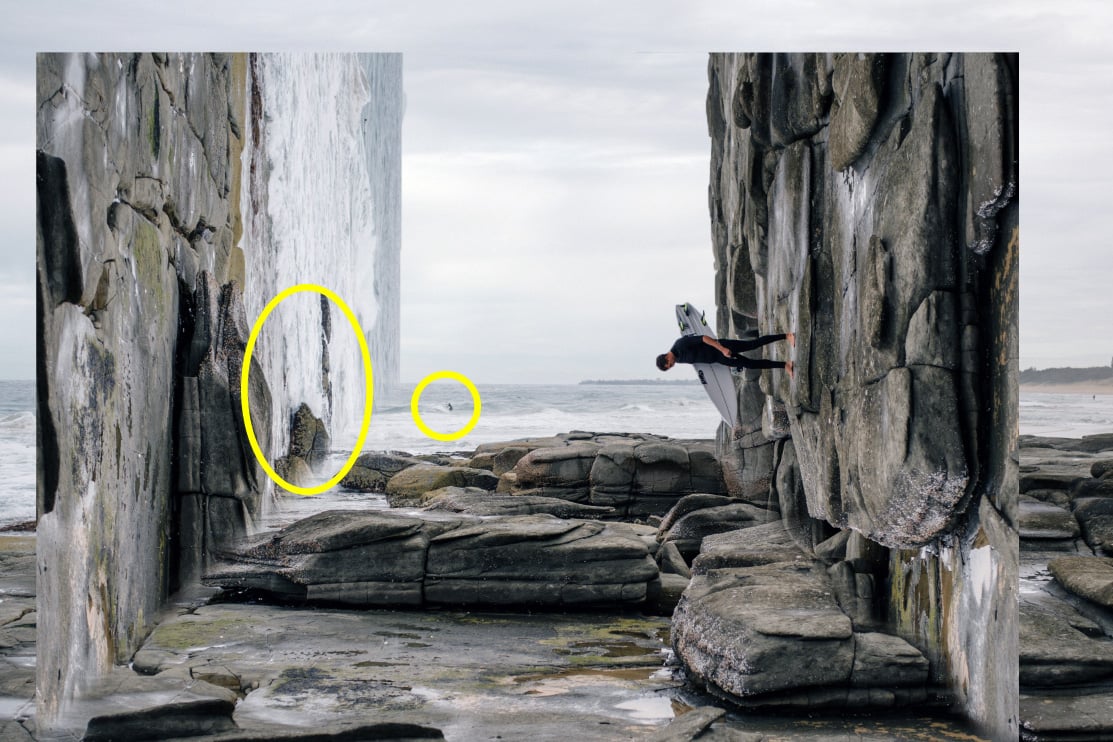
This is what it should look like. Don’t worry if it doesn’t match up yet.
Step 4: Match Up the Layers
Set the opacity of the rotated layers to around 50% and try to match them up as well as you can by dragging them.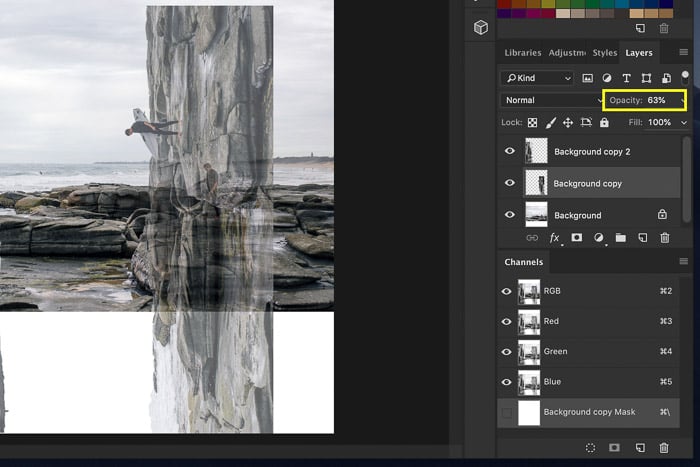
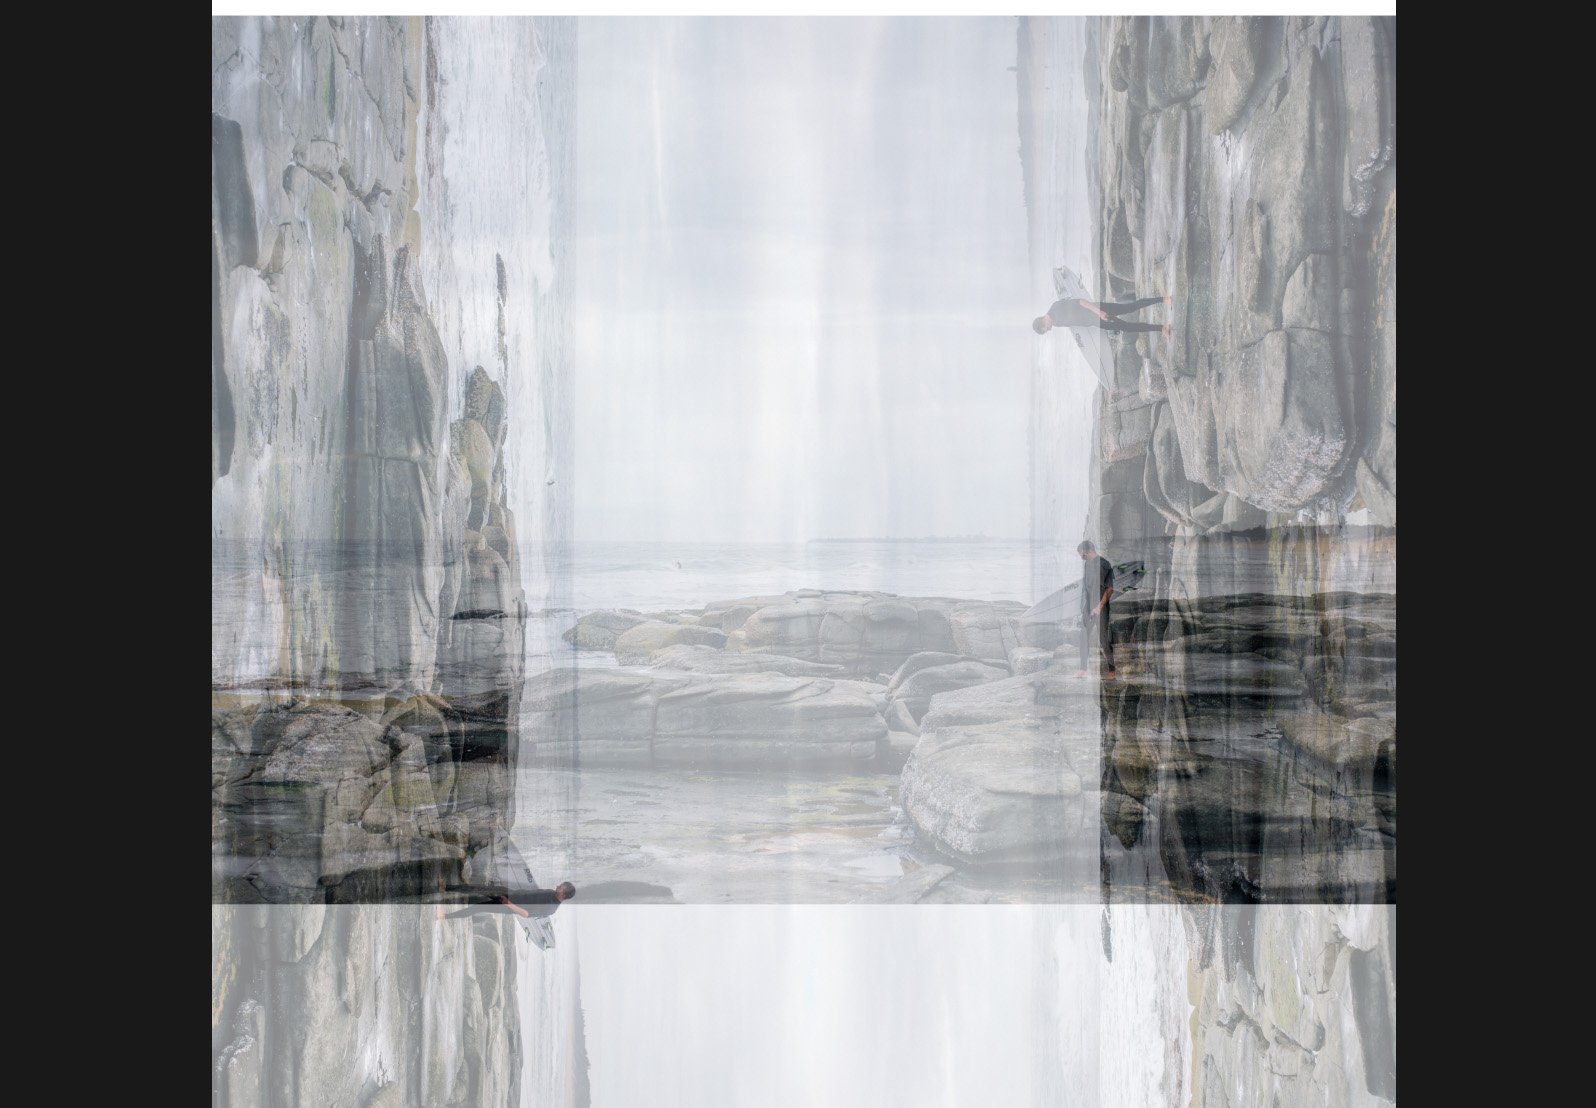
Step 5: Create the Corners
To finish the bend and warp trick, we need to create the corners.
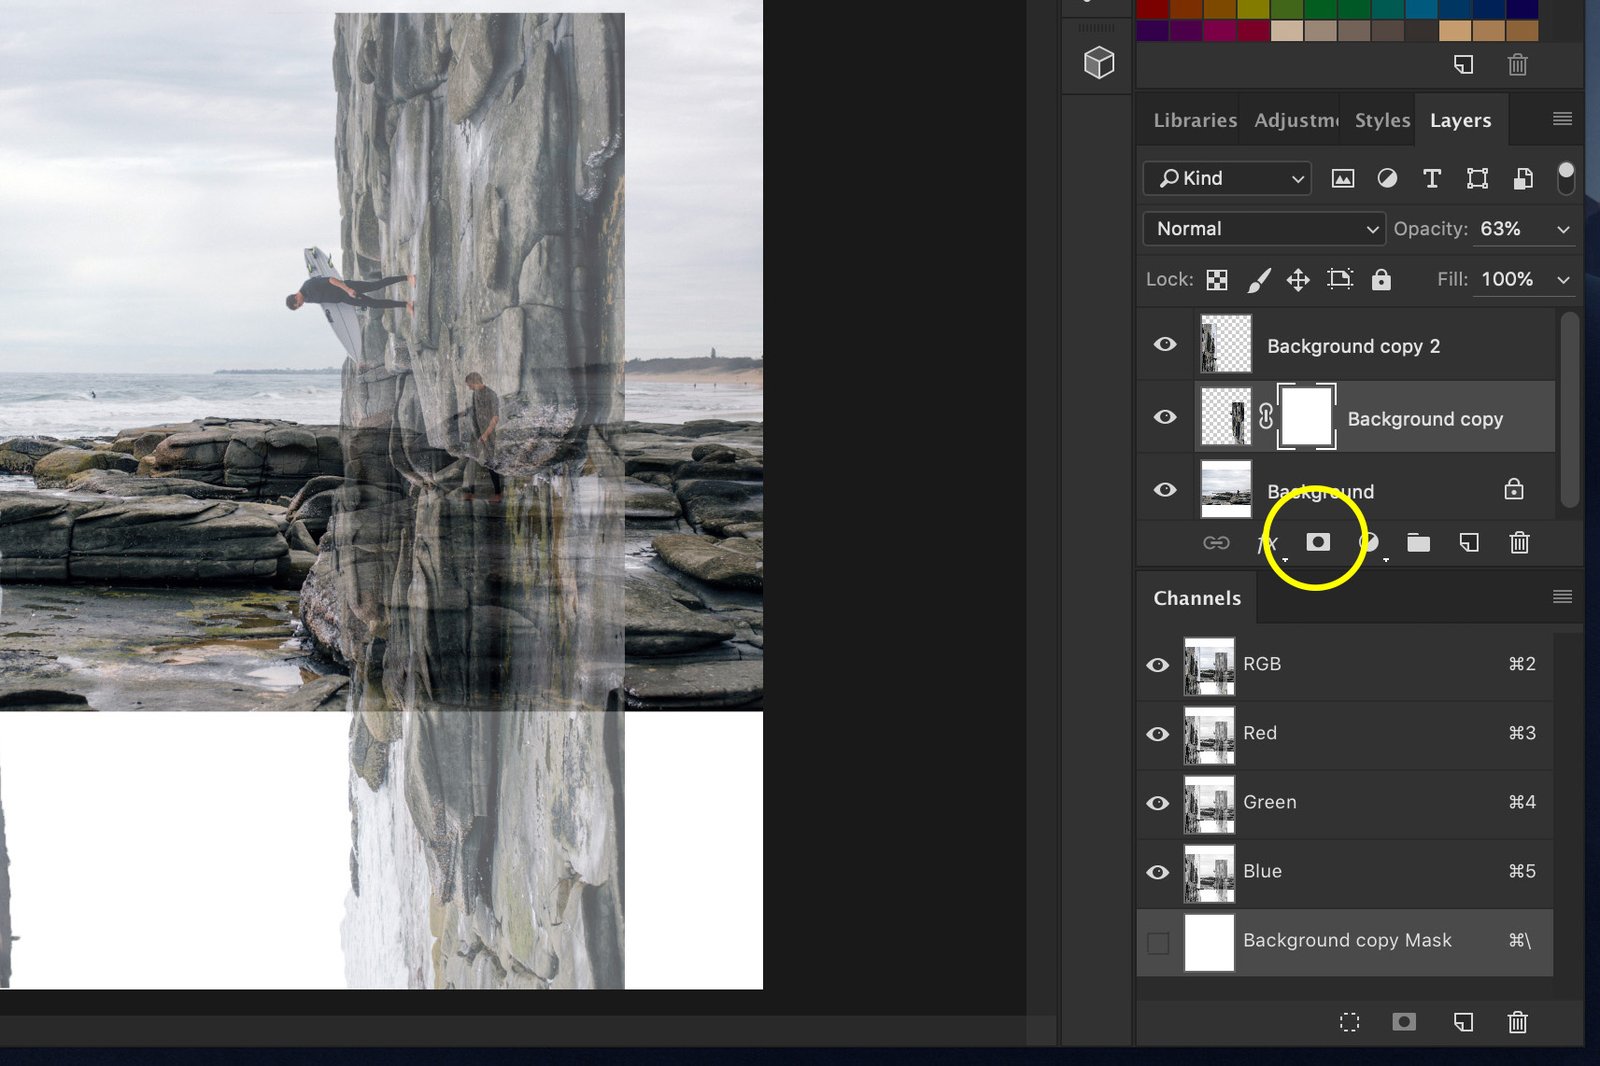
Select each of the rotated layers and select ‘Add vector mask’.
We’ll use this to match up each of the layers perfectly and to erase objects that don’t look right.

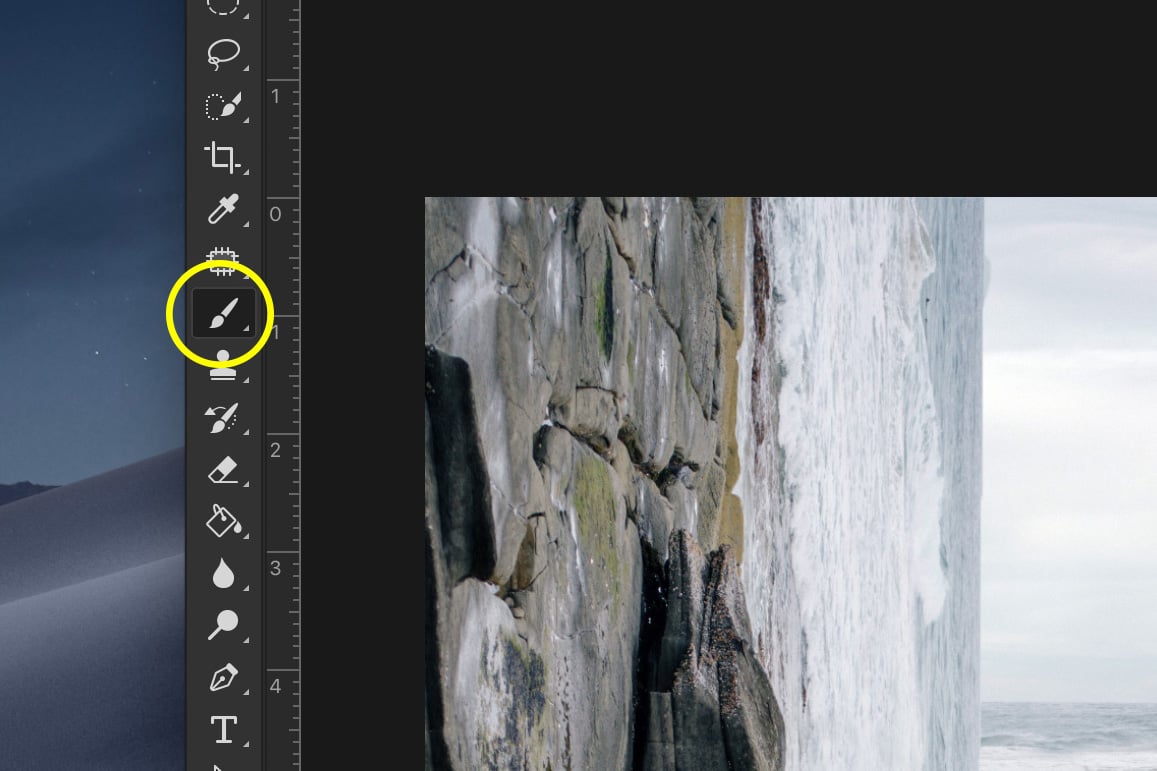
Select the Paint Brush and set the color to black.
For each rotated layer, select the layer mask thumbnail and start painting in the photo to erase the parts that don’t match.
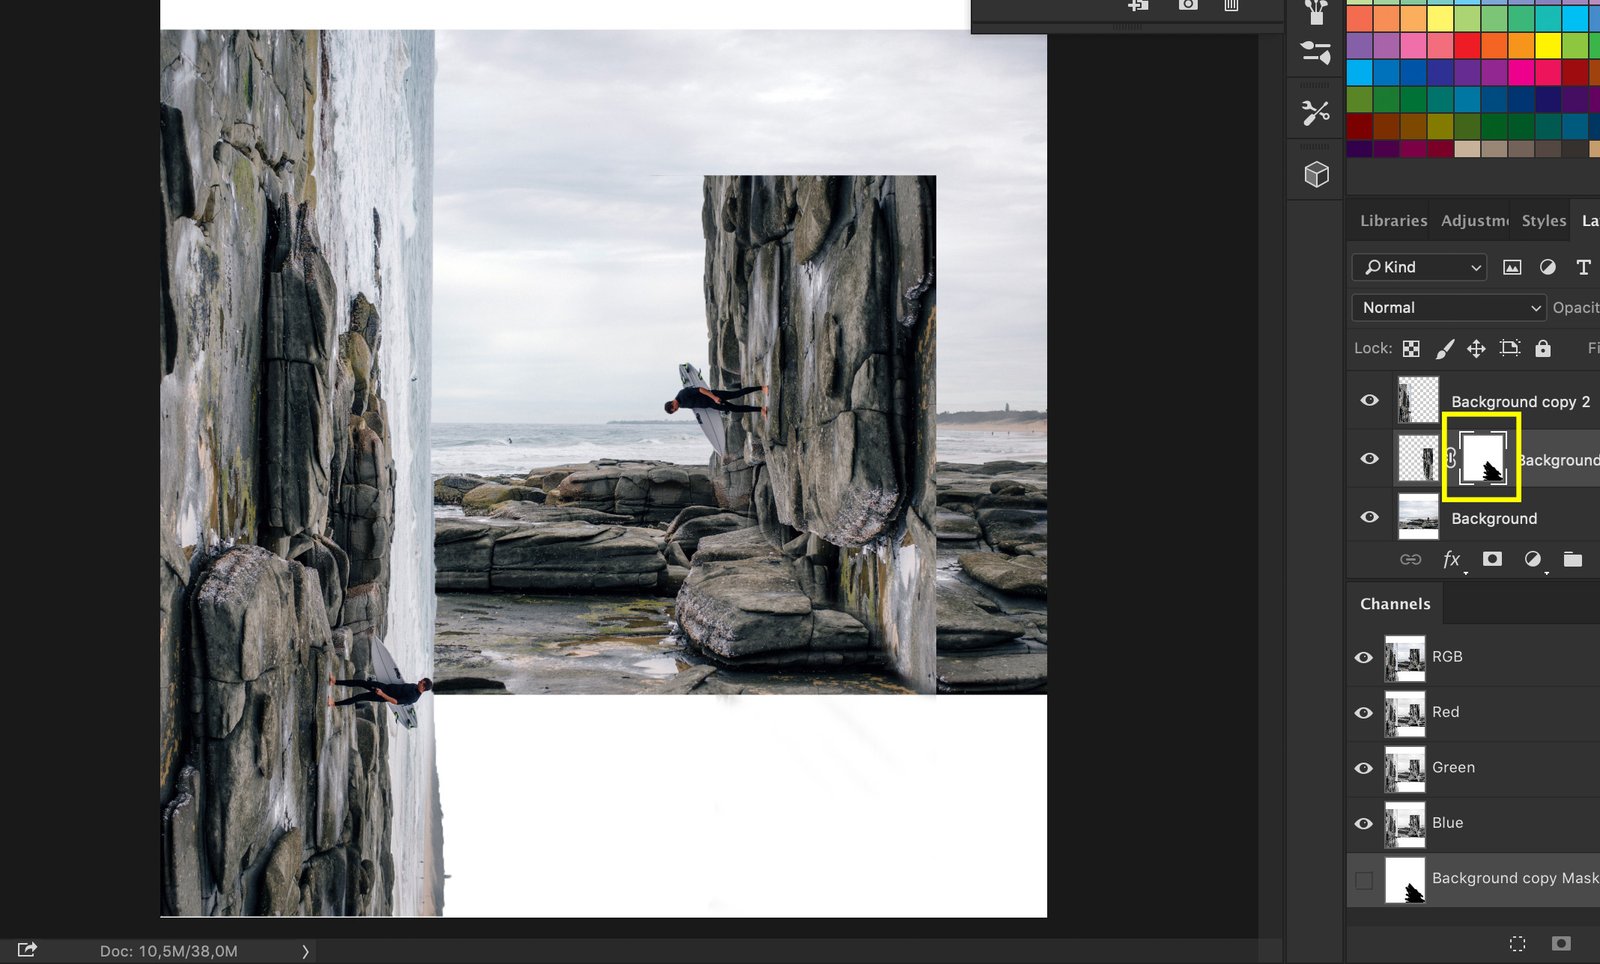
You need to make corners in the bottom to create the surreal box effect.

Painting with black is the same as erasing. If you make a mistake, paint with white and you make the erased pixels appear again.
Notice how the layer mask thumbnails change while you paint. The black areas are the erased areas.
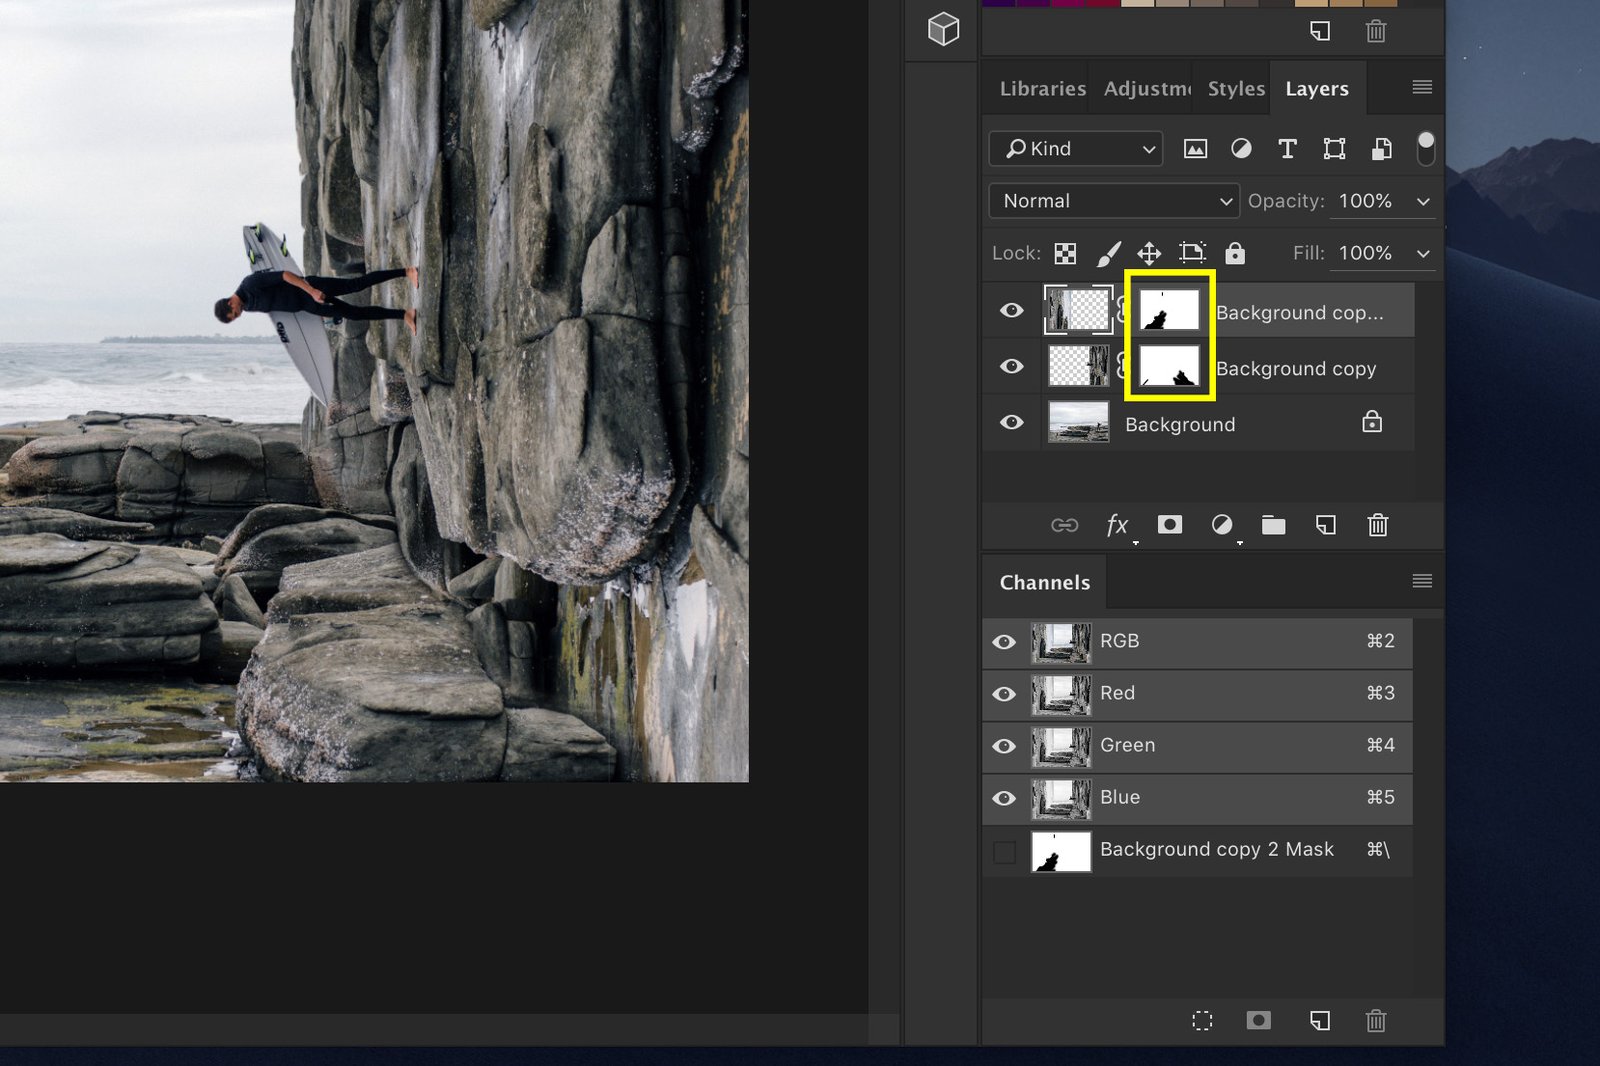
TIP: Click on the link icon between the layer thumbnail and the layer mask thumbnail to unlink them. Now, you can drag and move them separately from each other to match up the layers even better.
Step 6: Clean Up
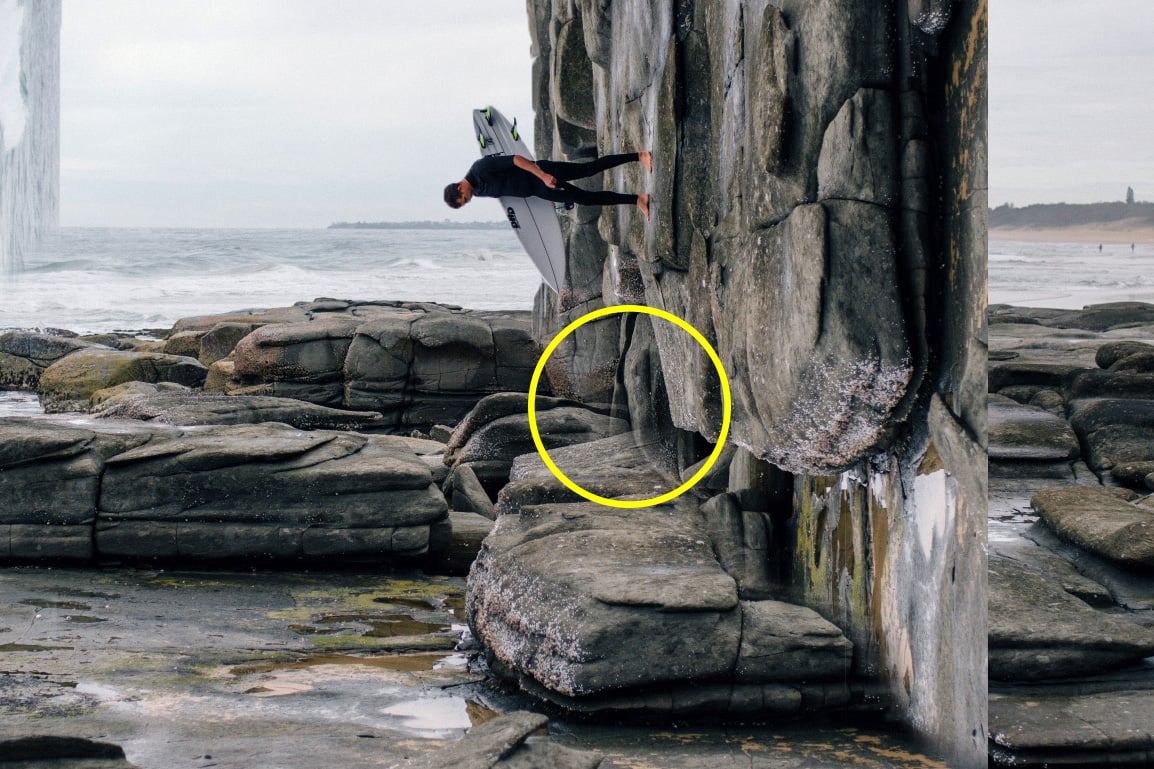
Keep using the Paint Brush to erase any objects that don’t match. It will take a while to get it right but the details are important.
Here’s a thin line that doesn’t belong in the picture, for example.
Next, select the Clone Stamp tool to get rid of those objects you can’t remove with the Paint Brush.
Alt + Click on an area next to an object you want to remove and start painting over it. Photoshop will use the pixels next to the object to cover it.
Always make sure you’re in the right layer or it won’t work.
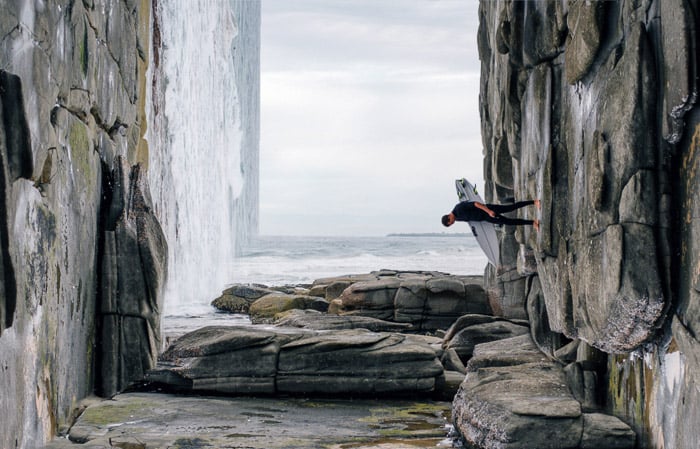
Step 7: Crop
Now crop the photo and there it is. You just did a cool surreal looking bend and warp trick in Photoshop.
Conclusion
For most projects, you need to use Photoshop with care. You don’t want photos to look fake or over edited.
However, sometimes you need to explore the boundaries of your creativity. The possibilities of Photoshop are only limited by your imagination.
Experiment to create new and cool looking effects for your photos.


