If you’re looking to take your real estate photography skills to the next level, HDR might be just what you need. This advanced shooting technique can add incredible depth and detail to your photos, making them look more realistic than ever before. In this article, we’ll teach you how to shoot HDR real estate photography like a pro!
What Is HDR Real Estate Photography?
HDR stands for High Dynamic Range. HDR is about broadening the difference between the lightest light and the darkest dark on the picture. In other words, one image evaluates a wide range of lighting all at once.
This is done by blending multiple exposures.
We tend to relate scenes to the capacity of our eyes, which are working on and ultra-HDR scale. A camera doesn’t evaluate and compensate for light the same way our eyes do. That’s why we need to create a look to match.
Therefore, HDR is super important in real estate and interior photography.
Why Use HDR for Real Estate Photography?
The main reason for using HDR is that it’s better at mimicking the way our human eye sees things. Shooting HDR also emphasises every detail of a scene.
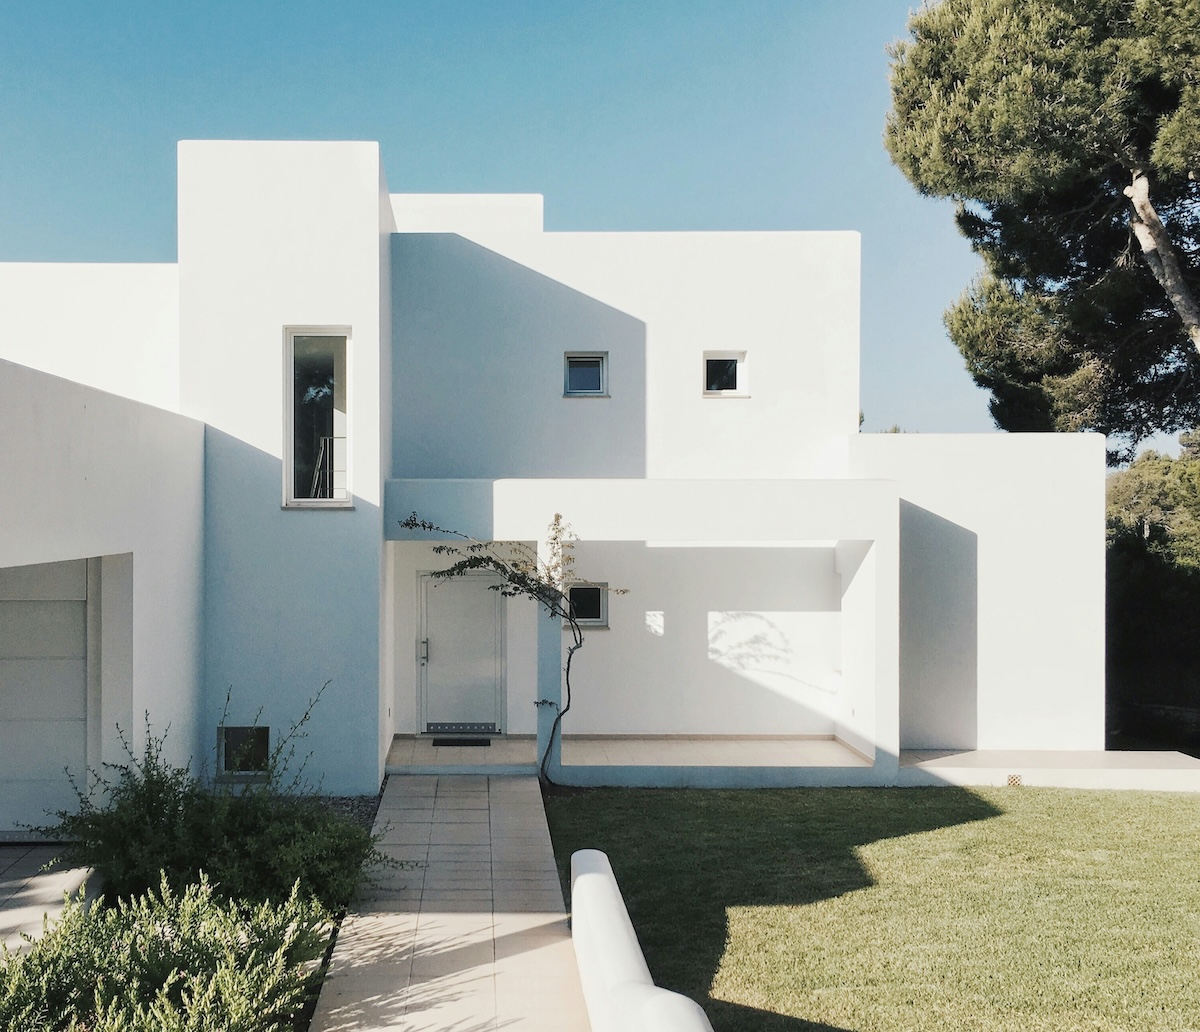
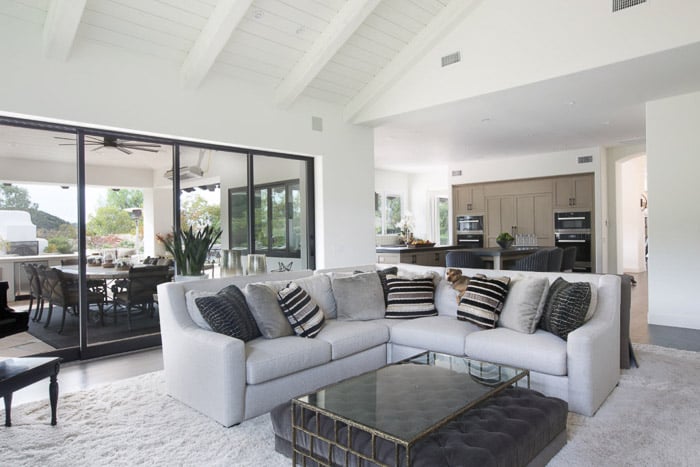
HDR methods are most often used to balance interior spaces with exterior views. It is a technique that works great in real estate and interior photography, as well as exterior architectural photography.
To learn more about different uses of HDR in real estate photography, check out our ebook Picture Perfect Properties.
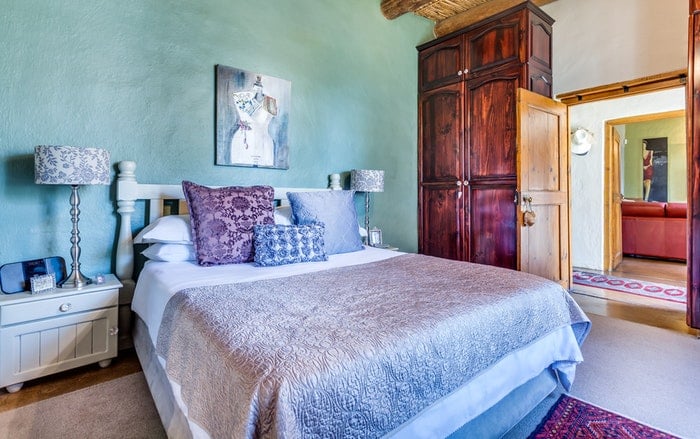
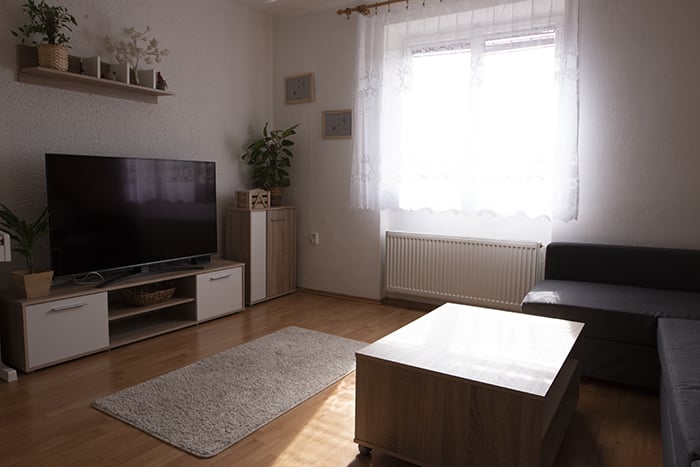
Photo by Jean van der Meulen from Pexels
How to Take Pictures for an HDR Effect In-Camera
Working with HDR methods actually begins when you shoot and not when you edit.
You might know beforehand that you’ll be shooting a subject or location that will need HDR to balance out bright and dark areas. If this is the case, you’ll definitely need multiple exposures you can later blend.
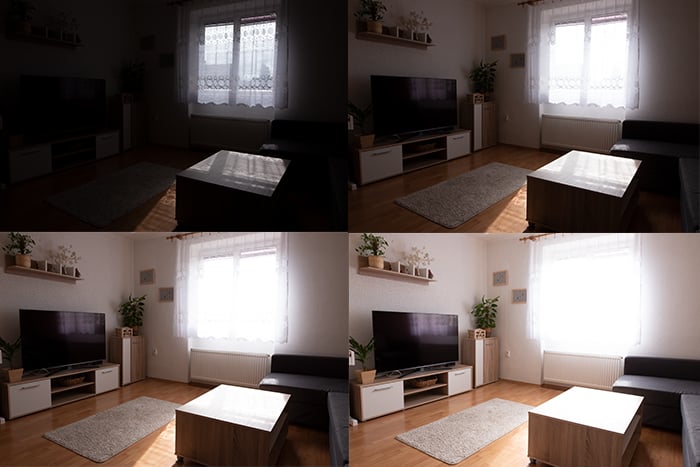
This means that first, you’ll want to take one shot with accurate exposure. This is going to act as your base for the photo. Then take at least one that is darker to capture your bright areas at the desired exposure. And finally, take at least one photo that is brighter to capture the darker areas at the desired exposure.
Your base exposure is the one that you’ll apply your lighting techniques to. This only applies if you bring in artificial lighting of any kind. I would recommend doing your exposures in one stop increments (-2, -1, +1, +2).
When you first start experimenting with HDR methods, you’ll want to take several shots in either direction. This way, you will have plenty to pick from when the time comes to layer them.
Camera shutters have a limited life expectancy. However, the cost of experimenting is not even close to the limitations of film photography. One great benefit of DSLR cameras is that you can shoot without having to think much about the price of each picture taken.
How to Create an HDR Image in Photoshop
There are several post-processing methods to create an HDR effect. While there are a few programs out there that are specifically for HDR editing, you can easily create HDR images with Photoshop.
Let’s go through the steps for basic HDR editing in Photoshop.
Step 1: Open Your Photos
Open all photos you want to blend as individual layers in one file.
If you’re only working in Photoshop, this means you first have to open the base photo.
When you have your base photo open, click and drag the additional photos from the Finder window into the Photoshop window. You can also open all the layers individually in Photoshop and then click ‘Select All’ → ‘Copy’ → ‘Click into base photo’ → ‘Paste’.
Alternatively, if you import photos through Lightroom for editing, you can select all the layer photos you want to work with. Right-click (or Command + click on a Mac) and select ‘Edit in…’.
After this, select ‘Open as Layer’ in Photoshop.

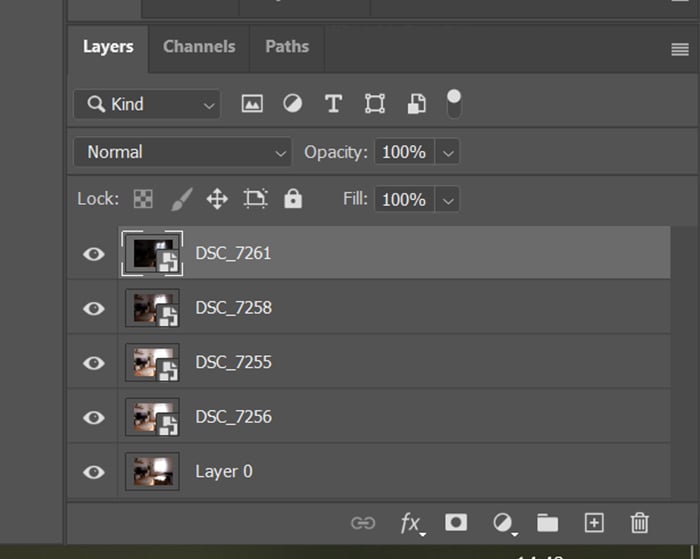
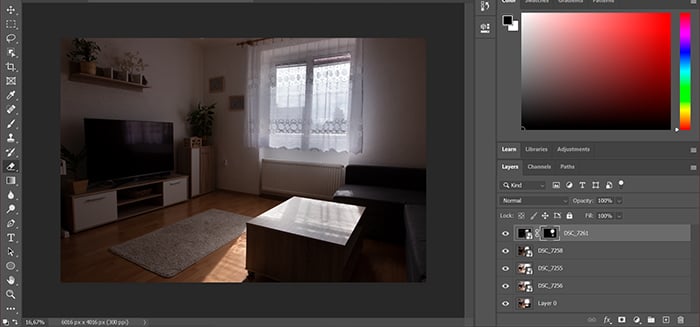
Step 2: Put Your Files in Order so That They’re Easier to Work With
I recommend putting the darkest exposure at the top, then work your way down to the brightest.
Finish it off by having your base exposure as the bottom layer.
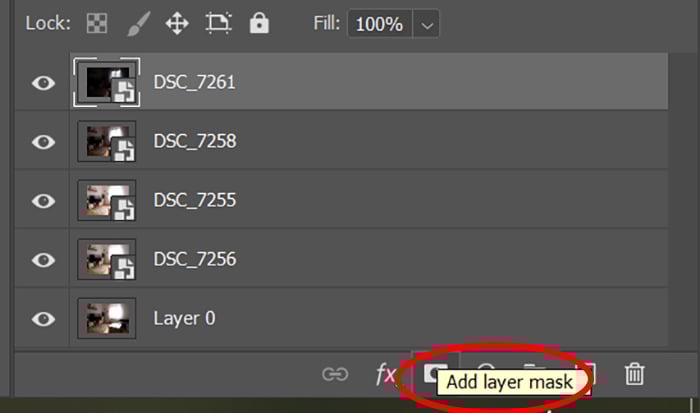
Step 3: Add Layer Mask To Each Layer
To be able to add different parts of each layer to the photo, you need to add a layer mask to them first. Go to the bottom of the ‘Layers’ panel and click on the ‘Add layer mask’ button.
This creates the mask, where the layer mask thumbnail will appear as white. This means that the whole layer is visible at the moment. To make it invisible, Press Ctrl+ I to invert the layer. Now the thumbnail should be black. Repeat this for every layer.
Step 4: Brush on the Portions of the Mask That You Want to Apply
Start by brushing the parts of the top layer that you want to make visible.
Do this with the ‘Eraser’ tool, making sure that the color for the eraser is set to black. Black will make the layer appear, while white will make the layer disappear.
You can adjust the opacity, severity, and size of the brush with the settings in the top panel. Also, you can adjust the overall opacity of the masked layer. This is great for creating a more subtle effect for the entire layer.
Step 5: Continue This Masking Effect With Each Layer
Continue masking until you get to the layer that is for the outside view (as in through a window or door frame).
This one you’ll do differently because it has harder edges than what a brush can comfortably allow for.
For the dark layer that has the outside view, mask as you did the others. Instead of using the ‘Erase’ tool brush directly, you’ll first use the ‘Polygonal Lasso Tool’. You will need to carefully select the edges of the area you want to expose.

For example, if it’s a view outside a window, you will want to lasso all the edges of that window view. You will have to avoid the frame and any objects that may be in front of the window.
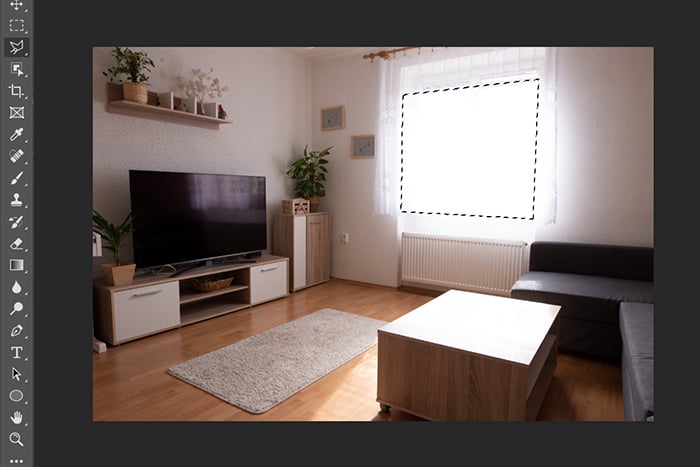
Once you have the outside view selected with the ‘Lasso’ tool, you can then use the ‘Eraser’ brush tool the same way as with the other layers.
But this time, you can brush freely because it will only apply the brush effect to the image within the lasso-selected area!
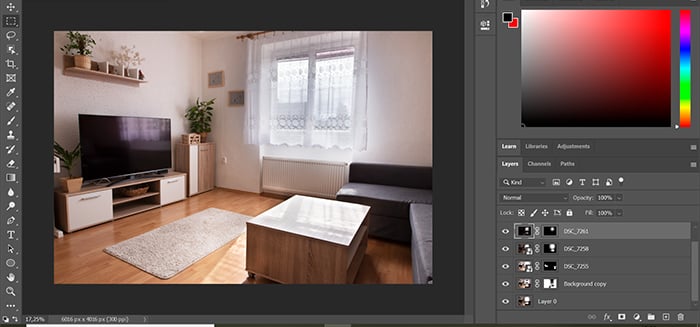
Step 6: Use the White Brush for Corrections
While doing the masking and revealing of each layer, you can always switch the brush color to white to erase the masked layer.
For example, if you reveal too much or too far to one side, you can use the white brush to correct it until it’s just right.
Step 7: Save Your Work
If you started this process in Lightroom then, when you save this file, it’ll create a new layered file. It will automatically add it to your Lightroom gallery so you can continue editing there.
If you went through this whole process entirely in Photoshop, I recommend saving the layered image as a Photoshop file so you have it as reference.
When you’re happy with the results, merge the layers and save as a JPEG file. This format will make the image universally usable.
More Tips for Using HDR for Real Estate Photography
It’s easy to get carried away with this process and create images that look suspiciously balanced. You want your work to look authentic.
What does this mean for your editing technique?
It means that you should balance the exposure between the outdoors and the interior. To do so, you have to leave the exterior overexposed a bit. It brings a more natural feeling.
Likewise, while you brighten the dark spots, remember to leave some shadows in the image. Having the dark areas too bright will make it feel washed out. To stay realistic, you should use the tone and detail part moderately.
HDR, like any editing method, is a great tool to have in your arsenal. However, it’s a tool that should only be used in moderation and to the extent needed.
This being said, it’s completely normal to start experimenting early on. You should allow yourself to take it further than needed so you can test the limits of HDR. Experimentation is what will help you find your comfort zone.
Conclusion
HDR is a vital tool to be familiar with when working with niches like real estate or interior photography.
There are several ways to incorporate this method into your editing. The above steps will get you familiar enough with it that you can start using HDR for client shoots.
As always, experiment and have fun!