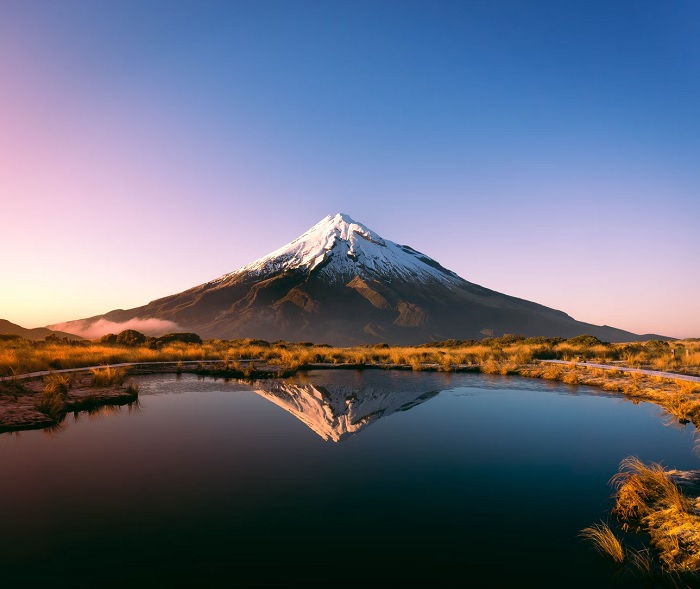
Editing your landscape photos can take them form ordinary to amazing. One of the best reasons to shoot in RAW is so that you can lift your photos with careful editing. And your landscapes will never look better!
How to Edit Landscape Photos
If you shoot RAW images, your landscape photos will look very dull straight out of the camera. But that’s the beauty of RAW. It is a starting point for what can be some spectacular editing.
Photoshop
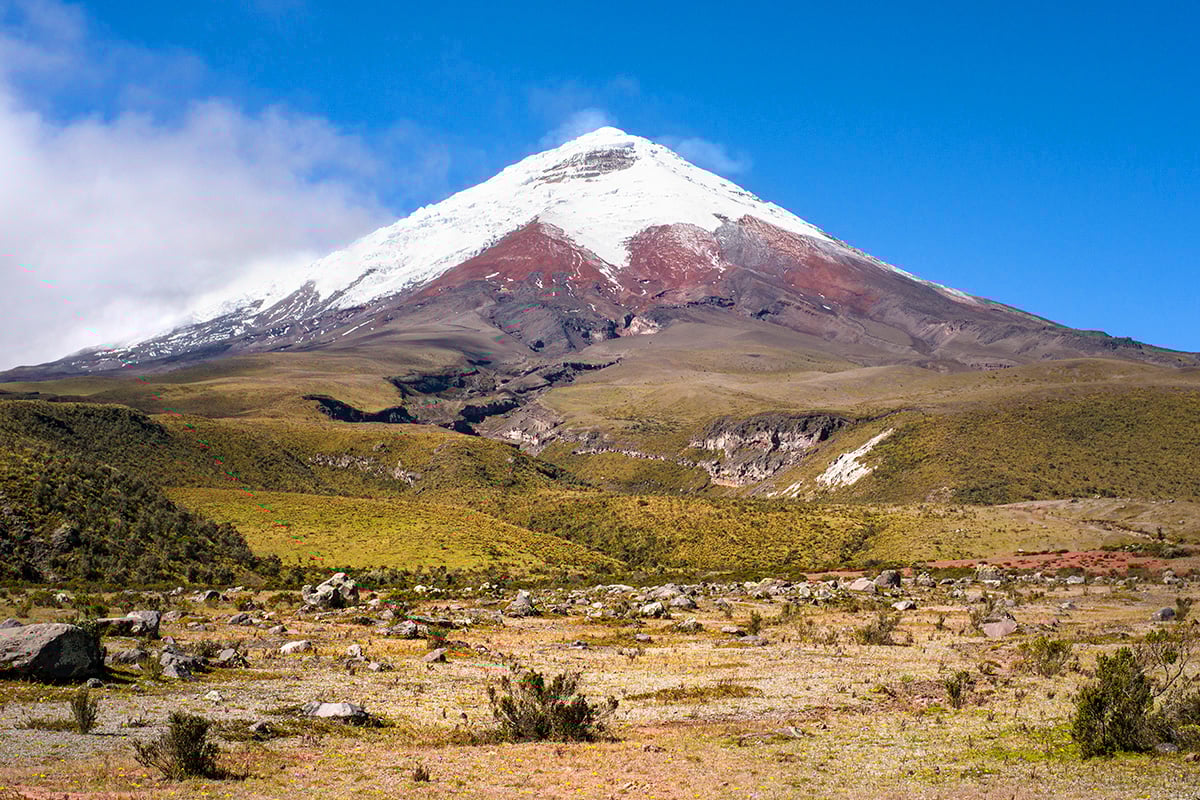
Editing your landscape photos in Photoshop is essential for getting the best results. Start by opening the RAW file in Camera RAW to adjust the exposure, shadows, highlights, white balance, and colors. Keep the edits natural and realistic.
In Photoshop, use adjustment layers to fine-tune the levels and contrast. Bring back any lost detail in the highlights using the brush tool set to “Darken.” The dodge and burn tools are great for selectively lightening or darkening specific areas.
Finally, crop the photo to the desired aspect ratio for the perfect composition. Photoshop offers countless tools and functions for photoshop landscape editing, but mastering these basics will give you a solid foundation for improving your landscape photos.
Adding Lens Flare
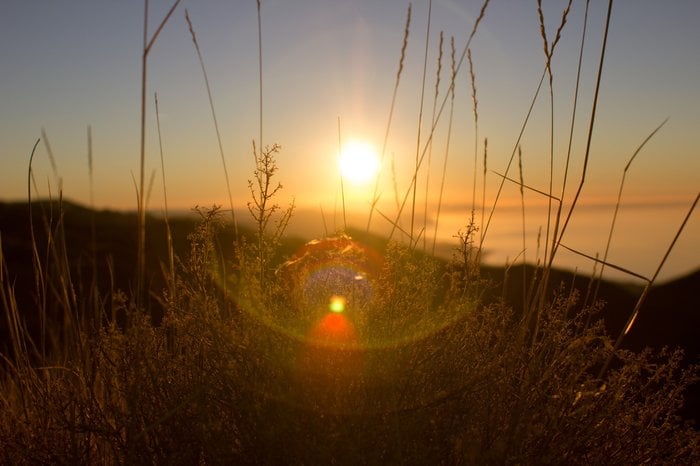
Adding lens flare in Photoshop is a great way to enhance your photos. The easiest method is to use the Lens Flare filter. First, create a new layer and fill it with black. Then apply the Lens Flare filter and adjust the brightness and position.
Change the layer blending mode to Screen to remove the black background. Use Hue/Saturation to adjust the color of the flare. You can also apply other filters like Gaussian Blur to make it look more natural.
If you want to learn more about lens flare in Photoshop, then take a look at our article.
Advanced Techniques
Here are some tips for editing landscape photos to perfection:
Adjust the white balance to make colors look natural. Use the histogram to check exposure and make sure no details are lost in shadows or highlights. Straighten the horizon line for a balanced composition.
Improve contrast and color saturation to make the image pop, but don’t overdo it. Remove distracting elements like power lines or trash. Crop the photo to improve the composition and draw attention to the main subject.
Learning how to edit landscape photos takes practice, but these basic tips will help you get started. With some simple adjustments, you can take your landscape photos from good to great.
Create a Waterfall Effect
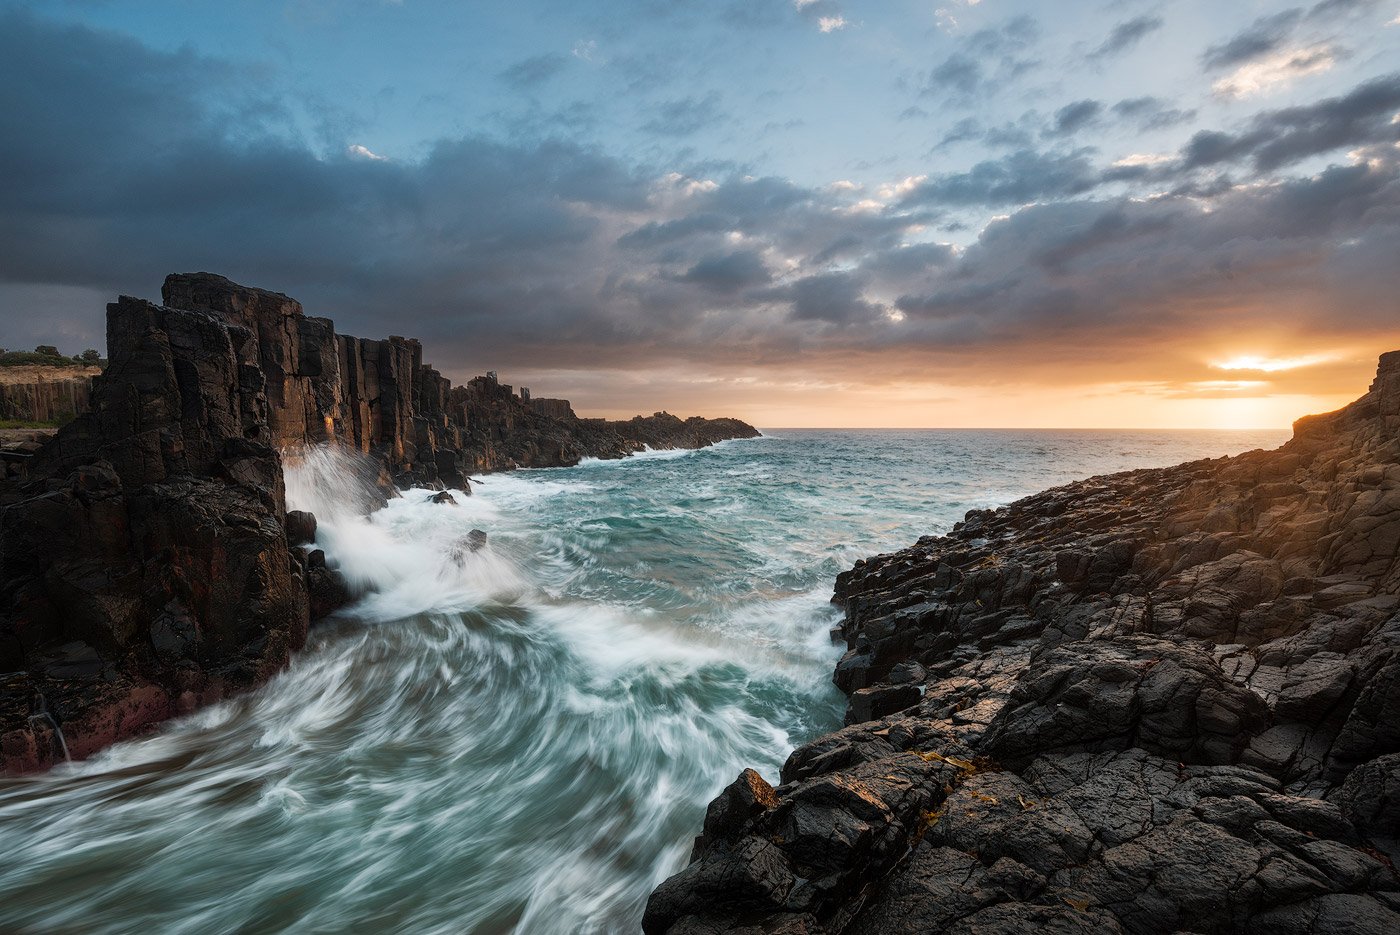
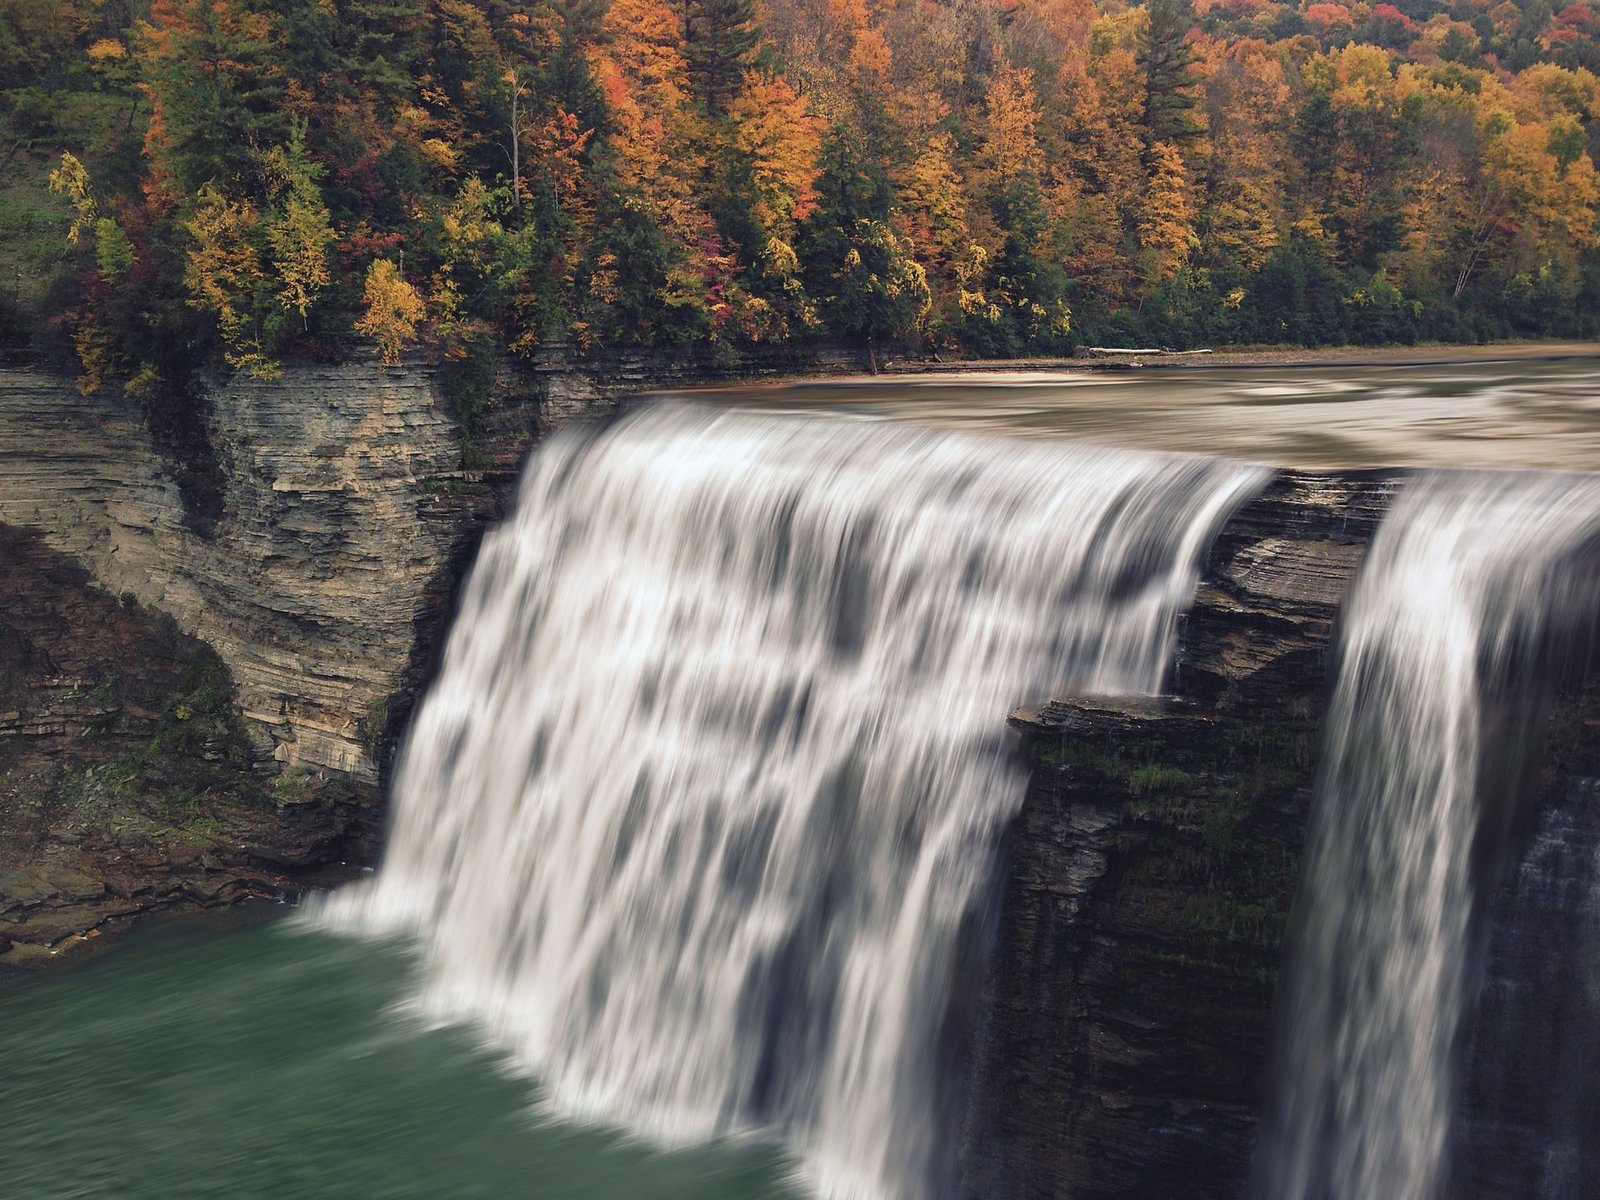
Creating a waterfall effect in Photoshop is a great way to add a silky-smooth look to your waterfall photos. First, select the waterfall using the Lasso tool and copy it to a new layer. Then apply a motion blur filter to the new layer, adjusting the angle to match the water flow.
Next, add a layer mask and use a soft-edged brush to clean up the edges of the waterfall. Apply the same steps to the river for a consistent look. If needed, use the Warp tool to add curves to the crest or stages of the waterfall for a more natural appearance.
While the waterfall effect in Photoshop can produce beautiful results, it won’t look exactly like a real long-exposure photo.
The Orton Effect
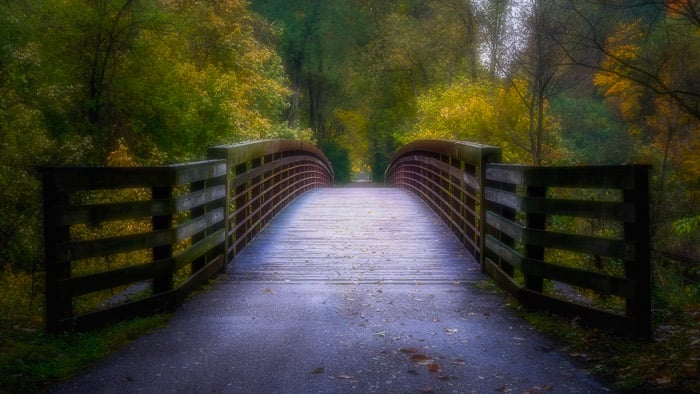
The Orton Effect is a post-processing technique that adds a soft, dreamy look to landscape photos. It involves merging a sharp, in-focus image with a blurred, overexposed version of the same shot. This creates a photo with a sharp subject and a glowing, ethereal background.
In Photoshop, create the effect by duplicating your image layer and adding a strong Gaussian Blur. Then boost the contrast and brightness of the blurred layer. Finally, reduce the opacity of the blurred layer to control the strength of the effect.
You can also achieve a similar look in Lightroom by lowering the Texture, Clarity, and Dehaze sliders, then increasing the Contrast, Highlights, Shadows, and Whites. The Orton Effect is a powerful way to add a romantic, mysterious vibe to your landscapes.
Tone Mapping
HDR tone mapping is a technique that combines multiple photos taken at different exposures to create a single image with a high dynamic range. This allows you to capture more detail in both the highlights and shadows of a scene. To create an HDR image, take at least three bracketed shots at different exposure levels using a tripod.
Next, merge the photos using HDR software like Photomatix, Aurora HDR, or Photoshop’s built-in HDR Pro. These programs will align and blend the images, giving you a starting point for tone mapping.
Tone mapping is where you adjust the merged HDR image to achieve a natural-looking result. It’s best to use subtle processing here to avoid an overly artificial look. HDR tone mapping is a great way of making your landscape photos look that much more special.

Apps for Landscape Photography
Landscape photography is all about capturing the beauty of the natural world. From majestic mountains to rolling hills, there are endless possibilities for stunning landscape photos.
If you’re looking to improve your landscape photography skills, check out these apps. Time and Date offers an ephemeris for any place in the world. Sun Surveyor and PhotoPills show you when the Sun and Moon rise. Stellarium lets you see the constellations, planets, Moon, and Milky Way.
MeteoBlue helps you find starry nights. ISS Detector tracks the International Space Station and other orbiting objects. Weather Underground provides accurate weather forecasts. Estofex warns of severe weather in Europe. Space Weather Live forecasts the Northern Lights. Viewranger helps you navigate rough terrain. Monumental Trees is a database of stunning trees around the globe. Tide Charts tells you the best time for seascape photography. Google Earth lets you plan shoots anywhere in the world.
These apps for landscape photographers will take your shots to the next level, no matter what you’re shooting.
