Depending on the purpose of a photo, you might want to learn how to flip an image in Photoshop.
It’s easy to flip a whole photo or even added objects or shapes that are in separate layers.
In this article, I’ll show you how to flip an image in Photoshop.
How to Flip an Image in Photoshop
Before you flip an image, you should be aware of the consequences. An image containing text, for example, should never be flipped. The text will become illegible. You should also avoid flipping portraits since faces are asymmetrical.
But in publicity photography, it’s common to flip an image or an object to add effects or text in a specific place.
Step 1: Open the Image
Open the image you want to flip.
Step 2: Flip the Image Horizontally
Go to Image > Image Rotation and select ‘Flip Canvas Horizontal’. This will flip the whole canvas horizontally.
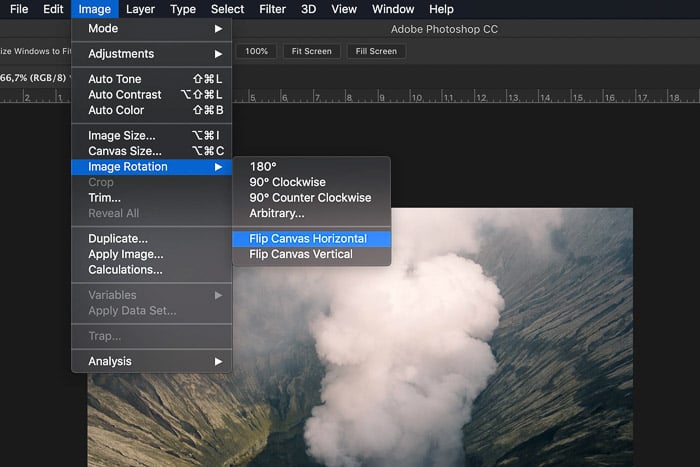 The canvas includes the background layer and all other layers. Everything you see will flip across an imaginary line running from top to bottom.
Step 3: Flip the Image Vertically
Go to Image > Image Rotation and select ‘Flip Canvas Vertical’. Now, everything will flip across an imaginary line running from left to right.
How Do You Flip a Layer in Photoshop?
What if you need to flip only one object or layer in Photoshop?
You can do this in the Transform menu. First, we need to add a layer.
Step 1: Open the Image
Open any image so you can create a new layer.
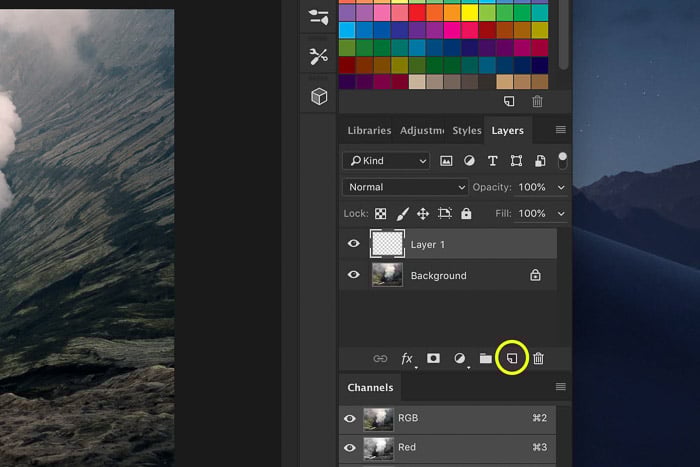
Step 2: Add a New Layer
Under the Layers panel, click on the ‘Create new layer’ icon. A new layer will appear above the background layer.
Step 3: Add an Object to the New Layer
We’ll add an arrow on the new layer to make this example clear.
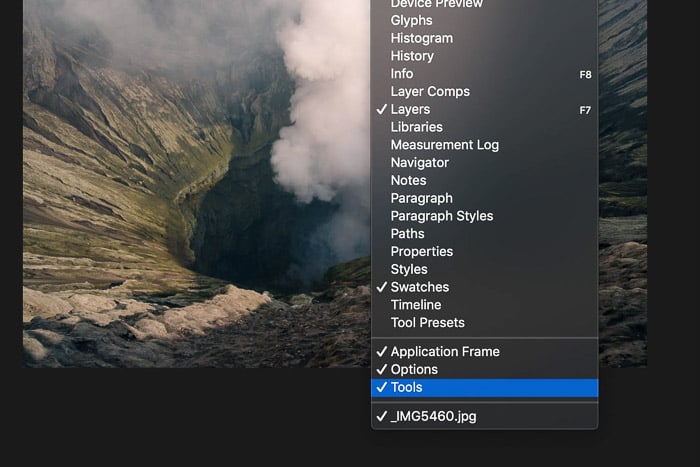
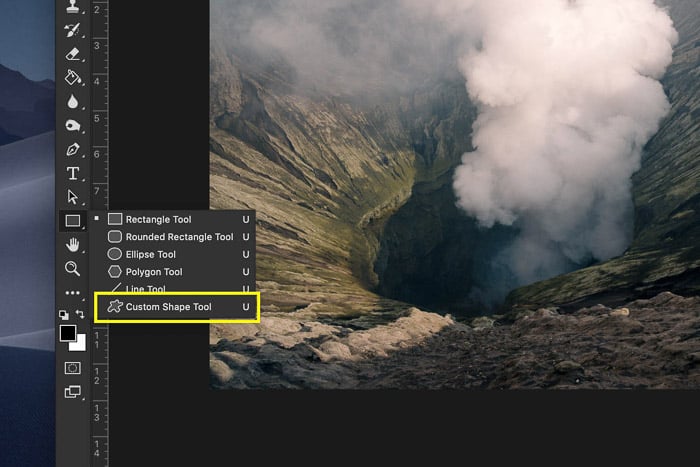
Select the Custom Shape tool from the tool bar on the left.
If the tool bar is not there, go to Window > Tools to make it visible.
 The Custom Shape tool is hidden behind the Rectangle tool. Click on the Rectangle tool and hold the mouse button. A drop down menu appears.
Select the Custom Shape tool.
 In the menu of the Custom Shape tool, select an arrow shape.
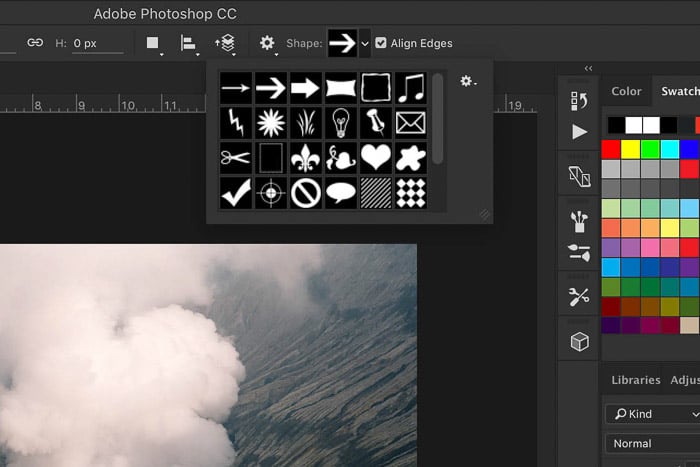 Click anywhere in the image and drag the cursor to create an arrow.
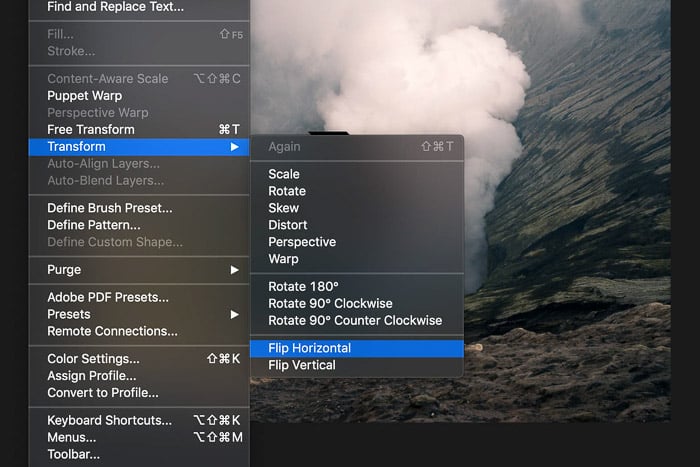
Step 4: Flip the Object Horizontally
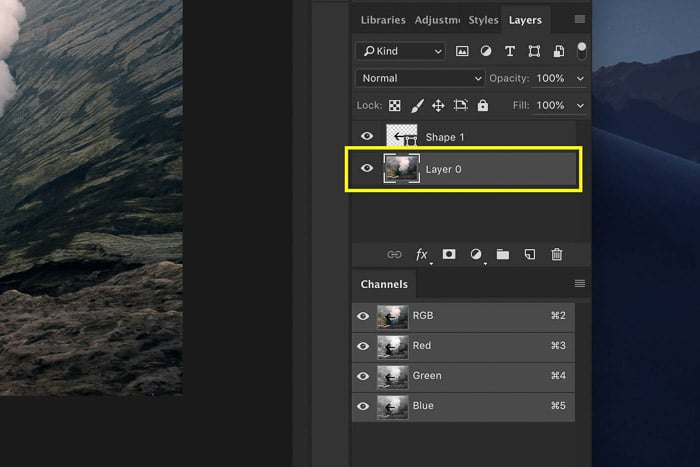
Make sure to select the new layer with the arrow.
 Go to Edit > Transform and select ‘Flip Horizontally’. Only the new layer will flip.
How to Flip the Background Layer
You can also flip the background layer in Photoshop. To do this, you need to unlock it first.
Step 1: Unlock the Background Layer
Double click on the background layer and click OK to unlock it.
Step 2: Flip the Background Layer
Select the background layer and Go to Edit > Transform.
Select ‘Flip Horizontal’. Only the background layer will flip.
Conclusion
It’s easy to flip an image in Photoshop, but you need to do it right. If the image must show an exact representation of reality, you can’t flip it. This is often the case for portraits or product photos.
In most cases, it’s graphic designers who flip the photos they receive from a photographer. They do this to add text or effects for advertising and publicity.
If you prefer Lightroom, take a look at our Effortless Editing course!


