If you’re looking to take your product photography to the next level, then you need a shot list. This guide provides everything you need to create amazing product photos that will wow your customers. So what are you waiting for? Start using this product photography shot list today!
Product Photography Shot List and Checklist
Here is a product photography checklist overview to get you started.
- Decide on an on-brand theme;
- Research similar images for inspiration;
- Write down a list of gear + equipment you need;
- Buy or borrow any missing equipment;
- Schedule a time to shoot;
- Create a shot list;
- Set up your photography set;
- Test your lighting;
- Shoot each item on your shot list;
- Double check for exposure + focus;
- Edit your images;
- Ensure consistency for an on-brand look;
- Export + upload;
- Review.
Now, let’s take a look at these in more detail.

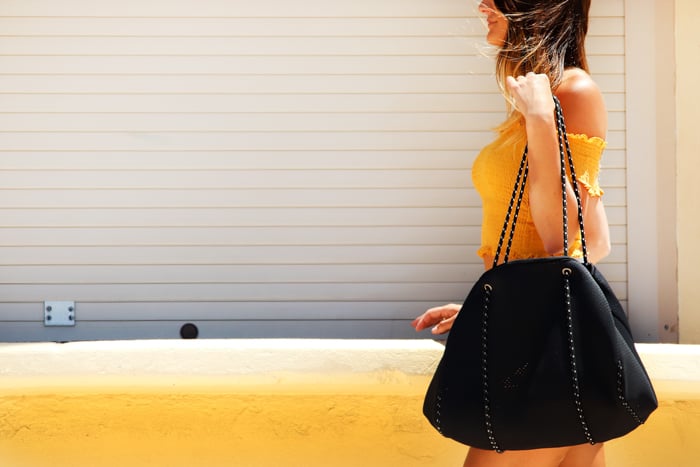
How to Decide on an On-Brand Theme
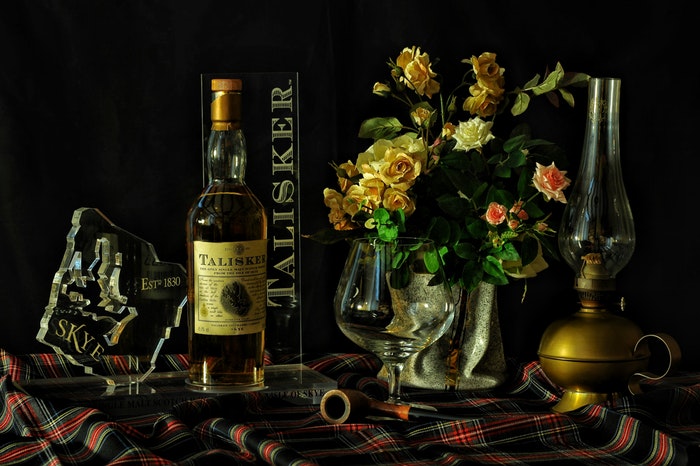
This is the first step to creating professional product photos. Think about what kind of images represent your brand.
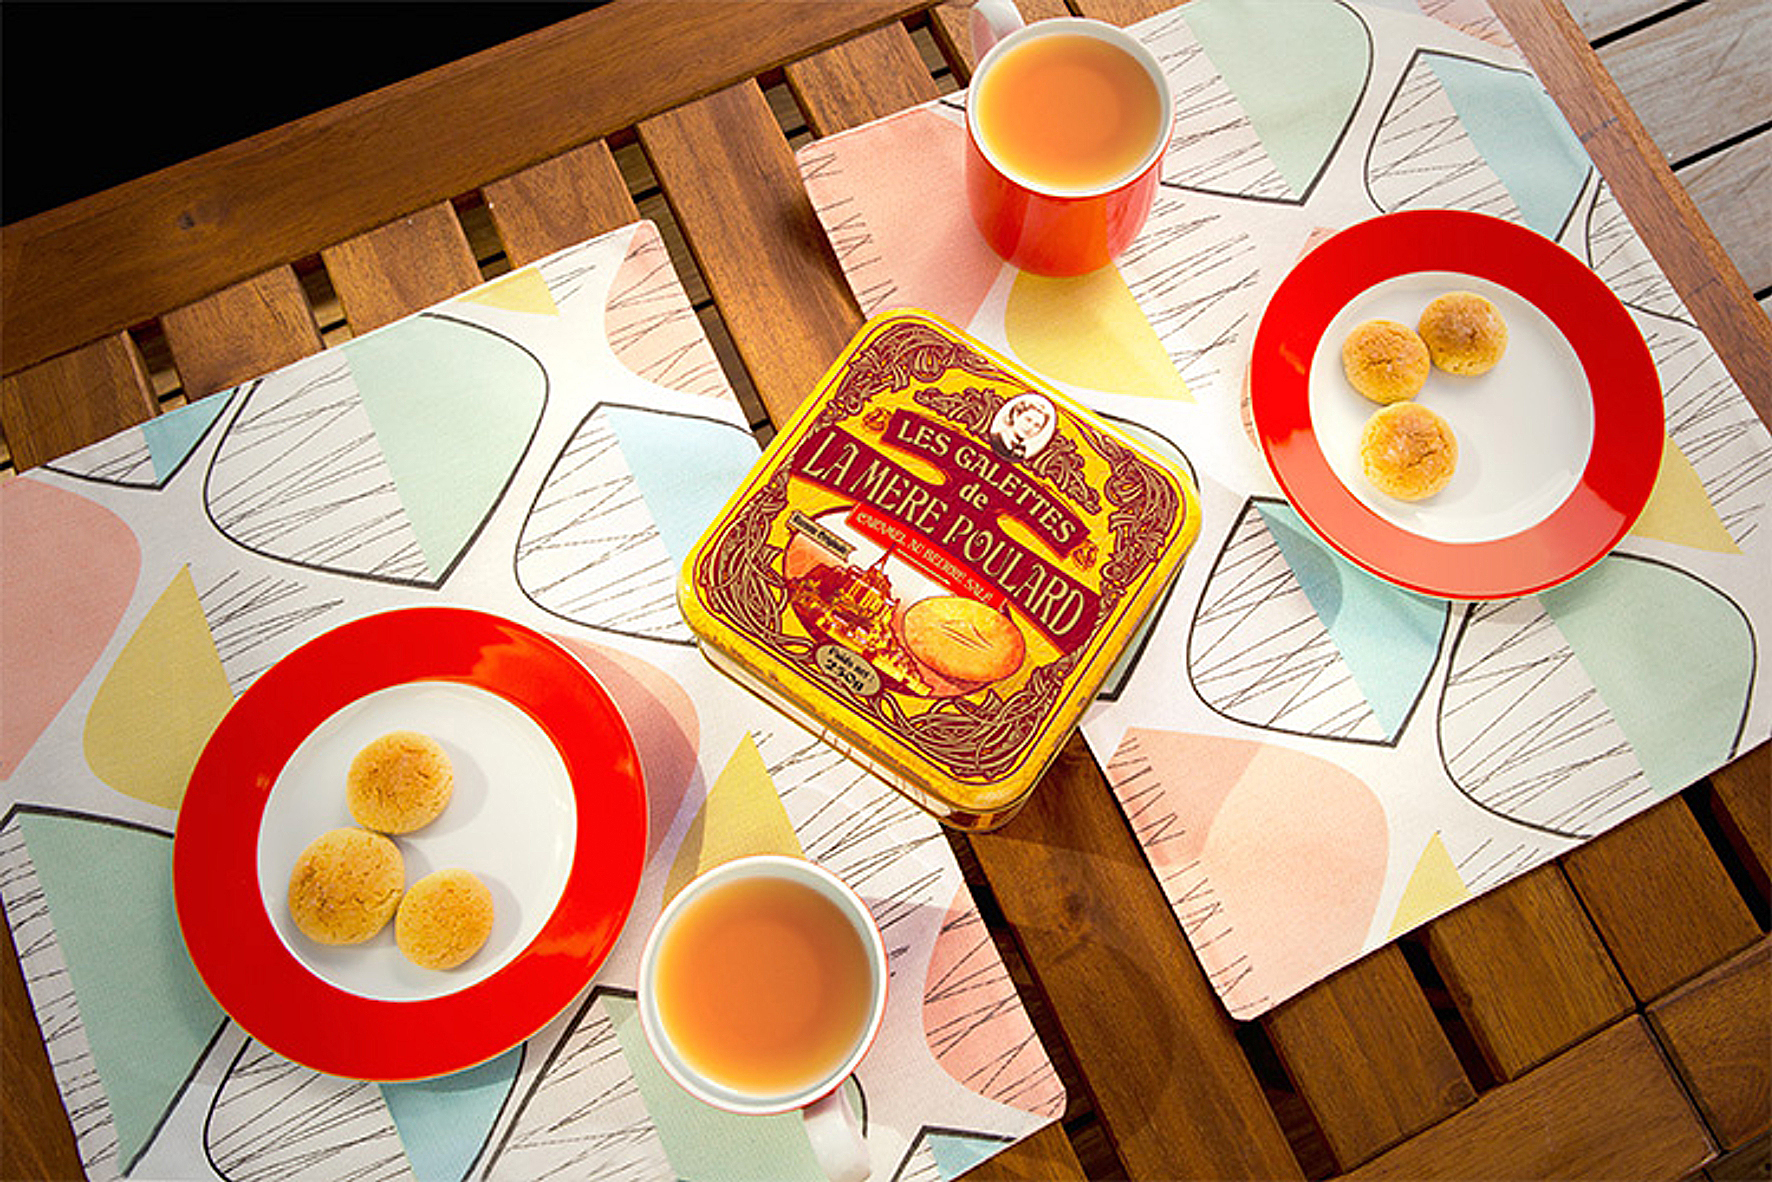
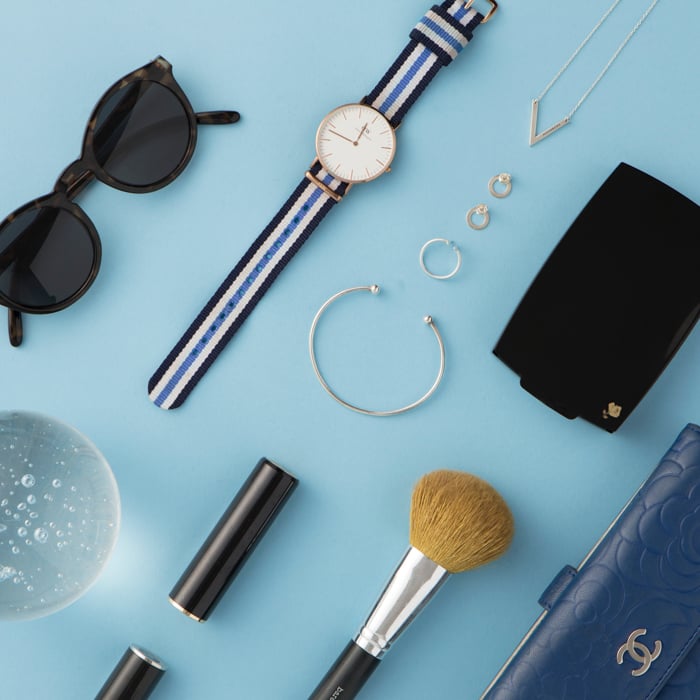
Product photography usually involves a simple product photography setup. This means a white background and soft lighting. But there is a rise in the popularity of flat lays to present your products in their online store.
Whichever is right for you, you will want to decide from the beginning which direction you will go.
Take a look at other competitors in your niche and see what they are doing. But remember, you always want to bring your unique perspective and not copy others.
Once you’ve decided on that, it’s time to get inspired.
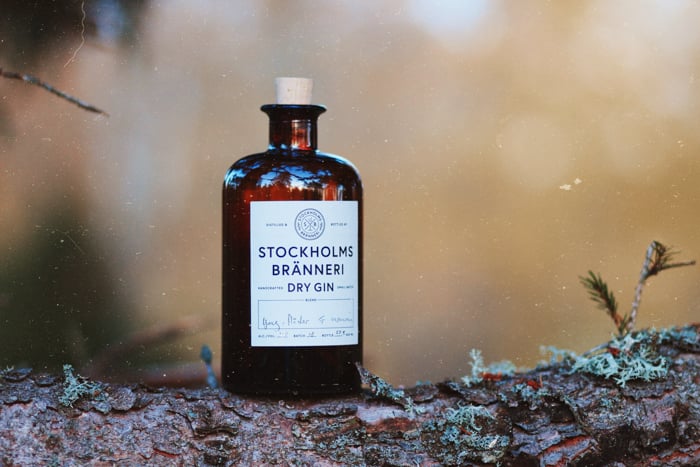
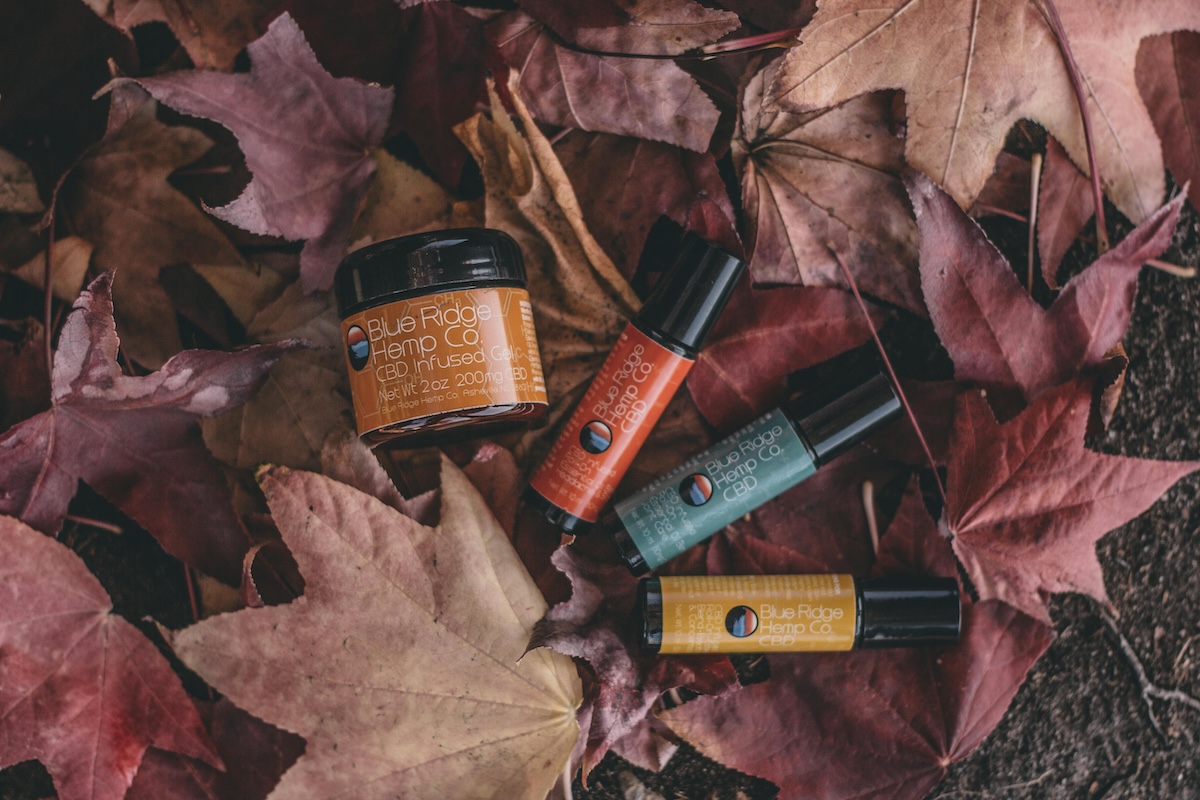
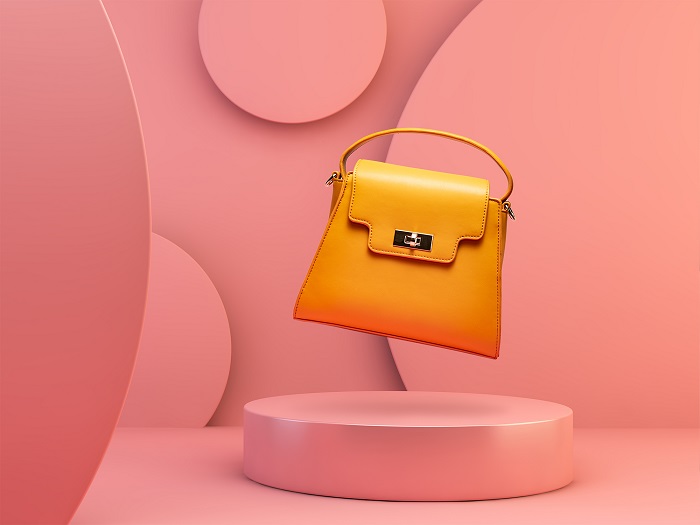
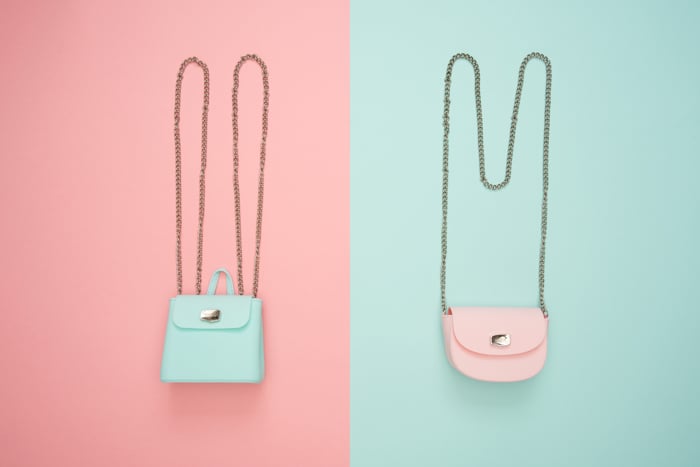
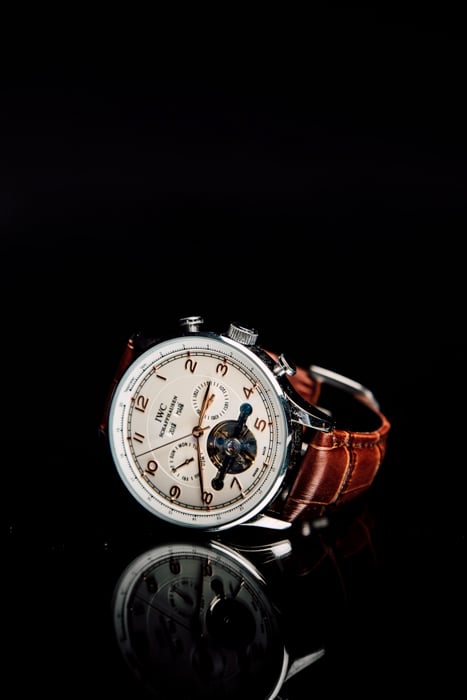
Why You Should Try More Creative Backgrounds
Product photography doesn’t have to be a simple product on a white background. There are many ways that you can elevate your images while still using a white background.
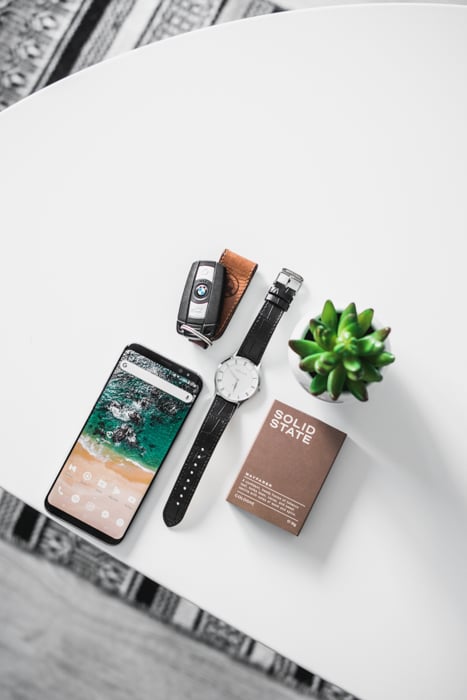
You can create flat lays or even find interesting angles to place products on so they look a little edgy.
Find some inspiration by jumping onto or searching on Etsy.
What Equipment Do You Need
Make yourself a list of gear that you need for the shoot.
Here’s a baisc list of equipment. Depending on your brand and the type of product photography you’re after, you might want to add to it.
- Camera, (DSLR or smartphone);
- 50mm lens or macro lens;
- 2 full batteries + charger;
- Reflector & diffuser;
- Light backgrounds x 2 (white or very light grey);
- Tripod (if applicable);
- White Sticky Tack (for securing products if needed);
- Computer & tether cord (if available);
- Editing software (like Lightroom or Photoshop);
- A large white sheet (to create soft light if needed);
- A large window for natural light (North or South facing);
- Soft continuous artificial light (where applicable);
- The products to be shot (pick the ones in the best condition).
Go through this list and make sure that you have what you need. Make notes of anything that is missing and if you need to buy or borrow them.
How Much Time Should You Schedule for a Shoot
Depending on how many products you have, a shoot could take anywhere from a few hours to a few days.
I would consider allowing around 10-15 mins for each product. This way you can get a few different angles and check the focus is sharp on each product.
This will also give you time to adjust and manipulate your light so that you are shooting a consistent look.
Multiply 10-15 mins by the number of products you have and pencil this time back to back in your work calendar.
Next, get super organised and ensure you use your time well by creating a shot list.
How to Create a Shot List
I have been a professional for 6 years. I’ve shot food products for many e-commerce stores. Sometimes with hundreds of products.
You will sometimes miss things. To avoid this as much as possible, it’s best to have a list of the products you need to shoot.
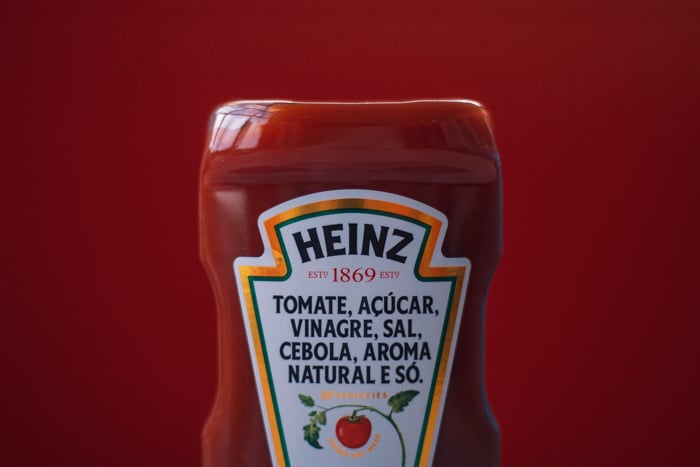
You can create a simple list in excel or on paper of the products that need to be shot. Make sure to note down any special requirements that a product has.
This could be things like getting the back side of a t-shirt where there is different text on each side. It could also be to take a photo with the lid on and off. This can show the customer what the inside looks like.
Think about your product set. And how you can capture images that tell the customer all the information they need about the product. This will help you to create your shot list of product photography.
Setting Up Your Product Photography
Now it’s time to photograph your products.
To ensure the shoot is as successful as possible you will want to set up your gear.
Gather all your equipment and:
- Load a full battery;
- Mount your lens onto the camera;
- Set up your computer and camera for tethering;
- Create an a-frame with your light backgrounds (one horizontal and one vertical).
Then locate your shot list and ensure all the products to be shot are close by.
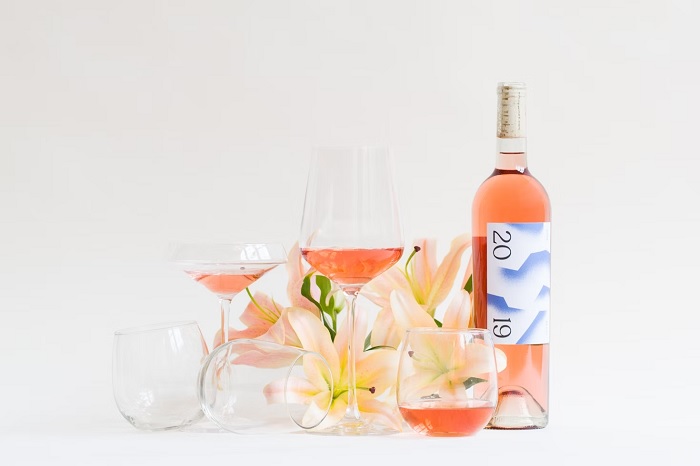
How to Test Your Product Photography Lighting Setup
Most product photography is captured in soft lighting. That’s where we have soft shadows. You will want your images to be bright and well exposed so the customers can see the finer details of each product.
Test your lighting with some sample products. This applies whether you’re using natural or artificial light. Ensure it’s soft and well exposed.
Make any adjustments necessary for exposure, shadows and fill. Use your reflector to fill in any deep shadows to soften them. Use a diffuser to diffuse the light.
Remember that product photography lighting should be the same over the set of products. This will help you capture the best images possible for your products.
Once you’re happy with the list, it is time to tackle your shot list.
Using a Shot List for Product Photos
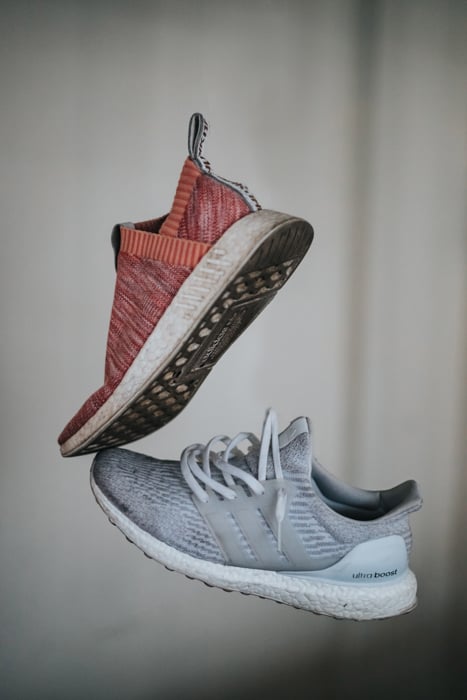
Start from the top of your shot list and start to capture each product. Be sure to also capture any special requirements that you noted earlier.
Capture a few angles if the product requires it.
You don’t want to shoot products in too shallow an aperture. The reason is that we want the customer to see all the details of the product to decide if it’s right for them.
If possible and where time permits, capture a range of smaller apertures, (like f5.6-f11). This way, you can compare them in post-production.
What to Check for After Shooting
Before you move onto the next product and tick this one off your list, you want to ensure you have quality images. Otherwise, you may have to redo them.
Zoom in to check the focus on each product. Make sure you haven’t missed focused or the camera hasn’t backward/forward focused. You’ll also want to check the exposure on each image.
You don’t want to lose any detail by clipping your whites. You can also check your histogram now.
Once you’ve given the images a quality check, move on and repeat.
Editing Product Images
You’re almost ready to upload your new product photography to your website. But first, we have to edit the images.
Go into your editing tool of choice, like Lightroom, and select the best of the best.
You can do this by using a star-rating system. Once you’ve selected the best, sharp focus and well-exposed images, you can edit the set.
Edit one of the images for each product then sync across the set to apply the same global adjustments.

Before you export, compare the images for each product against the entire image set to ensure consistency.
Make any small adjustments you need to.

Export + Upload
Export for the best resolution your online store requires. You don’t want to upload huge files as they will slow down your site.
Many online communities like Etsy will have fact sheets on the best image size to upload.
Now you are ready to upload the images to your store!

Conclusion
Once your images are uploaded to your site, it’s best to review the store as a whole. Click through each product to ensure the images are looking their best.
If you have any trusted or repeat customers, ask them for feedback on your new product photography. Sometimes they can spot something you missed.
The best way to get amazing product photos is to be prepared and make a list. This product photography checklist, as well as a shot list, will help you do that.
Getting images that are in focus and that have good exposure is important in showing your customer all the details of the product. Always keep assessing the images for consistency, exposure and focus.
Next, check out our article on creating professional product photography on a tiny budget!