If you want to start a business, you’re going to need some great product photos. But what if you don’t have a lot of money to spend on photography? Not to worry! There are plenty of ways to shoot cheap product photography and still achieve outstanding results.
Cheap Product Photography Setup: The Simple Low Budget Option
The best setup for product photography is actually simple. Here are the things you’ll need.
- A table to place your white background onto.
- Create an ‘L Frame’. With a background placed vertically to create a seamless background.
- A set of clamps to affix any backgrounds in place.
- A tripod to help you shoot many products at the same angle.
- A camera with the ability to shoot a narrow focal length.
- A small lighting tent or artificial lights that can evenly light your subject from all sides.
Let’s look at each of these in more detail.
The Best Budget Camera For Product Photography
You might think that you need a professional DSLR to create professional product photography. But it is possible to take professional pictures with a point and shoot camera.
Instead of spending thousands of dollars on a DSLR, your point and shoot camera will do the job. The Canon G Series is a great and affordable compact camera that can perform well for product photography.
All you need is the ability to shoot on manual. And most cameras these days boast large megapixel counts. Which will help you to take higher quality, better resolution images.
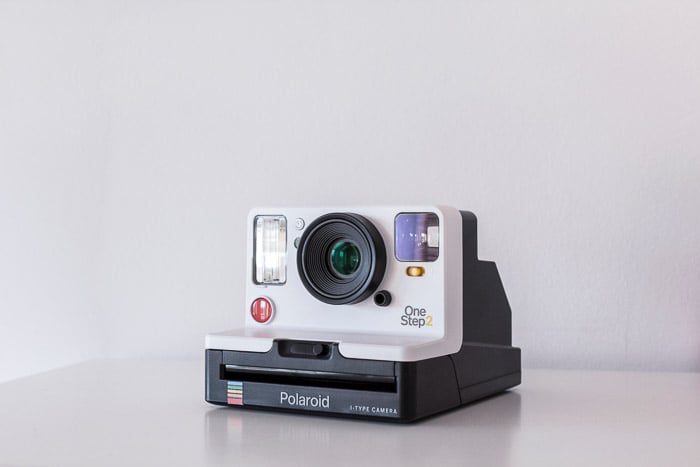
Photo by eniko kis
A Tripod Will Help You Create More Professional Pictures
Product photography is all about the lighting and small changes to the subject. To get the perfect angle, to show off important details about the product, it’s best to have your hands free.
Having your camera on a tripod will allow you to make small tweaks to how the product is being displayed. Sometimes we need the slightest of movements to show a key feature. A tripod will help you to make those changes quickly and see how that translates into an image.
A tripod will also allow you to have the same angle across a series of products.
That is important when, say, shooting a range of shoe styles that come in different colors. You want to be able to have the customer flip through a set of images and for the color to change.
To get the best angle, make sure to play around with your camera and tripod before you decide on the final angle.
That could mean first finding the best position off the tripod, by moving your camera around, up and down.
Take a few shots of the product and make any small adjustments before you shoot the entire set.
Tripods can be expensive. But all you need is one that allows you to adjust up and down, and overhead for some products.
Here’s an article on the best budget-friendly tripods out there.
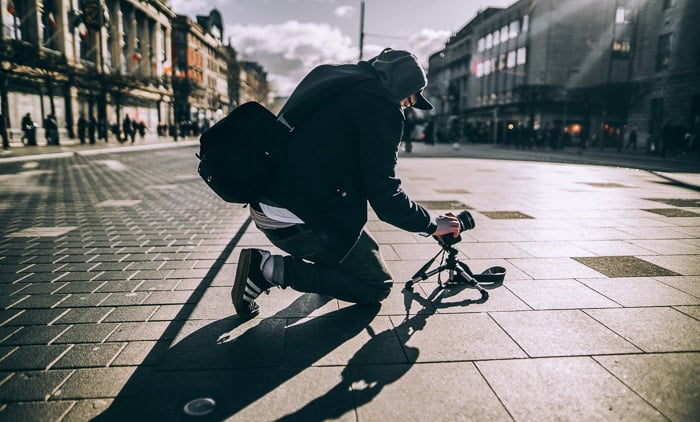
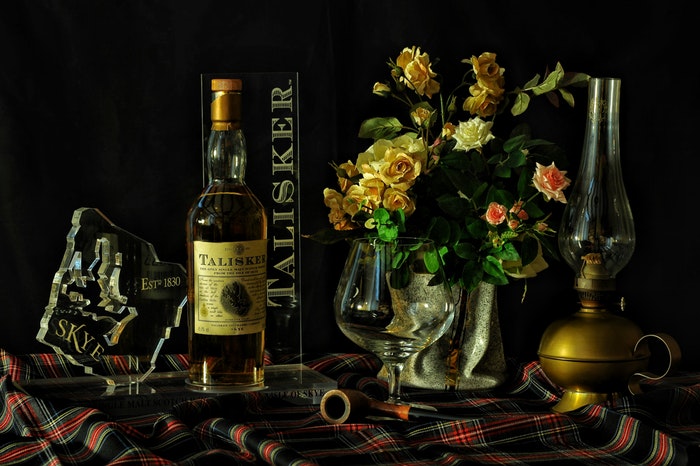
Photo by Stephen Kennedy
Get Even Light
Getting even light in product photography is what makes professional pictures.
We want to make sure that our products are well lit and that the light is even across it.
Blown out highlights and deep shadows should be avoided. Nice soft even lighting helps us to show off the products.
It also helps to capture colors correctly. Making sure the customer knows exactly what color their product is, is important. Shadows and highlights can make colors appear differently.
Natural light can be challenging to make even for products. That’s because it’s always changing. Whilst you can definitely use natural light, you might need to rely on extra editing. To ensure make light even across a product set.
Where possible, you will want to use artificial lighting for product photography.
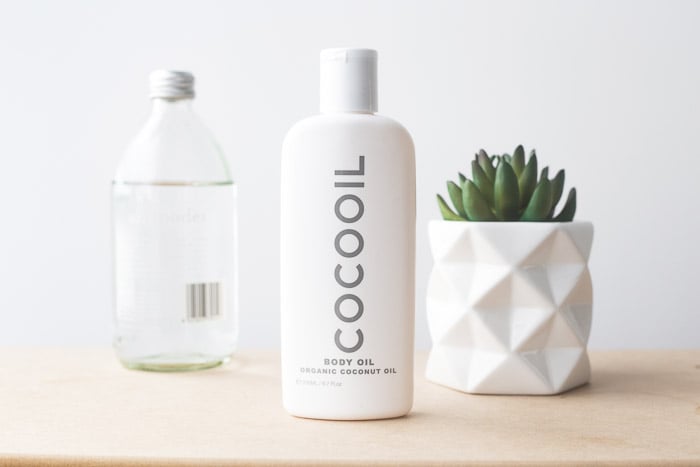
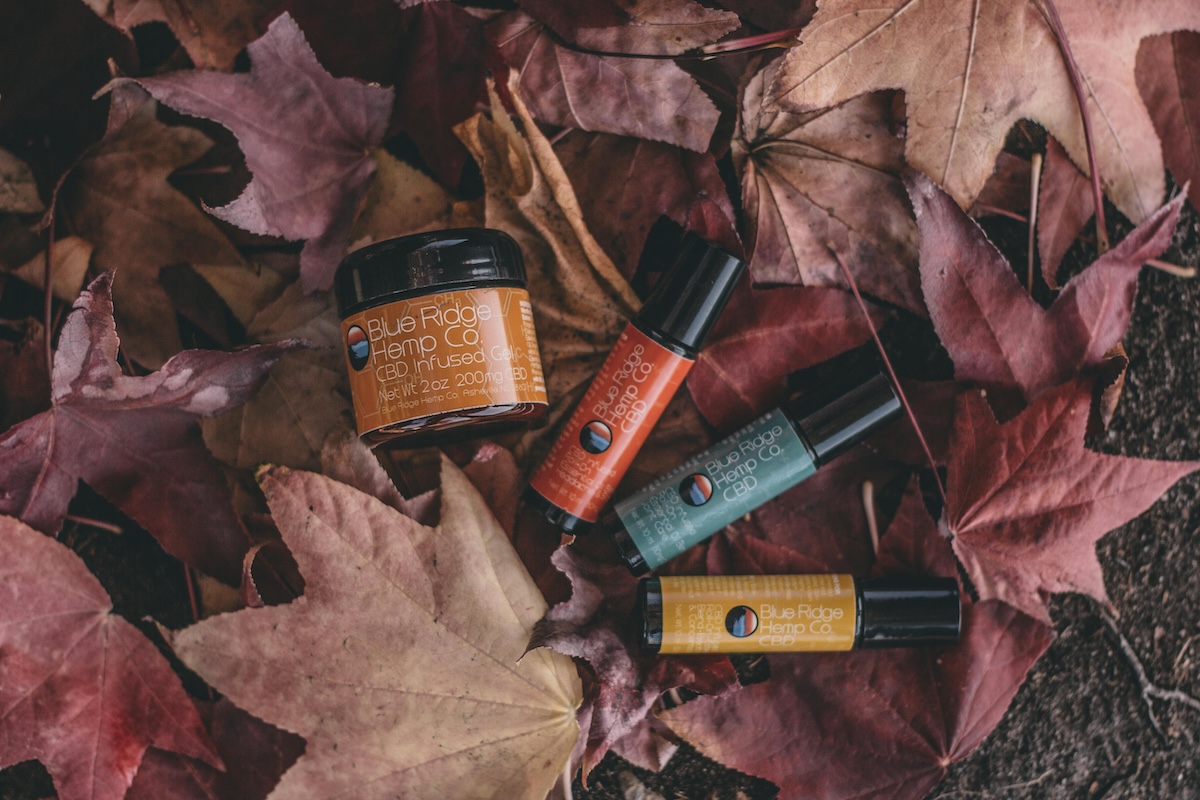
Photo by deanna alys
Most e-commerce stores will have many products models and colors. They need to look like they were shot with the same light.
Artificial light allows the customer to focus on the product’s most important details. If you have to shoot a product range across a few days, or even weeks, artificial light will give the same lighting.
The benefit is that when you get a new color months later, you can recreate the lighting of the first shoot.
Cheap Lighting For Professional Pictures
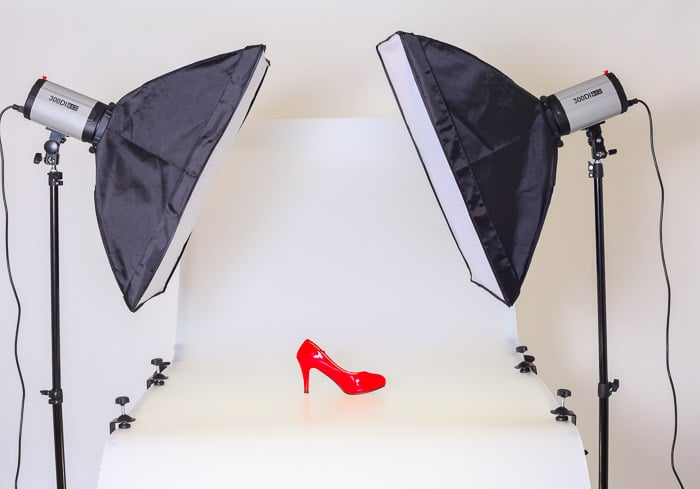
Lighting for product photography doesn’t have to be expensive. There are a lot of softbox options on the market that are made for illuminating a subject on a white background.
These can sometimes be known as ‘lighting tents’ or ‘mini studio boxes’. They illuminate the subject from both sides and often the top.
You can usually pick these up for less than $100. You can even make your own DIY light box!
To make the most of them, you will need to ensure that they are large enough for your product. They are usually compact and aimed at small business. Check the dimensions before you buy and it’s good to expect any products you might have in the future too.
For more options, you can use a lighting stand and umbrella.
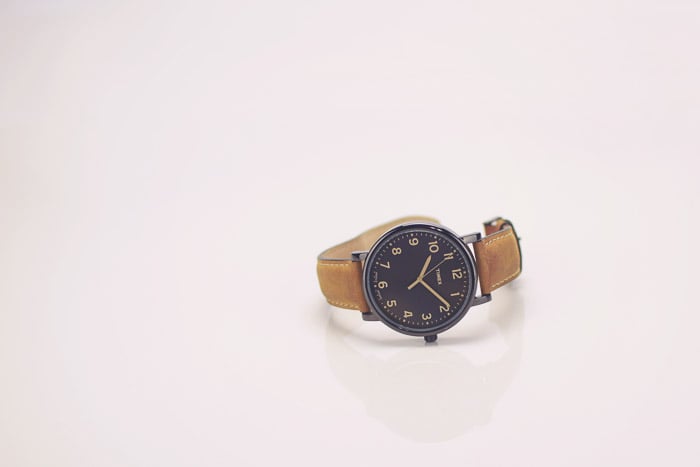
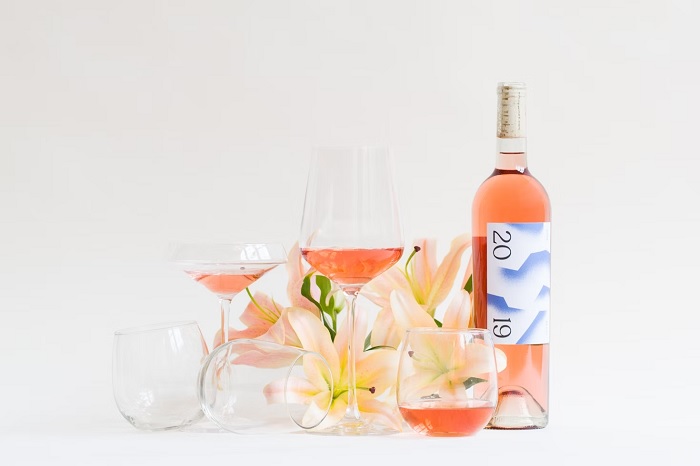
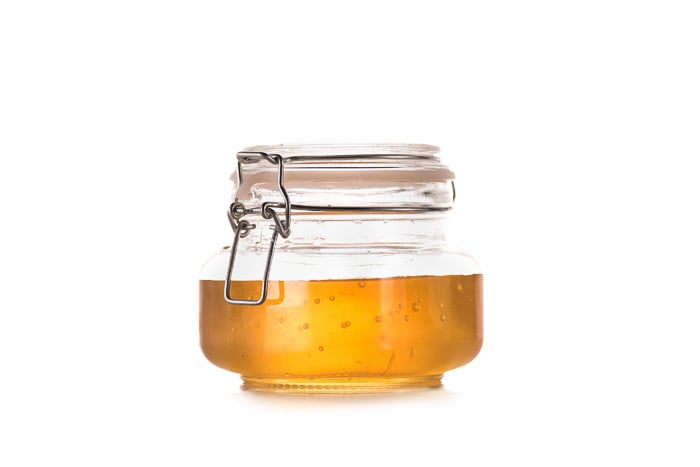
Photo by Barrett Ward
Best Angles for Product Photography
Each product is going to have an angle or a ‘best side’. Showing products in their best angle will help to create a professional look.
To find the best angle, you will want to take your camera off your tripod and explore the subject a little.
Take note of what are the most important features. That is the first step to finding the best angle.
Some angles to consider are: straight-on, 45-degrees and overhead.
A container with the product inside, will need a shot overhead to allow the customer to see what’s inside.
Whichever angle you choose, you will want to make sure the camera and products are straight and level.
Product photography shouldn’t use any Dutch Tilt angles.
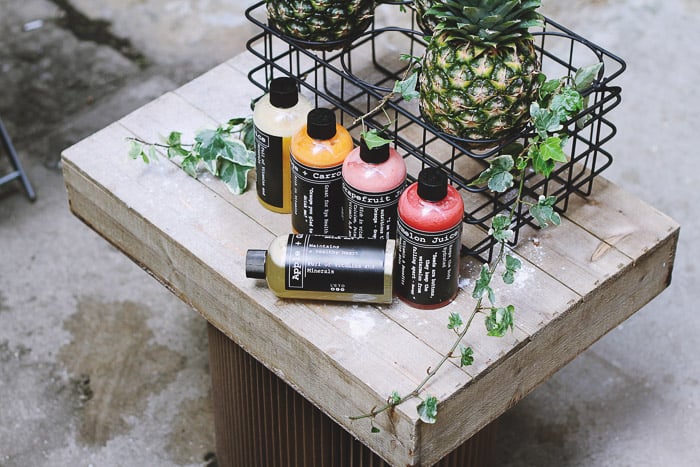
Photo by Toa Heftiba
Limit Yourself to Three to Five Angles
Good product photography will usually capture a range of angles. This will show off the product’s key features.
A product photography tip is to limit the angles you choose to the best three to five. You don’t need to capture 10 angles to showcase the product to your customer.
The key is getting the number of angles that shows each feature so the customer knows what they are buying. I find shoes are the best example.
The customer will usually want to see these angles:
- A top-down shot, (to see what the laces are like).
- A shot from each side, (some shoes have a zipper or buckle on one side but not the other).
- From the back, and then the bottom of the shoe. The bottom of the shoe can be important if the customer needs to know what kind of sole and tread the shoe has.
Always explore each key selling point of your product and capture it with a different angle.
Now you might start to see how this ties into using a tripod for product photography. Being able to write down the angles we use, will help us capture professional shots across a set of products.
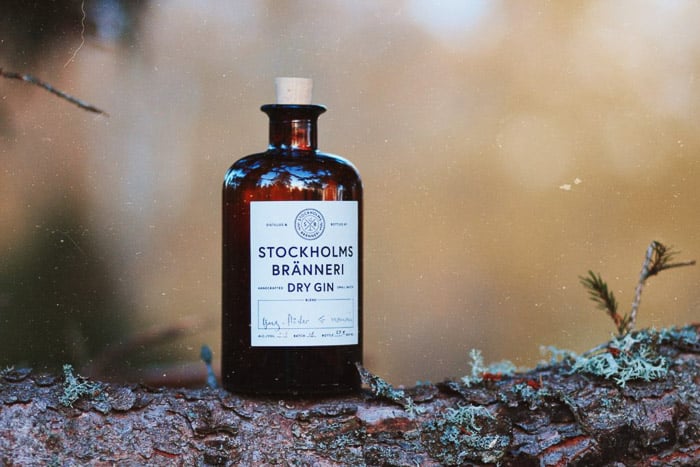
Photo by John Fornander
A Narrow Lens Is Great For Product Shooting
Depending on what camera you’re using, you may or may not be able to switch lenses and focal lengths. But even with a point and shoot camera, this still applies as you’re usually able to ‘zoom’.
So let’s talk about focal lengths first.
The best focal lengths are those that are considered close to ‘normal’ or ‘narrow’. As a general rule, these two focal lengths will create more professional pictures.
The reason is that they reduce perspective distortion. This will help the customer to see the product as they would in real life.
An example of a ‘normal’ focal length would be a 50mm lens. A narrow lens, would be like a 100mm macro.
Narrower lenses also tend to capture 45-degree angles better. Which in turn will help you to capture the most flattering angles for your products.
If you’re using a point and shoot, you will usually have access to a range of focal lengths in your zoom lens. You will zoom into any focal length between 85-100mm, which will be the same as of 60-85mm on a cropped sensor.
Now that we’ve covered some of the gear, let’s take a look at the best backgrounds to use.
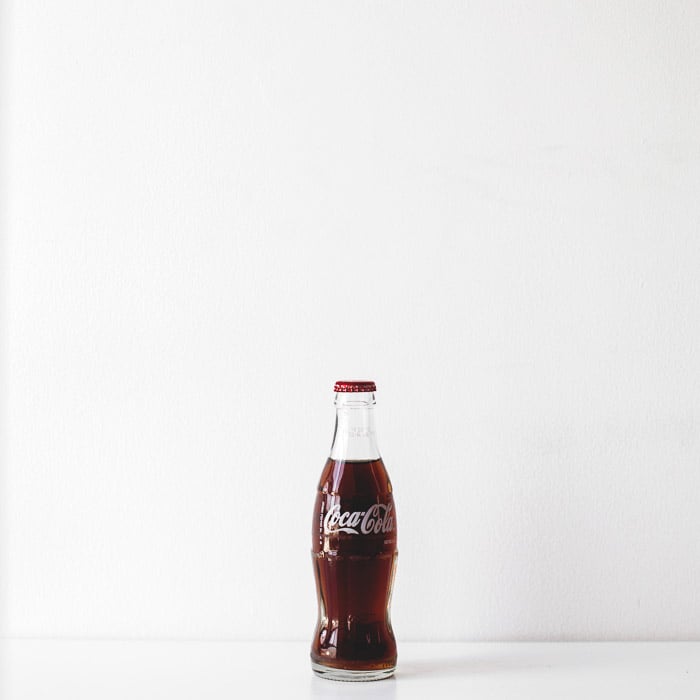
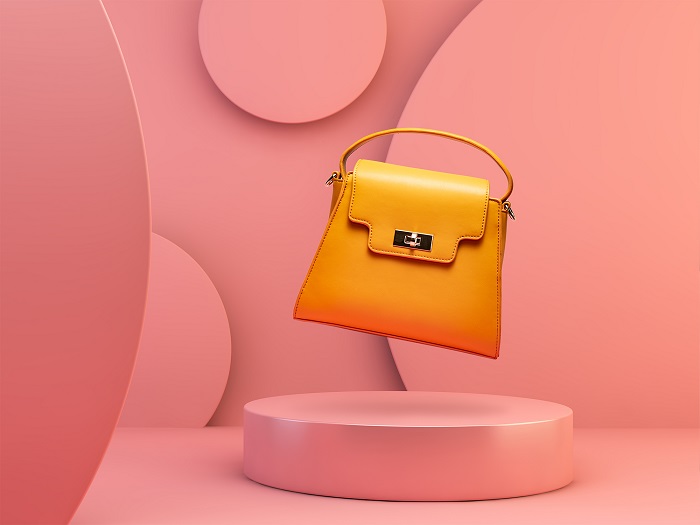
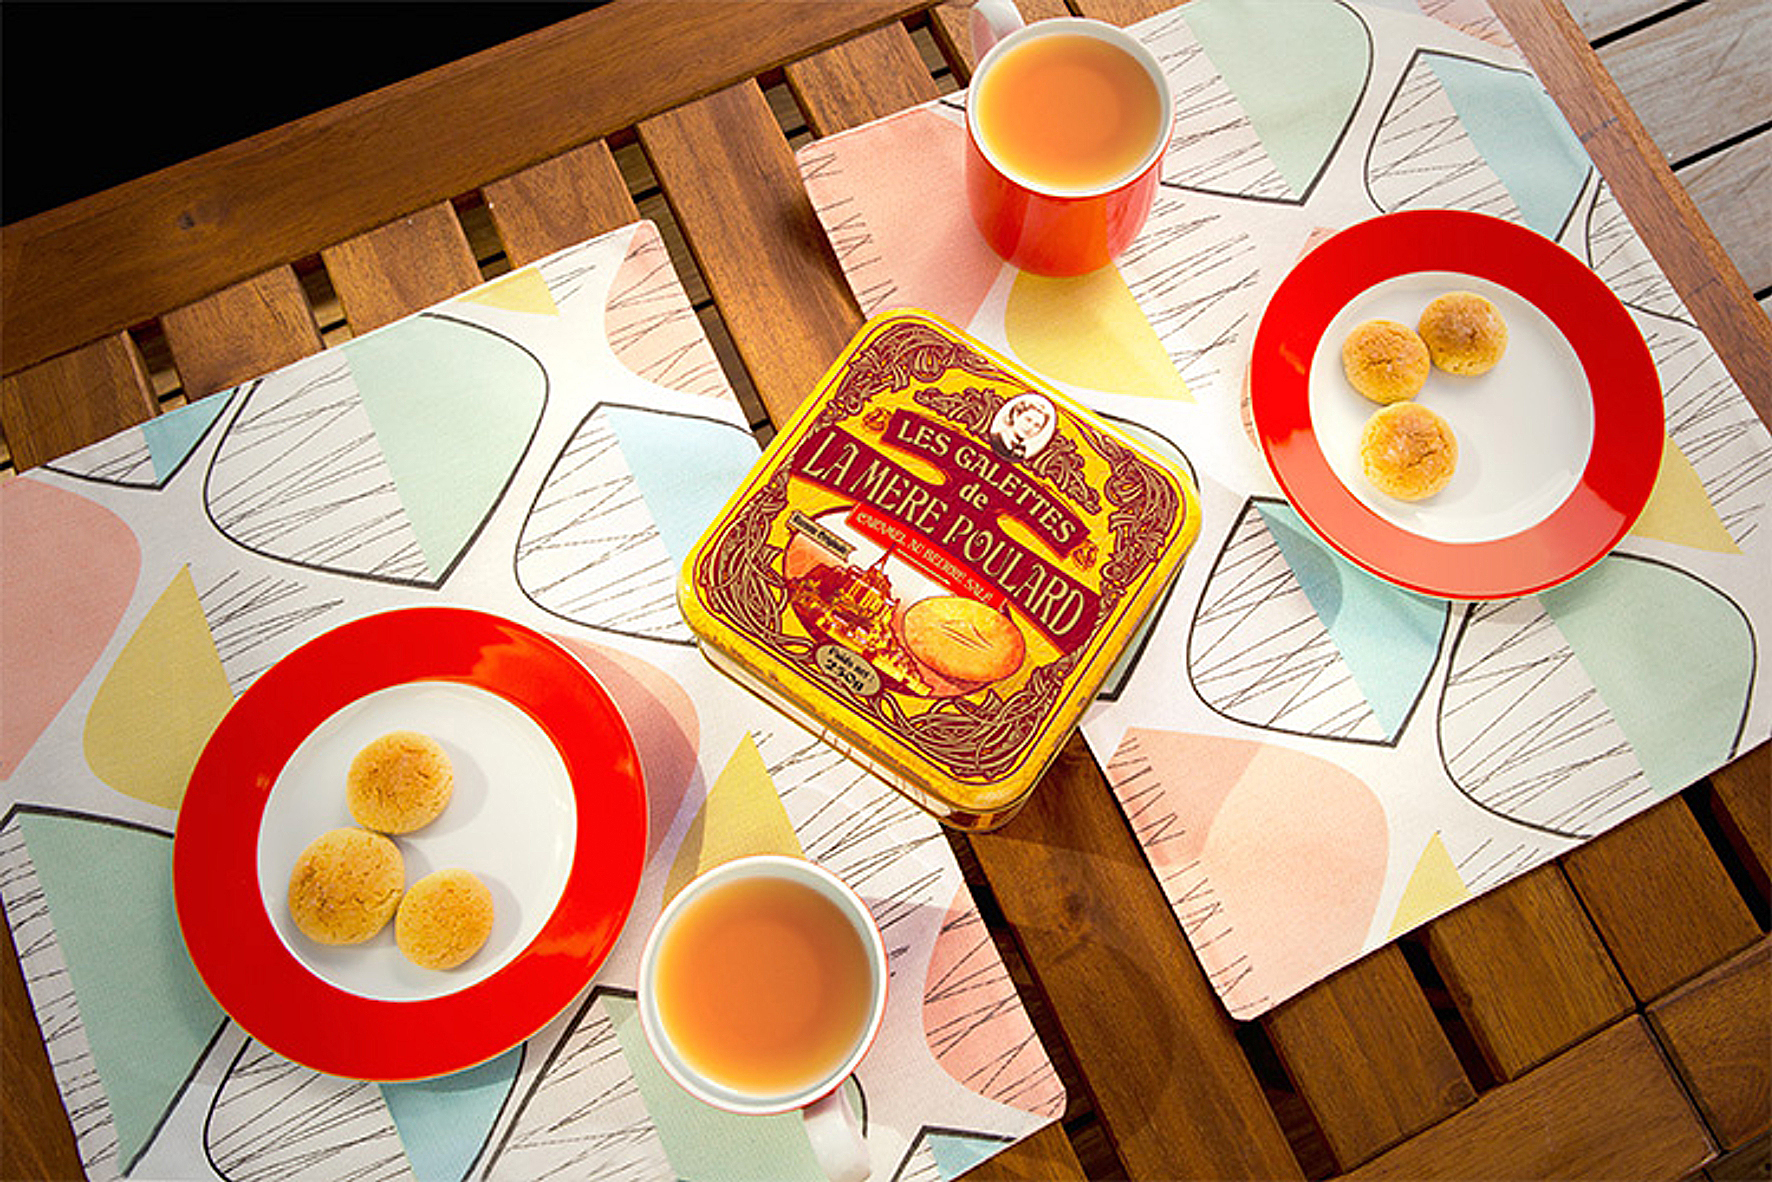
Photo by Pablo Merchan Montes
White Backgrounds Are Best For Professional Pictures
Backgrounds for product photography can be cheap. You can also find great diy product photography options.
Shooting your products on white is the best option. It’s flattering to most products and works seamlessly with most websites.
Some simple materials that you can find for white product photography backgrounds are:
- Clean pure white sheet or fabric.
- Large white, thick paper.
- White foam board.
- Plastic white table tops.
You may even be able to use a white wall to help create your setup. But you do need to be careful that the white is pure white.
A lot of walls are actually painted in off white which can play havoc when creating even tones across your image. Not to mention white balance issues.
Matte Materials Are Best For Backgrounds
You will start to notice that you already have a few options.
Whilst you can use almost anything white, the biggest thing you will want to make sure is that the white is matte.
Shiny or reflective white surfaces can impact your photos. They are likely to create unwanted highlights, shine, and reflections in your image.
For this reason, things like shiny plastic and white tiles should be avoided. Reflections can be removed in post-production. But, it’s creating extra work for yourself that can be avoided.
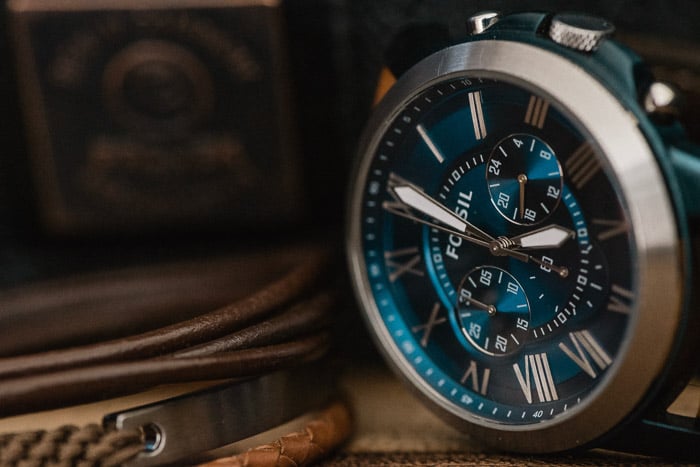
Photo by Marc Oliver
Correct Your White Balance: Whites Should Be White
For professional looking photos, it’s important to correct your white balance in post-production.
Artistic white balance is a creative choice. But, product photography shouldn’t have whites looking anything other than white.
To correct your white balance in editing, there are a few tools available in Lightroom.
You can use the eyedropper tool to help you select a neutral area that is middle grey. Or you can use the presets that are in your presence panel.
Your last choice is to use the white balance sliders to make any final and small adjustments.
When you have edited your images, it’s important to compare. This will help you make sure your image have consistent white balance.
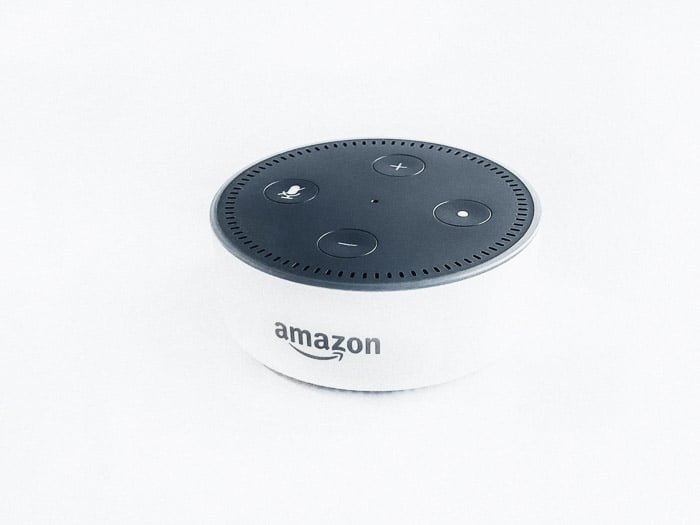
Photo by Rahul Chakraborty
Quick Product Photography Tips
Now let’s cover some quick tips to help you get the most professional pictures possible on a budget.
- To ensure products that you shoot in a set is at the same place in a setup, you can place an object at the front of the product. Once you remove the product, you know that you will need to place the next one behind this marker.
- Use reflectors like white foam core to bounce light back onto your subject if it feels uneven.
- If you can tether to Lightroom or Capture One you can make any changes to your setup in real time.
- Choose an aperture that shows the depth of your subject. Product photography shouldn’t be too shallow.
- Shoot on the lowest possible ISO for quality images.
If you have even light, the right focal length and a matte background, you can create professional looking product photography. Always explore the products best angles. Capture a range of angles so that the customers can see the full details of your product.
We have a great post on best food photography backgrounds to check out next!