The proper grasp of boudoir photography lighting separates a lingerie snapshot from a professional work of art! Boudoir photography should be timeless, elegant, and sensual. It should bring out all women’s and men’s beauty and celebrate the feminine and masculine.
But there are a million different ways to light boudoir photography. And the one you use is at the discretion of yourself and your client. So, to make it easier for new boudoir photographers, here is our guide to the various boudoir lighting methods you may want to try!
Boudoir Photography Tips: Different Types of Lighting
Before we go through our boudoir tips, let’s chat about the different types of lighting available. Besides sunlight and other forms of natural light, you can buy artificial lights to illuminate the scene. These lights aren’t limited to studios. You can use a variety of lighting in any indoor setting.
The most common lighting tends to be a strobe, speedlight, or off-camera flash. You attach these lighting devices to your camera’s hot shoe or place it nearby. You then fire them off in conjunction with the shutter.
Strobes release a rapid and powerful burst of light in a fraction of a second. Off-camera flash units have a vast arsenal of accessories you can buy to modify the light output.
Diffusers can soften the light, or shapers can mold the light. You can shoot in lower ISO numbers and have a far more portable unit than the rest. But the downside to these lighting units is that you must fire off test shots to see how the scene is illuminated.
Next comes a series of continuous lighting options. Continuous lights are, as the name suggests, lights that stay on and do not flash. The most significant benefit of a constant lighting unit is seeing how your scene is lit in real time. This is especially beneficial for those learning to work with artificial light.
The downside is that the power output of continuous light is much lower than flash units. You’ll raise your ISO higher and shoot with a slower shutter speed. But most newer camera models have minimal noise at higher ISO levels.
There are different kinds of bulbs you can use for continuous lights. LED (Light-Emitting Diodes) and tungsten are the most common.
LED lights are energy-efficient and produce very little heat. These lights can be either stable or finicky, depending on the brand name and quality. So keep that in mind.
Tungsten lights are the most common kind of incandescent light bulbs. Tungsten lights offer the highest output levels but generate a lot of heat.
8 Best Boudoir Photography Tips for Better Lighting
1. Use Available Natural Light for Softness
With boudoir photography, utilizing natural light is quite common. The sultry images in the bedroom tend to be illuminated by natural light from a window. Natural light offers more airy or moody photos, depending on the time of day or edit.
Natural light sometimes offers a softness that artificial light may not. It can create a more welcoming scene. But natural light also has the downside of being uncontrollable. The sun may shine unflattering light on the model that you must work with. Using studio lighting can be more forgiving.
My suggestion for natural light is to have the model turn their face towards the light source (like the window). But avoid direct sunlight as much as possible.
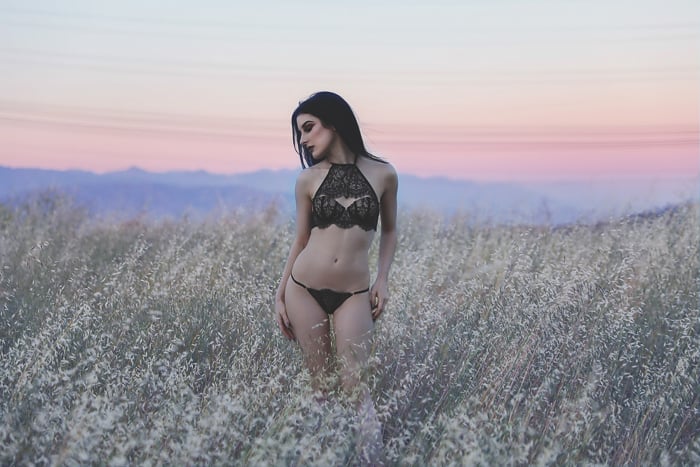
2. Go Outdoors for Even Boudoir Photography Lighting
Very few photographers consider the possibility of shooting boudoir photography outdoors. But it is very much an option!
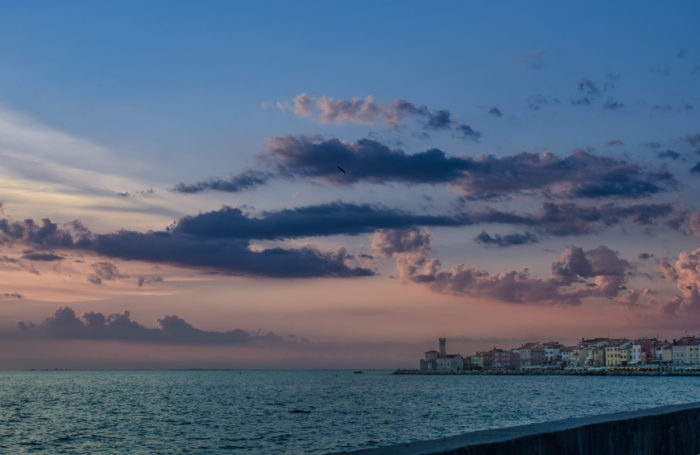
Like indoor natural light, you don’t have much control over the outside world. But you can photograph your model during some of the more flattering times of day, like golden hour.
Golden hour is right when the sun is beginning to rise or set and is almost parallel with your subject. When the light hits the glass of your lens just right, the scene appears “golden.” This is a great time for a boudoir photographer to capture images because the lighting is even.
Another great time to photograph a boudoir outdoors is when it is overcast. Clouds act as a giant diffuser for a scene’s lighting. They soften the sunlight and eliminate harsh contrast caused by shadows and highlights.
3. Studio Lighting Setup With a Strobe or Flash
If natural light isn’t your forte and you still want to pack light, you can use a strobe, speedlight, or flash! These units are portable and can fill any room with light. This is a great choice when shooting boudoir photography at night or in a place that doesn’t have any windows.
A common way of using an off-camera flash is to aim it at the ceiling or toward a wall. It’s best not to point it at the subject because the light will be harsh and unflattering. By bouncing the light off of something, it softens and makes your subject look more flattering.
If you have access to more than one flash, you can set up the others and fire them off at the same time as your primary flash. Try positioning these lights to the side of your subject to illuminate her hair. This positioning will create a more three-dimensional look to your boudoir portraits!
4. Studio Lighting Setup With One Continuous Light
I am a continuous light user, but this is just my preference! I always have a continuous light softbox sitting in my car because, often, one is enough!
My go-to favorite is an octagonal softbox with a tilting head. You place this light above your subject, tilted down at an angle. This angle fills many shadows and creates a gorgeous catchlight in their eyes.
With one octagonal light, you create a natural vignette in all areas the light doesn’t touch. This vignette adds a moodiness or softness (depending on editing) to your portrait.
A favorite one-light setup is a ring light. A ring light is an LED circular lamp with a hole in the center, forming a ring. You shoot through the hollow center. This light evens the subject’s skin and creates some separation from the background. These are easy to use and set up in front of your subject!
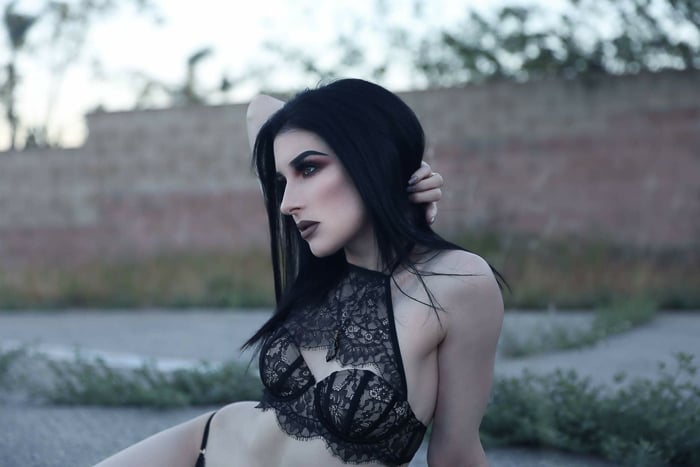
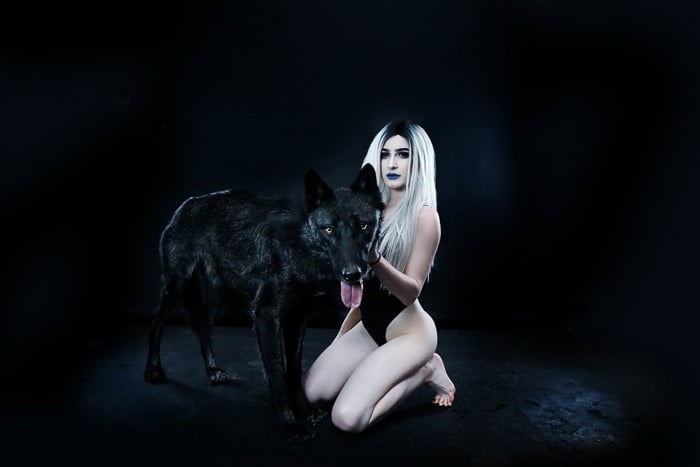
Another way to light up your boudoir photography model is to have one softbox aimed at the side of your subject. This angle creates moody shadows. This is a great way to shoot implied nude boudoir photography without showing anything. The viewer very much appreciates the mystery!
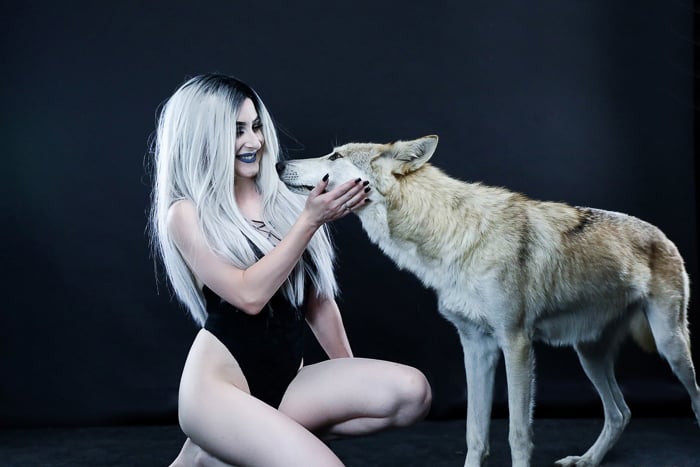
5. Studio Lighting Setup With Two Continuous Lights
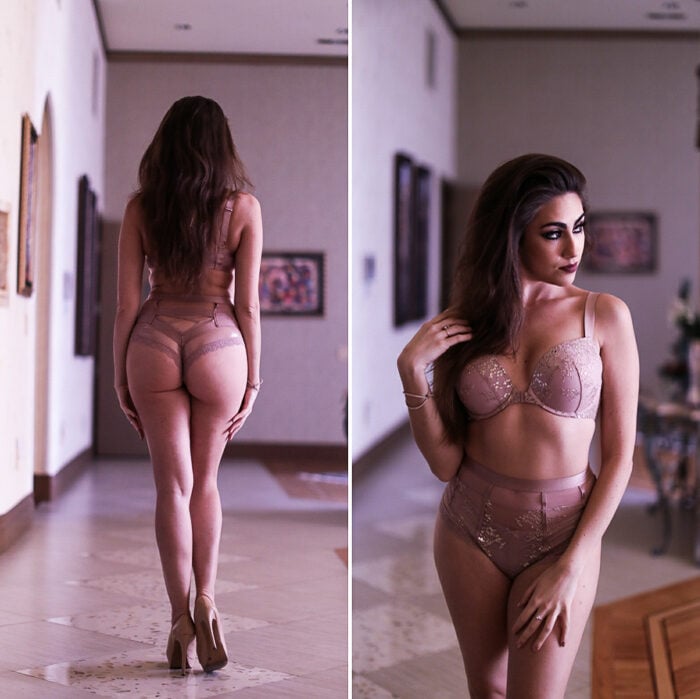
My lighting setup for the longest time involved two large rectangular continuous lights. One was positioned to the front of my subject, and one was placed to the side of my subject. The light at the front illuminates the face, while the one to the side creates separation from the background.
You can also have one light hanging overhead above your subject and one positioned behind them aimed at the wall. This provides flattering lighting for your subject. The wall is illuminated with a different light, creating a more even separation between the two.
You can also use the two-light setup to create unique shadows and lines during your boudoir shoot. You will find it especially useful if you gel these lights (more on gels below at number seven).
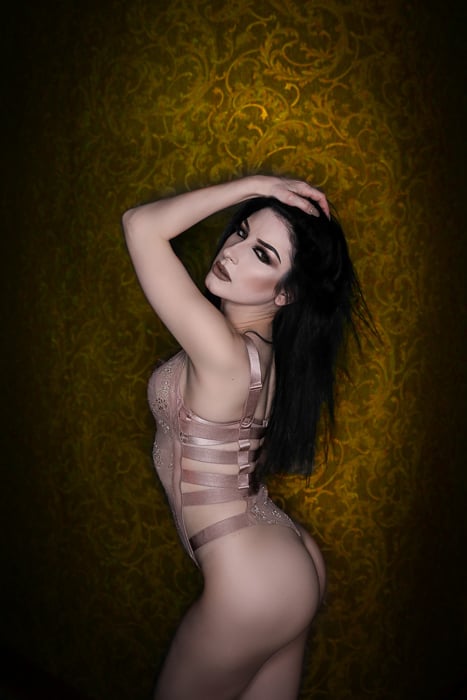
6. Studio Lighting Setup With Three Continuous Lights
The most dramatic and dynamic portrait photography setup utilizes three lights. There are a few different ways you can position these. The triangle arrangement is one of the most effective, especially for boudoir photography.
Note that this does need a bit of room! You can also duplicate this look with three strobe lights.
As the name suggests, the triangle arrangement is shaped like a triangle. One light is in front of the subject. I recommend that it be an overhead light that hangs above the model. The other two are behind the model at an angle.
The lights behind the subject create a separation between her and the background. Two options achieve the same separation but with two different looks.
The first option is to take the lights and point them both toward your model. The lights are at an angle, like triangle corners. You illuminate the edges of your subject. This creates distance between the model and the location by highlighting her curves and hair.
The second option is to turn those backlights at an angle towards the wall, away from your subject. This angle lights up your background evenly, creating distance via contrast!
Whichever you decide depends upon your goal as a boudoir photographer. If your model wants to look striking and assertive, pointing the lights towards her will achieve this. If you’re looking for softness and subtlety, pointing the lights at the wall is the way to go!
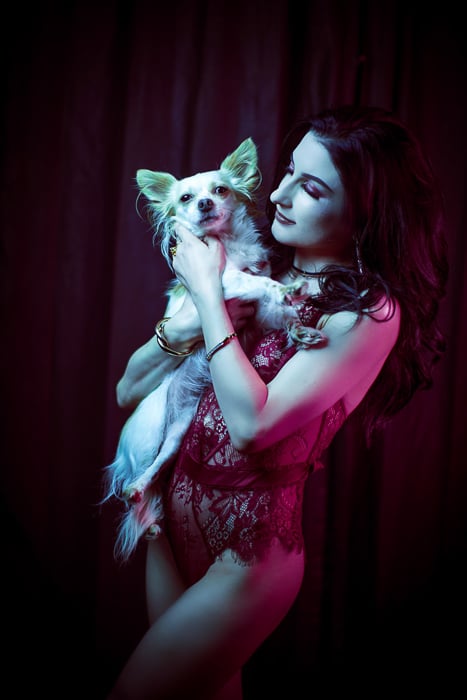
7. Studio Lighting Setup With Gels
Try playing with color for something very different and out of the norm! Color gels are filters that change the color output of your lights. Instead of white, they come out a saturated color! You can use gels with continuous lights and lights that flash or strobe.
You can either buy or make gels. Purchased gels are more reliable and produce a more saturated color, but can be pricey.
Home-made gels are often created from cellophane, wrapping the colors around a light. Although gel-making is more cost-effective, they may be less saturated or harder to work with.
Another option is to pick up a light tube or panel that changes color. These LED lights can often switch to standard photography colors—red, green, blue, aqua, purple, orange, and pink.
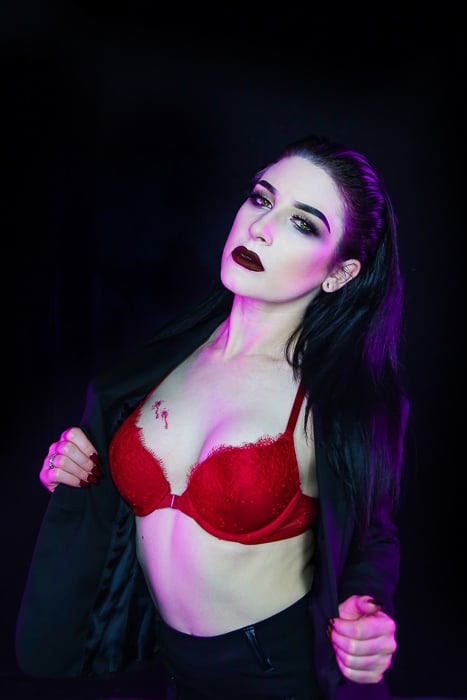
My favorite two ways of using gels in boudoir photography are to saturate the frame or do a colored rim light. To saturate the frame, gel two lights and place them on either side of your subject! For rim lighting, set up one overhead light in white and two lights to the side of your model in a gel color.
8. Emphasize Boudoir Photography Lighting in Post-Processing
Post-processing and editing are as much a part of lighting as the light source is! Post-processing is editing the image in a program after it is taken.
You can post-process in various ways depending on the lighting you choose above. The most common editing styles for boudoir photography are the natural or cross-processed look.
The natural look maintains natural skin tones and colors. This look may tint an image in a cold or warm tone, depending on the mood of the portrait.
When adjusting saturation, play with the vibrancy rather than the saturation slider. Vibrancy, from Adobe’s description, “adjusts the saturation so that clipping is minimized as colors approach saturation.
This increases the saturation of less-saturated colors more than the already-saturated ones. Vibrance also prevents skin tones from becoming oversaturated.”
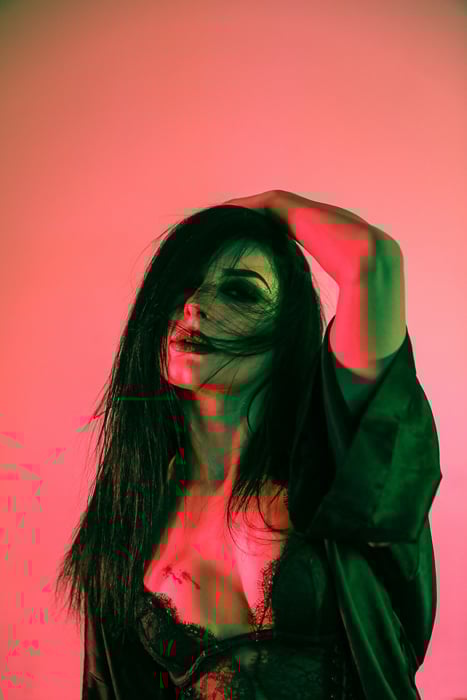
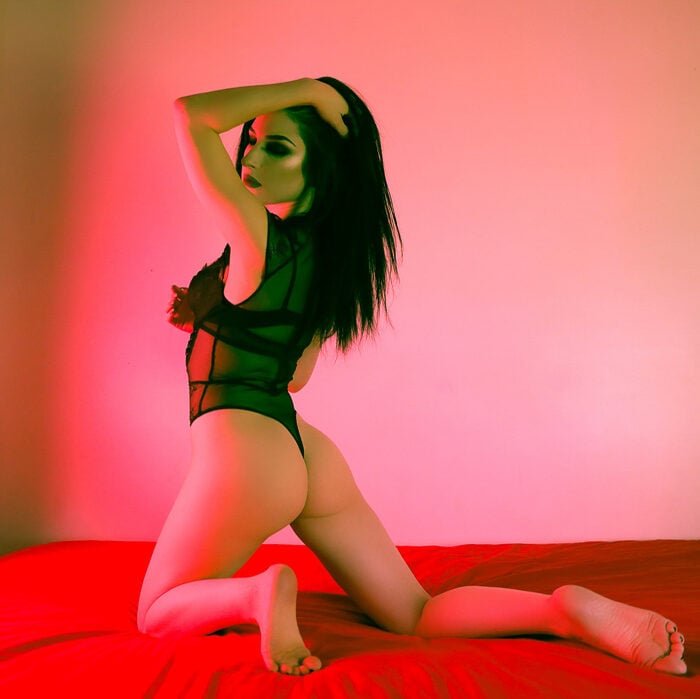
Cross processing, or split toning, is when you color your shadows independently from your highlights. In the example below, the highlights are colored red, and the shadows are colored green. Adjusting Adobe Lightroom Split Toning sliders is the easiest way to achieve this look.
Conclusion: Boudoir Photography Tips for Better Lighting
Whatever boudoir lighting setup you choose, ensure it satisfies your client’s needs, wants, and expectations! Lighting adds as much to the character and story of the images as the type of focal length and location you use. Now, go out and start shooting beautiful boudoir photography lighting shots!
We have a great boudoir posing guide and ideas for plus-size boudoir photography. Or check out our article about creating HDR portraits next!