Use flash when you need to add light to a nearby subject, fill deep shadows or create a lighting effect. Leave it off when the existing light gives you the photograph you want, the subject is beyond its range, or flash is not allowed.
I used to think of myself as someone who didn’t use the flash on the camera. I was completely unaware of the difference an off camera flash can make. When I go out, I almost always carry one with me. There are even tons of uses for it during the daytime.
Before you switch it on, take a photo without flash. Check the subject’s brightness, the shadows and any blur. Flash should solve a specific problem or help create the look you want. A dark scene alone does not tell you whether it will help.
When to Use Flash
Indoors When You Need More Light
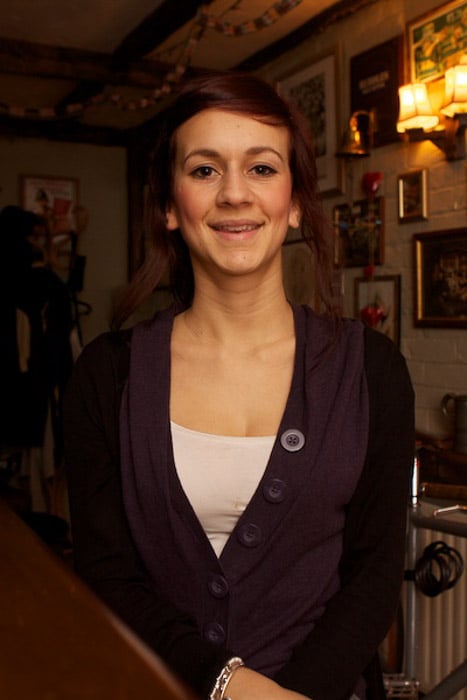
Use flash indoors when the available light cannot give you the exposure and shutter speed you need. For a natural-looking portrait, I recommend an external flash unit bounced off a nearby ceiling or wall.
The surface matters. A white or off-white surface reflects light without adding a strong color cast. A distant ceiling or dark wall may return too little light. Also check for shadows under the eyes when you bounce straight upwards; a nearby wall can give you a different direction of light. Canon’s bounce-flash guidance explains these limits.
Direct flash from the same angle as the lens can flatten the lighting. It is still useful for fill or a deliberately hard-light look. Moving a compatible flash off the camera gives you more control over where the light falls.
Daytime Outdoors for Fill Flash
You do not need darkness to use flash. If you’re shooting into the sun, your subject can become a silhouette while the background looks well exposed. Keep the silhouette if that is what you want. If you want detail in the subject, try fill flash.
Fill flash adds light to the shadows while the existing light still contributes to the photograph. It can help with a backlit face or shadows under a hat. Your metering mode affects the exposure the camera chooses, but changing the meter alone does not add light to the subject.
Choose an exposure that keeps the background as bright as you want. Then add flash to lift the subject. With a compatible TTL system, the camera meters the flash automatically. If the subject looks too bright, reduce flash exposure compensation; if it is too dark, increase it and check again. Move closer if the flash cannot supply enough light.
In bright daylight, check your camera’s maximum flash sync speed. With a conventional focal-plane shutter, normal flash requires a shutter speed at or below that limit. High-speed sync lets compatible equipment work above it, but the effective flash range falls as shutter speed increases. Canon’s high-speed sync manual describes the trade-off. Do not assume a built-in flash or any camera-and-flash combination supports it.
The snow-covered berries below are an example of using flash alongside daylight.

Creative Night Photography
I love night photography. It gives you room to build your own light rather than relying only on what is already there.
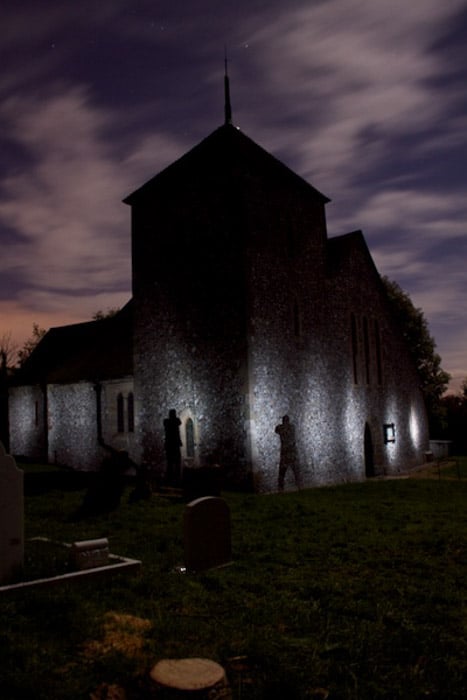
During long exposures, you can fire an external flash manually to light selected parts of a scene. You can move between flashes without appearing clearly if you stay unlit, but a long exposure does not make you invisible. Ambient light or a flash hitting you can record your movement.
Use a stable camera and check each test image for unwanted shadows or traces of movement. For more on this technique, check out my tutorial on light painting.
Freezing Motion in Low Light
A short flash burst can help you freeze the motion. This works best when flash provides most of the light on the moving subject and its duration is short enough for that movement.
When you’re shooting in low light, the flash-lit part of a subject can appear sharp even with a slower shutter speed. But light already in the scene keeps exposing the subject while the shutter is open. If it records enough movement, you can get a blurred trail or ghost image beside the sharp flash exposure.
Do not assume every flash power setting freezes fast action equally well. Flash duration depends on the equipment and output setting. If you see unwanted blur, reduce the light reaching the subject between flash bursts or use a faster shutter speed within your equipment’s sync limits. Broncolor’s flash-and-continuous-light example shows how sharp detail and blur can appear together.
In the photo below, I couldn’t set the shutter speed too high or it would have been too dark. Instead, I used a flash and it caught the droplet of water at its peak with ease.
Combining Flash with Light Trails
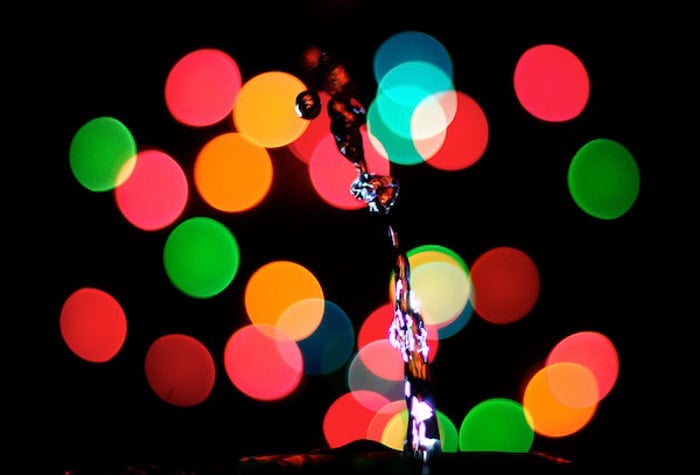
Sometimes that mix of sharp detail and blur is the effect you want. A slow shutter speed records light trails, while the flash lights the subject for a shorter part of the exposure.
Have a look at my example below taken at f/11 for 0.8 seconds at ISO 250. Those are the settings for this photograph, rather than a recipe for every scene.
For a moving subject, rear-curtain or second-curtain sync fires the main flash near the end of the exposure. This can place the trail behind the subject’s final position. Check whether your camera, flash and trigger support that setting.
When Not to Use Flash
Distant Subjects at Big Events
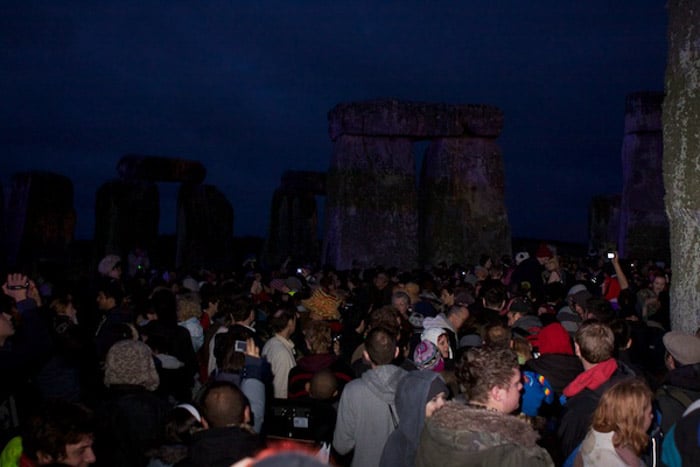
I see this way too often and I’m sure you have too—people 100 feet away from a stage trying to use their on-camera flash to take a photo in low light.
Before you try it, check whether the subject is within the flash’s effective range. There is no universal 10–15-foot limit. Range depends on the flash output, aperture, ISO, flash coverage and whether you bounce the light or use high-speed sync. Use the distance display if your flash has one, or consult its manual for the conditions behind its range figures.
If the stage is beyond that range, flash will not solve the exposure problem. Expose for the stage lighting instead. Use a shutter speed that suits the performer’s movement, open the aperture as needed and raise ISO if necessary. My low-light photography tutorial covers these choices.
Candid Photography When You Want to Stay Unnoticed
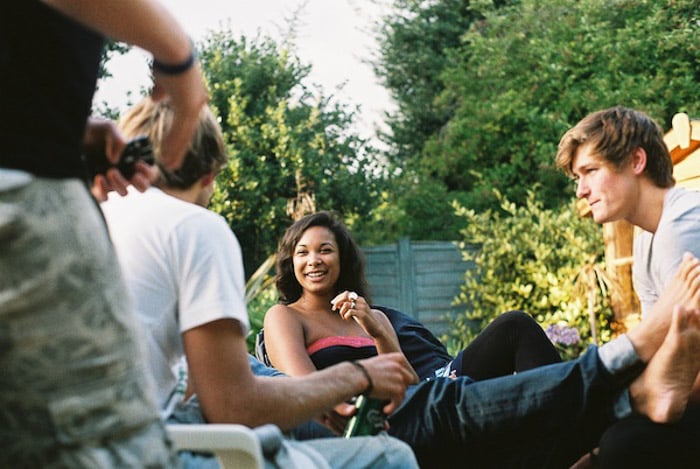
Nothing says “look at me” like a big flash attached to an even bigger camera going off in the corner of your eye. If you want to go unnoticed, available light may suit the photograph better.
Widen your aperture and raise your ISO as needed to keep a suitable shutter speed. There is no single correct ISO for low-light candid photos.
A wide aperture can give you a shallow depth of field, but check that everything you need is in focus. Opening the lens fully may leave one person sharp and another blurred.
If you want to learn more about candid photography, check out 10 Ways to Take Better Candid Photos.
Night Landscapes and Distant Scenery
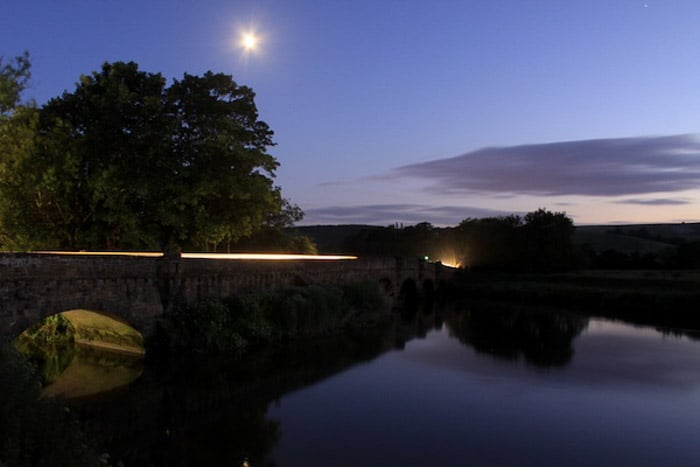
For a distant landscape, skyline or night sky, turn off a small on-camera flash. It cannot light a scene beyond its effective range, and nearby objects may become brighter than you intended.
Use the existing light and support the camera for a longer exposure when the scene is still. Choose program mode or another mode that gives you the control you need, then check the camera’s flash-off setting. Changing exposure mode alone is not a universal way to disable flash.
Night portraits are different. Flash can light a nearby person while a slower shutter speed records the background. Keep the camera steady and watch for subject blur from the existing light. Decide by the subject and the effect, rather than turning flash off just because it is nighttime.
Concerts and Places Where Flash Is Restricted
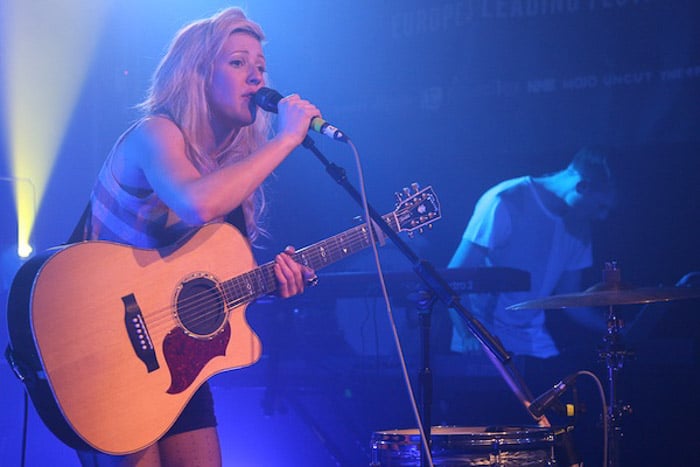
Check the venue and performer’s photography rules before shooting at gigs. Permission to take photographs does not necessarily include permission to use flash. If flash is prohibited, leave it off.
Even where it is allowed, consider whether the burst will distract people or change the stage-lighting effect you want to record. Available light often suits that scene better.
Use an aperture that gives you enough light and depth of field. Choose a shutter speed that keeps the performer’s movement as sharp as you need, then raise ISO if necessary. A slower shutter admits more light, but it also increases the risk of motion blur.
Daytime Outdoors When the Light Already Works
If your subject is well lit and the shadows suit the photo, there may be no reason to add flash. Open shade or window light can give you the look you want without extra equipment.
If you can move your subject, try changing their position relative to the light. Turn them towards a useful light source or choose another angle before adding flash. Then compare the result with a fill-flash shot if you still need detail in the shadows.
Conclusion
Use flash when it has a clear job: add light to a nearby subject, lift shadows or create an effect. Skip it when the existing light works, the subject is out of range or the setting calls for flash to stay off. Take a test photo and compare the results; the choice depends on the scene, not simply whether you are indoors or outdoors.
Check out our Photography Unlocked e-book to learn everything you need to know about lighting as a photographer!