Milky Way photography can be incredibly rewarding. We’ve all gazed at the night sky in wonder, but Milky Way photography lets you capture the stars with your camera.
All you need are a few skills, some knowledge, and a couple of pieces of camera equipment. You can then create stunning night sky images that impress even seasoned astronomers!
While not the most accessible photographic field, anyone can try night sky photography. We’re here to help you get started, and our article has everything you need to know about the genre. So keep reading to learn more about the art of Milky Way photography.

- Learn to plan shots with optimal light, weather, and Moon conditions.
- Discover the precise settings for stunning shots with any gear.
- Master simple editing techniques to enhance your night sky images.
What Is Milky Way Photography?
Milky Way photography is the art of taking pictures of the stars above. It’s also known as night sky photography because you’re taking pictures of the night sky. They are synonymous because whenever you take a picture of the stars in the night sky, you take a picture of the Milky Way.
When photographing the Milky Way, you capture large areas of the night sky, including many stars. This is in contrast to astrophotography. The latter captures detailed shots of astronomical features, like planets or nebulae.
You can focus on smaller patches of the night sky, looking at constellations and other features. Or you can take sweeping images that capture large swathes of the starry sky above. You can even incorporate elements of nighttime landscape photography into your Milky Way images.
Our article covers how to shoot Milky Way photography, from camera settings to the specialist gear you need. We even discuss Moon photography. It might not technically be Milky Way photography, but it’s a big feature in the night sky. Use these jump links for what you need:
- How to photograph the Milky Way
- Recommended photography gear
- Recommended apps and software
- How to edit Milky Way photos
- Milky Way photographers
How to Photograph the Milky Way
This section covers the technical side of photographing the Milky Way. We help you find the more interesting sections of the galaxy and provide the best camera settings and composition techniques.
Unfortunately, you can’t just turn your camera towards the stars and take a picture. Even the best camera on the market won’t produce good results. But capturing truly impressive night sky images isn’t overly difficult either.
All you need are the knowledge and skills we provide in this article section. Remember to click on the links to see the full article on each topic within the sections.
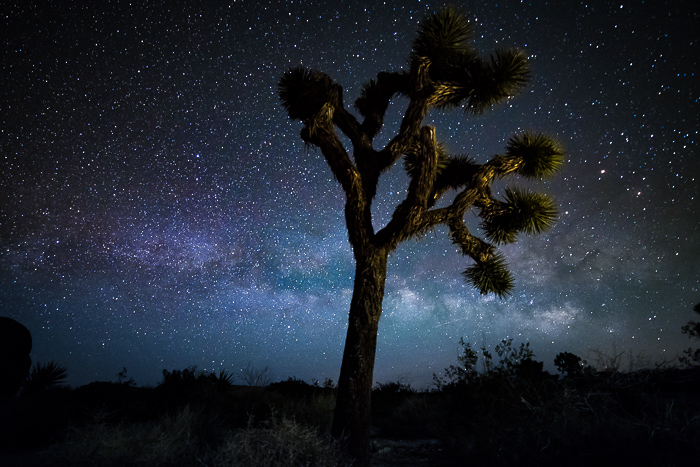
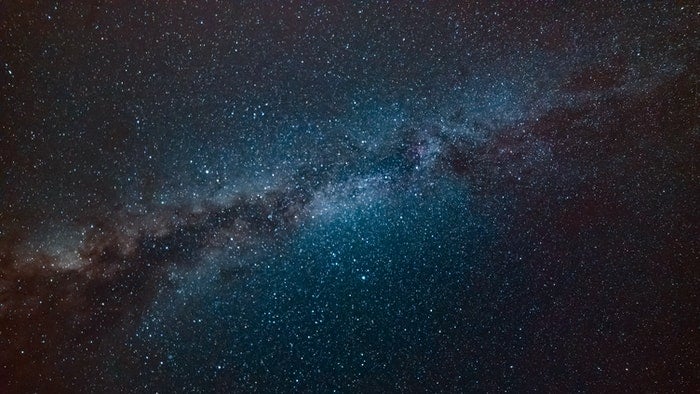
Where Is the Milky Way?
Finding the Milky Way in the night sky is easier than you might think. The best conditions are a clear sky with no clouds, minimal light pollution, and a moonless night.
The best time to see the Milky Way is from March to September in the Northern Hemisphere and March to October in the Southern Hemisphere. It is most prominent in late spring and early autumn in the Northern Hemisphere and winter in the Southern Hemisphere.
This time is when the Galactic Center, the most intense and dramatic part of the Milky Way, is almost vertical to the horizon. The stars look the brightest and most intense during this time.
Track the Moon phases using apps like Deluxe Moon or Sol to find the best times to see the Milky Way. For the clearest view, go out during a new Moon when the moonlight does not wash out the stars.
If you’d like to learn more about where the Milky Way is, there are many great resources available online.
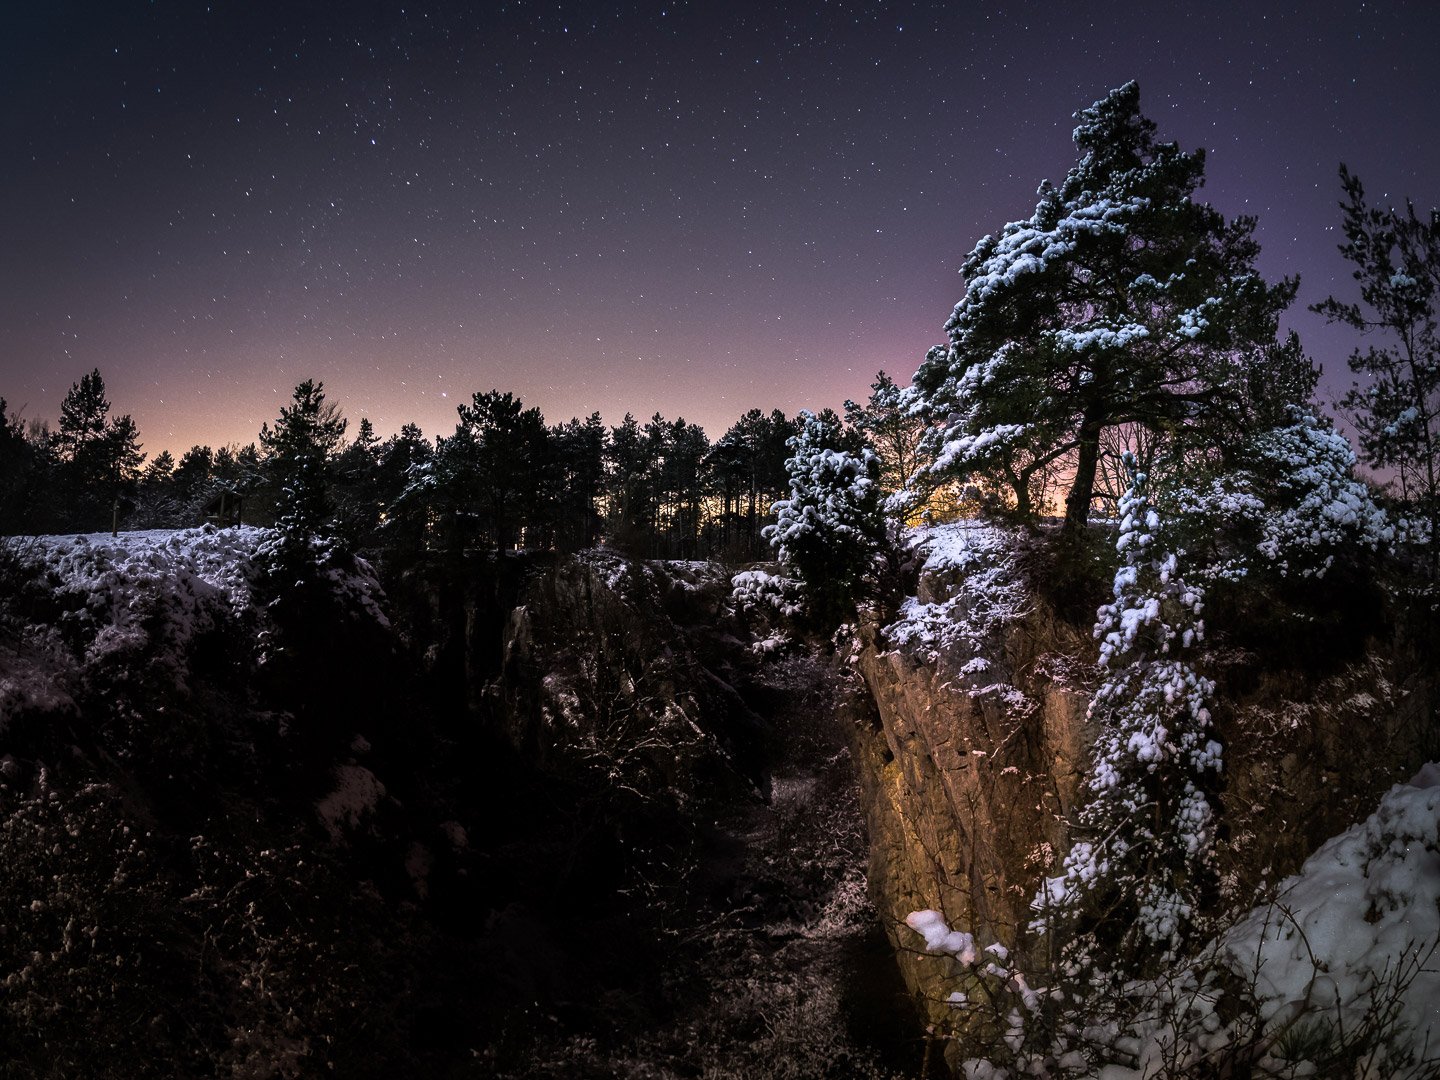
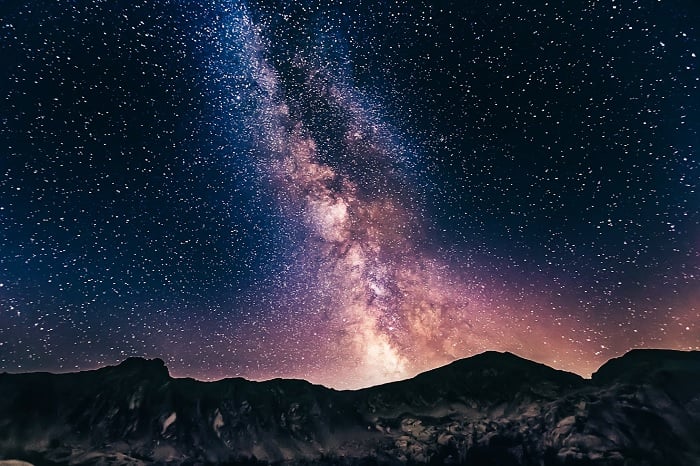
© Pars Sahin
Camera Settings
To capture stunning Milky Way photos, use your lens’s widest aperture. Something like f/2.8 or wider is ideal if you have it available. It allows the most light in for a shorter exposure time.
The shutter speed should be as long as possible without blurring the stars. You can calculate this using the 500 rule (see below).
Set your ISO high enough for a good exposure but not so high that it produces too much noise. ISO 6400 or lower works well on most modern cameras. Focus your lens to infinity, and use manual focus to avoid your camera trying to refocus in the dark.
Our detailed guide covers everything you need about Milky Way photography settings.
500 Rule
The 500 rule is a simple way to avoid star trails in astrophotography. It lets you calculate the longest exposure time before stars start to blur. Divide 500 by your lens focal length multiplied by your camera’s crop factor.
For example, with a 50mm lens on a micro four-thirds camera (2x crop factor), the longest exposure is five seconds (500 ÷ 50 x 2). A full-frame camera would allow 10 seconds (500 ÷ 50 x 1).
Shooting in RAW and stacking multiple exposures with a low ISO can improve your night sky images. To learn more about the 500 rule for astrophotography, check out this in-depth guide. It covers the math behind the rule and how to combine it with other techniques.
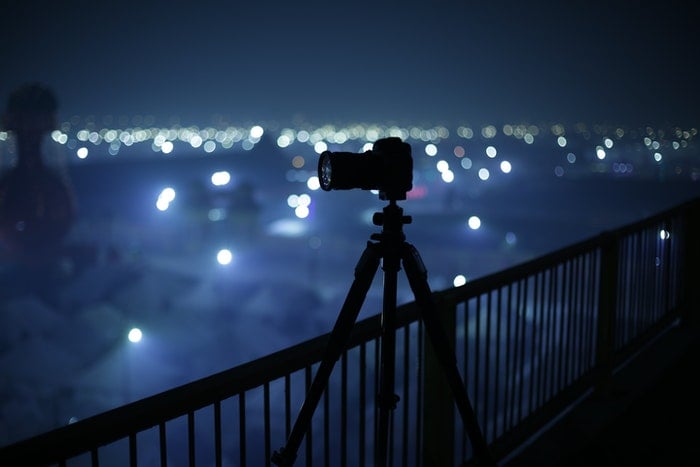
Night Photography Settings
Practicing photography at night is a great way to get to know your camera. Experiment with different ISO settings. It helps you determine when you start to see noticeable digital grain. This knowledge is beneficial when you start shooting night sky photography.
Use a high ISO between 400 and 3,200 to capture enough light in the dark. Open your aperture to f/2 or f/2.8 to let in plenty of light. Use a shutter speed of at least 1/60 s (seconds) to avoid motion blur.
For night portraits, use a portrait lens with a focal length of 80-135mm. Set your ISO to 400-1600 and aperture to f/2 or f/2.8. Use a tripod for slower shutter speeds to keep your camera stable.
When photographing stars, use a wide-angle lens and the highest ISO before image noise becomes too much. It’s usually 1,000 to 3,200.
Open your aperture from f/2 to f/4 and use a shutter speed of 4 to 10 seconds for static stars or 20 to 30 minutes. These are the best night photography settings to capture star trails.
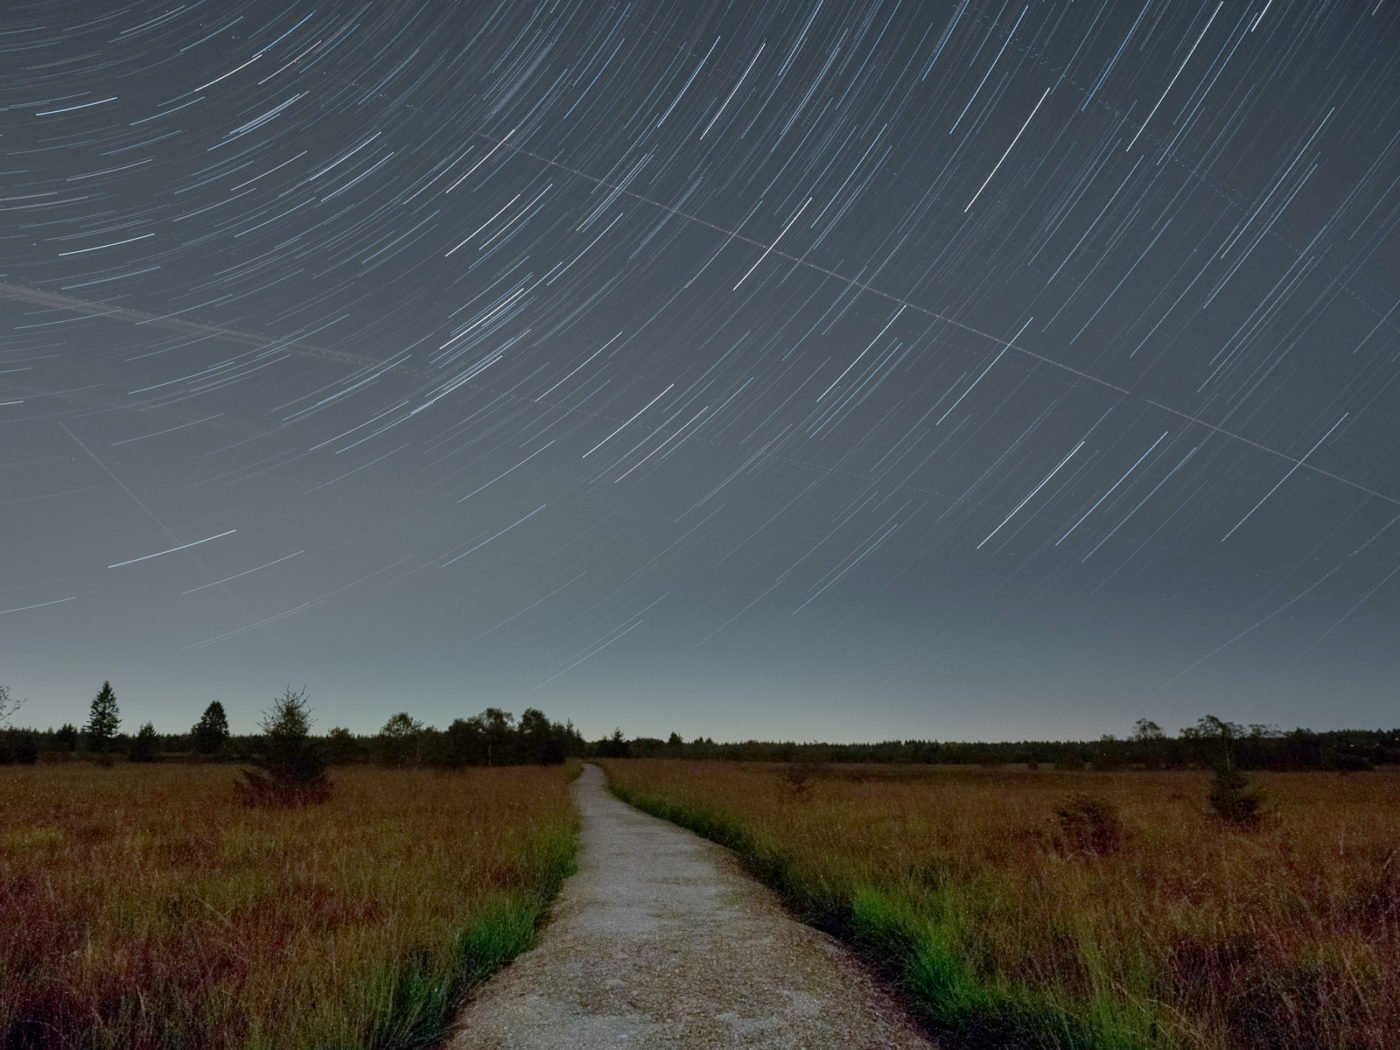
Star Trail Photography
Star trail photography captures the movement of stars across the night sky using long exposures. Earth’s rotation causes stars to appear to move in circles around the North celestial pole, indicated by Polaris, the North Star. Stars move in straight lines when looking East or West.
To photograph star trails, use a wide-angle lens and sturdy tripod. Focus manually on a bright star using live view magnification. Use an aperture of f/4 or f/5.6, ISO 800, and shoot in RAW. For reasonably long star trails, photograph for at least 30 minutes to one hour.
Image stacking combines multiple shorter exposures to reduce noise compared to a single long exposure. To combine the images, use a remote shutter with an intervalometer and star trail photography software like StarStax.
Include interesting foreground elements like trees, rocks, or buildings to create compelling compositions. For more details, read our full star-trail photography article.
Time-Lapse
Capturing a stunning Milky Way time-lapse requires the correct location, settings, and techniques. To capture the brightest stars, find a dark location away from light pollution. Use apps like Light Pollution Map or Dark Site Finder to help you find the best spot.
Make sure the weather is good to avoid inconsistent shots. Bad weather can make your photoshoot uncomfortable and force you to change your settings or move your equipment. These conditions can result in shaky and unevenly exposed pictures.
Set your camera to manual mode and use a medium-high ISO to make the night sky look stunning. Your shutter speed depends on your creative preferences—slow for star trails or fast for sharp stars.
Use an internal or external intervalometer to set the interval between shots. For Milky Way time lapses, this is typically 15 to 35 seconds. Read our full article to learn more about capturing Milky Way time-lapse photography.
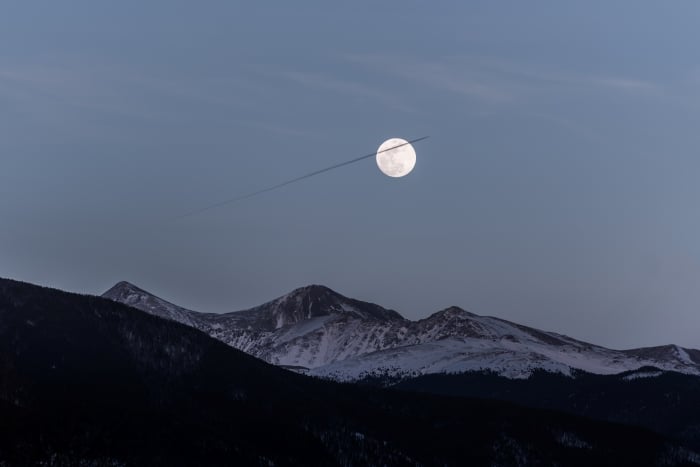
Moon Photography
Photographing the Moon is a great way to get started with night sky photography. You don’t need as much equipment as you would for capturing stars or the Milky Way. A DSLR or mirrorless camera with a telephoto lens of at least 300mm is perfect for Moon photography.
Use a sturdy tripod to avoid camera shake and get sharp images. Set your camera to manual mode, with an ISO of 100, aperture between f/11 and f/16, and a shutter speed of 1/125 s or faster. Focus manually for the best results.
Composition is key to creating impactful Moon shots. Use the rule of thirds and place the Moon at one of the intersecting points on your camera’s grid. Stacking multiple images can help improve detail and clarity in your final photo.
Photographing the Moon is a fun and rewarding way to explore the night sky.
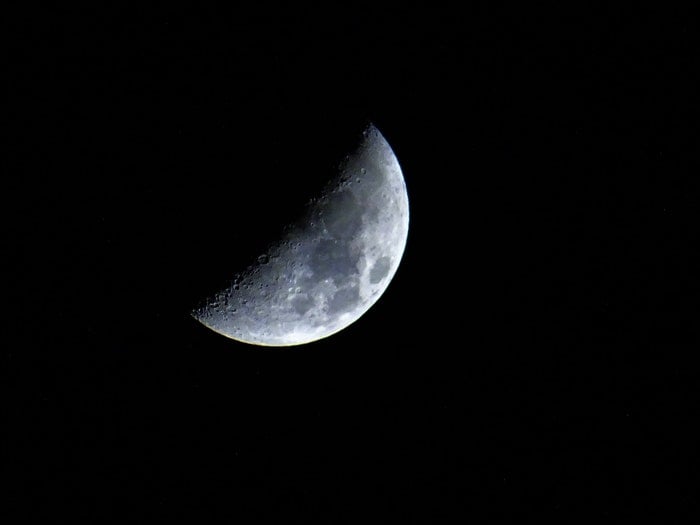
Lunar Eclipse
A lunar eclipse occurs when the Earth moves between the Moon and the Sun, blocking sunlight from reaching the Moon.
During a total lunar eclipse, the Moon may take on a reddish color, known as a “blood Moon.” This color happens because the Earth completely blocks direct sunlight. Only faint, scattered light illuminates the Moon.
To photograph a lunar eclipse, you’ll need a tripod, remote shutter, and a telephoto or zoom lens of about 300-400mm. Set your camera to shoot in RAW, use an ISO of 400 to 800, and an aperture of f/5.6 or narrower. Focus manually on the Moon’s surface using live view.
As the Moon’s brightness changes throughout the eclipse, you must adjust your shutter speed. You can capture the eclipse with an interesting landscape in the foreground or isolate the Moon’s details with a longer focal length.
Camera settings for lunar eclipse photography can be tricky. But with proper planning and technique, you can create stunning images of this rare celestial event.
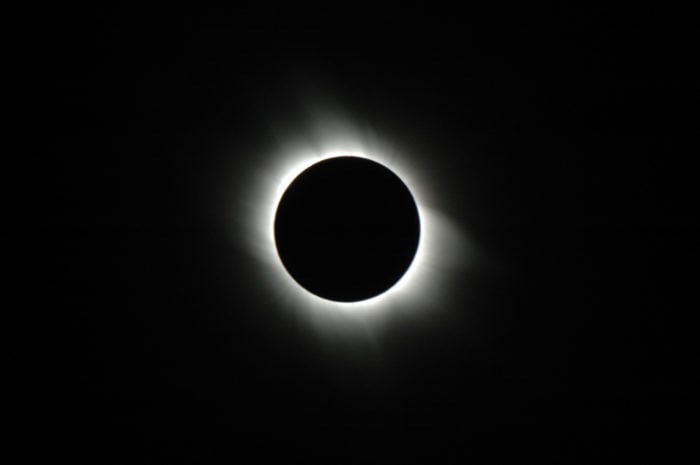
Solar Eclipse
A solar eclipse is a rare event that occurs when the Moon passes between the Earth and the Sun, blocking the Sun’s light. To photograph a solar eclipse, you need a camera with a long focal length lens, a tripod, and a solar filter to protect your camera’s sensor.
It’s important to scout your location in advance and set up well before the eclipse begins. During the eclipse, you want to capture the different phases. This includes the partial phases, Baily’s Beads, the Diamond Ring effect, and the solar corona during totality.
Adjust your camera settings throughout the eclipse. Use a fast shutter speed during the partial phases and a slower one during totality. Remember to remove your solar filter during totality to capture the corona’s detail.
Solar eclipses happen quickly, so it’s crucial to practice with your gear beforehand and have your camera set up and ready to go. Most importantly, don’t forget to take a moment to enjoy this incredible celestial event.
Check out our full guide to learn how to take photos of a solar eclipse.
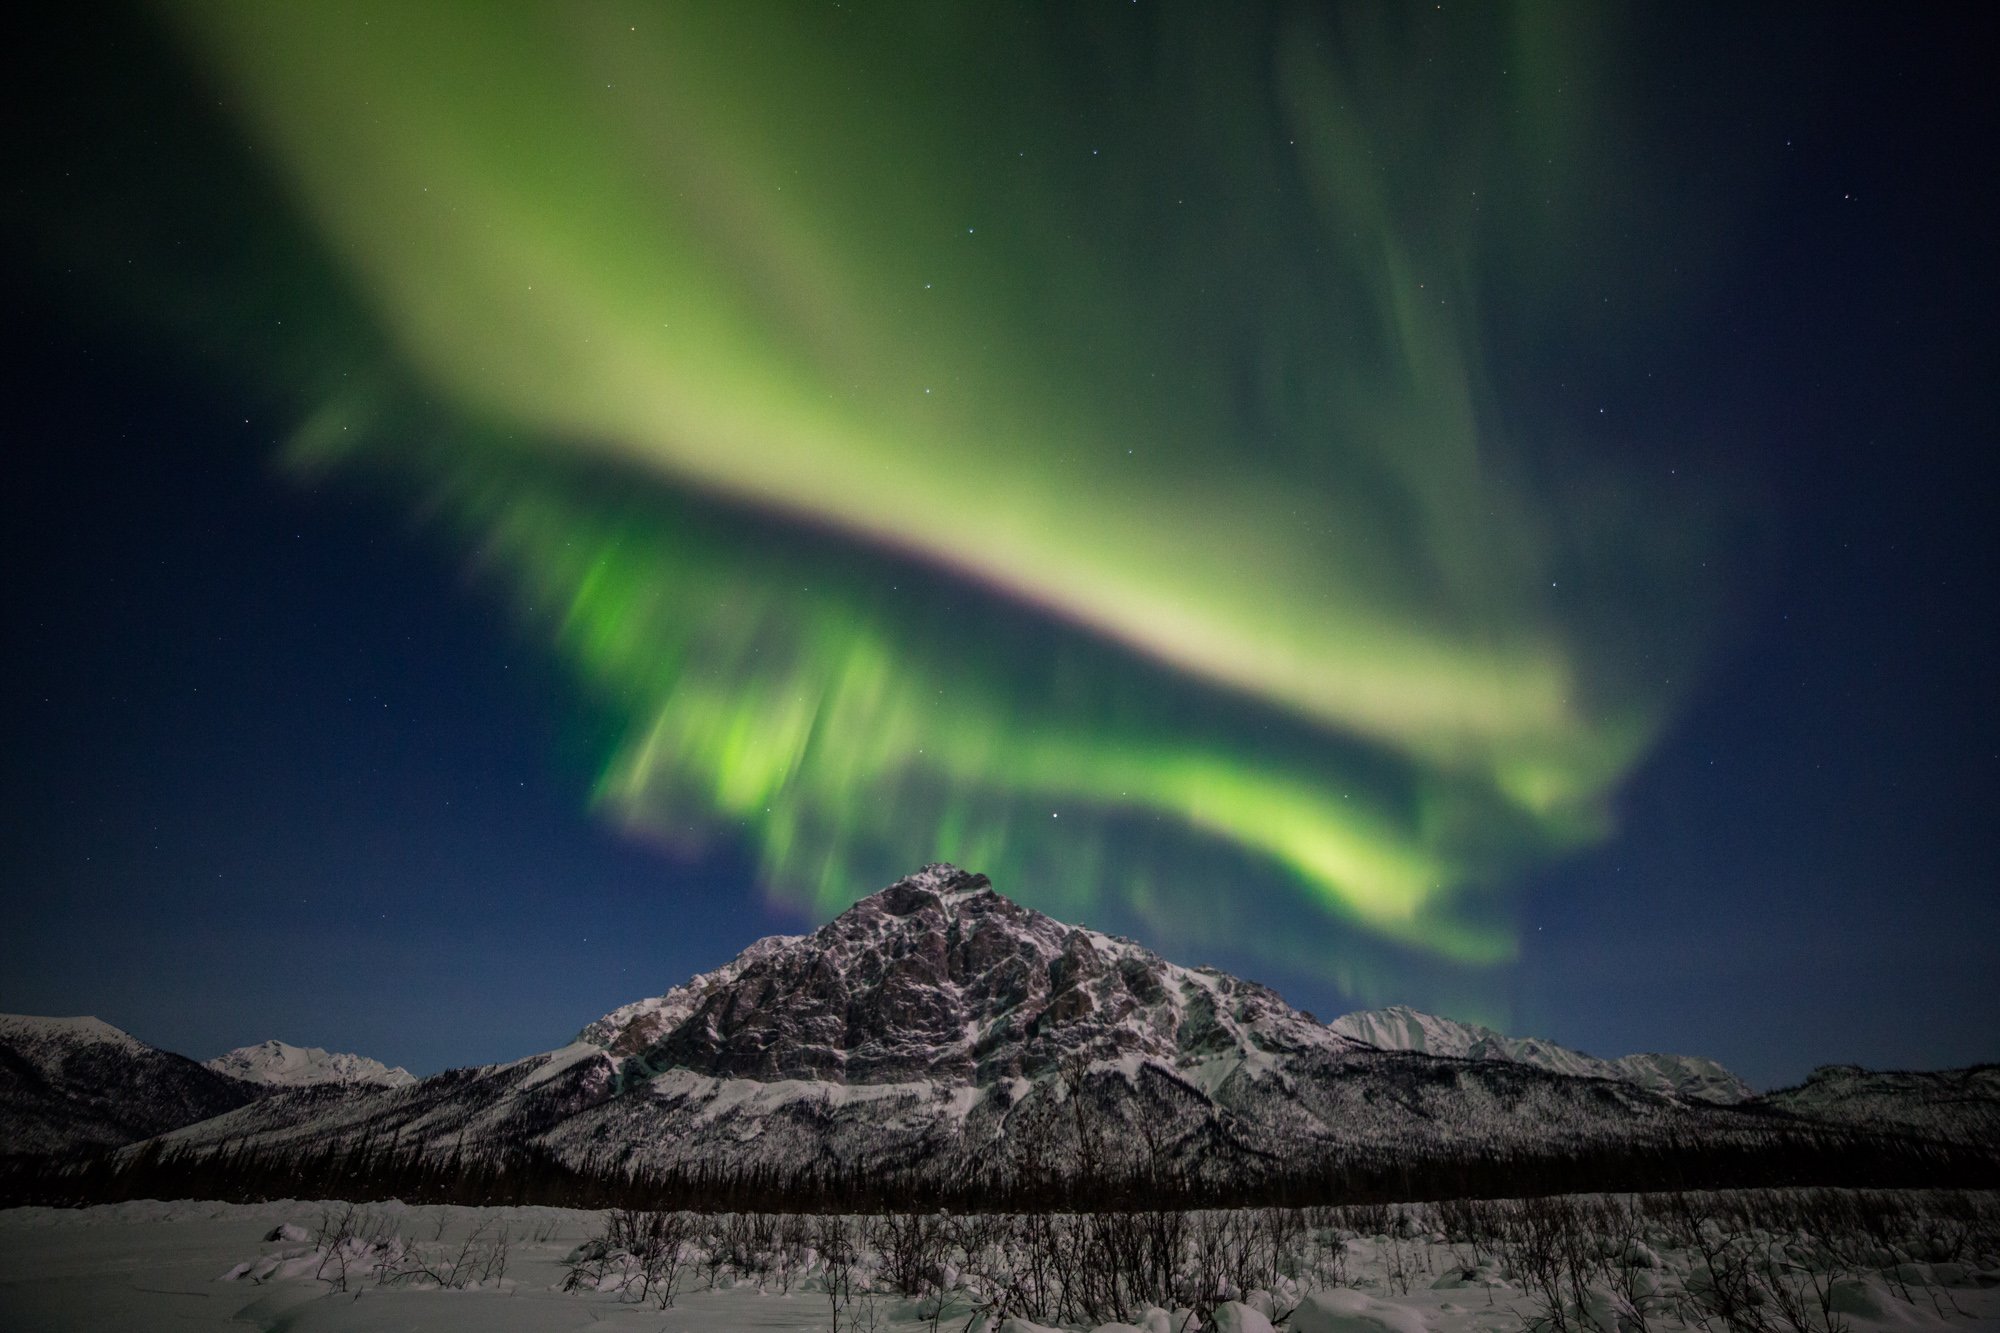
Northern Lights
Capturing the northern lights requires the right knowledge and gear. A sturdy tripod is essential to keep your camera steady during long exposures. Look for a camera with good low-light performance and the ability to change lenses.
Wide, fast lenses are ideal for aurora photography. Manual focus is necessary since autofocus won’t work well in the dark. A remote shutter release helps minimize camera shake.
Dress warmly in layers, including a thick coat, pants, mittens, and a hat. Don’t skimp on footwear—pack boots or mukluks are best for extreme cold. Being comfortable will help you shoot longer and get better images. For more tips on northern lights photography, check out our in-depth guide.
Night Landscapes
Night landscape photography can be challenging, but with the right knowledge, you’ll quickly get the hang of it. The most important things are to find a dark location away from city lights and to use a sturdy tripod. Use a wide, fast lens with manual focus and the option to attach filters.
Set your camera to manual mode and use the 500 rule to find the longest exposure time before the stars start to trail. Then, adjust your ISO to get good exposure. Don’t be afraid of high ISO settings like 3200 or above.
Compose your shot with an interesting foreground and use light from the Moon or light painting to make it visible. You can also shoot multiple exposures and blend them later in editing software. With practice, you’ll take stunning night landscape photos in no time!
Milky Way Photography Gear
To capture stunning Milky Way photos, you need the right gear. A full-frame camera is ideal for astrophotography, but even entry-level cameras can work well. Look for a camera with good high-ISO performance to minimize noise in low-light conditions.
The lens is the most important piece of equipment for Milky Way photography. An ultra-wide angle lens, such as a 14mm, allows longer exposures without star trails. A wide aperture, like f/2.8, is crucial for capturing as much light as possible.
A sturdy tripod is essential to keep your camera steady during long exposures. Adjustable legs and a ball head provide flexibility for positioning your camera.
Other helpful accessories include a headlamp with a red filter and an intervalometer for time-lapses. A camera remote to minimize camera shake is also a good idea.
Milky Way photography gear doesn’t have to be expensive. But investing in quality equipment can greatly improve results.
Cameras
When choosing a camera for astrophotography, low-light performance is key. Look for cameras with high ISO options and a wide dynamic range to capture the night sky in glorious detail.
Shooting in RAW format is a must for post-processing your images. Long exposure noise reduction helps minimize hot pixels caused by leaving the shutter open for extended periods.
Consider battery life, as long exposures and cold weather can quickly drain batteries. Research astro filters to find the best one that works with your camera and lenses. With the right camera for Milky Way photography, you’ll be ready to capture stunning images of the stars above.
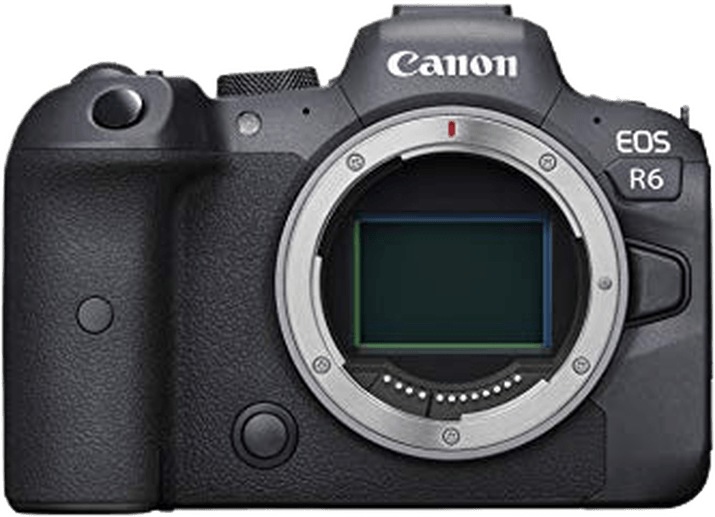
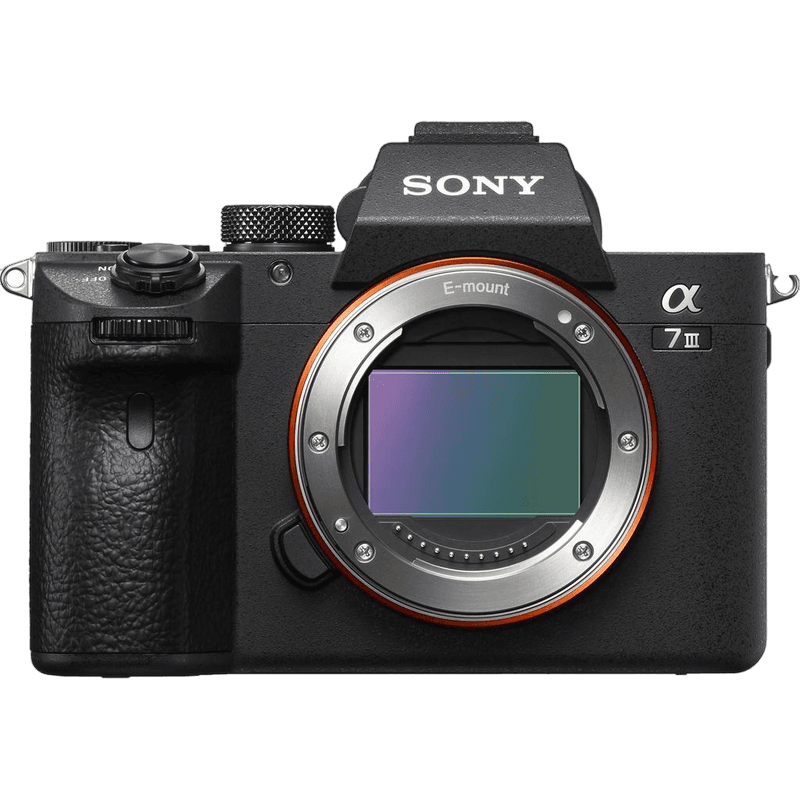
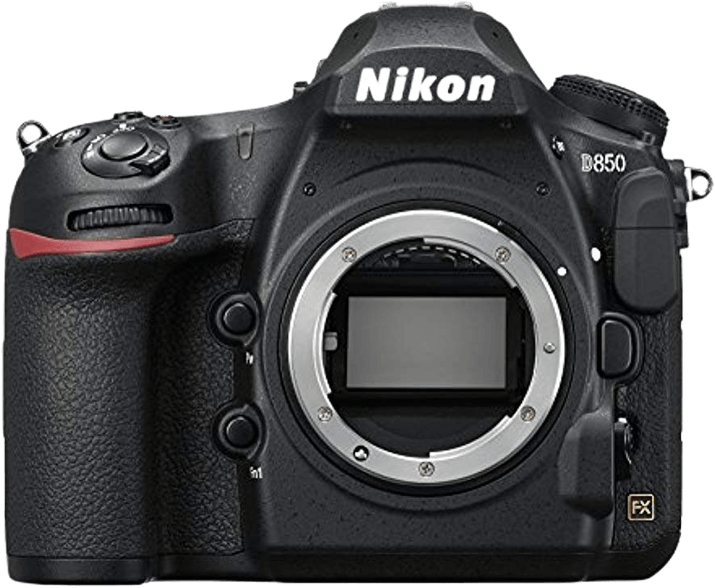
Our Topo 3 Cameras for Milky Way Photography
Milky Way Photography Lenses
When shooting the Milky Way, you need a wide-angle lens with a fast aperture. The best lenses have focal lengths between 14mm and 35mm. This range gives you a wide field of view to capture a big part of the night sky.
Look for lenses with a maximum aperture of f/2.8 or faster. The wider the aperture, the more light the lens lets in. This setting is essential for low-light photography.
Image stabilization is also beneficial. It helps you get sharper images when using slow shutter speeds. If you want to learn more about the best Milky Way photography lens, we have a detailed guide to help you find the perfect lens for capturing the stars.
Canon Lenses
The best Canon lenses for the night sky capture its beauty with wide angles and fast apertures.
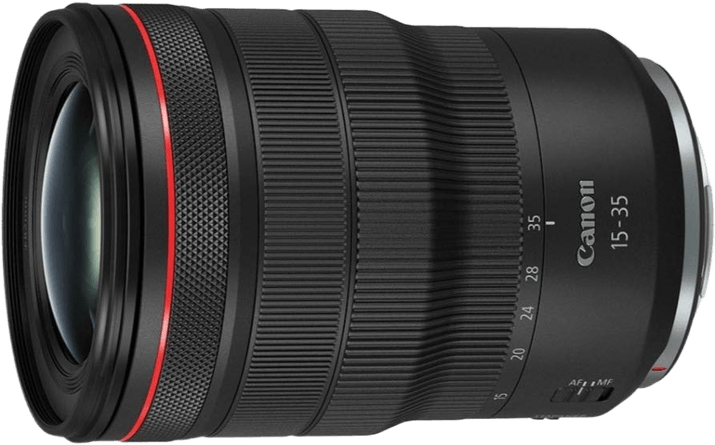
Our top pick is the Canon RF 15-35mm f/2.8L IS USM, perfect for Canon mirrorless cameras. Its constant f/2.8 aperture lets in lots of light, and the wide focal length is ideal for expansive shots of the Milky Way.
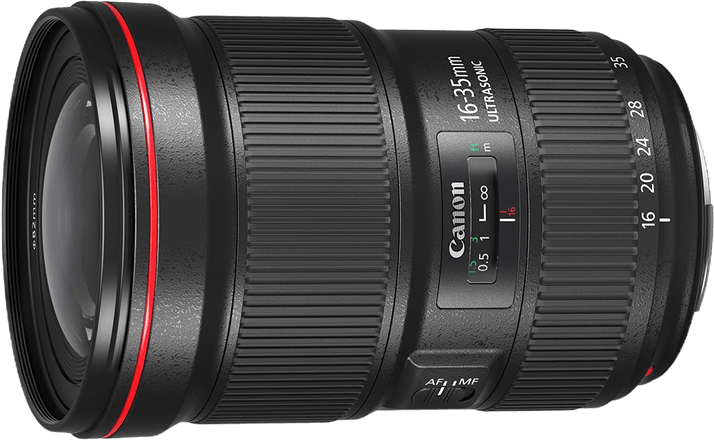
The EF 16-35mm f/2.8L III USM is great for Canon DSLRs. It’s sharp across the frame and has minimal distortion. The Sigma 14mm f/1.8 DG HSM | A is another excellent option, with an ultra-wide angle and an impressive f/1.8 aperture for low-light shooting.
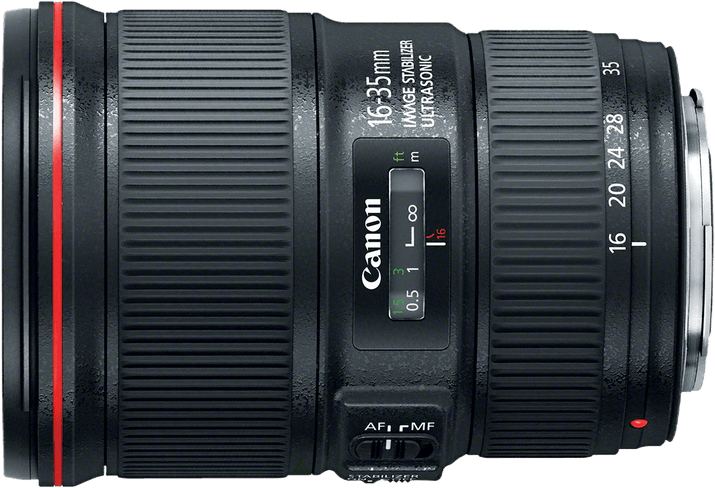
Other notable lenses include the EF 16-35mm f/4L IS USM, the EF 11-24mm f/4L USM, and the Samyang XP 14mm f/2.4. The EF-S 17-55mm f/2.8 IS USM is a versatile zoom with a fast aperture for APS-C cameras.
To learn more about Canon lenses for night sky photography, we have an in-depth guide that covers each lens in detail.
Our Top 3 Canon Lenses for Milky Way Photography
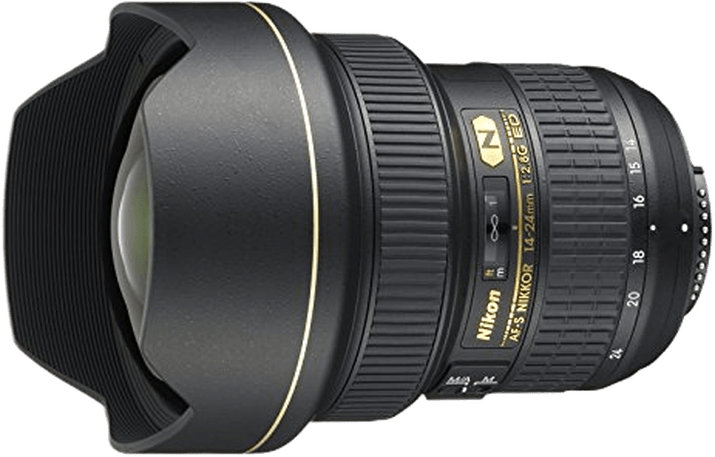
Nikon Lenses
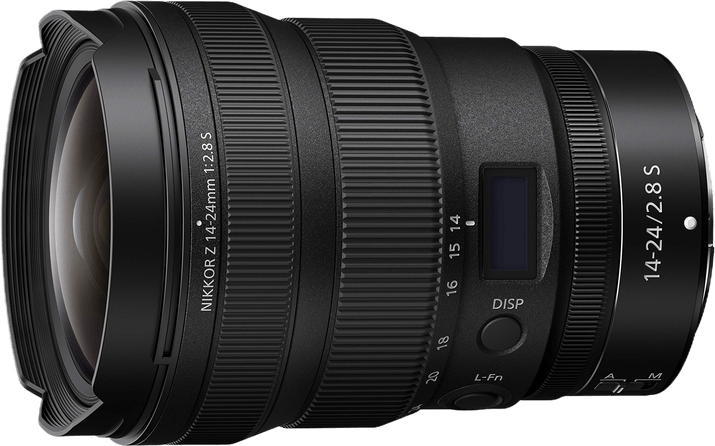
Capturing the Milky Way requires the best lenses for astrophotography. Nikon offers a range of options for both mirrorless and DSLR cameras. The Z 14-24mm f/2.8 S and AF-S 14-24mm f/2.8G ED are top choices, providing wide angles and fast apertures for low-light shooting.
Other great options include the Z 58mm f/0.95 S Noct for unmatched low-light performance and the Z 20mm f/1.8 S for a lightweight, wide-angle prime. The AF-S Fisheye 8-15mm f/3.5-4.5E ED adds a creative twist with its unique perspective.
No matter your camera type, Nikon has a lens to help you capture stunning night sky images. Nikon lenses for night sky photography offer exceptional sharpness. They also have wide apertures and versatile focal lengths to suit any celestial scene.
Our Top 2 Nikon Lenses for Milky Way Photography
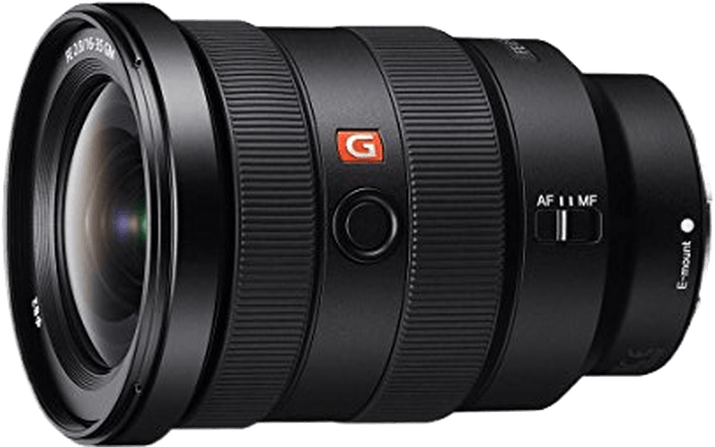
Sony Lenses
Milky Way photography enthusiasts know the importance of having the right lens to capture the vast beauty of the night sky. The best Sony lenses for night sky photography offer everything you need to capture stunning images of the galaxy around us.
Our top choice, the FE 16-35mm f/2.8 GM, earns its spot thanks to its versatility and sharpness. This lens lets in a lot of light—key for capturing faint details in the night sky. The zoom range from 16mm to 35mm offers flexibility in framing, from wide star fields to more focused sections of the sky.
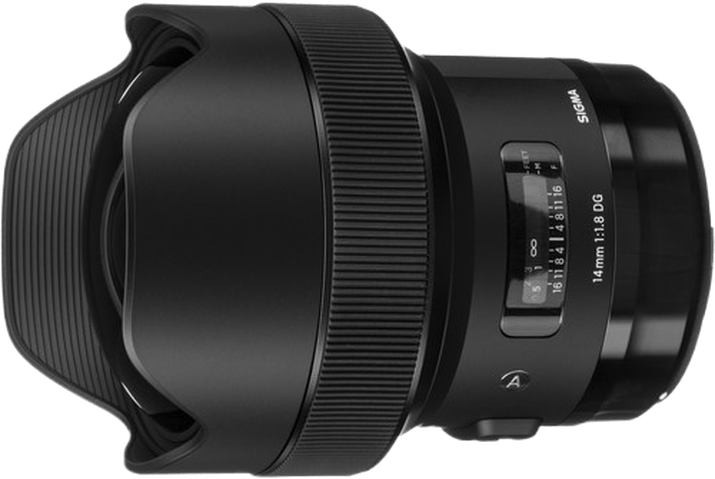
The Sigma 14mm f/1.8 DG HSM | A is another great choice for night sky photography. Its wide f/1.8 aperture and fixed 14mm focal length offer a broad view. It’s a perfect lens for capturing vast star fields or the Milky Way.
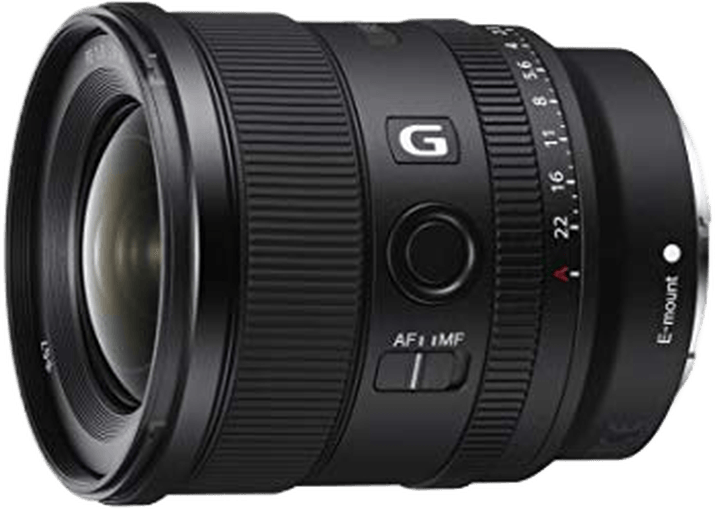
The FE 20mm f/1.8 G is a superb wide-angle prime lens. Its fast f/1.8 aperture and lightweight design make it easy to handle during long shooting sessions.
Learn more about the best Sony lenses for Milky Way photography. They will help you capture breathtaking images of the night sky.
Our Top 3 Sony Lenses for Milky Way Photography
Moon Photography Lenses
Capturing stunning lunar images requires the right lens. This type of photography has a different set of demands compared to shooting the Milky Way. A long focal length is essential for illuminating the Moon’s intricate details.
The Canon EF 100-400mm f/4.5-5.6L IS II USM is a top choice for Moon photography. Its impressive zoom range and superior sharpness make it ideal for capturing the lunar landscape. The lens also features effective image stabilization and weather-sealing for reliable performance.
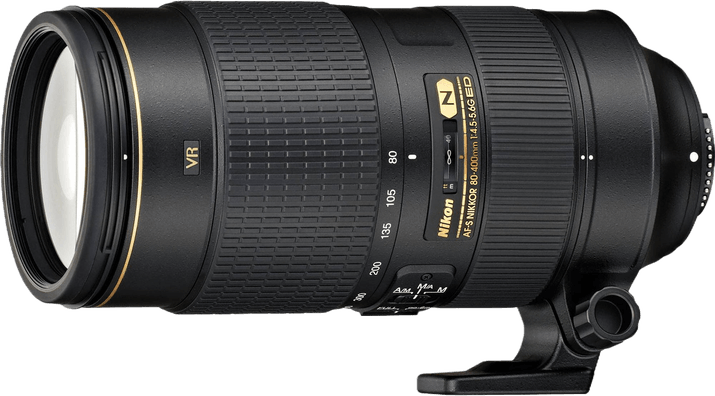
Other great options include the Canon RF 100-400mm f/5.6-8 IS USM for mirrorless cameras and the Nikon AF-S 80-400mm f/4.5-5.6G ED VR for Nikon DSLRs. These lenses offer similar benefits. They have long focal lengths, sharp optics, and helpful features like vibration reduction.
Check out our in-depth guide to learn more about the best lenses for Moon photography.
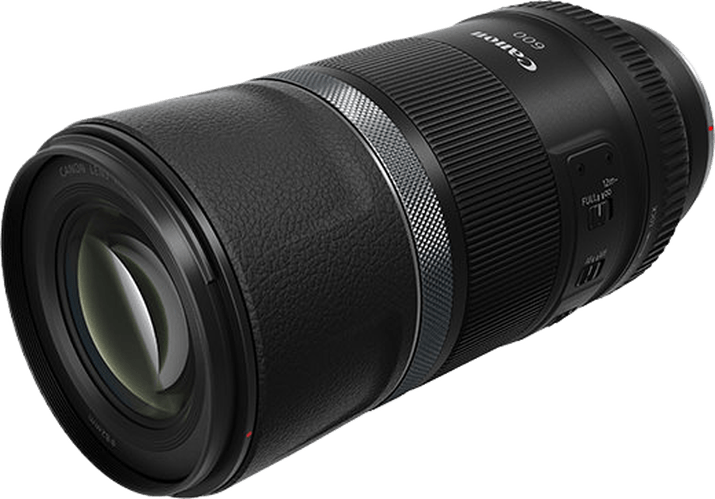
Canon Lenses
Capturing the Moon’s intricate details requires a lens with impressive reach and clarity. The Canon RF 600mm f/11 IS STM is a top choice for Moon photography, offering a long focal length and sharp images in a lightweight, collapsible design.
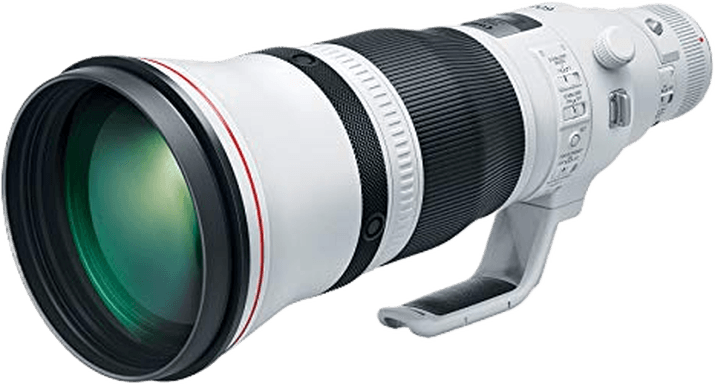
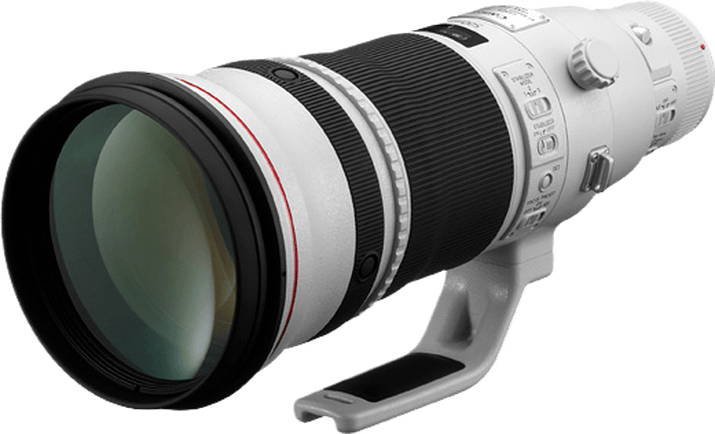
Other excellent options include the EF 600mm f/4L IS III USM. It’s known for its exceptional low-light performance and robust construction. The EF 500mm f/4L IS II USM delivers outstanding clarity and advanced stabilization for handheld shooting.
The versatile EF 70-200mm f/2.8L IS III USM zoom lens is also a good choice when paired with a teleconverter. The EF 400mm f/4 DO IS II USM stands out for its compact design and impressive sharpness.
To learn more about the best Canon lenses for Moon photography, check the options in our full list. It lists lenses with a range of focal lengths and features to suit different needs and budgets.
Our Top 3 Canon Lenses for Moon Photography
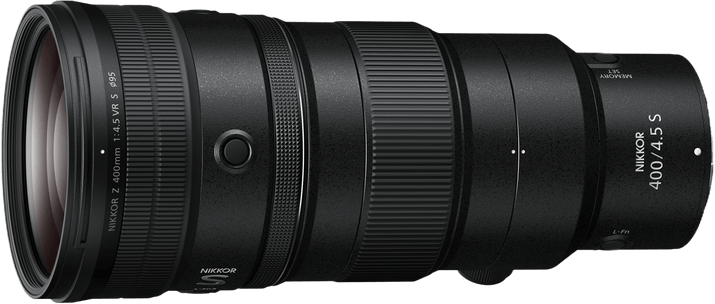
Nikon Lenses
Capturing the Moon’s details requires a lens that can handle the task. Nikon lenses are among the best options for Moon photography.
The Nikon Z 400mm f/4.5 VR S and Nikon AF-S 80-400mm f/4.5-5.6G ED VR stand out for their clarity and magnification. They help you shoot the Moon from your backyard.
These lenses reduce chromatic aberration and glare. This ensures the Moon’s surface is well-defined in your photos. They also offer quick autofocus and effective image stabilization for sharp, stable shots.
We have a detailed guide that covers the best Nikon lenses for moon photography. It also covers additional options for mirrorless and DSLR cameras.
Our Top 2 Nikon Lenses for Moon Photography
Sony Lenses
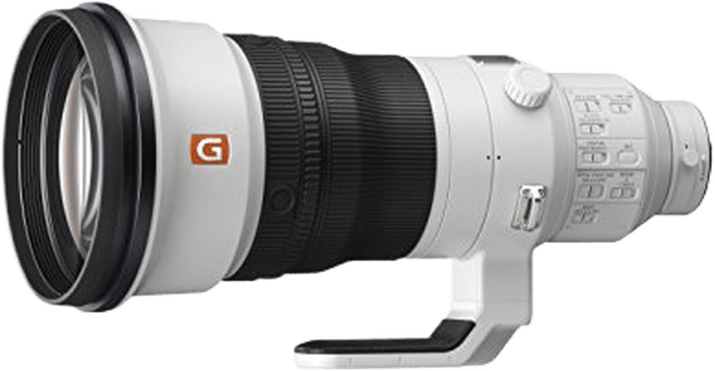
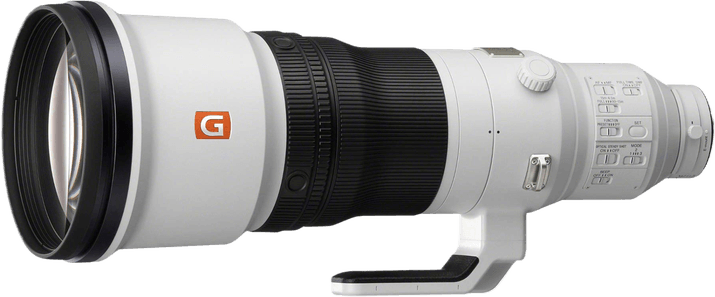
Having the right lens is essential when photographing the Moon. Sony offers several excellent options for capturing detailed lunar images.
The Sony FE 400mm f/2.8 GM OSS is a top choice, providing exceptional sharpness and clarity even when shooting wide open at f/2.8. Its lightweight design makes it easy to use handheld. And its weather-sealed construction ensures reliable performance in challenging outdoor conditions.
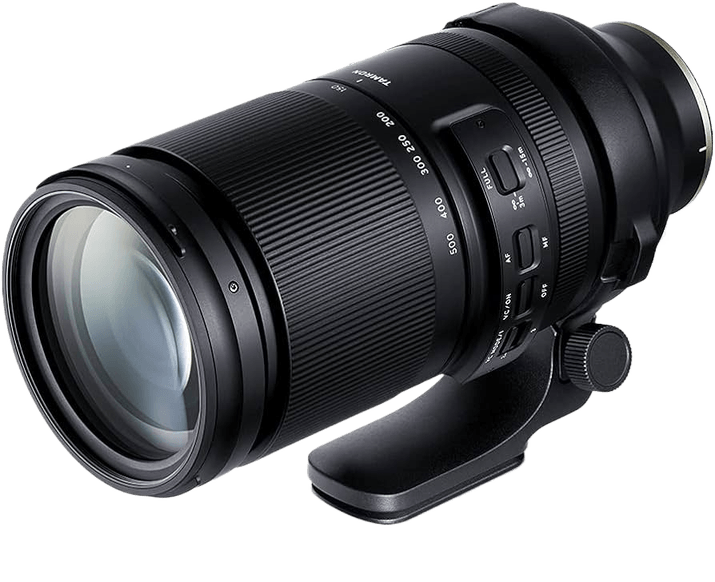
Other notable lenses include the FE 600mm f/4 GM OSS. It offers superior reach for wildlife and sports photography. And the versatile Tamron 150-500mm f/5-6.7 has a broad zoom range and effective vibration compensation for sharp handheld shots.
Ultimately, the best lens for your Moon photography depends on your specific needs and preferences. Explore our in-depth article to learn more about the Sony lenses for Moon photography mentioned here and other options.
Our Top 3 Sony Lenses for Moon Photography
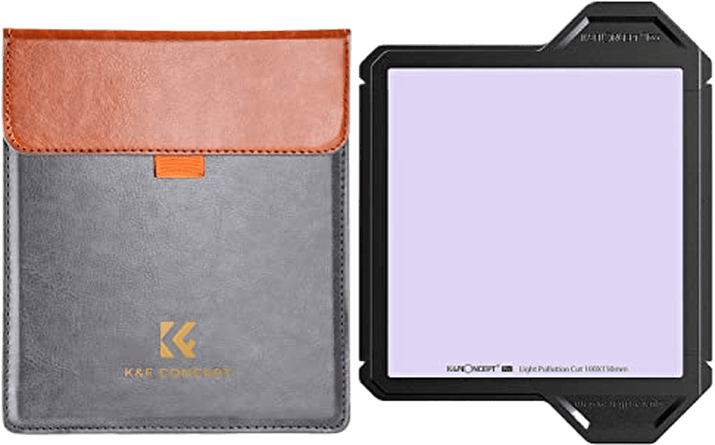
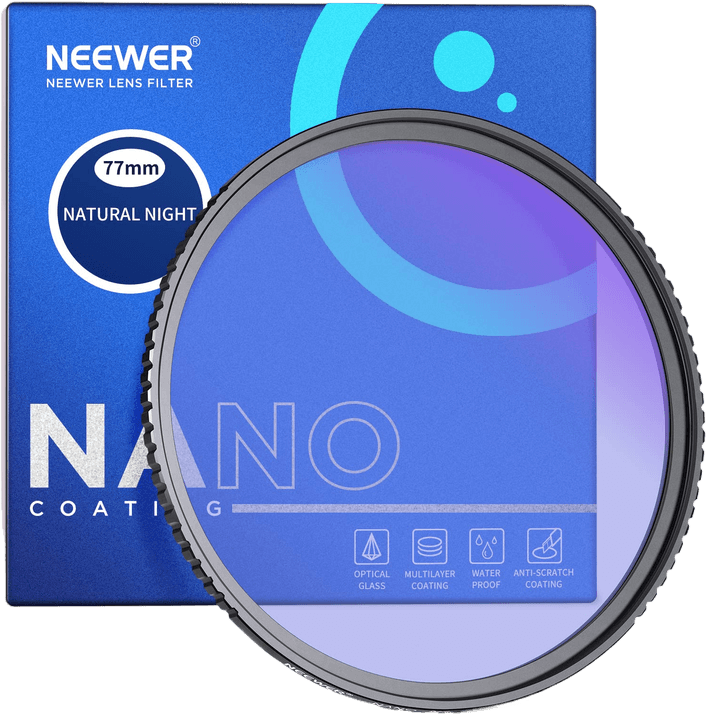
Light Pollution Filters
Light pollution filters are an essential camera accessory when shooting Milky Way photography. Having one is especially important if you live in an urban area.
Have you ever looked up at the stars from a city and seen nothing but an empty black sky? That’s because “pollution” from city lights overpowers the light from distant stars.
The obscured view means we can’t see the stars in the sky. It’s a big problem if you want to shoot night sky photography from a built-up area.
Light pollution filters, also known as broadband light filters, help resolve this problem. They block out light transmitted from artificial sources like street lamps. So, only natural light, like that from stars, passes through your lens and into the camera.
They are worth using even if you have a remote location from which to shoot. Using a filter gives you cleaner, sharper shots of the stars in the sky. Find out more and see all the best light pollution filters in our full article.
The Best Light Pollution Filters for Milky Way Photography

Apps and Software
Milky Way photography doesn’t stop when you’ve turned off your camera after a shoot. Using photo editing software, you can enhance your night sky images, bringing out more detail and energizing colors.
You can also use software to stitch together multiple exposures for super-powered Milky Way images.
This section reviews the best smartphone apps for capturing night sky shots with your iPhone or Android. We also cover specialist night sky photography software to help you get the best possible images.
Smartphone Apps
Having the right apps for Milky Way photography can make capturing stunning images of the galaxy much easier. These apps help you find the best weather, location, stars, and timing for breathtaking shots.
Some top apps are Stellarium Mobile for locating the Milky Way and The Photographer’s Ephemeris for visualizing how it looks in any spot. The Weather Channel app provides accurate forecasts. PhotoPills is also great for planning shoots because of its AR feature and calculators.
Other helpful apps are Sol for tracking light phases, GoSkyWatch for following the Milky Way, and SkySafari for star maps. With these tools, you can capture amazing Milky Way photos. Check out our in-depth guide for more about the best Milky Way apps.

Software
Astrophotography requires specialized software to process your photos and bring out the best in them. Adobe Lightroom and Photoshop are popular choices for astrophotographers. They offer a rich ecosystem of third-party add-ons and extensions to speed up your workflow.
Lightroom presets can help balance your images and boost details and colors in the sky. Photoshop actions automate complex editing tasks. They help remove light pollution, reduce halos, and sharpen. Plugins like GradientXterminator can correct gradients in just a few clicks.
Extension panels pack even more features into Photoshop. Orionh Plus is a comprehensive panel with tools for the Milky Way, star trails, and deep sky editing. If you want to learn more about astrophotography software, read our full article.
Adobe Software for Milky Way Photography


StarStax
StarStax is a free, user-friendly software for creating star trail photos. It simplifies the process of combining multiple exposures into a single image. StarStax supports JPG, PNG, and TIFF formats, so you must convert your RAW files first.
Once your images are loaded, you can easily select the ones you want to use. StarStax offers various blending modes. But for star trails, you want to use either Lighten or Gap Filling. These modes compare the images and choose the brightest pixel at each location, creating the trails.
If you notice small gaps in your star trails, the Gap Filling mode can help. Adjust the Threshold and Amount sliders to smooth out the trails without affecting the darker areas of the image.
When you’re happy with the result, save your final image as a JPEG or TIFF for further editing in other software. Our full StarStax review is a great resource for creating stunning star trails.
Editing Milky Way Images
Editing Milky Way photos is different from editing regular landscape photos. You’ll make adjustments to sliders that you wouldn’t normally use. But the principles of editing remain the same.
Start with a graduated filter for color correction. Then, adjust the white balance and tint sliders to make the sky bluer. Increase the highlights and whites to make the stars brighter. Use the shadows slider to darken the image while keeping the stars bright.
Increase clarity and sharpening to reveal more detail in the stars and galaxies. Reduce noise to improve picture quality. Adjust the color saturation sliders to remove orange or yellow glows and enhance blues and purples.
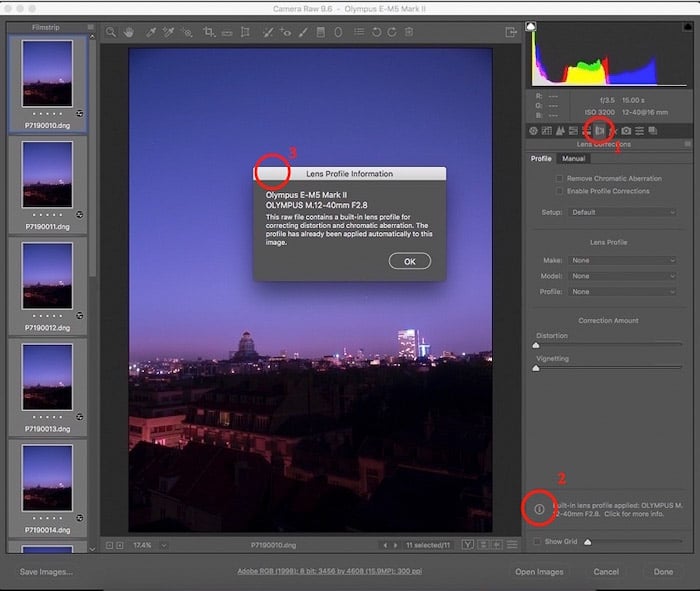
You can also use lens correction to remove barrel distortion and make the photo look more natural. Finally, the dehaze tool is great for removing haze and making the sky darker.
If you’d like to learn more about editing Milky Way photos, we have a detailed guide that covers everything you need to know.
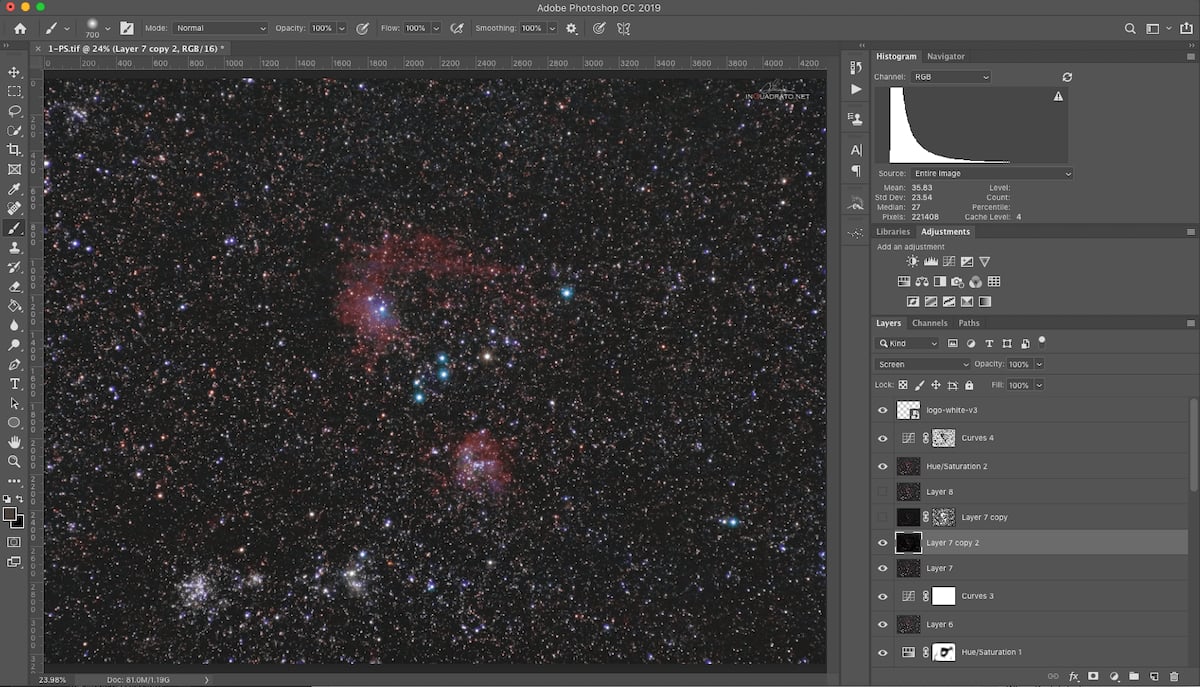
Photoshop Tips
Photoshop is one of the best editing programs for enhancing Milky Way photography. It’s a big software suite with many functions, so it can be daunting if you’re a beginner. But our tips help you achieve the best night sky results with Photoshop.
The eyedropper tool fixes noisy or uneven backgrounds by sampling an empty sky area. Add a new layer filled with this color and some artificial noise, then blend it with the original image using the lighten mode.
The Gradient Xterminator plugin is a must to remove luminosity gradients caused by light pollution or moonlight. Select the area to preserve and let the plugin even out the rest.
Achieve more natural colors by using a white balance adjustment layer. Adjust the sliders while monitoring the color channel histogram, leaving a bit of blue and red visible on the edges of the main peak.
Reduce chromatic aberration in Camera Raw by first duplicating the layer. Then, apply a mild Gaussian blur and blend it using color mode.
For a final pop, duplicate the image and remove small stars with the Dust & Scratches filter. Then, blur it, push the black point in Levels, and blend it back using the screen mode.
Learn astrophotography Photoshop techniques like these to take your images to the next level!
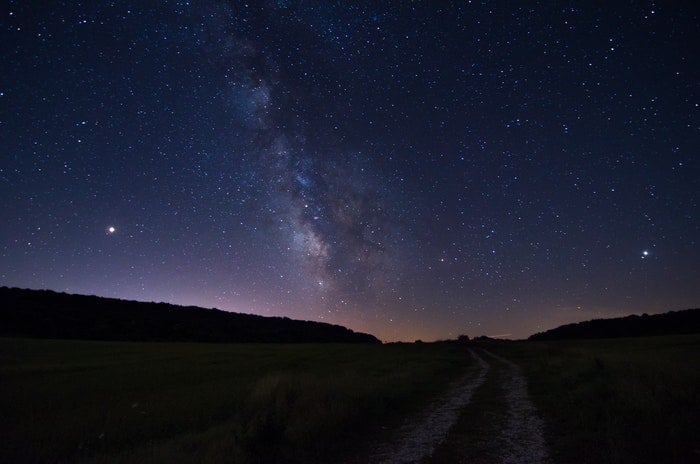
Inspirational Night Photographers
Night photography captures the world’s magic after dark, from serene moonlit landscapes to neon-lit city streets. These 30 influential photographers showcase the beauty and mystery of the night.
Paul Zizka and Rachel Jones Ross create stunning astrophotography. Liam Wong and Emmanuel Coveney transport us to cinematic, dream-like cityscapes. Tobias Baumgaertner reveals the night world of wildlife. And Anat Seem invites us into an innocent realm inhabited by fairies and magic.
These photographers use the night as a backdrop for their unique visions. They remind us of the transformative power of darkness and its endless possibilities.
Explore these night photographers’ captivating portfolios. And be inspired to capture your own night magic!
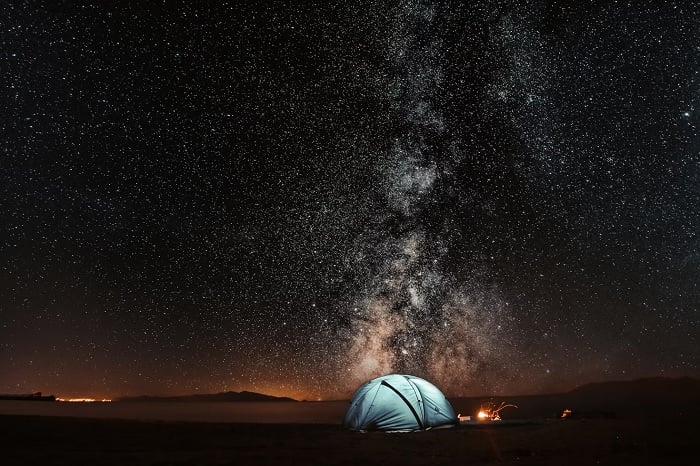
© Denis Degioanni
- Learn to plan shots with optimal light, weather, and Moon conditions.
- Discover the precise settings for stunning shots with any gear.
- Master simple editing techniques to enhance your night sky images.