To open a RAW file in GIMP, use a RAW processor such as RawTherapee to develop the photo first. GIMP's RAW importer can launch RawTherapee and bring the processed image back into GIMP. If that connection does not work, save a 16-bit TIFF from RawTherapee and open the TIFF in GIMP.
Below, we cover the free RawTherapee workflow and an alternative for photographers who already use Lightroom Classic. In both cases, GIMP receives a developed image for further editing. Keep your original RAW file so you can return to the sensor data later.
The screenshots are from the article's June 2024 workflow. They show older interfaces; menu labels and dialogs can differ in current releases.
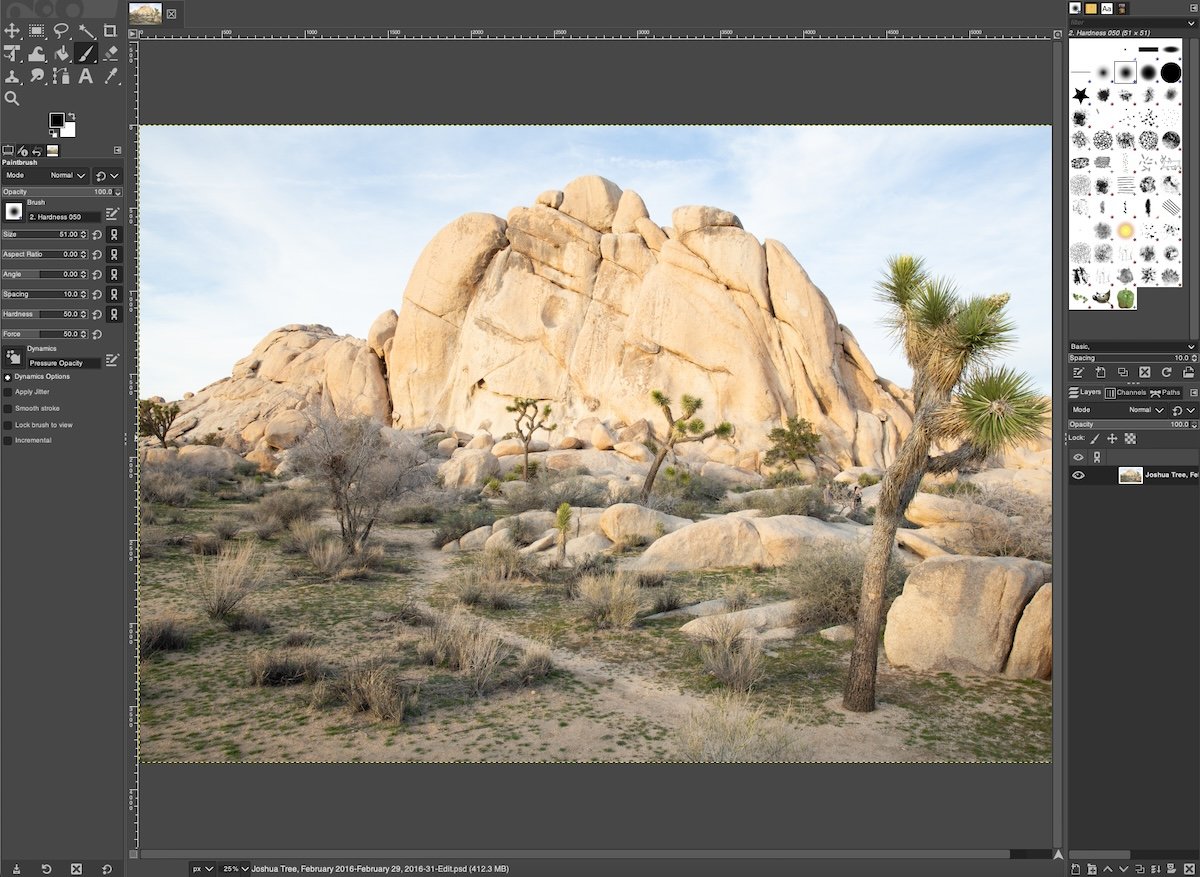
What is GIMP?
GIMP is a free, open-source image editor for Windows, macOS, and Linux. It is an alternative to Adobe Photoshop for work such as retouching, layers, and combining photographs.
RAW files need development before you can edit their pixels in GIMP. The RAW processor handles adjustments such as white balance and exposure, then passes a rendered image to GIMP. This conversion does not preserve every possible RAW adjustment in the resulting TIFF.
GIMP's Image Import and Export preferences list the available RAW importers. The manual names RawTherapee and darktable as common options. This guide uses RawTherapee; Lightroom Classic uses the separate external-editor route described below.
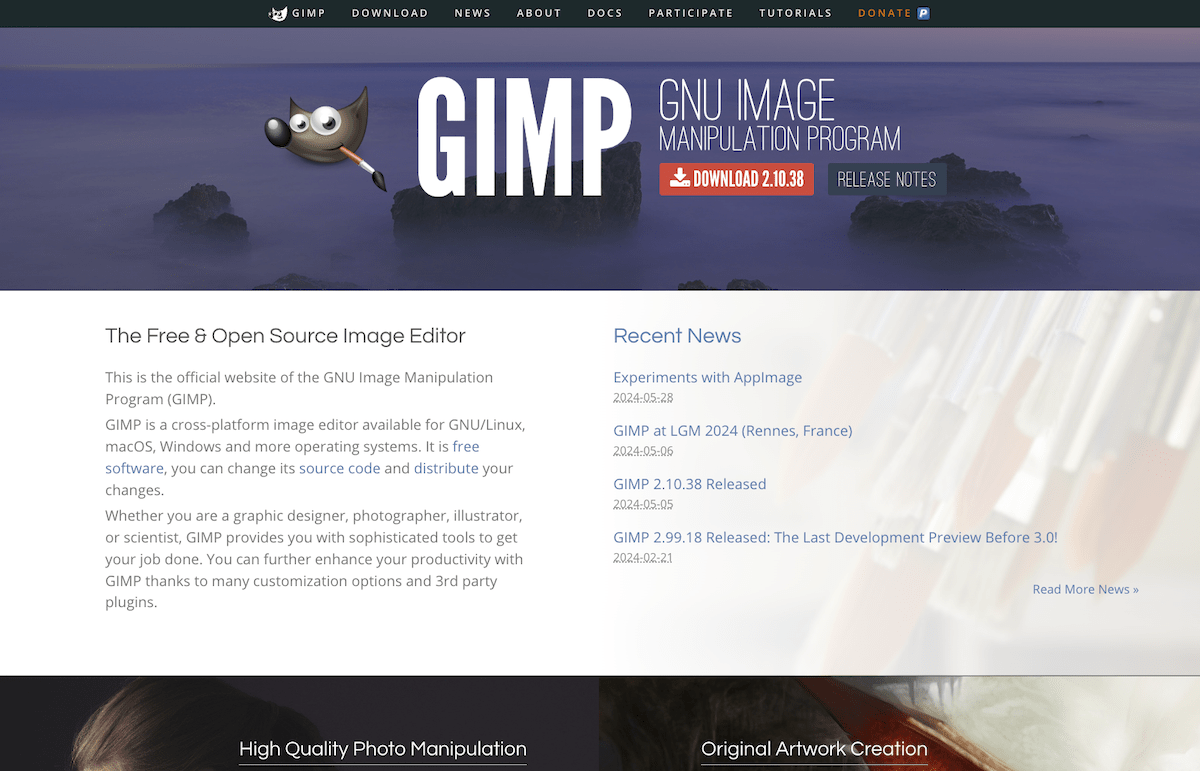
Open a RAW File in GIMP Using RawTherapee
RawTherapee is a free RAW processor. You can start in RawTherapee to browse and develop your photographs, or start in GIMP if its RawTherapee importer is available.
1. Download RawTherapee
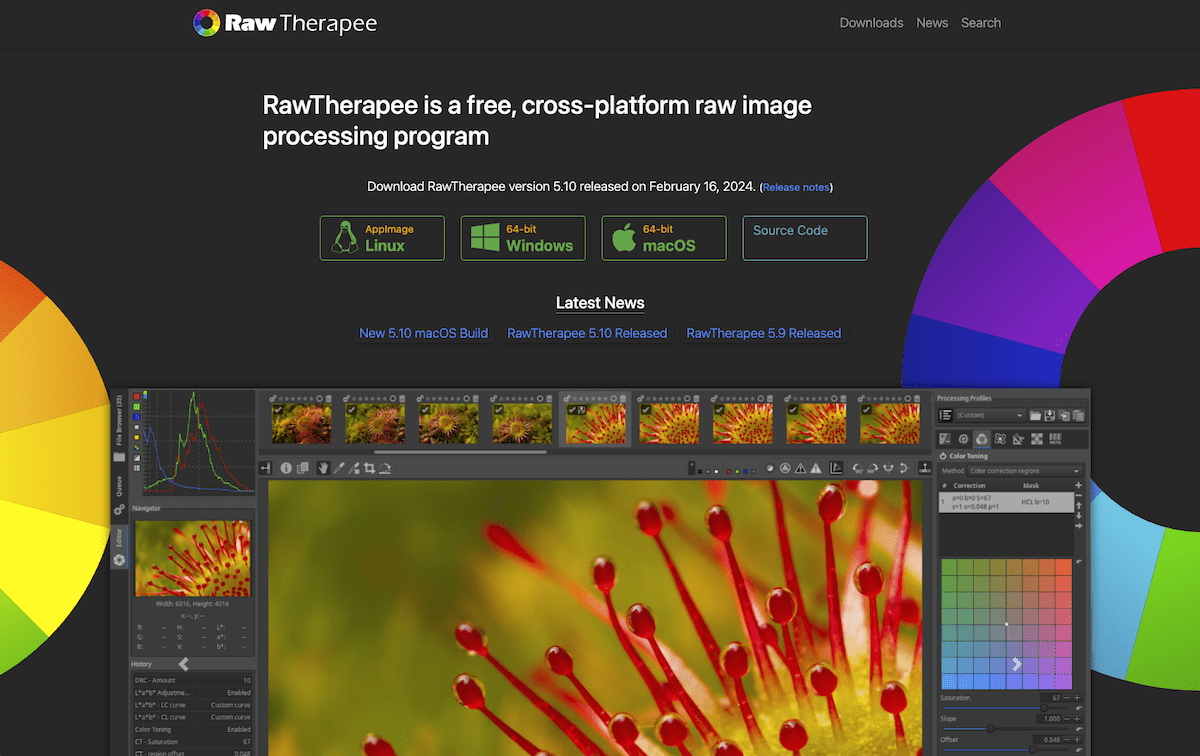
You can download RawTherapee here. Choose a build for your operating system; the project provides downloads for Windows, macOS, and Linux.
Install RawTherapee, then restart GIMP before checking its RAW importer. The two applications must be able to find each other. RawPedia's plug-in documentation describes automatic opening from GIMP and notes that RawTherapee must be discoverable through the system's executable search path.
2. Browse and Develop Your RAW File
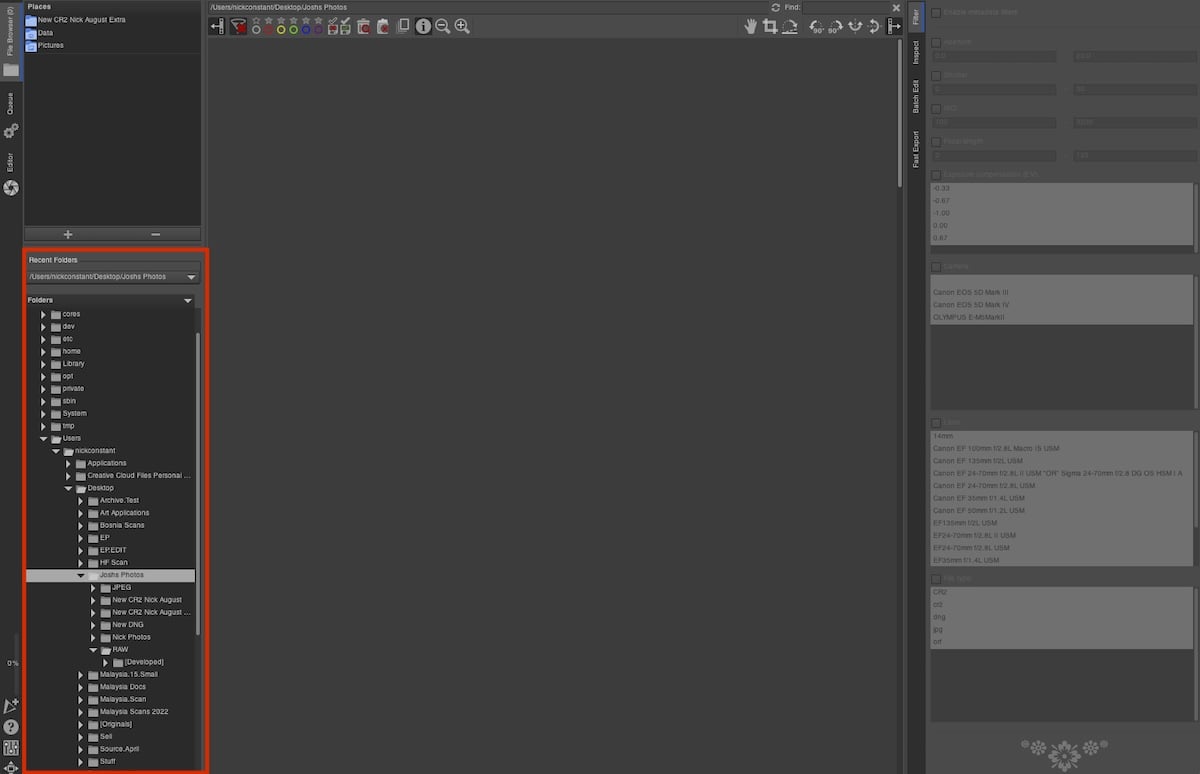
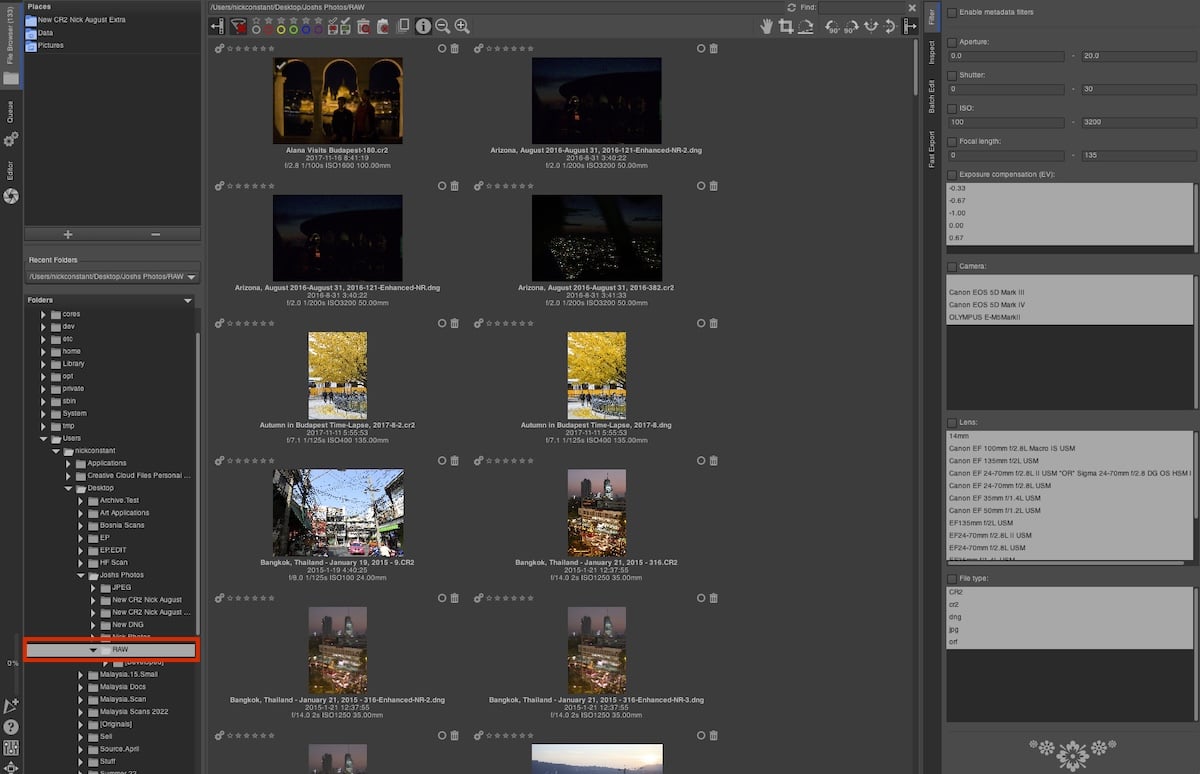
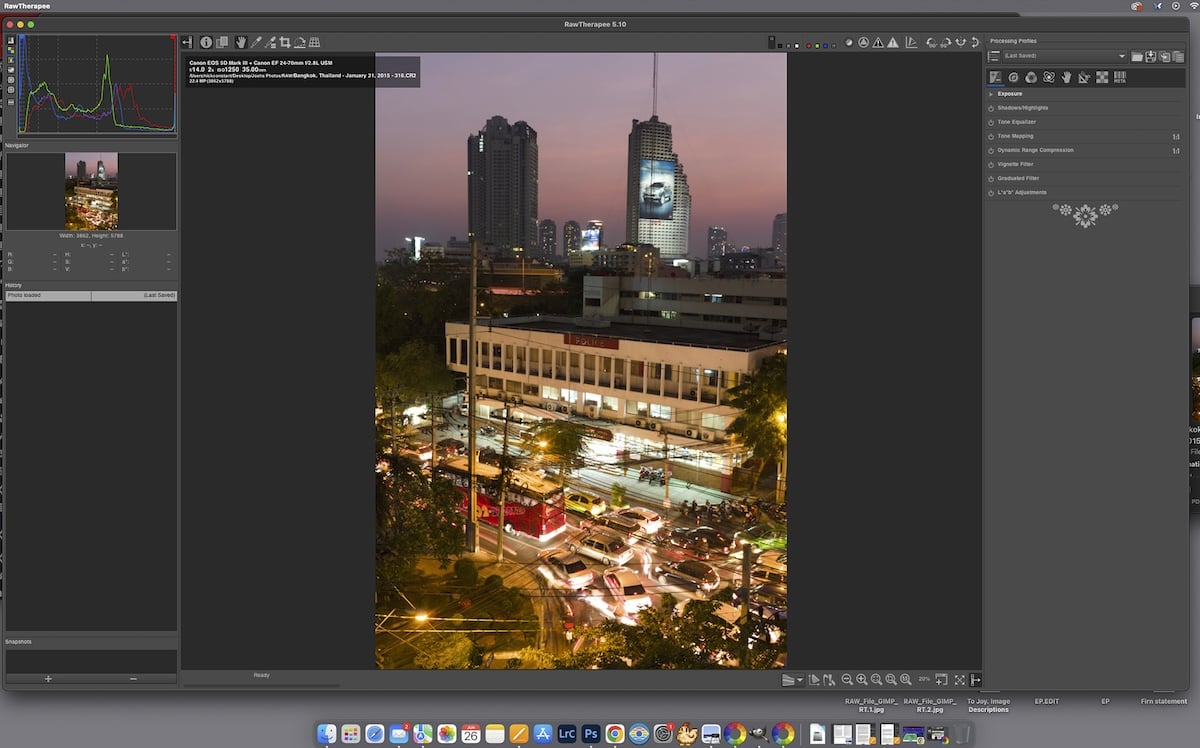
Open RawTherapee's File Browser and use the folder tree to find your photographs. Double-click the folder, then double-click a photo to open it in the Editor. RawTherapee browses existing folders rather than importing the photos into a catalogue.
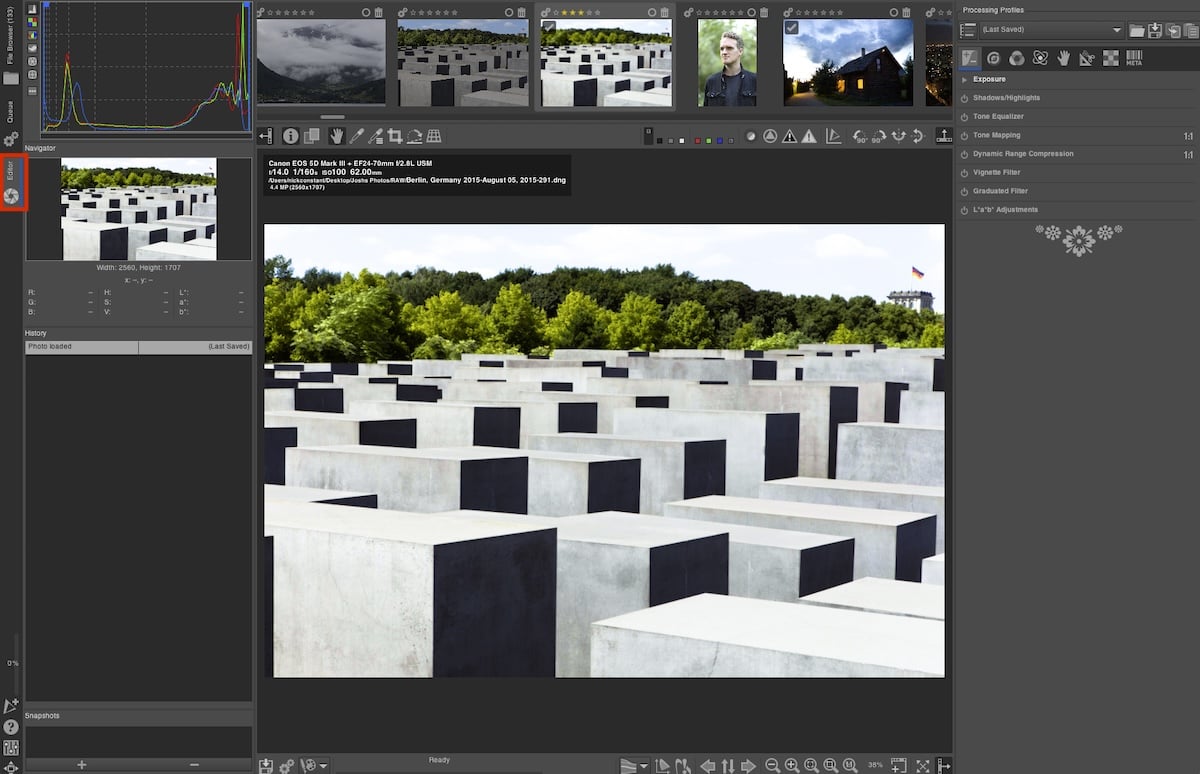
Adjust white balance, exposure, and any highlight recovery you need before sending the image to GIMP. Check the result in the preview. RawPedia's getting-started guide explains this RAW development stage.
The gallery below shows the older File Browser and Editor layout. If you start by opening the RAW file from GIMP, you can make these adjustments in the RawTherapee window that the importer opens.
3. Open the Developed Image in GIMP
For the importer route, open GIMP's Preferences and go to Image Import and Export. Under Raw Image Importer, choose RawTherapee if it appears. Then use File > Open to select your RAW file.
RawTherapee should open so you can adjust the image. When you finish, close that editor window; the importer brings the processed image into GIMP. This closing step applies to RawTherapee running through the GIMP importer. Closing an ordinary standalone RawTherapee session does not, by itself, send a photo to GIMP.
For the standalone route, use RawTherapee's external-editor button at the bottom left of the preview. Select GIMP from its application list, or configure it under Preferences > External Editor. RawTherapee processes the photo and sends a temporary 16-bit TIFF to the chosen application.
If neither connection works, use RawTherapee's Save current image control to save a 16-bit TIFF in a folder you can find. Open that file with File > Open in GIMP. RawPedia documents the save options, including output format, bit depth, and location.
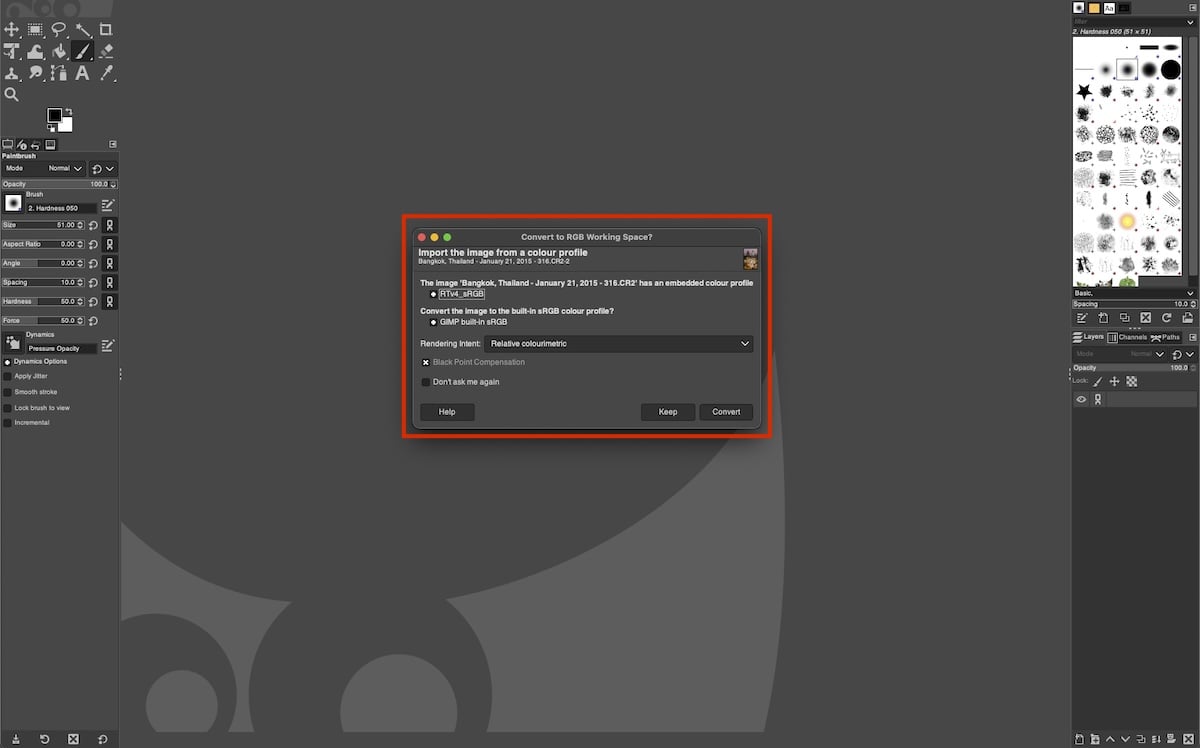
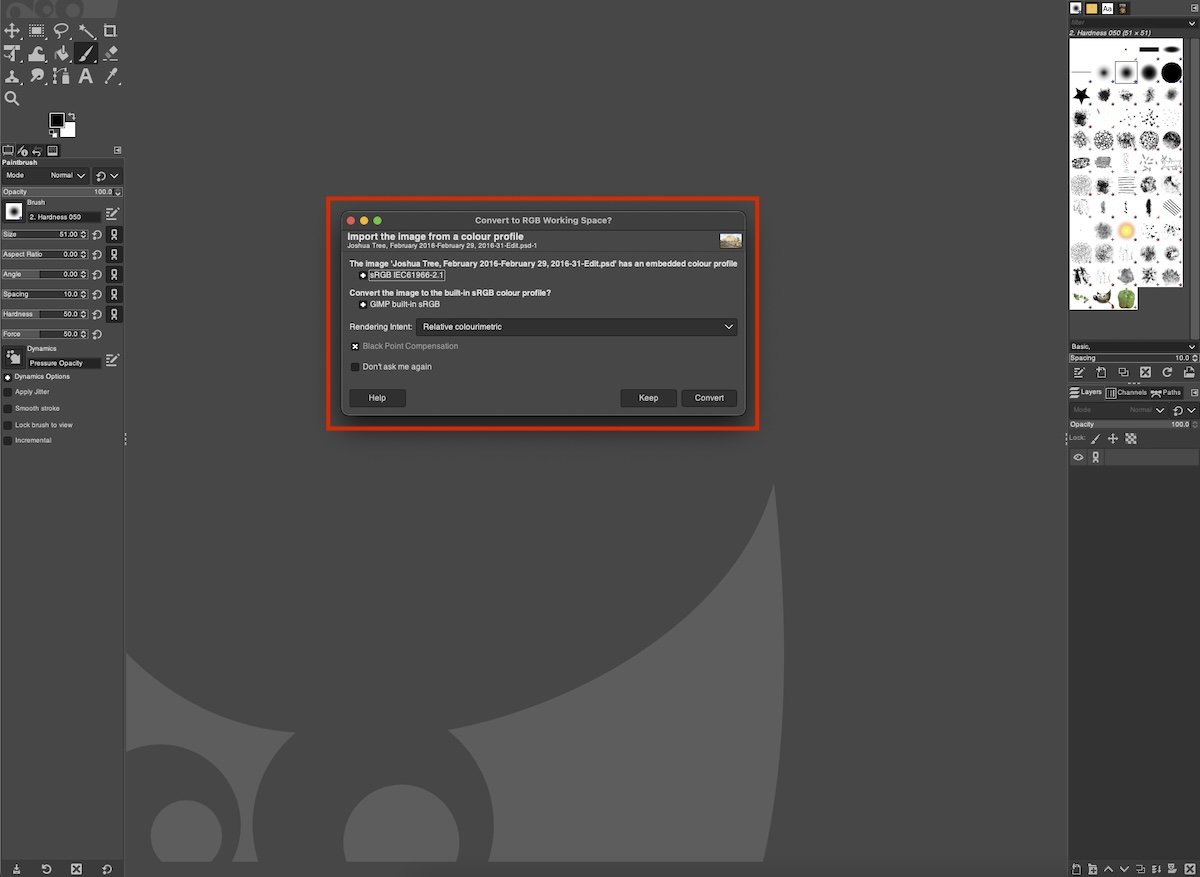
GIMP may ask whether to keep or convert an embedded color profile. That depends on your color-management preferences; it is not a required conversion on every transfer. Keep the embedded profile if you want to continue in that color space.
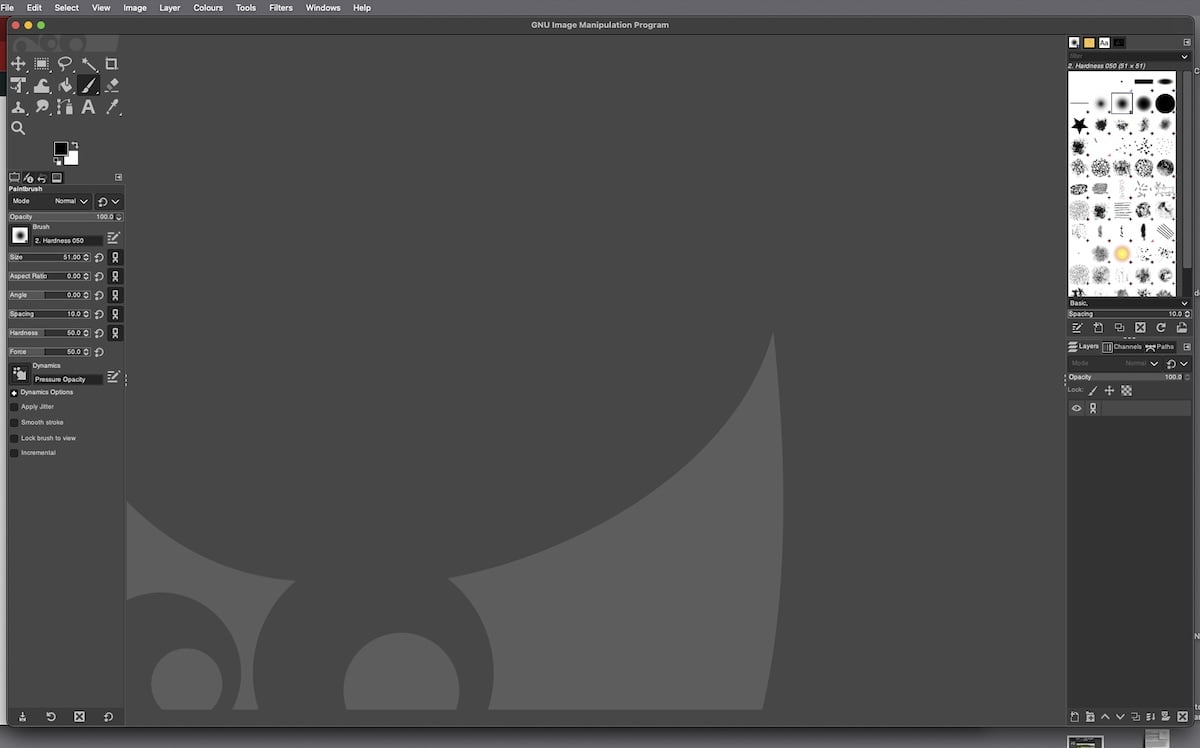
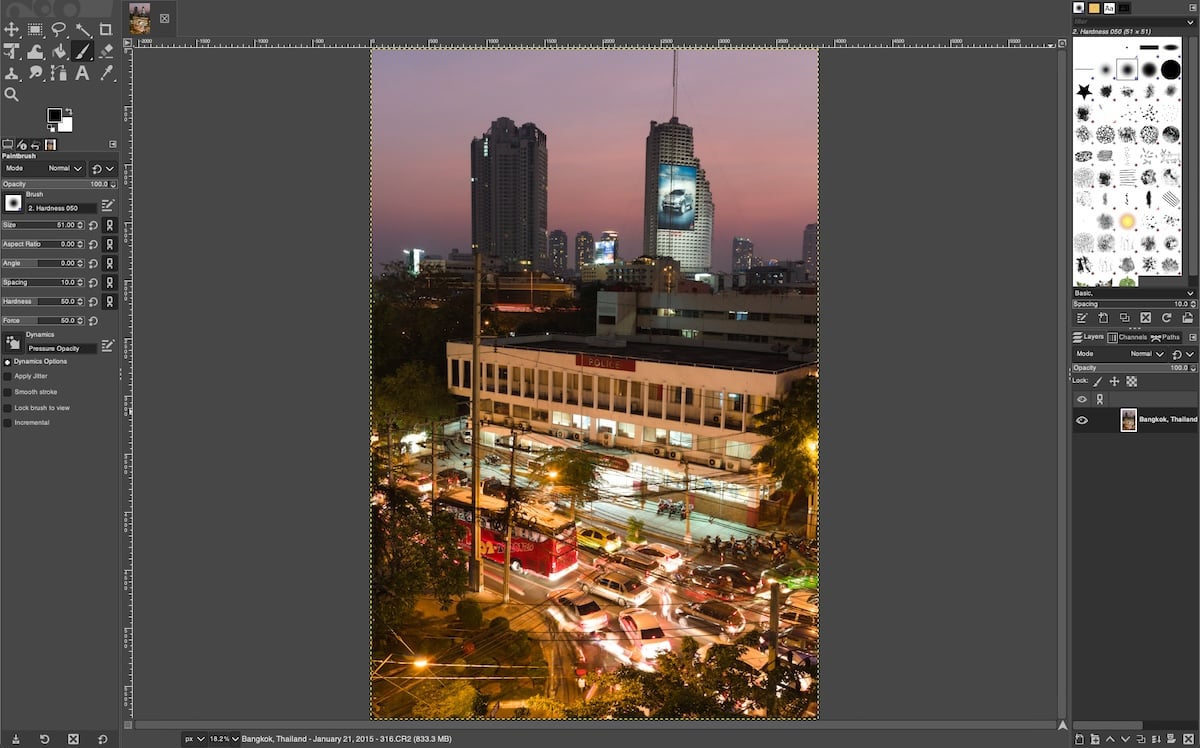
The gallery below shows the older importer workflow and a color-profile dialog. The final screenshot shows the developed image in GIMP, rather than editable RAW sensor data.
Open a RAW File in GIMP Using Lightroom Classic
If you already use Lightroom Classic, you can develop your RAW photo there and send a TIFF to GIMP. GIMP acts as an additional external editor. These Preferences and Library/Develop steps refer to Lightroom Classic.
1. Check Your Lightroom Classic Installation
Adobe Lightroom is a paid application. For this workflow, check that you have access to Lightroom Classic before you install it. Do not assume that every Lightroom subscription includes the same desktop applications.
The Adobe website screenshot below is from June 2024. It shows historical offers, not current plan terms.

2. Import and Develop Your Photo
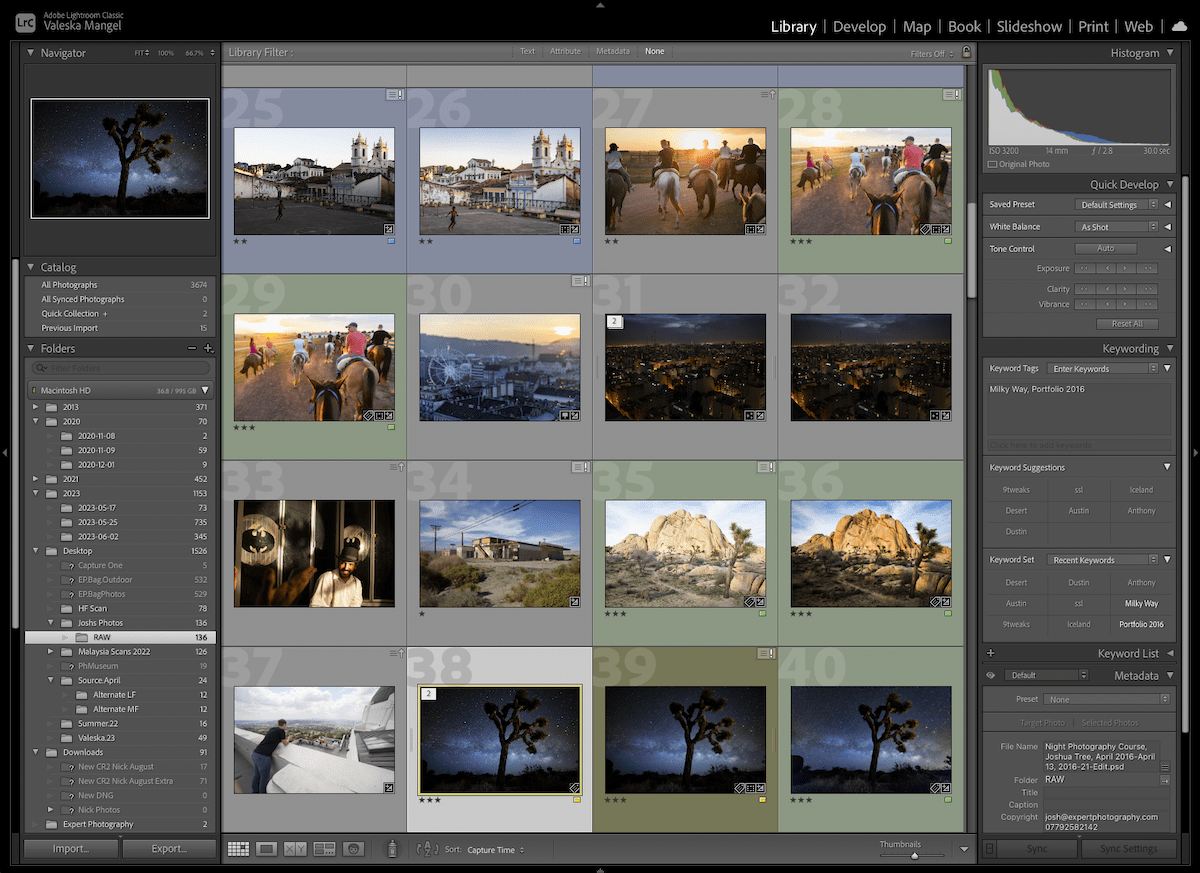
In Lightroom Classic, use Import to select the photographs from your camera card or computer folder. Check the source and destination before you confirm the import. If the photo is already in your catalogue, select it there.
Open the Develop module and make your RAW adjustments before the transfer. The file sent to GIMP will include those adjustments in its rendered pixels.
Import your images into Lightroom Classic
3. Set GIMP as an External Editor
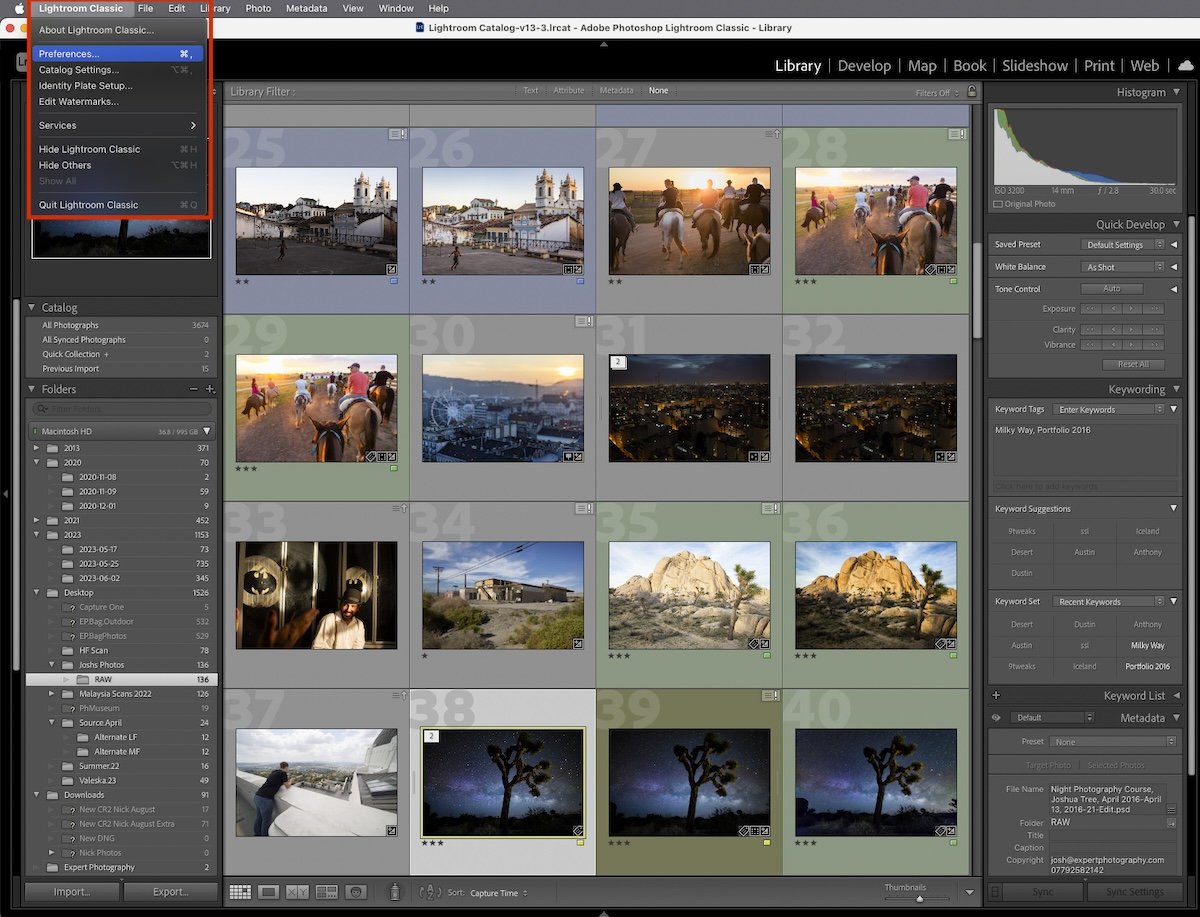
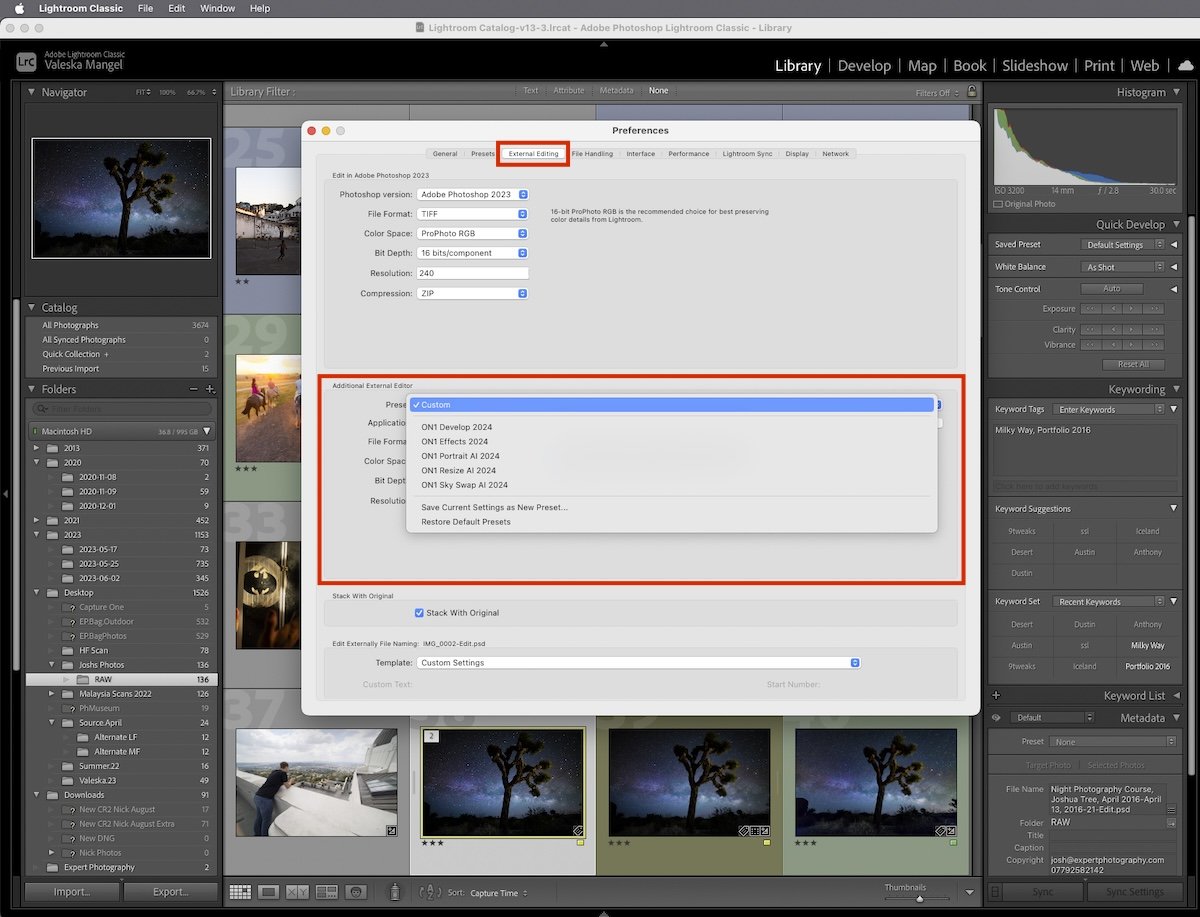
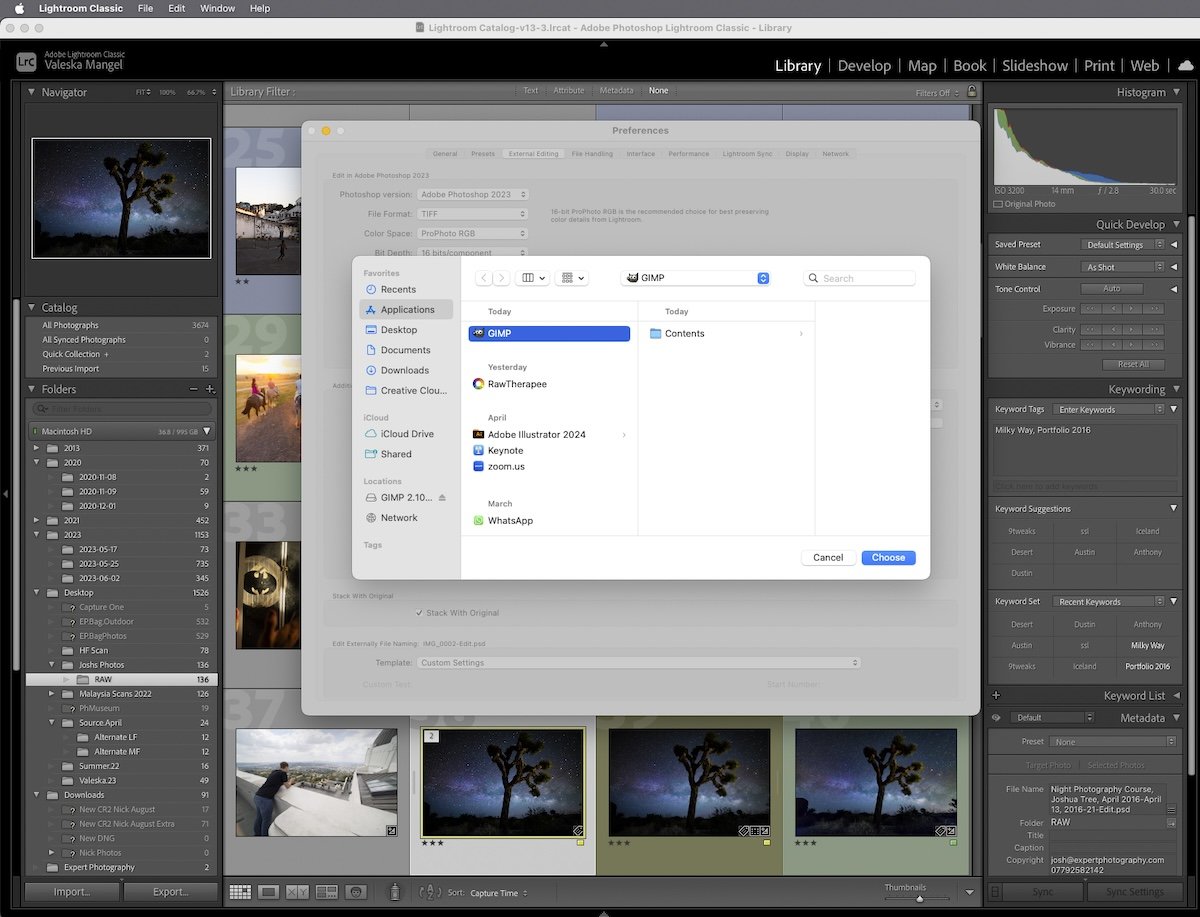
Open Edit > Preferences on Windows or Lightroom Classic > Preferences on macOS. Select External Editing, then use Choose in the Additional External Editor area to select your GIMP application.
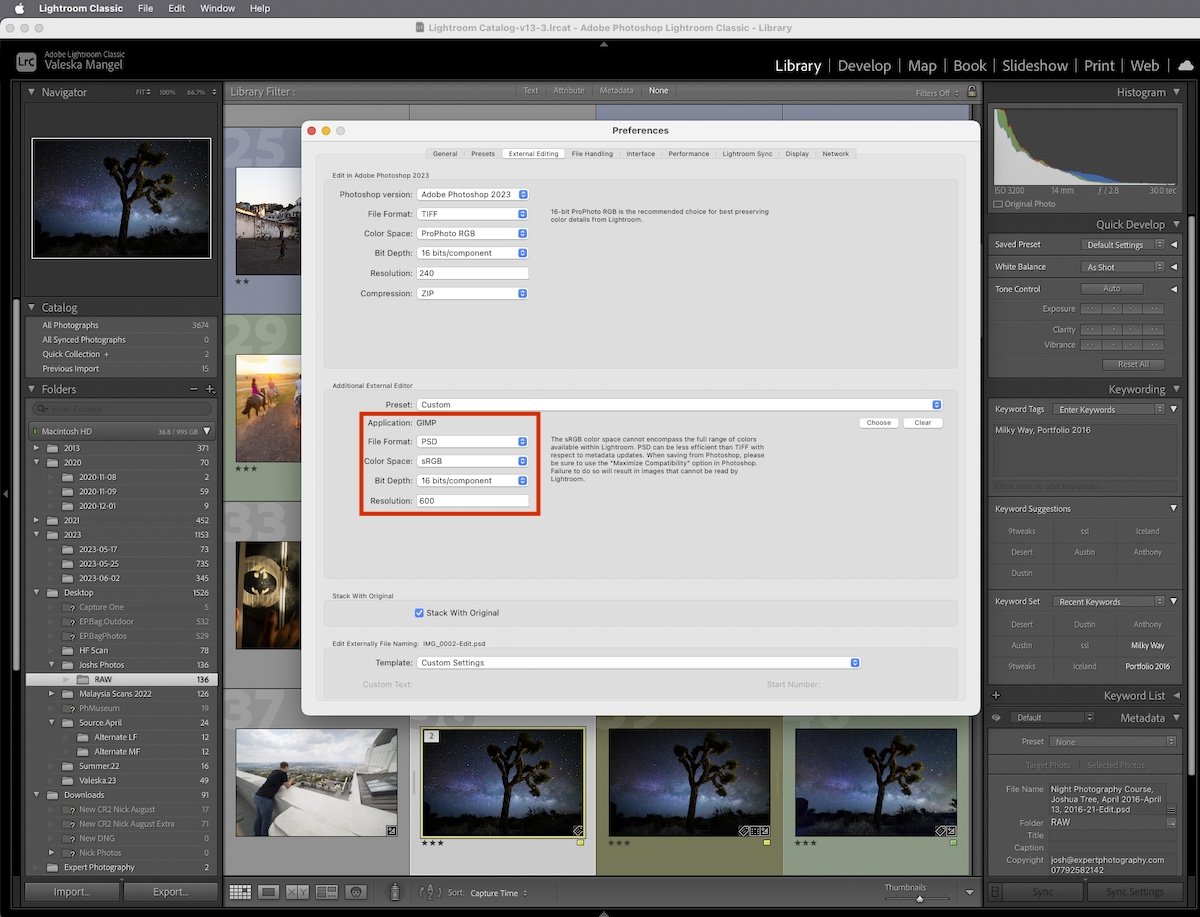
For a standard photo, set the file format to TIFF and the bit depth to 16 bits per channel. Adobe recommends ProPhoto RGB to retain color detail in this external-editing workflow. GIMP can retain embedded RGB profiles; keep color management enabled.
Save the configuration as a named preset so you can find it again in the Edit In menu. Adobe's external-editing documentation covers application selection, file settings, and presets. Lightroom renders a copy for an editor such as GIMP; it does not send RAW sensor data for GIMP to develop.
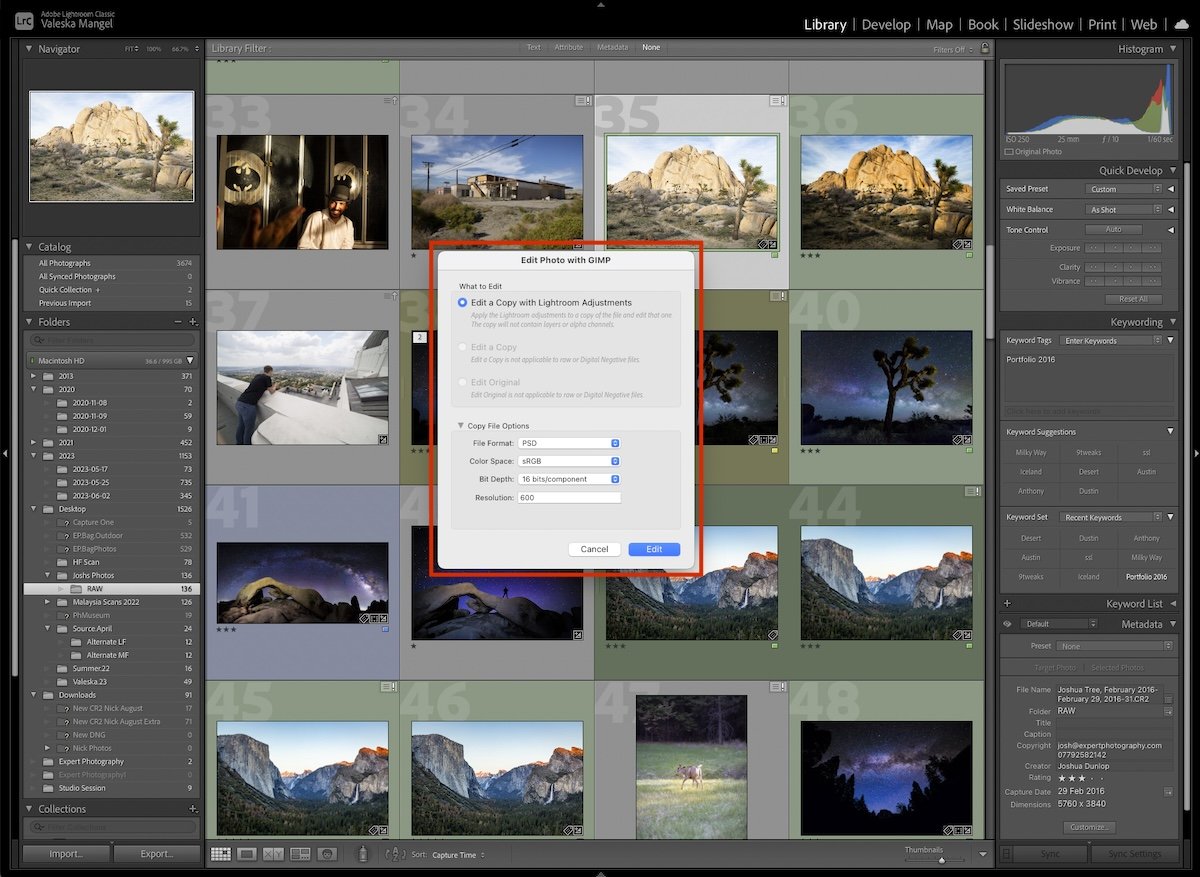
You do not need to increase the resolution field to 600 to improve the file. A print-resolution value sets how pixels map to physical dimensions; it does not add pixels. For example, 6000 pixels span 20 inches at 300 pixels per inch, or 10 inches at 600 pixels per inch. The pixel count is unchanged. See GIMP's Print Size explanation.
The following gallery shows the older Preferences layout. Use the TIFF and bit-depth controls in your installed version; do not copy a setting solely because it appears in a screenshot.
4. Open the Image in GIMP
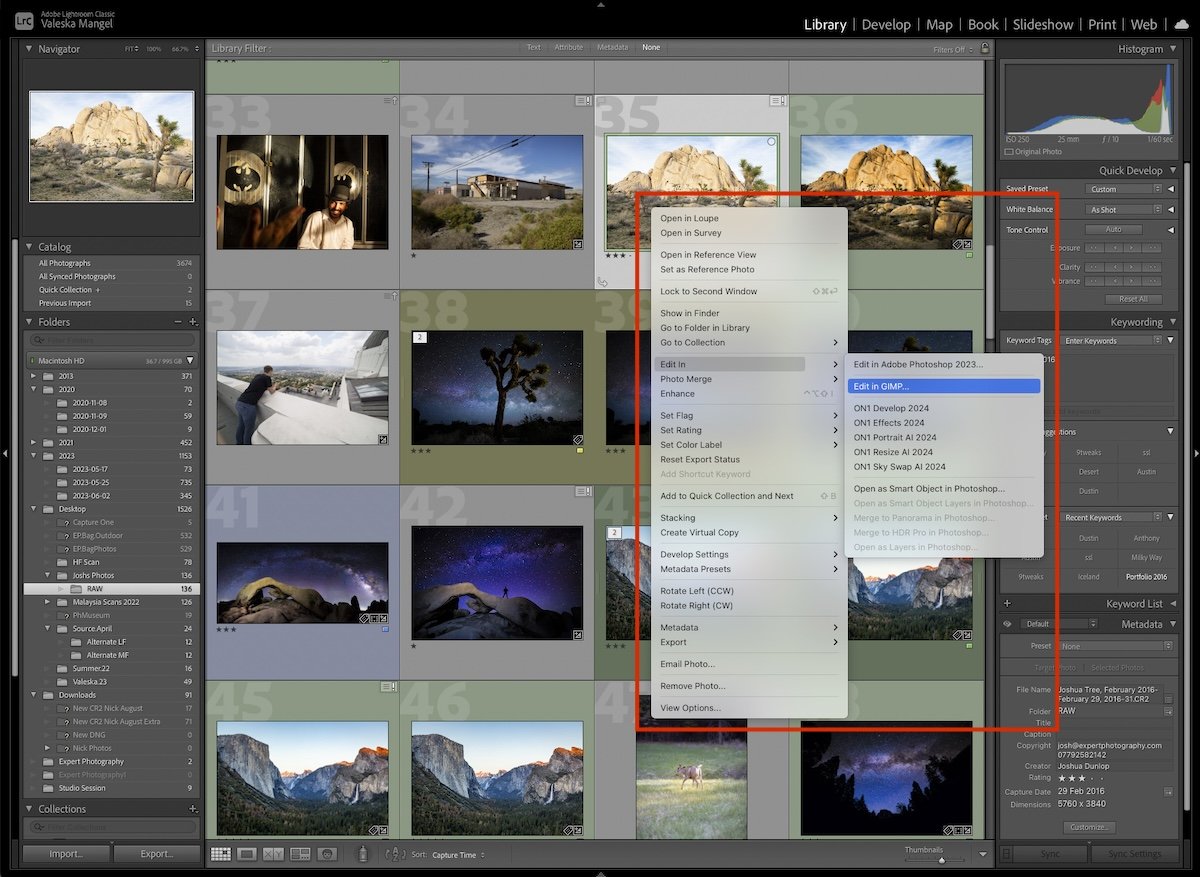
Select the photo in the Library or Develop module. Choose Photo > Edit In, then select GIMP or the preset you saved. If Lightroom displays an editing-choice dialog for the RAW file, use the option that creates a copy with your Lightroom adjustments.
The options for editing an unchanged copy or the original are for rendered formats such as JPEG, TIFF, and PSD, not RAW or DNG files. Adobe explains the editing choices and third-party application route.
GIMP opens the rendered image for further editing. If a color-profile dialog appears, check its options against the color space you selected in Lightroom Classic.
The gallery below shows the older Edit In menu and transfer dialogs. The wording can differ in your version.
Fix a Missing GIMP RAW Loader
If GIMP reports that it has no RAW loader, check the importer before downloading extra plug-ins:
- Check the application first. Open the same RAW file directly in RawTherapee. If it cannot read that file, the GIMP connection will not solve that problem. Check RawTherapee updates and support for your camera's particular RAW format.
- Check GIMP's importer list. In Preferences, open Image Import and Export and look under Raw Image Importer. A placeholder means no importer is registered. Installing the standalone processor and having a registered importer are separate requirements.
- Check application discovery. RawPedia identifies the executable search path as a requirement. If GIMP cannot find RawTherapee, use your installation's instructions to correct that path, or use the standalone TIFF route above.
Use a plug-in built for your GIMP version. GIMP's 3.0 release notes explain that the new plug-in API broke compatibility with GIMP 2.10 plug-ins and scripts. Copying an old plug-in into GIMP 3.x is not a reliable fix.
Older tutorials recommend UFRaw. Its official website lists UFRaw 0.22, released in June 2015, as its latest release news. Treat those installation instructions as historical guidance. For a new workflow, start with a RAW importer documented for your GIMP version or use a developed TIFF.
Conclusion: How to Open a RAW File in GIMP
Develop the RAW photo in RawTherapee or Lightroom Classic, then continue editing the rendered image in GIMP. Use the importer when it is available, or transfer a 16-bit TIFF. Keep the original RAW file for later development changes.
In GIMP, use Save to keep an XCF project for further editing and Export to create a TIFF or another output format. GIMP's save/export guide explains the difference. To continue in Lightroom Classic, export a TIFF from GIMP and import that TIFF into Lightroom Classic. Keep the XCF project separately for further work in GIMP.
If you already work with Adobe products, the Lightroom Classic route may fit your workflow. The RawTherapee route gives you a free way to develop a photo before editing it in GIMP.