The best macro photography accessories will help you shoot those incredible tiny worlds that macro photographers are after. Macro photography can be one of the most challenging types of photography to shoot. That’s because it often includes a shallow depth of field, long shutter speeds, and tight working spaces.
But the right accessories for macro photography can make your life a whole lot easier! Continue reading for the best macro photography accessories for any photographer.
- Learn to take stunning photos without stepping outside.
- Discover affordable ways to convert any lens for macro shots.
- Explore unique techniques for lighting and composing your subjects.
What Macro Photography Accessories Do I Need?
In this article, I’ll discuss some of the best accessories for macro photography. Anyone who wants to shoot macro photography should know about these before spending the money on a dedicated macro lens.
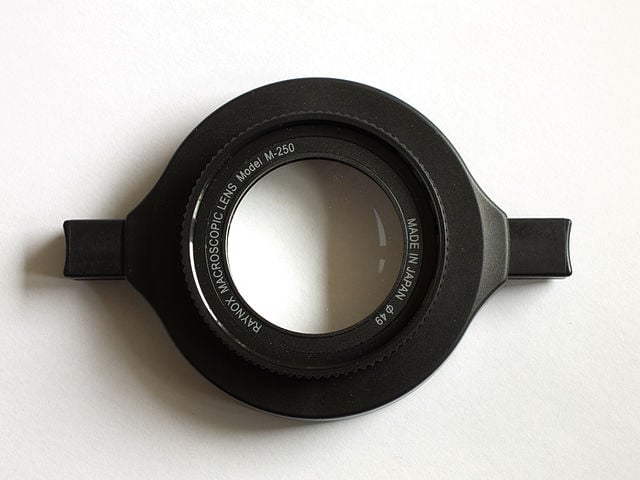
Macro Snap-On Lens Adapter
If you have a smaller budget but still want to explore the world of macro photography, a snap-on lens adapter is a great solution.
Snap-on lenses can be easily clipped to almost every lens and instantly increase your magnification. If you want to experiment with macro photography before buying a specialist macro lens, a snap-on macro lens is a great investment. The Raynox DCR 250 provides great performance at a reasonable price.
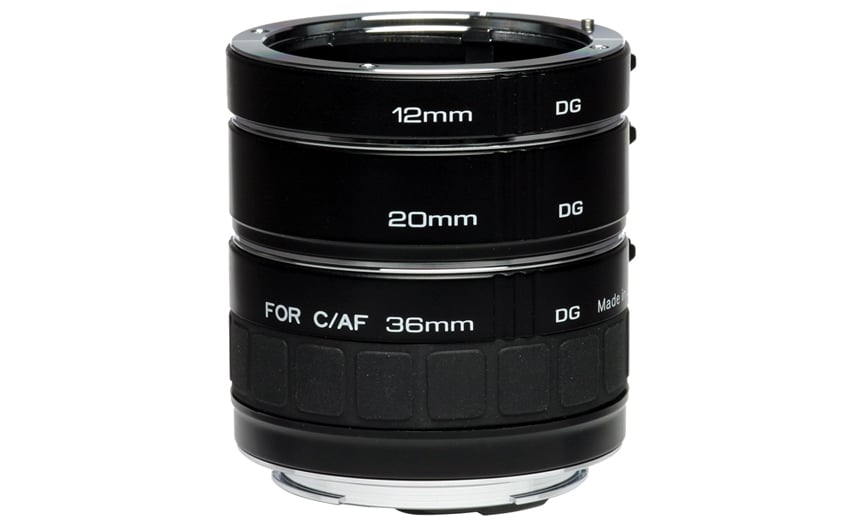
Extension Tubes
Using extension tubes is another great way to get into the world of macro photography without spending too much money. Instead of buying a macro lens, you attach extension tubes between your camera body and the lens you already own.
They have no optic or glass elements. Instead, they create space between your lens and your camera’s sensor, creating more magnification.
Most extension tubes come as a set of two or three. The greater the length of the tube(s) you use, the higher the magnification will be.
The Kenko Auto Extension Tube Set is a high-quality set of extension tubes for macro photography. It comes as a set of three with 12, 20, and 36mm tubes that you can use individually or combine for more magnification.
Reversing Ring Lens Adapter
Believe it or not, you can shoot macro images without a macro lens or any of the macro adapters we mentioned above.
Using the reversed-lens technique is probably the simplest and most inexpensive way to get awesome macro images. To use this technique, you simply mount your lens onto your camera body backward.
To do this, you’ll need a special adapter to mount your lens on your camera body in this position. If you own a 50mm standard prime lens and mount it reversed on your camera body, it will automatically become a great extreme macro lens.
The are two downsides to this technique. One is you can’t use autofocus. With the lens mounted backward, you don’t have the connection between the lens and camera mechanisms. The other is that you cannot change the aperture value.
The Fotodiox Macro Reversing Ring is a high-quality choice that’s perfect for getting into the world of macro photography.
Shot with Canon 600D with a reversed 50mm lens. 1/200 s, f/9, ISO 400
Macro Filters
Using a filter for macro photography is good for two reasons. For one, it protects your expensive camera lens from knocks and bumps. It also helps you get higher-quality shots in difficult lighting conditions.
You don’t need an expensive ND filter for macro photography. A UV filter will suffice. Using an ND filter usually means you have to use a slower shutter speed to let more light in. This isn’t always ideal when taking macro shots of moving things, like insects.
The Gobe 3Peak UV Filter is a high-quality choice for macro photographers. Be sure to check the diameter of your lens to ensure the right fit.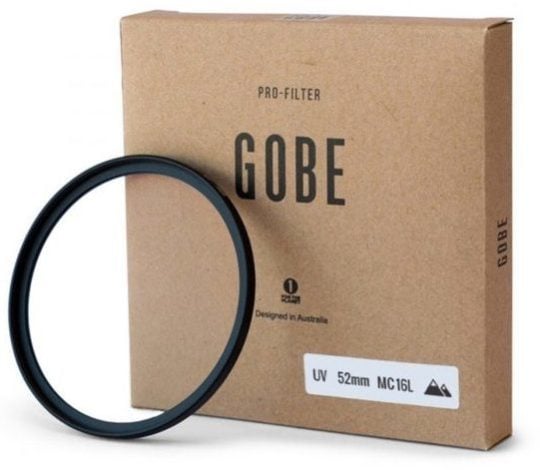
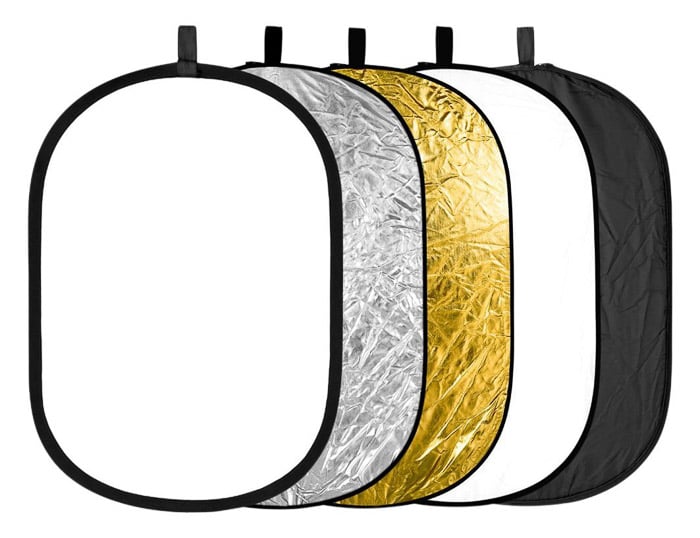
Light Diffuser
A light diffuser is a necessary accessory, especially for outdoor macro photography. It gives you more control over light when shooting in the direct sun.
Diffusers allow you to eliminate harsh sunlight and unwanted shadows, resulting in better-balanced light on your subject. Shooting macro images in the direct sun can be quite challenging. It’s a good idea to carry a diffuser with you to get the best possible light.
The Neewer 5-in-1 Collapsable Light Reflector is a fantastic lightweight and compact choice for macro photographers.
Macro Focusing Rail
A macro focusing rail is a fantastic tool for macro photographers. It mounts to your tripod and slides back and forth in tiny increments. It allows you to find the perfect point of focus for your shot.
Because the depth of field is so shallow in macro photography, you might need to use focus stacking to get your whole subject in focus. Using a macro focusing rail is the best way to get perfectly focus-stacked images every time.
The Neewer 4-Way Macro Focusing Rail is our top choice for macro photographers.

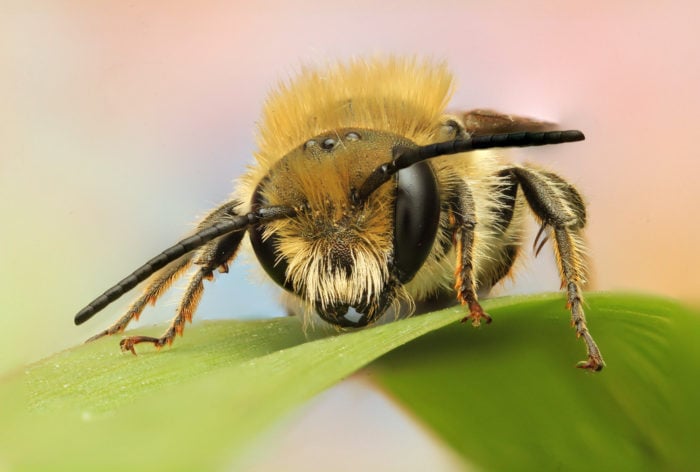
Misting Bottle
Flowers and insects are extremely popular macro subjects. And water droplets on either will make your shot much more spectacular.
There are two ways to achieve this. You can go out early in the morning when dew drops are everywhere, or you can use a misting bottle.
Use the misting bottle to lightly mist the air above your subject, letting the droplets gently fall onto it. You will be surprised how much interest they add to your images.
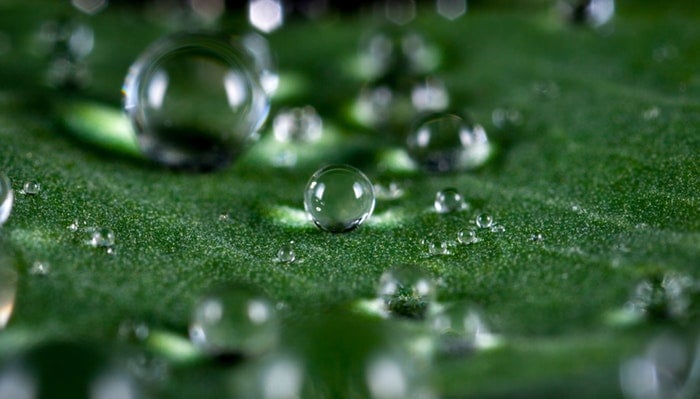
© Egor Kamelev (Pexels)
Small Brush & Tweezers
Macro photography is all about details. If there are elements that shouldn't be in the shot, your macro image might not turn out how you want it to. Even dirt or dust is enough to ruin a macro shot.
Use a small brush to remove all the unwanted elements on your subject. This is especially important when you are taking images at a very high magnification. You will be able to see all the dirt, small hairs, and fibers present on your subject.
I also recommend having a pair of tweezers on hand to remove any unnecessary objects in your scene. These also come in handy for adjusting tiny subjects. Tweezers with a fine point and an angled nose are generally easier to use and more precise.
The MG Chemicals Technical Cleaning Brush and Hakko Stainless Steel Precision Tweezers are great for removing tiny distractions from your scene. The cleaner your scene is, the less retouching and removing unwanted items you’ll have to do in Photoshop.
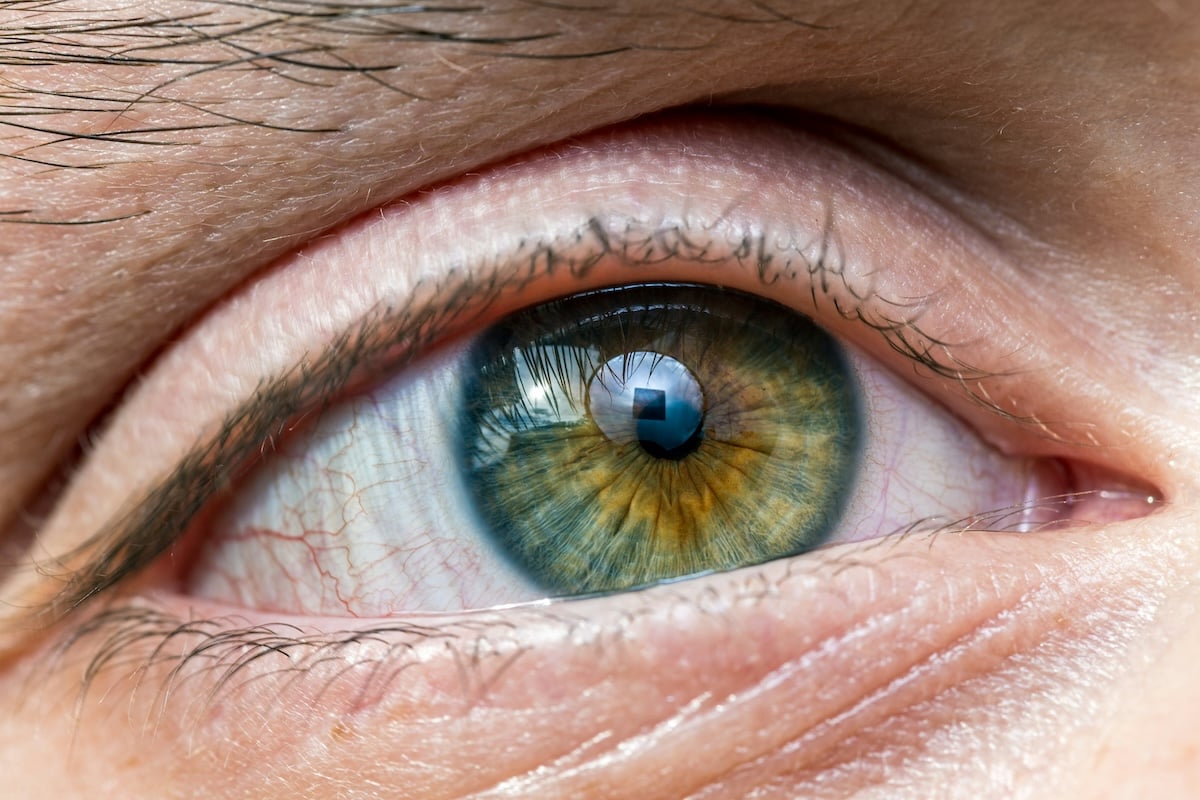
© Dustin Humes (Unsplash) 1/50 s, f/8, ISO 100
Conclusion: Best Macro Photography Accessories
It’s true that macro photography requires specialty equipment. But you don’t have to go out and spend a ton of money on a specialist macro lens. These macro accessories are great for turning the camera setup you already have into a beginner macro kit!
- Learn to take stunning photos without stepping outside.
- Discover affordable ways to convert any lens for macro shots.
- Explore unique techniques for lighting and composing your subjects.