
Timing can make or break a photograph. Knowing when to push that shutter button is essential. But most cameras have another tool to help capture that perfectly-timed shot—burst mode.
Burst mode changes your camera from a single-shot mode to a multi-shot sequence of images. This feature is often used to photograph action images. But it can also help in other photography genres, including capturing laughter or smiles.
Here’s how to use burst mode on mirrorless, DSLR, or other dedicated cameras. Many smartphones also have burst modes. Read our article specifically about how to use burst mode on your smartphone.
- Master manual mode to capture moments you’re proud of.
- Overcome the frustration of missed shots with quick exposure settings.
- Benefit from visuals with hundreds of images and illustrations.
What Is Burst Mode in Photography?
Burst mode (or continuous shooting mode) is a camera setting that lets you take more than a single photo. When this setting is activated, the camera keeps taking images.
It takes pictures until the shutter button is released or until the camera’s internal memory buffer fills up, whichever comes first. The resulting sequence of images increases the odds of capturing that perfectly-timed action shot.
Burst mode is a great photography tool. But you should know when to use the shooting setting and when to use the traditional, single-shot mode instead.
When to Use Burst Mode
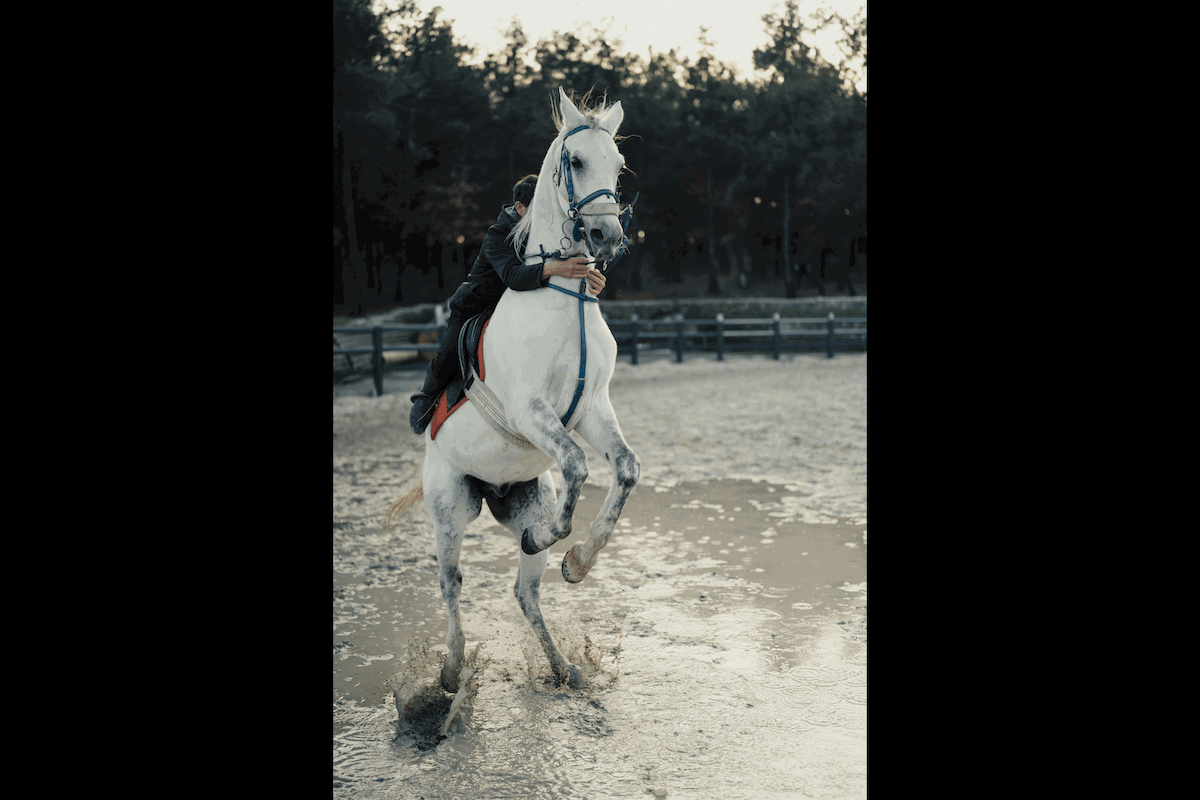
It’s best to use burst mode when capturing fast-moving subjects. It’s also best for situations requiring multiple frames to ensure at least one shot captures the desired moment. This ensures optimal clarity and timing.
Burst mode can also be helpful when shooting action in low-light conditions. It increases the chance of capturing a sharp image by capturing.
Still-life photography subjects don’t need burst mode. Those extra images are just taking up space. An exception is using burst with a bracketing mode.
Understanding a Camera’s Burst Mode
Understanding your camera’s burst mode capabilities is important. There are a few aspects to consider. The first is how quick the camera’s burst mode is.
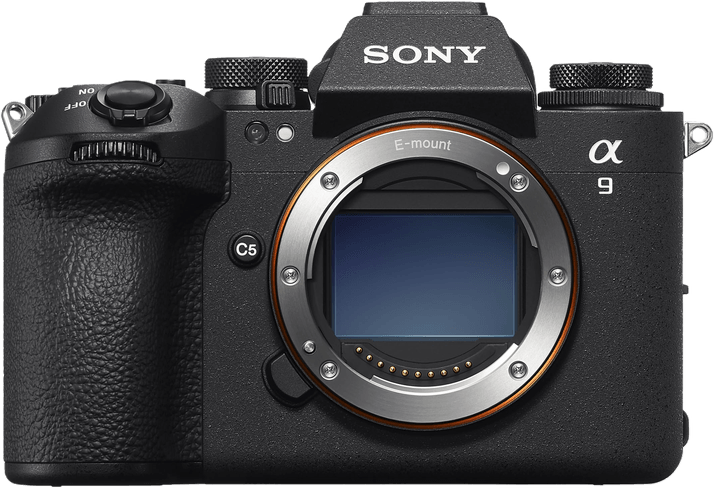
For instance, a high-end camera like the Sony a9 III can shoot at 120 fps (frames per second)—that is, it takes 120 images in one second! In contrast, an older entry-level DSLR, like a Canon EOS Rebel T2i, has a high setting of 3.7 fps.
Second, your camera can only handle so many photos at a time. Some high-end action or sports cameras can continue snapping bursts for hundreds of photos in a row. Other cameras stop after just a second of shooting.
You’ve missed the shot if your camera falls into the latter category. Peak action often happens a second after hitting the shutter button.
Third, you should also know your camera’s buffer. This spec indicates how many photos the camera can handle before slowing down or stopping completely.
The computer inside the digital camera can only process so much information at once. When that processor is overwhelmed, burst photos stop until the images can be recorded to the memory card.
Digital cameras no longer require paying for film like analog cameras. But a burst mode can quickly fill up a memory card and, later, space on your computer’s hard drive.
RAW files are larger. A buffer fills up faster when shooting in RAW compared to JPEG. For example, a camera may be able to shoot 20 RAW photos in a row but 200 JPEGs.
Some cameras also have “fine-print” stipulations for the fastest listed burst speed. Often, the fastest burst speed isn’t available when using continuous autofocus. This mode is essential for most types of motion.
Other cameras limit other features at the top burst speed. For example, the Nikon Z6 and Z7 don’t allow full access to the viewfinder at the top burst speeds.
Burst mode can be a great tool for capturing action and even preventing capturing blinking eyes when taking portraits. But photographers should take care not to become overly dependent on it.
While a burst photo captures many photos, refocus occasionally if the first burst doesn’t use the right focal point. Adjust your composition between bursts for more variety. Burst mode isn’t a replacement for continually using your eyes to brainstorm ways to improve each photo.

How to Use Burst Mode
Using burst mode is simple after you find the settings on your camera and understand its limitations. We review how to find burst mode, but consult your camera’s manual to best access it. Here are four steps to ensure you use burst mode effectively.
1. Check Your Memory Card
Did you know your memory card can prevent your camera from reaching its top shooting speed? Make sure you’re using a fast memory card. Otherwise, the camera won’t be able to save those images quickly. This puts a damper on that top burst speed or further limits the buffer.
For shooting in burst mode, use a Class 10 or UHS Class 1 or 3. A Class 10 card has a circled number 10 on the front of the SD card. On the other hand, the UHS class number is written as a U instead of a circle.
Slower SD cards are fine for low-resolution cameras. But if you use an advanced camera or burst modes with RAW settings instead of JPEG, you want one of the top three SD card speeds. Read our article outlining the best memory cards we recommend.

2. Turn the Drive Mode From Single to Continuous
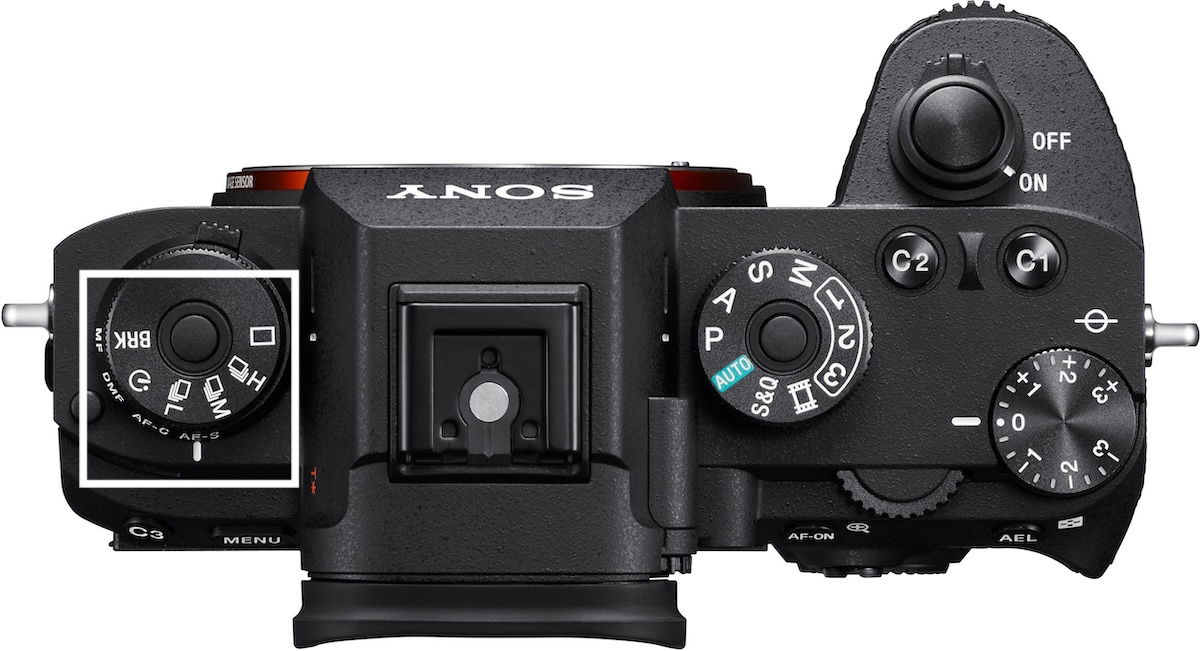
Burst mode is a simple setting to turn on—you only have to find it first. Many mirrorless and DSLR cameras have a physical shortcut to access the feature. An icon with rectangles with several overlapping rectangles sometimes designates the shortcut.
The burst mode settings on a camera are typically found within the camera settings or shooting modes menu. Some cameras have a dial that adjusts the burst mode, others have a dedicated button, and some have a burst shortcut on one of the arrow keys.
On older DSLRs, burst mode and self-timer are often placed underneath the mode dial. “S” stands for Single shot, and “CL” and “CH” mean Continuous Low and Continuous High shots. Others use a button shortcut marked “drive.”
If you don’t see the burst icon on a physical shortcut, the setting is likely inside the Quick Menu or full menu alongside other shooting options. Look for a menu option called burst mode or continuous shooting.
Many cameras have multiple burst settings, often the Continuous High and a Continuous Low option. The high mode captures more photos faster. But ensure your camera won’t limit the autofocus or other features, like access to the electronic viewfinder.
Some cameras have several limitations for high-speed bursts, while others have none. This is another reason why knowing your particular camera is important.
Low continuous shooting doesn’t have limitations and won’t fill the memory card up as fast. But your camera also won’t shoot at its maximum speed either.
3. Adjust the Focus Mode
In most cases, burst mode pairs best with Continuous Autofocus mode. Otherwise, the first photo will be in focus, but subsequent shots will be soft.
Look for a physical shortcut designated with “AF” (autofocus) or find the option in the camera menu. Select Continuous Autofocus (AF-C or AI Servo).
Single autofocus mode is fine if the subject maintains the same distance from the camera throughout the burst. For example, you can use AF-S or One-Shot AF to capture the perfect burst smile while photographing a seated subject.
In most cases, if the subject moves towards or away from the camera, you want that AF-C or AI-Servo mode.

4. Focus, Shoot, and Keep Shooting
After the proper settings are activated, burst mode isn’t much different from taking a single shot. Half-press the shutter button to focus. When you’re ready to start the burst, continue pressing the shutter release to a full press.
Continue holding the shutter release down until you are ready to finish the burst. Or, keep on shooting until the camera stops, whichever comes first.
Conclusion: Burst Mode
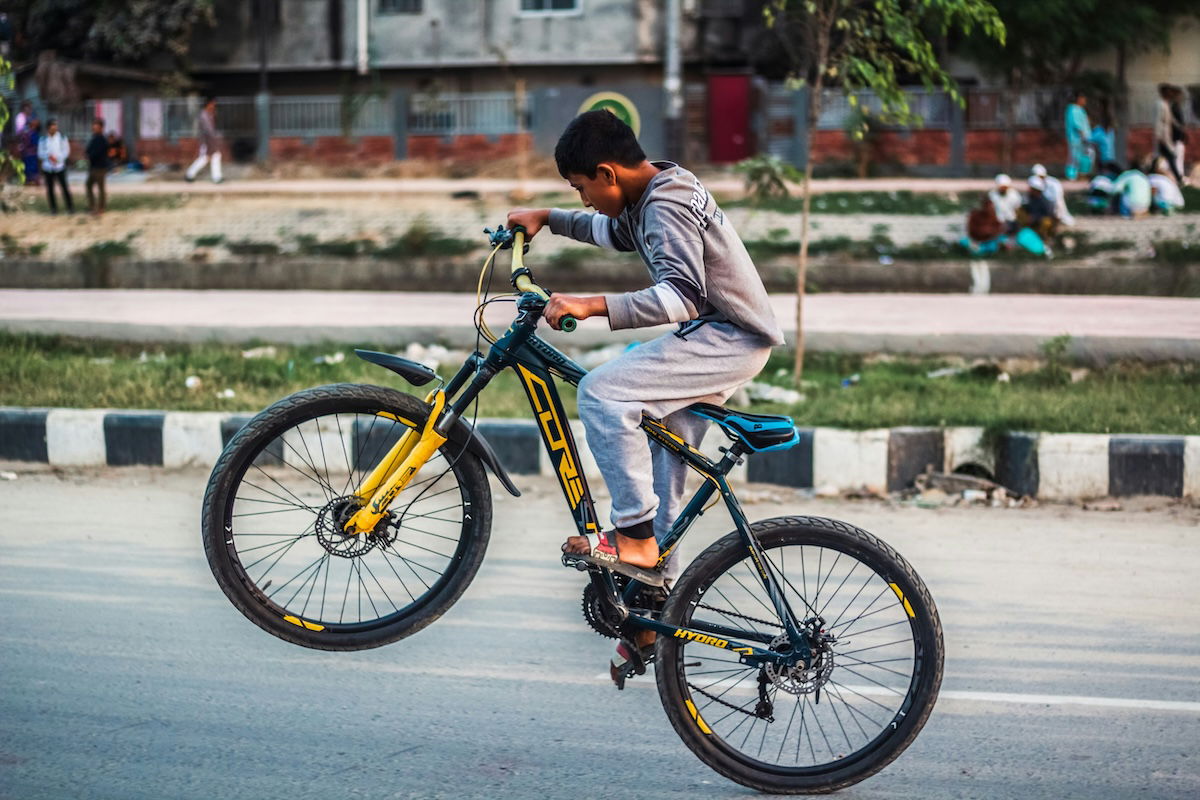
Action photography is one of the tougher niches to capture on camera. Burst mode helps increase the odds of getting that perfectly-timed shot. Whether you’re shooting wildlife action photos, dogs, or other fast-moving objects, burst mode can make a big difference.
When using continuous shooting, be sure to use a fast memory card. Also, be aware of your camera’s limitations and check your autofocus settings.
- Master manual mode to capture moments you’re proud of.
- Overcome the frustration of missed shots with quick exposure settings.
- Benefit from visuals with hundreds of images and illustrations.
