Our article teaches you how to use iPhone photo bursts and shows you all its creative possibilities. If you want to shoot action shots and not miss a moment, you should learn how to take multiple pictures on an iPhone.
If you know how to use the iPhone’s burst mode, you can also take better photos, including fun, candid ones.

What Are iPhone Photo Bursts?
iPhone’s burst mode is a feature of the iPhone camera app that lets you take a sequence of pictures. Instead of taking one photo, it takes several frames to capture a single moment.
Apple’s iPhone camera shoots 10 fps (frames per second) in burst mode. It’s fast compared to older cameras and even some DSLRs that can only shoot 5 to 8 fps.
If you use your iPhone’s burst mode, make sure you have enough memory to store all the photos you take. Even if you keep your finger on the shutter for only three seconds, you’ll have taken 30 pictures, which is quite a lot!
How to Best Take Multiple Pictures on an iPhone
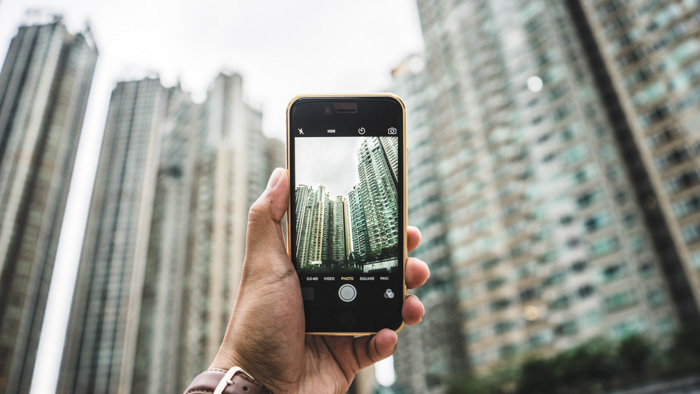
Shooting iPhone photography bursts is easy. First, open the iPhone camera app and ensure you’re in Photo mode. Then press, hold, and swipe the camera button on your screen to the left.
Your phone will snap a series of rapid-fire shots until you take your finger off the shutter. You can later select the best shot from the burst in your Photos app. With your burst of photos selected, tap Select, and you can choose the photos you want to keep.
Keep in mind that if your iOS device is older, using HDR mode or the flash may automatically turn off burst mode. This is also true if you use the camera’s timer, even with newer iPhones.
Now, we’ll now show you how to best take multiple photos with your iPhone. We’ll give you some simple techniques and features to ensure you never miss the perfect photo moment.

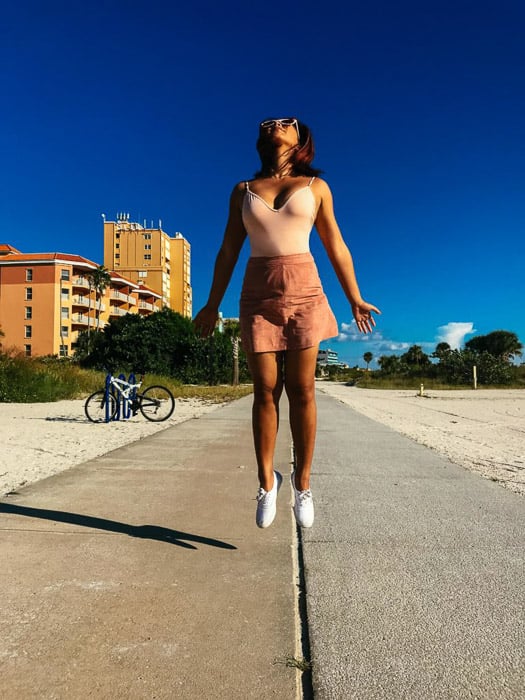
Shot with an iPhone 15. Shovit Chettri (Unsplash)
1. Predict Your Subject’s Movement
It can be quite intimidating when photographing a subject that doesn’t stay in one position. There’s always that fear that you might miss the shot even when you’re in burst mode.
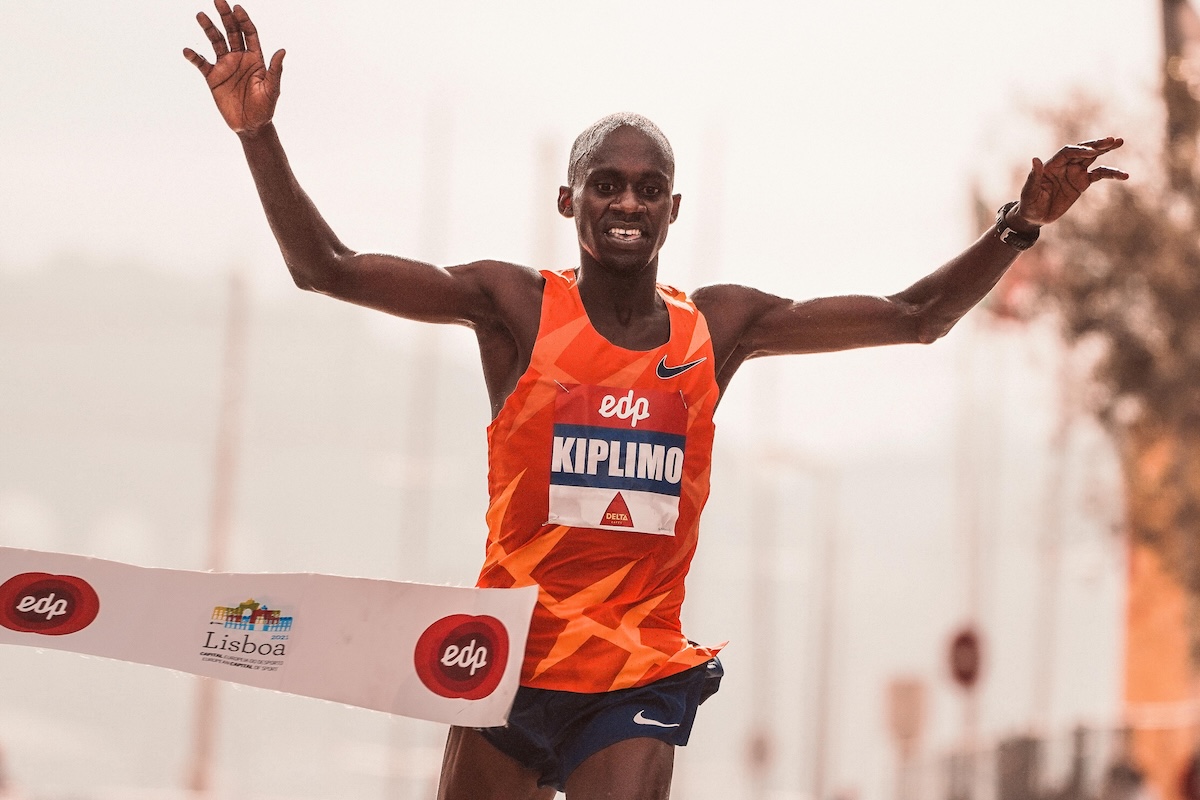
The good news is that it’s easy to predict movements if you observe your subject. For instance, if you want a photo of someone running, determine their direction.
When you see them coming your way, anticipate where you want them to be in your shot. Once they’re in the frame, start taking photos.
You should also look at patterns in people’s movements. For instance, if you’re taking photos of performers dancing, take note of the dance steps they repeat. If you see them jumping at certain parts of the song, you can get ready before they do it.
For random movements, ensure the whole subject is always in the frame. Since you’re in burst mode, keep your finger on the button until the action is over so you don’t miss anything.
After you’re done, check your photo library to view the photo bursts. Choose the shots you want to keep or keep everything!
© Chad Versoza
2. Do Your Best to Compose iPhone Burst Shots
Of course, predicting the shot is not enough. You should also ensure that your composition is spot on while you’re shooting.
Otherwise, you end up with a bunch of poor-quality iPhone photos you can’t use.
To help you compose your shots, ensure your camera phone’s grid lines are turned on (Settings > Camera Settings). They work as visual guides to help you position your subject for a balanced composition.
After you turn on the grid lines, place your subject anywhere the lines intersect. This can be difficult when you’re taking pictures of fast-moving objects with a phone. But if you keep them in the frame and look at the grids, you can place them in the shot.
Although it works in some situations, do your best not to put your main point of interest in the middle. Instead, try to place them to the picture’s left or right.
There should be enough negative space in the direction they’re going. So, if a runner is going from the right side of the frame to the left, leave some space on the left side. Doing so lets your viewer see where your subject is headed. It doesn’t make the frame feel like it’s cut off.
© Daphne Versoza
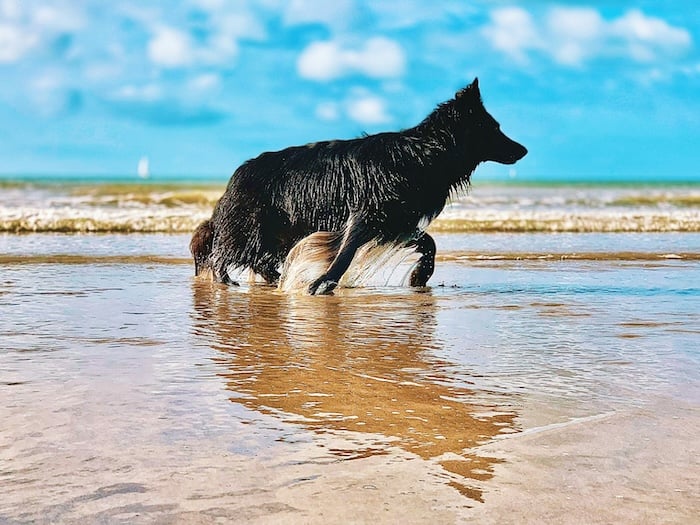
3. Keep iPhone Burst Shots in Focus
To ensure your burst photos are sharp, you must first set the focus on the iPhone’s camera. Tap on your screen and select the area you want in focus. A white box appears and turns yellow when the chosen selection is in sharp focus.
Always tap on the face or the head of your subject when possible. Those are the most crucial elements in your photo that you want to be in focus. Select an area you think your viewers will want to concentrate on for non-human objects.
Focusing is easy when your subject is moving but stays in the same spot. But what if they’re moving around all the time? In that case, you should try pre-focusing your shot.
First, look for a general area where you expect your subject to be. It could be a nearby tree to a wall. Then tap on it and wait for it to turn yellow. After your subject of interest enters the frame, it should be in focus.
You don’t have to be so precise about your focus. Your iPhone’s deep depth of field does a good job on its own. It will keep the background and foreground sharp.
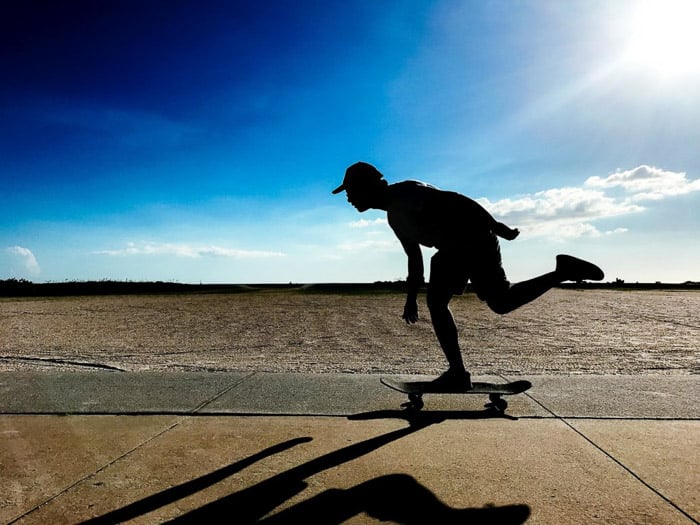
Shot with an iPhone XS. Graham Smith (Unsplash)
5. Best Lighting for Photo Burst in iPhone
Your iPhone changes the shutter speed when you shoot photos. That means you don’t have control over how long the shutter stays open during an exposure.
If your location has poor lighting, you’ll most likely end up with blurry photos. And unfortunately, you can’t do anything about it. So why do you get blurry images when you’re in dark places? It has to do with your camera’s aperture.
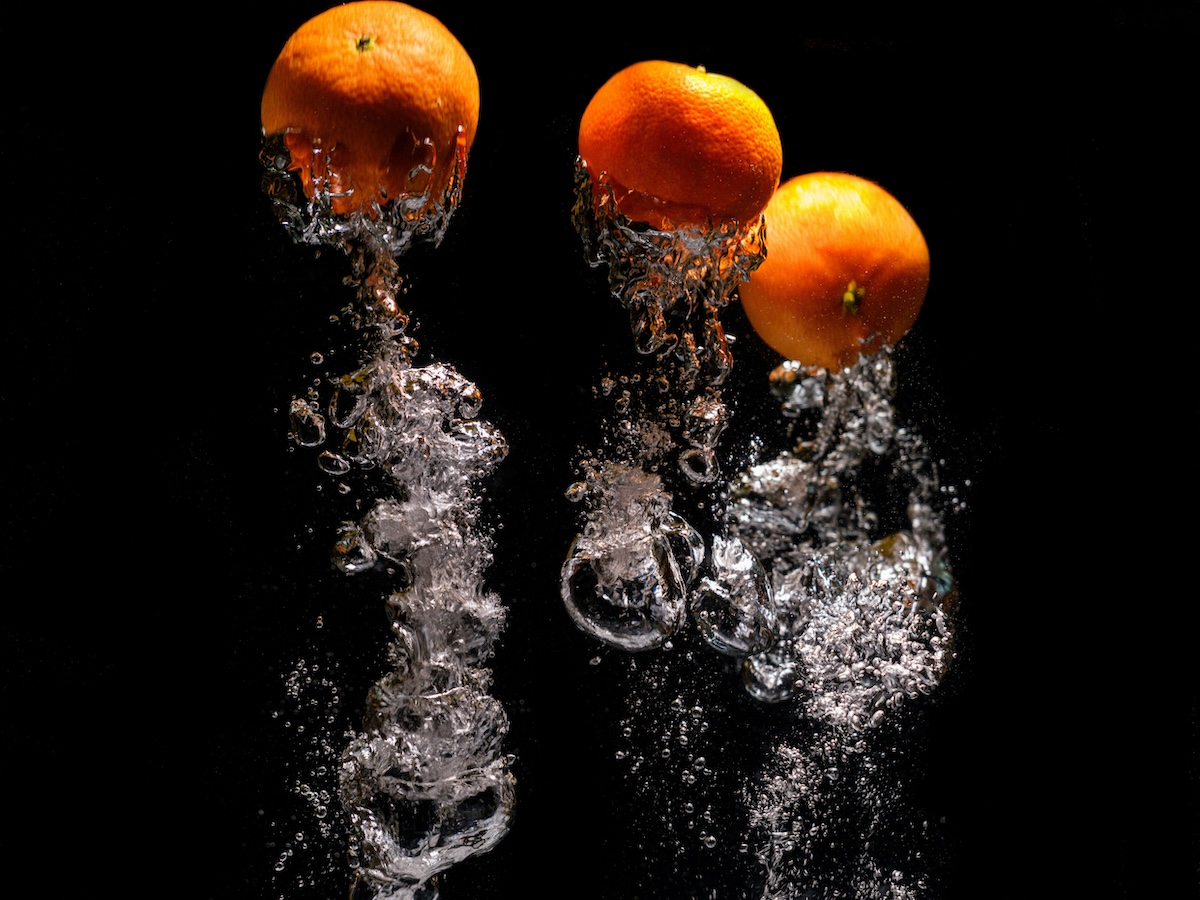
When shooting in dim conditions, the aperture stays open for a long time to gather enough light for exposure. As a result, any movement recorded while the aperture is still open will be blurry.
To avoid issues while shooting burst images with your iPhone, stay in adequately lit areas. You don’t have to worry about motion blur when there’s enough light available, and the shutter doesn’t remain open for too long.

Shot with an iPhone 12 Pro Max. Nikunj Mundra (Unsplash)
6. Get Closer to the Action With a Fisheye Lens
Extreme sports photographers often use fisheye lenses. That’s why photos of skateboarders in magazines seem to pop out of the page because they’re so close to the camera.
So, if you want to achieve a similar effect, consider using the same optics for your burst photos. Fisheye lenses often make objects look smaller at a regular distance. They get bigger as you get closer.
Your phone doesn’t have a built-in fisheye lens. But you can always buy a cheap attachment online for less than $20. All you have to do is clip it in front of your lens, and you’re ready to take pictures.
It might take a moment to get used to shooting at such a close range. But it will make your action shots look very interesting. You should also photograph from below or above for a more intense look.
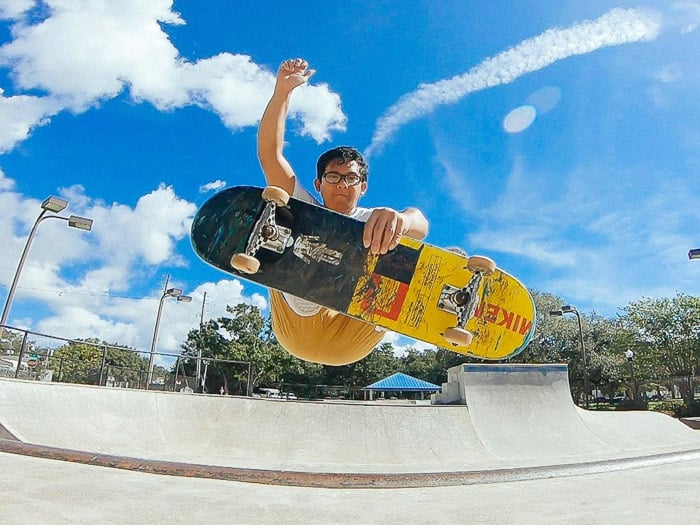
© Daphne Versoza
7. Try Panning for Cool Effects
Panning or swinging your camera sideways while taking pictures can create cool effects. When you use it to photograph moving objects, it tends to create motion blur in the background.
Motion blur is made up of fuzzy streaks that appear in your photo that movement creates. They make pictures look ugly in normal situations. But they’re good at conveying action when you photograph moving objects.
To create motion blur, point your phone perpendicular to your main point of interest and pan it as it passes by. Also, keep your finger on the shutter until your subject is no longer in the frame. If you do it the right way, you should see streaks in the background.
Note that another crucial element of motion blur is a slow shutter speed. The bad news is that your iPhone doesn’t let you change your camera settings manually. If it automatically chooses a high shutter speed, your panning effect isn’t going to be as noticeable.
To solve this problem, you can try using third-party iPhone camera apps like Camera+2 or Pro Camera. They let you select a slow shutter speed, so you have better chances of getting good results.
When you’re in the app, choose a shutter speed of 1/30 s (seconds) or lower. The slower the shutter speed, the more the motion blur. In most situations, anything between 1/30 and 1/15 s will suffice.
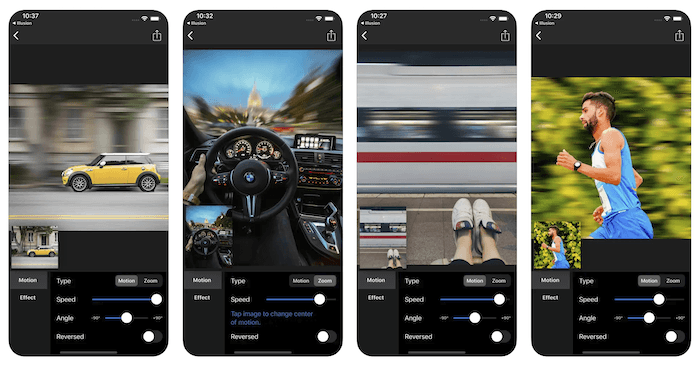
Screenshot from the Motion Blur iPhone app, a dedicated panning app
8. Use Photo Editing Apps to Enhance Images
What’s the use of all the photos iPhone’s burst mode gives you if you can’t use all of them? With minimal editing on your phone, you finally can.
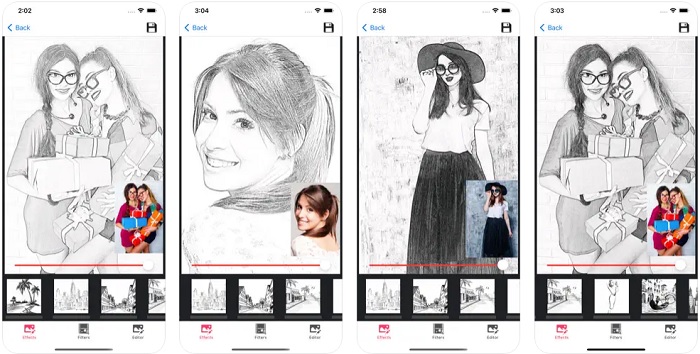
You can use phone editing apps like Adobe Photoshop Express or Canva to combine several photos into a single collage. All you have to do is choose a frame template that lets you display several images at once.
If you want to get a little more creative, you can also create GIF animations from your action pictures. Try iPhone apps like ImgPlay or GIFs for Texting to develop Instagram-worthy works of art.
Select the photographs you want to use, and these apps will turn them into GIFs for you. You can even include masks and filters to add cool effects. You can also customize your animations with stickers and emojis to improve your photos’ performance on social media.

© Chad Versoza
Conclusion: How to Take Multiple Pictures on iPhone
iPhone photo bursts are as easy as pressing the shutter button for however long you want. Take advantage of it and use it whenever you get the opportunity. After all, it doesn’t hurt to have an extra photo or two to choose from.
We have great posts about taking iPhone panoramas. Or check out iPhone Photo Academy’s course for expert tips!