

Chiaroscuro lighting uses the contrast between light and shadow to give a subject shape and a dramatic, painterly feel. You can create it with a window or one lamp: light your subject from the side, keep unwanted light out of the shadows, and leave the background darker than the subject.
You don’t need a studio to start. The important choices are where the light comes from, how large it looks to your subject, and how much light reaches the shadow side. Here’s how to control each one.
What Is Chiaroscuro Lighting?
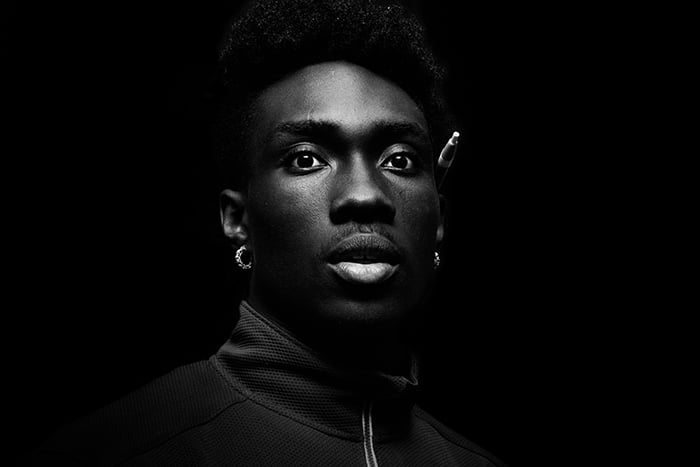
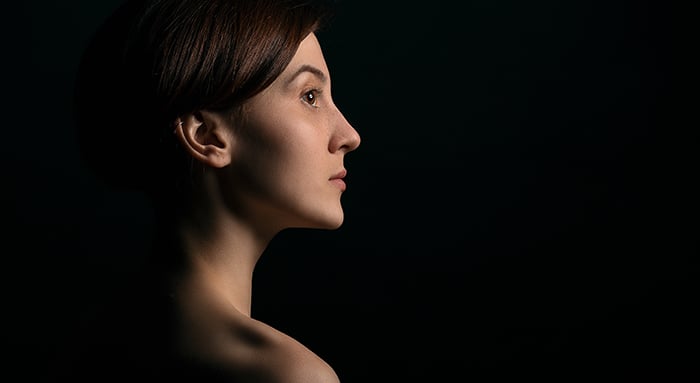
Using a single light will highlight very specific parts of your model’s face and create a moody atmosphere.
The Italian word chiaroscuro means “light-dark.” In painting, tonal contrasts help suggest volume and depth. The National Gallery’s explanation of chiaroscuro points to Leonardo da Vinci’s modelling of forms and Caravaggio’s dramatic use of those contrasts.
In photography, the effect comes from the relationship between the lit and shaded areas. A face can emerge from darkness while still showing a gentle transition across the cheek. Chiaroscuro can work in color or black and white, with hard or soft light.
It often overlaps with low-key photography, where much of the image is dark. But making the whole photograph darker is not enough: use the light to reveal the subject’s shape. There is no mandatory light ratio or camera setting that defines the effect.
Rembrandt lighting is one useful portrait pattern to try. Its small triangle of light on the shadow-side cheek can suit a chiaroscuro portrait, but you don’t need that exact pattern in every photograph. The same light-and-shadow approach can work with food, still life, and fine art photography.
How to Set Up Chiaroscuro Lighting
Start with one main light so you can see what each adjustment does. One light is a simple learning setup, not a rule against using a reflector or another light later.
Start with Window Light or One Lamp
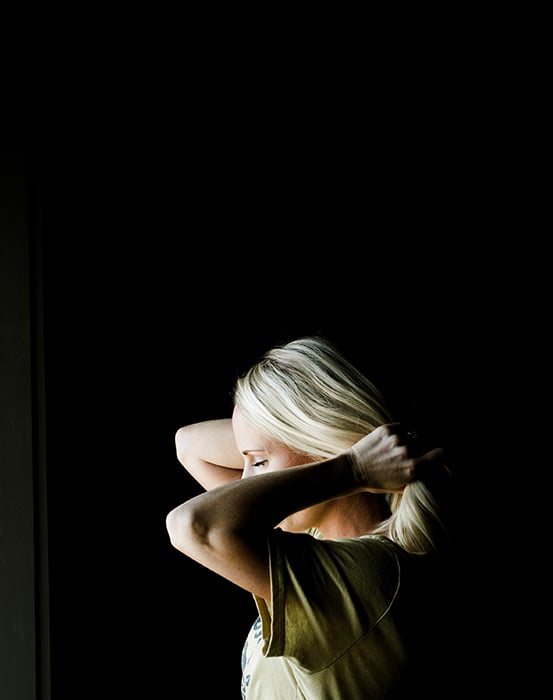
Natural light might highlight certain objects in the background. You can easily paint over them in Photoshop or Lightroom to make your composition look tidier.
Window light is an accessible starting point. Place your subject beside the window and photograph them from inside the room. Turn off room lights and reduce light from other windows. Choose a position where the wall or backdrop behind your subject receives less light than their face.
With a lamp, continuous light, or off-camera flash, begin with the same arrangement: one main source to the side and a darker background. A continuous light lets you watch the shadows change as you move it. With flash, review a test photograph after each adjustment.
A torch can produce a small, hard source for an experiment. You don’t need to shoot at night if you can control the other light in the room.
Adjust Light Direction and Face Position
Place the main light to one side of the camera and a little above your subject’s eye level. Then move it while watching the cheek, nose, and eye shadows. Move the source a little at a time and check each result.
A light near the camera’s direction tends to show fewer facial shadows. Moving it farther to the side reveals more shape; moving it too far behind the subject may leave only an edge of light. Turn the face slightly toward or away from the source to choose how much remains visible.
If you want an expressive portrait, check that the eye on the lit side is visible. If both eyes fall into shadow, lower the light or ask your subject to turn or lift their face slightly. For a more abstract image, you can deliberately leave the eyes hidden.
Choose Hard or Soft Light
The size of the source as seen by the subject changes the shadow edges. A small source gives a sharper transition. A larger source gives a softer one. As broncolor explains, bringing the same softbox closer makes it appear larger and the light softer; moving it away makes it appear smaller and harder.
Try a window without direct sun or a softbox for gradual transitions. A small lamp or direct beam gives more defined shadows. Soft light can still look dramatic when little light reaches the shadow side. Choose the shadow edge you want, then control its brightness separately.
Control Fill and Reflected Light
Fill is light that brightens the shadows. Even with just one lamp, a white wall, ceiling, or reflector can bounce light back onto your subject. If the face looks too evenly lit, move away from bright surfaces or place a black board on the shadow side, outside the frame.
This is called negative fill: it reduces reflected light instead of adding it. Photographer Pye Jirsa demonstrates the difference with white and black panels around a portrait subject.
If the shadows hide detail you want to keep, try a white reflector and move it farther away until the fill is subtle. Make one change at a time. The right balance depends on the face, the scene, and the mood you want.
Keep Light Off the Background
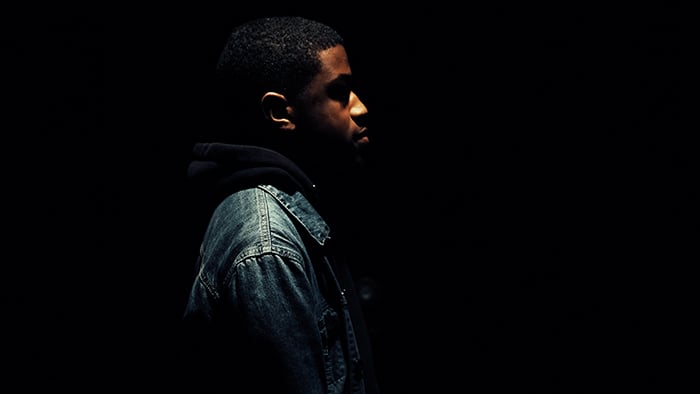
A dark wall, black fabric, or DIY photo backdrop can simplify the scene. Choose a matte surface to reduce distracting reflections. A black backdrop is useful, but it is not required: an unlit part of a room can also work.
Leave space between the subject and the backdrop when you can. Aim the main light across the subject rather than toward the wall. With a studio light, a flag or grid can help control spill; keep flags clear of hot lamps. Check the result on the camera, because the background may still receive light from another window or a nearby reflective surface.
You can add texture to the background if it supports the picture. Keep it subdued enough that the brightest area still draws attention to your subject. Our guide to creating a black background covers that more specific look.
Set Exposure for the Detail You Want to Keep
There is no universal aperture, shutter speed, or ISO for chiaroscuro. Choose an aperture for the depth of field you need, a shutter speed that keeps your subject sharp, and an ISO that suits the available light. With flash, stay within your camera and flash system’s sync limits unless you deliberately use a compatible high-speed-sync mode.
Take a test photograph and inspect the lit skin and important fabric detail. Use the histogram and highlight warning, if your camera has them, to identify areas that are clipping. Nikon’s photography notes explain that a scene dominated by dark tones naturally produces a histogram weighted toward the left. You don’t need to make it evenly distributed.
In an automatic exposure mode, the camera may make a dark scene brighter than you intend. Adjust exposure compensation while checking the result, or use manual exposure for a stable setup. Don’t reduce exposure so far that the lit face loses its detail just to make the background black. Correct the background lighting first.
Black & White Chiaroscuro Photography
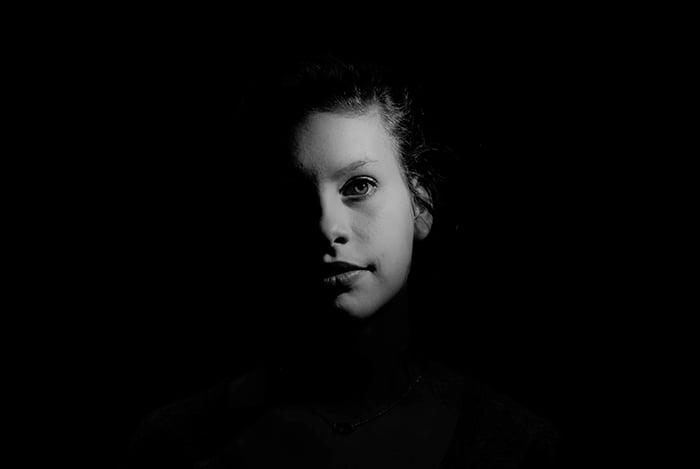
Black and white photography puts more attention on tone, shape, and texture. It can suit chiaroscuro portraits, but color works too. Compare both versions and choose the one that supports the expression and mood.
Converting a green backdrop to black and white will not automatically make it black. Its brightness in the conversion matters. In Lightroom Classic, the Black & White Mix controls let you adjust how individual colors become gray tones. Watch for changes to similarly colored areas of the subject as you adjust the background.
In editing, refine the contrast you created with the lighting. Use local adjustments in Photoshop or Lightroom to darken a distracting patch or gently lift important shadow detail. Check the edges around hair and clothing so the adjustment does not leave a visible halo. Aim to solve as much as you can with the lighting before retouching.
Chiaroscuro Portrait Ideas to Try
Once the light is working, explore what it reveals. Try these ideas with the same simple setup.
Take Self-Portraits
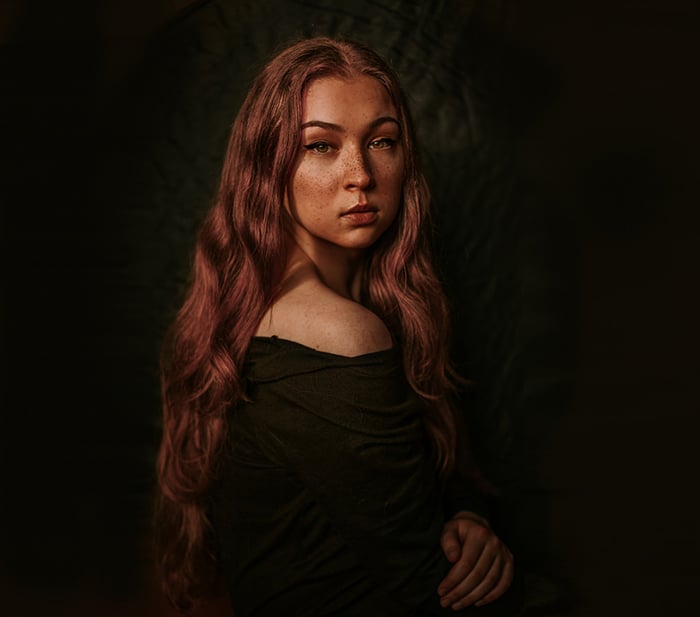
I used a small black reflector case and natural window light to take this photo. The original photo was vertical, so I simply expanded the composition and painted the empty bits black.
For self-portraits, use a stable tripod and a remote release or self-timer. Mark your position or use a stool so you can return to the same light and focus position. Check a test frame before changing your pose.
In the self-portrait above, the window light and a black reflector case provided a simple starting point. Try a similar setup, then adjust the light for your own pose.
Work with Unusual Angles
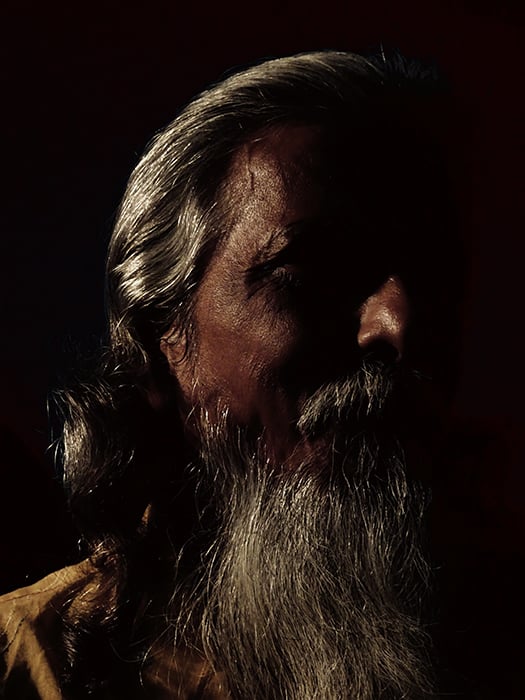
A classic portrait often keeps the face and eyes visible. For a more mysterious result, break the composition rules and explore which features the light reveals.
Ask your model to turn their face away from the light, or frame their hands, hair, or profile. Review each change: a small turn can move an important feature into shadow. Keep enough visible information to make the composition intentional.
Experiment with Expressions
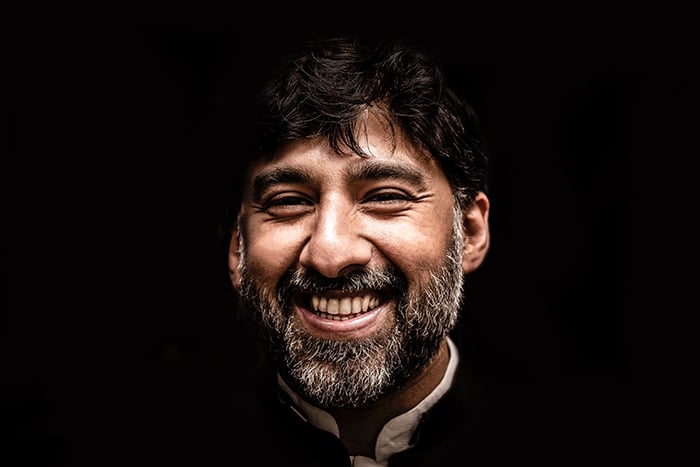
To capture genuine emotions, make sure your model feels comfortable in your presence. To achieve this, you can ask them to bring a friend or get to know them before your shoot.
Many chiaroscuro portraits look serious, but the lighting can also work with a smile, laughter, or a quiet expression. Help your subject feel comfortable, then photograph a range of expressions with the same setup.
Watch how movement changes the light on the face. If your subject turns out of the lit area, adjust their position before changing the exposure.
Photograph Multiple Models (They Don’t Have to Be Humans!)
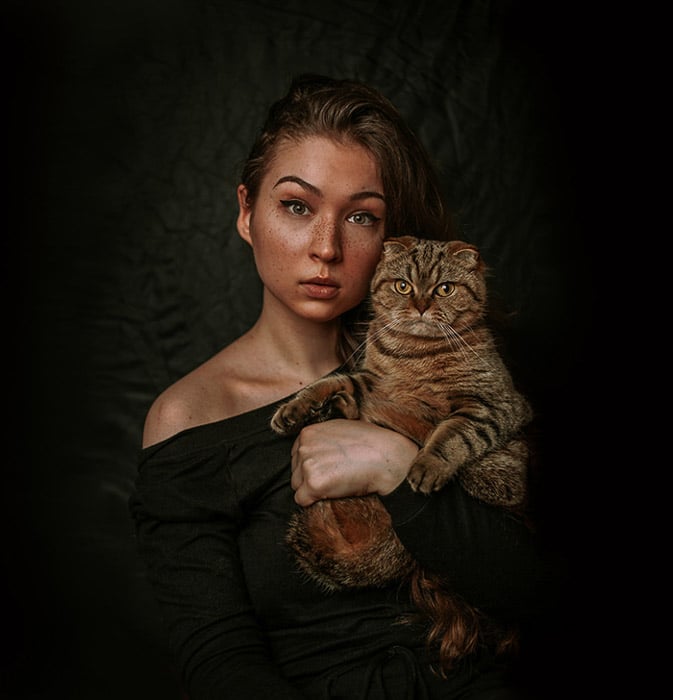
This is a self-portrait that I took with my cat. This is the only photo (out of around 100) in which she’s looking directly at the camera. Keep this in mind as you take photos of your model and their pet. With the right amount of patience, you’ll be able to take the perfect chiaroscuro photo.
A second person or pet can give your subject something to respond to. It can also make lighting more demanding: make sure the faces you want to show receive enough light. Start with both subjects at a similar distance from the source, then adjust their positions and check a test photograph.
For pet photography, leave time for movement and breaks. Let the animal settle, keep the session short, and be ready to photograph a brief glance toward the camera.
Conclusion: Chiaroscuro Lighting
Start with a window or one lamp, a willing subject, and a darker background. Adjust the light direction to reveal their shape, choose hard or soft shadow edges, and control fill to set the contrast. Keep useful detail in the lit areas while allowing the shadows to support the mood.
Practice with yourself or people you know. Once you can repeat a setup, try different expressions, subjects, and genres of photography. You can build a dramatic cinematic portrait through careful lighting without an elaborate studio.
For more great photography lighting tips, check our posts on using a rim light or a ttl flash!