How to Copyright Photos (Everything You Need to Know)
It's not difficult to copyright photos, but there are a few things you need to know in order to do it correctly. In this article, we'll walk you through the process step-by-step so that you can protect your work and be assured that no one can use it without your permission.
What Are Copyright Photos?
Words like ‘copyright’, ‘copyright owner’ or ‘intellectual property‘ are standard terms in photography. But what are they exactly?
Copyright is a law that tells the public that you own the piece of art that you create. According to the U.S. Copyright Office, this ownership allows you to reproduce, sell, and do whatever you wish with it.
So how can you copyright a photo for free? Copyright automatically applies to your work at the moment of creation. This copyright lasts your entire lifespan and for some time after your death.
But sometimes it’s better to copyright your photo officially. In case of any usage issues, it can help you with any legal issues you may encounter.

So who owns the rights to a photo? Clients and photographers often debate who owns an image after it is taken. The client buys the photographs in the shoot, but the photographer takes the photos. So who owns the content?
According to copyright law, the photographer does. Unless they transfer the rights to the client, the image is theirs.
The client may only use the images with the consent of the photographer. This rule applies regardless of whether or not they paid for the photos.
This is where using a photography contract becomes crucial. Use it to avoid any miscommunication. Highlight the permitted image usage guideline for each photoshoot that you do.
Doing so grants the client legal permission to use copyrights images as outlined in the contract.
How Does Watermarking Play Into All of This?
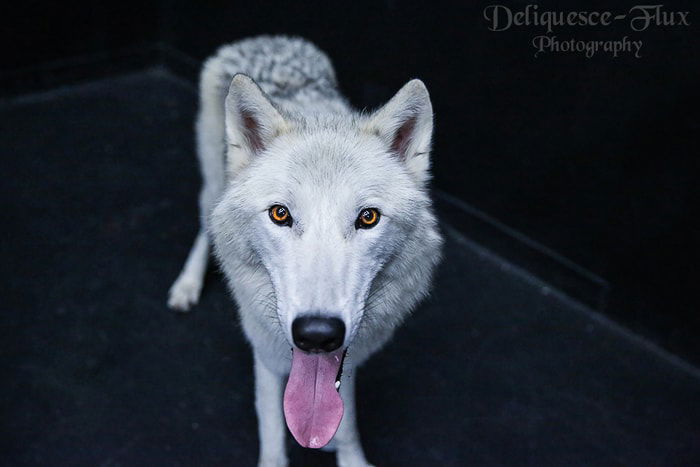
Watermarks are marks on a copyrighted image that identifies the creator. Watermarks can range from logos to text on a photo.
Although a watermark will not prevent thieving entirely, it has two significant advantages:
- When your image gets re-posted, people will know that you are the creator.
- Thanks to Section 1202 of the U.S. Copyright Act, anyone that removes your watermark (via cloning or cropping in Photoshop) to hide the infringement commits a crime. They can face fines anywhere from $2,500 to $25,000. We recommend that you consult your attorney if that ever happens.
As an alternative to watermarks, you can also add copyright information directly in your camera. Most DSLR and mirrorless cameras have a specific option for this in their menu. In this way, your name will appear in the EXIF data of your images.
However, keep in mind that this metadata can be easily removed in many editing software.
How Do You Apply for a Copyright?
So how do I copyright my photographs?
Registering your image with the US Copyright Office isn’t a necessity. But we highly encourage it because registering proves that you own the picture in question. In legal cases, this serves as evidence.
Furthermore, if you sue and do not register, you are only entitled to actual damages. But if you register, your benefits now extend to statutory damages. These will help make up for the amount you may have lost on these photos rather than what you did lose.
You can copyright photos in two different ways. You can either apply for an online application or out or mail it.
Copyright on an image can take up to eight to thirteen months, according to the Government Copyright Office.
So how much does it cost to copyright an image? The fee for a single author with a single photograph is $35.
Here is a basic outline on how to copyright photos:
First, go to the official Copyright Office website and select “Register a Copyright.” Follow the on-screen instructions. Answer the questions that follow. Doing so will help the system process your registration.
The website will then prompt you to answer questions such as ‘Type of Work’. Photography falls under ‘Works of the Visual Arts’.
The next couple of pages will ask the author (creator) ‘s name and claimants of the work. If you want your name out of it, it is possible to file as anonymous.
The form will then ask you to provide contact information. The Copyright Office may contact you if any questions come about during the registration process.
Whatever you do, do not fill out both the ‘Individual’ and ‘Organization’ fields on the ‘Mail Certificate’ page. Make sure to mark only the fields that apply to you.
If you make mistakes, the office may fine you up to $2500. Yikes! So take your time to fill them out.
You then proceed to checkout and pay, and that’s it!
What Should You Do If Someone Steals Your Image?
If the photograph in question doesn’t necessarily benefit you in any way, you probably shouldn’t worry about it.
But if the image is valuable, you have a couple of options:
A. Politely ask the culprit to remove the image or add your credit. Do this when the person in question is not profiting off of your work. Or when it is clear that they are simply ignorant of copyright law. The response you receive from this type of request may not always be a positive one. But there are times when it will work as it did here! So what if the culprit ignores your request? Then you can proceed to approach B.
B. Send a take-down notice or a cease and desist order. You can write this letter to the thief or their web host. You can find sample templates via Google or contact an attorney. Use this if approach A fails. Or if you want to remove the photograph immediately. If the infringer is profiting off of your work, you can also send them an invoice. For this, we advise that you contact an attorney to help you through this ordeal.
C. Sue. File a copyright infringement lawsuit against the perpetrator. Use this when your stolen image is generating a profit. Or if the thief ignored your other contact and invoicing attempts. In situations such as these, it’s time to involve a lawyer!
Conclusion
Remember that you don’t need to pay for copyright for every picture. Every image you create is already protected by default since you’re the creator. You should only apply for copyright if you believe any of your photographs might be prone to misuse.
For all you need to know about starting a successful portrait photography business, take a look at our eBook: Profit from Portraits!
