A macro lens is the best option when taking close-up photography. But a dedicated macro lens can be expensive, making it difficult to get into macro photography.
One great alternative to using a macro lens is getting a macro filter. A macro filter allows you to turn any lens into a macro lens, including the one you already have! Continue reading to learn everything you need to know about macro filters and how to use them.
- Learn to take stunning photos without stepping outside.
- Discover affordable ways to convert any lens for macro shots.
- Explore unique techniques for lighting and composing your subjects.
What Is a Macro Filter?
A macro filter is an attachment you screw onto any of your regular camera lenses.
There are two types of macro filters. The first one is a single-element filter, meaning it has only one piece of glass. The other type is a double-element filter, which has two.
The main difference is that the single element is cheaper but more prone to chromatic aberrations, blur, and distortions. Meanwhile, the double element has a second piece of glass to minimize the above issues. But this makes it more expensive.
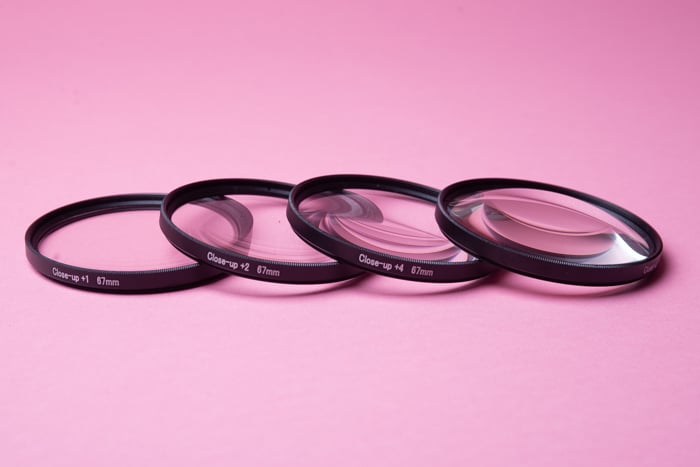
Macro filter kits come with three or four lenses. They all have varying magnifications from 2x to 10x or more.
The Advantages and Disadvantages of Using Close-Up Filters
Like any piece of photography equipment, using a macro filter has its pros and cons. We’ll discuss a few of them to help you determine if they fit your needs.
Advantages
The main benefit of using a macro filter is that it can turn any lens into a macro lens. Unlike some other macro attachments, it’s also small and lightweight. Finally, it is one of the cheapest options for those wanting to get into macro photography. There are many macro filter kits available for very reasonable prices.
Disadvantages
The main issue is that it’s less sharp than a dedicated macro lens. As mentioned before, it can also cause distortion and color fringing. And because it’s an attachment, it also tends to let less light in.
But there are plenty of high-quality macro filters on the market that keep these issues to a minimum.
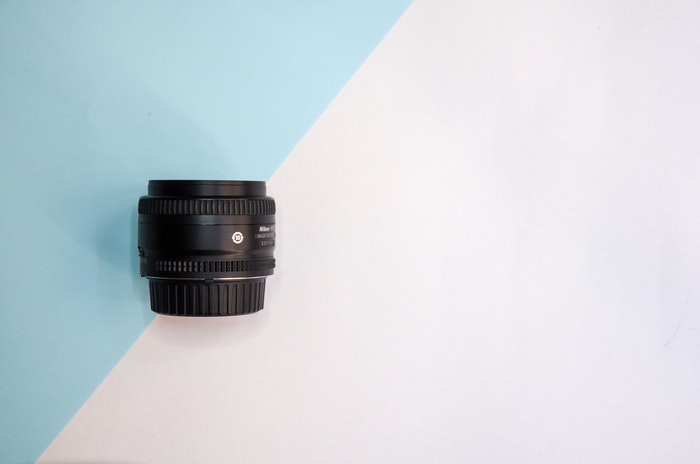
How to Choose the Perfect Filter Size
Lenses vary in size, so you must pick a macro filter that matches the diameter of your camera lens.
You can find the diameter of your lens on the lens barrel itself. Every brand places its lens information around the rim or near the lens mount. The most common sizes include 49, 52, 69, and 72mm. There is often a symbol that looks like this Ø next to the diameter size.
Remember that the focal length is not the same as the lens diameter. So if you have a 50mm, its lens diameter is most likely 52mm. If you have a bigger camera lens, there’s a good chance it could be between 69mm and 72mm.
To be safe, look for that Ø symbol beside the value to confirm you’re looking at the diameter and not the focal length.
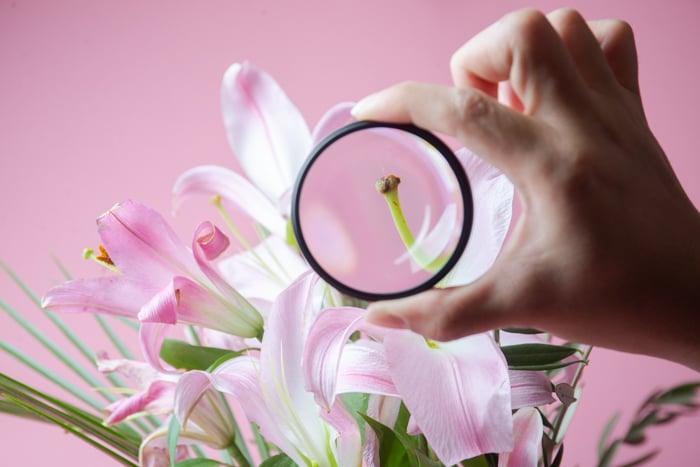
How to Use a Macro Filter
To attach a macro filter, all you have to do is screw it onto the lens. If you’re using a UV filter, make sure you remove it first. If you don’t, it may affect the macro filter attachment.
Once the macro filter is attached, you can take pictures like you normally would with a regular lens. It also works with autofocus, so you don’t have to worry about adjusting your lens manually.
Remember that your minimum focusing distance will be shorter when you’re taking photos with a macro filter. In other words, you’ll have to get closer to achieve a sharp image.
For instance, if your lens’s normal minimum focusing distance is 12 inches, it would probably be about six inches or less once you put on the macro filter.
To figure out your new minimum shooting distance, position your lens about an inch or two away from your subject. Then, slowly pull away until it’s sharp. Remember to stay in that position so you don’t lose your focus.
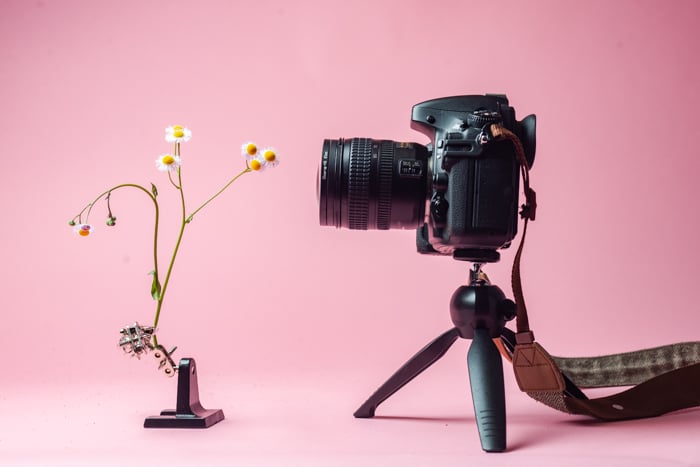
How to Stabilize the Camera for Macro Shots
When using a macro filter, the depth of field becomes quite shallow, even when you’re using a narrow aperture. In most instances, only a few millimeters of the subject you’re shooting will be sharp, while the rest will be blurry. You may find it difficult to keep that same spot in focus while shooting handheld.
So, how do you solve this issue? The answer is using a tripod. Since it keeps your camera stationary, you’ll have a better chance of keeping your focus on your subject. Once you figure out your shooting distance, position your camera and tripod and stay in that spot. You can then start taking photos without having to readjust your focus point all the time.
Of course, handholding your camera is also doable. But you need to keep it steady and maintain the correct distance from your subject. Otherwise, there’s a good chance you may end up with out-of-focus pictures.
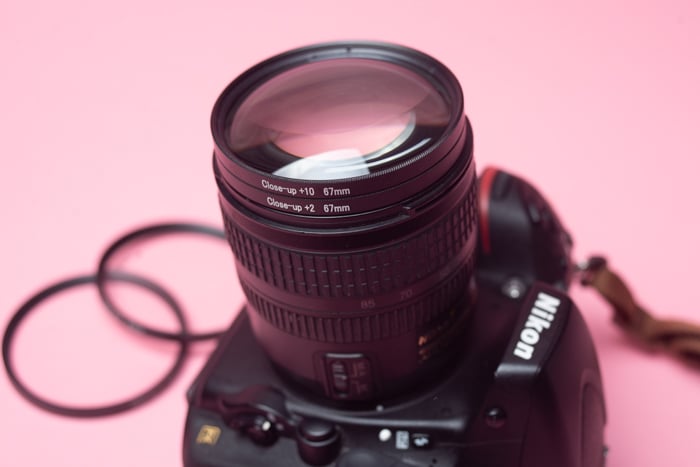
Stack Filters to Increase Magnification
You can stack close-up filters on top of each other to increase your magnification. All you have to do is screw on a close-up filter onto the filter that is already on the lens.
But remember that as the diopter value increases, the curve of the lens also becomes more apparent. If you compare a 2x diopter with a 10x, you’ll notice that the glass of the 10x bulges out further than the 2x.
If you want to stack your filters, make sure you use the lenses with smaller diopter values first. For instance, place the 2x on your lens first before you install the 10x. If you try putting them on in the opposite order, you’ll notice the 2x won’t fit over the 10x.
You also need to remember that the more filters you put on, the less light gets in. And because there’s more glass, you may notice a decrease in the quality of your photos. To be safe, stick to a maximum of two or three filters if you need to stack close-up filters.
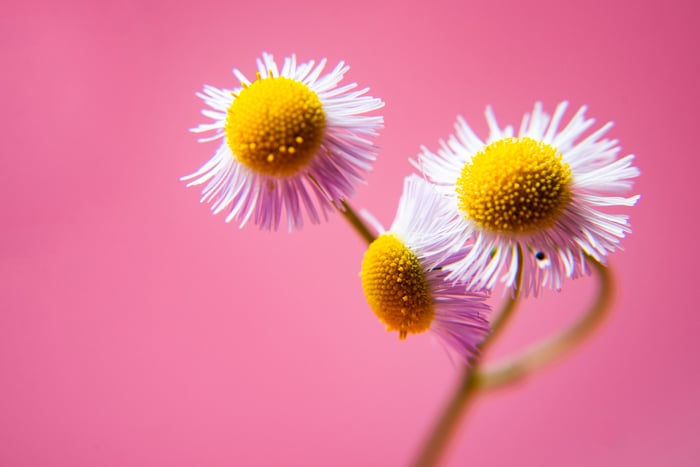
Composing with Macro Filters
The rules of composition in photography apply to all types of genres, including macro photography. But if you’re used to taking photos of larger subjects, you may find it challenging to compose your subject when doing close-up shots.
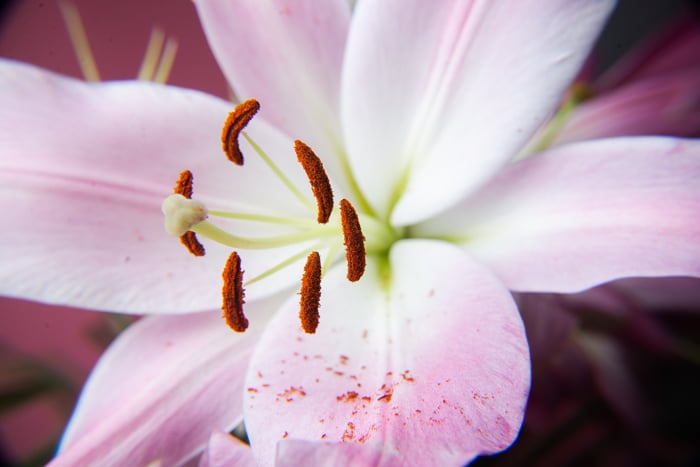
Since everything is so close, how do you find your main point of interest? Of course, the answer varies depending on what you’re shooting. But in general, you need to focus on what you want your viewer to notice first.
If you’re shooting a flower, you can focus on the petals if you think people would like them. Or you can focus on the stigma if you find it more interesting. There’s no right or wrong decision. It’s just a matter of what you want your image to look like.
Having the freedom to choose your point of interest doesn’t mean you can forget about composition altogether. In general, the rule of thirds lends itself to a balanced photograph. But you can always break the rules of composition to create a unique image!
How to Light Your Subject
When using macro filters, you’ll be shooting close to your subject. That means that you could potentially block the light hitting the subject. Or you could create shadows where you don’t want them.
One way to combat this issue is to light your subject from the side. That way, your lens isn’t blocking the light and you get a well-exposed image. Lighting from the side also creates deep shadows that make your pictures more dynamic.
You also have the option of lighting your subject directly from the top. Doing so creates an even illumination and helps show the fine details of what you’re shooting.
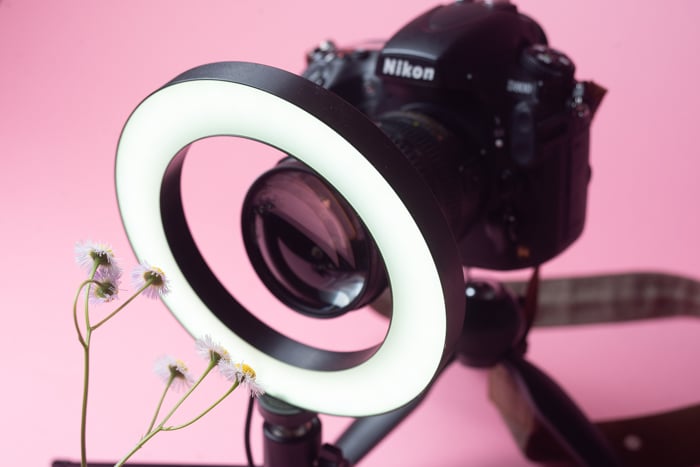
But what if you want to light your subject from the front? If you’re going to take this route, you’ll need to buy an artificial light designed for macro photography.
Most macro lights attach to your camera’s hot shoe and extend farther than the lens. This allows it to illuminate the subject without the lens getting in the way.
You can also buy a ring light and place the lens right through the hole. Although a ring light is not designed specifically for macro photography, it’s very effective. Remember that if you’re using a long lens, you’ll need to place the light close to the end of the lens barrel.
Conclusion: How to Use Macro Filters
Macro filters are cheap and easy to use. They’re a great way to make macro photography more accessible without needing to buy a specialized macro lens.
We recommend always having them in your camera bag. Macro filters do have limitations. But if you know how to use them correctly, you can create professional-quality macro shots!
- Learn to take stunning photos without stepping outside.
- Discover affordable ways to convert any lens for macro shots.
- Explore unique techniques for lighting and composing your subjects.