“Why are my photos blurry?” It’s a question we’ve all asked ourselves when starting out with photography. There’s no greater frustration than taking a picture we think will be a knockout, only for it to be blurry.
Thankfully, there are some remedies that will have your blurry photos looking sharp. That’s exactly what we’re going to explore in this article.
The tips in this article will give you a better understanding of how your camera works and what you can do to guarantee sharper shots. We cover everything from shutter speeds to photo editing software. Once we’re done, you’ll never take a blurry photo again.

© Olesya Yemets
12 Tips on How to Avoid Blurry Photos
There are a number of reasons your photos could be blurry. But there is also a solution to each reason, so there’s no need to fear.
These tips will give you all the knowledge, skills, and equipment you need to capture sharp shots in any conditions.
1. Switch to a Faster Shutter Speed
Camera shake and motion blur are the two most common causes of blurry photos. Camera shake is caused by movement of the camera. And motion blur is caused by movement of the subject.
The most common cause for these types of blur is a slow shutter speed. Shutter speed is one of the three main exposure settings and one corner of the exposure triangle. It’s measured in fractions of a second.
It refers to how fast the camera’s shutter opens and closes when taking a picture. The longer it’s open, the more light it lets in. The trouble is, however, using slower shutter speeds increases the risk of camera shake and motion blur.
The rule is that you should not use a shutter speed slower than 1/125 when shooting from hand. Anything slower and your images will be completely blurry.
However, if you’re taking pictures of fast-moving subjects, you will need faster shutter speeds. If you use 1/125, a moving car or cyclist will be blurred due to their movement. This will happen even if the camera is perfectly stable.
You also need to take the lens’s focal length into account when calculating the optimal shutter speed. A general rule is to set your shutter speed to at least your lens’ focal length.
If you are using a 200mm lens, then your shutter speed should be at 1/200 s or faster. For 20mm focal length, use at least 1/20 sec. If your lens has image stabilization, you can reduce your shutter speed slightly.

© Kav Dadfar
2. Stop Down to a Narrower Aperture
The aperture is one of the other two important exposure settings. It’s the adjustable hole that lets light through the lens and into your camera.
Aperture can also affect image sharpness. Generally, narrower apertures or larger f-stops give you sharper images. Wider apertures can soften your images, making them look slightly blurry.
An aperture setting of f/5.6 or above will give you peak sharpness. Aperture settings below f/5.6 can lose sharpness, especially around the edges.
The quality of the lens can be a factor in this. Better lenses won’t lose as much sharpness at wider apertures, but it can still be a problem.
Depth of field is another factor to consider when dealing with aperture. A narrow aperture like f/11 or f/16 gives you a deep depth of field.
That means that a large portion of your scene will be in focus. Everything from the foreground to the background will be sharp. This is why landscape photographers always use narrow apertures.
A wide aperture like f/2.8 gives you a shallow depth of field, so your subject is in focus but everything in the foreground and background is out of focus. This could be a reason your images look blurry.
If you’re shooting portraits and you want a blurred background, a wide aperture will give you the desired bokeh effect. But if you’re shooting a wider scene and want everything as sharp as possible, it’s best to use a narrow aperture.
3. Maintain a Low ISO
ISO is the third and final point on the exposure triangle. The ISO level tells you how sensitive the camera’s sensor is to light. A low ISO is less sensitive, and a high ISO is more sensitive.
However, image quality decreases as you increase the ISO. The higher you go, the more digital noise will become visible in the image.
Digital noise is a grainy effect that occurs when the camera is struggling for light. While this isn’t a type of blur, it does effect the clarity of your image. The image becomes muddy, unclear, and loses sharpness.
Most modern cameras can cope with relatively high ISO settings before they start to show digital noise. This is especially true with high-resolution cameras. You can go to 400 or 800 ISO without much trouble. But, keeping the ISO as low as possible will give you better clarity and quality.
So far, we’ve told you to use a fast shutter speed, narrow aperture, and a low ISO. You’re probably thinking you’ll never have enough light to properly exposure a sharp, non-blurry image. Your settings will depend on what you’re shooting, and it’s about finding a balance that works for that scene.
You can also use other piece of equipment to help solve the issue of blurry photos.

© Kav Dadfar
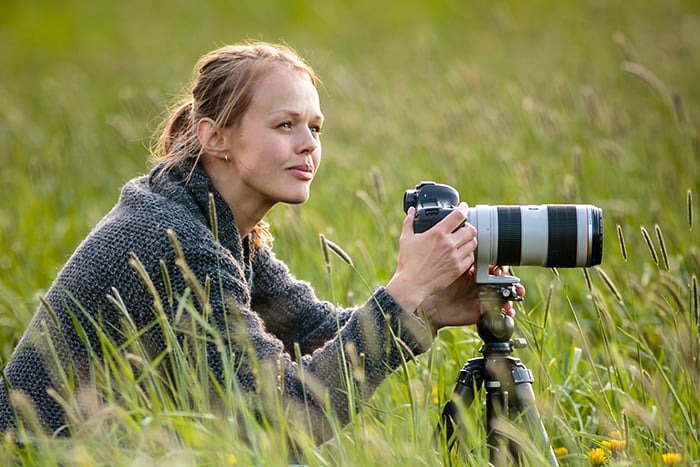
4. Stabilize Your Camera with a Tripod
Shooting from hand has its limitations. Of course, you have more freedom of movement. But even photographers with the steadiest of hands can’t avoid camera shake.
A tripod gives you the stable platform you need to capture sharper images. By mounting the camera on a tripod, you can use slower shutter speeds with a greatly reduced risk of camera shake.
You can set the camera below 1/125, going down to 1/60, half a second, or even a full second. As long as the camera is securely mounted and the tripod is on stable ground, you can keep the shutter open as long as you need to.
However, you still have to worry about motion blur. When using a tripod and slow shutter speeds, any movement will become blurry in your image.
Even wind can affect the sharpness in this situation. Strong winds move bits of scenery or the mounted camera. The slightest movement of the camera could ruin your image, leaving it a blurry mess.
A tripod is essential for sharp images as it gives you far more freedom with your exposure settings. That’s why everyone from landscape photographers to portrait photographers use a tripod.
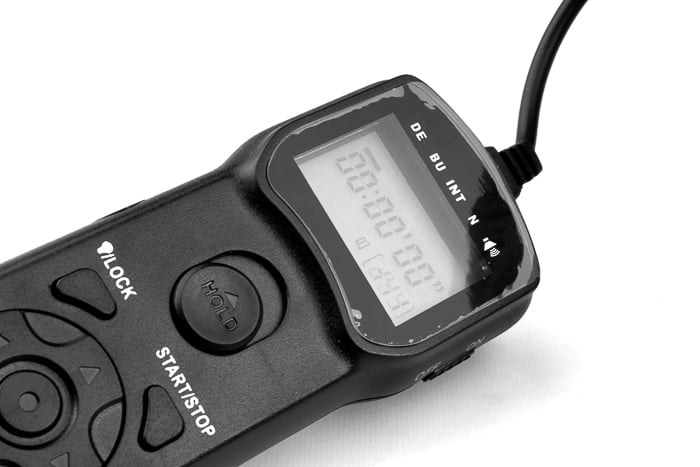
5. Avoid Camera Shake with a Remote Shutter Release
Your camera is still at risk of camera shake even when mounted on a tripod. We’ve already mentioned how wind might affect the camera. But even pressing the shutter button can move the camera enough to blur your image.
If you’re using slow shutter speeds, even the slightest movement can create visible blur in your photos. The best way to avoid this is to use a remote shutter release.
This device allows you to press the shutter without touching the camera. Some are connected with a wire, but you can also get wireless options. You can also use your camera remotely using your smartphone and the camera’s Wi-Fi connectivity.
A shutter remote completely removes the risk of camera shake. They’re an essential photography accessory if you shoot with a tripod.
Using a timer is a similar solution. Setting the shutter to release after just a couple of second if enough to remove the risk of camera shake. Your hands will be well away from the camera by the time the shutter actually releases.
© Dreamstime
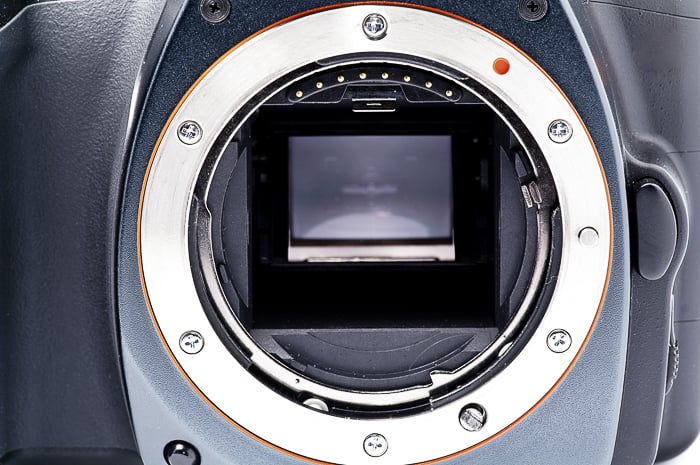
6. Lock Your Camera Mirror
This tip is only applicable to DSLR cameras. Mirrorless users don’t need to worry about this because those cameras don’t have a mirror, as the name suggests.
Again, we’re worried about camera shake when using slow shutter speeds. Even the movement of the mirror mechanism can effect the sharpness of your image. Locking the mirror resolves this problem.
All good DSLR cameras have a dedicated mirrorless function. And the same effect is also achieved by using Live View mode instead of the optical viewfinder.
@ Dreamstime
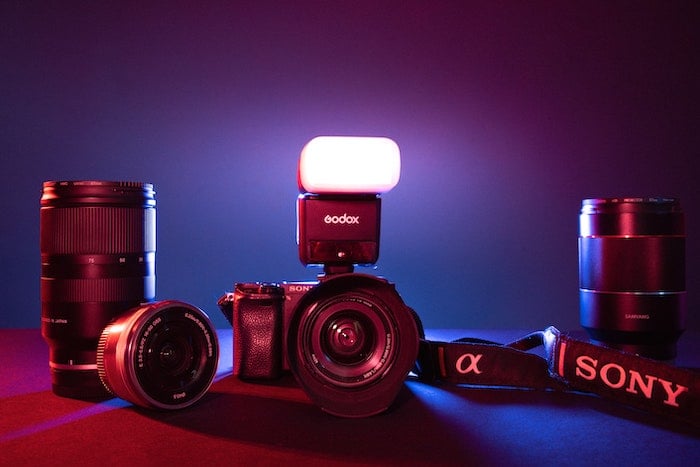
7. Illuminate Your Scene with Artificial Lighting
As we’ve seen, a lack of light can often be the cause of blurry photos. If the camera struggles for light, it will use a shutter speed that’s too slow, an aperture that’s too wide, or an ISO setting with too much noise.
One solution is to use your own light source to illuminate the scene.
The most obvious light is a flashgun. This type of photography light produces a flash of light when you press the shutter release button.
Some cameras have a flash built-in. But you can also get on-camera flashguns that connect using the camera’s hot shoe. And you can get off-camera flashguns.
Flash light can be too intense and garish, so you might prefer an LED light panel that produces constant illumination. Ring lights are also helpful if you’re shooting portraits.
No matter which type of light you use, more illumination means you can reduce your ISO, quicken your shutter speed, and narrow your aperture. Additional lighting reduces the risk of blurry images.
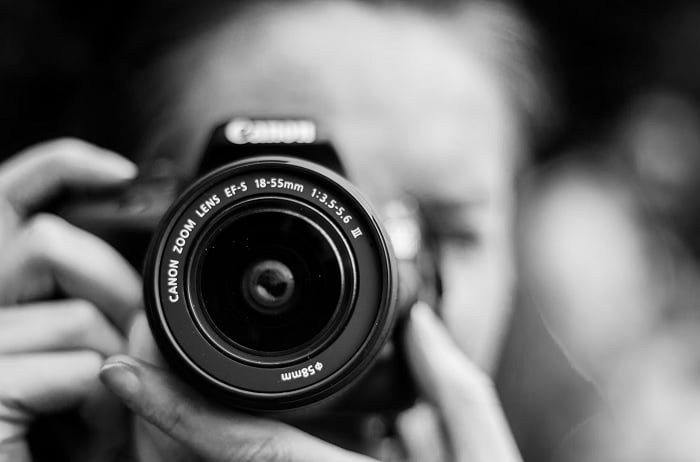
8. Select the Correct Autofocus Mode
Autofocus systems on modern cameras are pretty impressive. They’re quick, responsive, and even track moving subjects. But the key to using the AF correctly is to select the mode that suits the style of photography you’re shooting.
It’s important to check that your focus point is aimed at the right element in the photo. If you are taking a portrait but point at the background by accident, the camera will focus there.
Aim at your subject and press the shutter button halfway down to focus before taking the photo.
To ensure that your photos are sharp, you must use the correct focus mode on your camera. Cameras usually have three main autofocus modes.
- One shot—the camera will focus on what you’re pointing at. As long as you keep the button held down, it will not refocus elsewhere.
- Continuous focus—this is a good option when you are photographing something in motion. Once the focus is set, the camera will continue to track the subject.
- Autofocus—this focus mode switches between single and continuous modes based on the subject. Keep in mind that this isn’t always reliable, as the camera may make a mistake and focus on the wrong part of the image.
Newer mirrorless cameras also have more advanced autofocus modes.
If you’re shooting portraits, use a face or eye-detection mode. This will identify your subject, lock focus, and track them as they move. This means you get perfectly sharp images even if you’re subject is moving around.
Some cameras are able to identify other objects, like animals or cars. Selecting the right mode helps the camera focus, making sure your subject is not blurry.

© Dreamstime
9. Focus Manually for More Control
As fantastic as modern AF systems are, sometimes you and the machine are not on the same wavelength. The camera might focus on something that wasn’t your intended target. Or, it might not find focus at all and you’re left with a blurry image.
Switching to manual focus puts the control back in your hands. You’re reaction times probably aren’t as quick as the cameras’s, and tracking subjects is much more difficult. But you can be more precise with your focusing.
It’s particularly helpful with landscapes or wider shots. Your camera might focus on something in the foreground when you press the shutter. This might cause the background to go out of focus. But when focusing manually, you can set it to infinity and you’ll have no trouble.
© Ailbhe Flynn
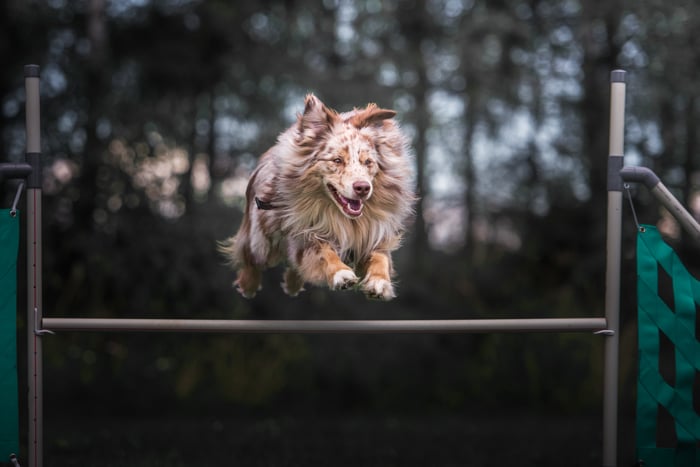
10. Capture Action with Burst Mode
Fast-moving subjects are often a cause of blurry photos. As we’ve seen, using faster shutter speeds will help. But you might still have trouble getting them perfectly sharp.
The added tension of snapping moving subjects can make you more prone to camera shake. The excitement might make you’re hands more shaky, and you might be inclined to move the camera as the subject moves. Either of these will make your images blurry.
Shooting in burst mode removes this risk. By taking many photos in sequence, you can stay calm and keep the camera steady.
You might find the first and last images are slightly blurry, but you’ll have a collection of blur-free images from the middle section.
© Tamara Kedves
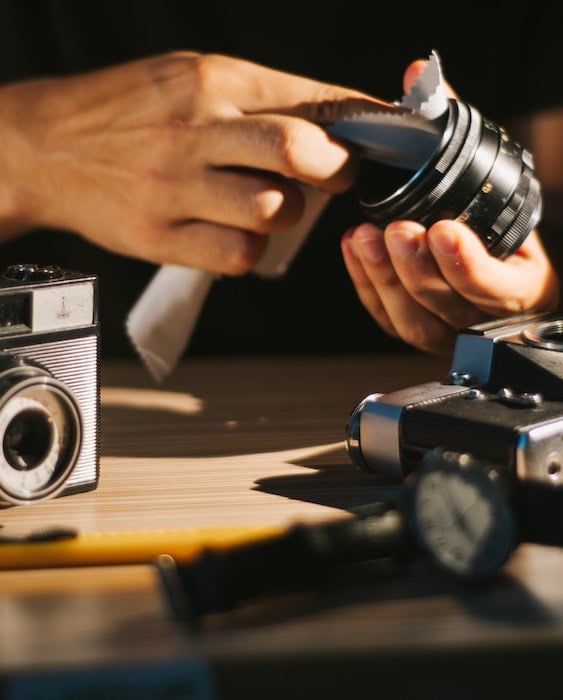
11. Keep Your Gear Clean
This might sound basic, but it’s essential to capturing sharp shots. Often, the problem has nothing to do with the settings or how much light there is. The problem might be your lens is dirty.
A large spec or dust, a watermark, or a smudge will make your images appear blurry. They might be perfectly sharp, but the filth on your lens makes it look blurred or out of focus.
You also need to keep your sensor clean. Dust can accumulate there, and this will also affect the image quality. You’ll lose sharpness and clarity.
Every photography, amateur or pro, needs a camera cleaning kit to keep their gear in good order.
© Ahmet Polat
12. Sharpen Images in Post-Processing
You can use photo editing software to fix blurry photos. Of course, if your image is a complete blur, no amount of top-level software can save it. But you can use some editing programs to sharpen slightly out-of-focus images.
There are some sharping tools in Adobe Lightroom, the most popular software suite with photographers. You can see our full tutorial on how to fix blurry photos in Lightroom. You can also use Adobe Photoshop to sharpen images.
Topaz Sharpen AI is another sophisticated program you can use to fix blurry images. Using the power of AI, it enhances sharpness and adds clarity and detail.
You should always try to get your images as sharp and blur-free as you can when taking the photo. That means using the correct exposure settings, mounting on a tripod, and using artificial lighting. But if all that fails, you can use programs like Lightroom and Topaz Sharpen AI to fix any problems later.

Conclusion
Mastering the fundamentals of photography is the best way to avoid blurry photos. Learning to use shutter speed, aperture, and ISO gives you the skills you need to capture sharp shots in any situation.
But sometimes good camera skills are not enough, so you might need some additional equipment. Using a tripod is one of the best ways to avoid blurry photos. You can also use artificial lighting equipment for sharp shots in low light.
Photo editing software can also be used as a fall-back position if your shots are still a bit blurry.
Practice is the key to mastering sharp photos, so don’t feel disheartened if you snap the odd blur or two. If you follow these tips and use this advice, you’ll get to the point where you never have blurry photos again.


