

Black and white photography is a type of monochrome photography, but monochrome is not always black and white. A black and white image uses black, white, and shades of gray. A monochrome image can instead use shades of one color, such as brown in a sepia photograph or blue in a cyanotype.
Think of monochrome as the broader category. A gray landscape, a sepia portrait, and a blue-toned print can all be monochrome. Only the gray landscape is black and white in the strict, neutral-gray sense.
The distinction describes the image's appearance. It does not tell you whether the photo was made on film, captured digitally, or edited afterward.
What is Monochrome Photography?
Monochrome photos use variations of one color, or a neutral range from black through gray to white. A green monochrome scene might contain pale leaves, dark foliage, and everything in between, without a competing red flower or blue background.
You can create this effect in two ways: photograph a scene with a naturally limited palette, or give a photo a single-color treatment in Lightroom or Photoshop.
Sepia photographs and cyanotypes show why monochrome does not mean only black and white. Sepia has a brown appearance. A traditional cyanotype uses light-sensitive iron salts to produce a blue image; it is a distinct photographic printing process, not simply a black and white photo developed with blue toner. The V&A's guide to photographic processes explains the cyanotype process.
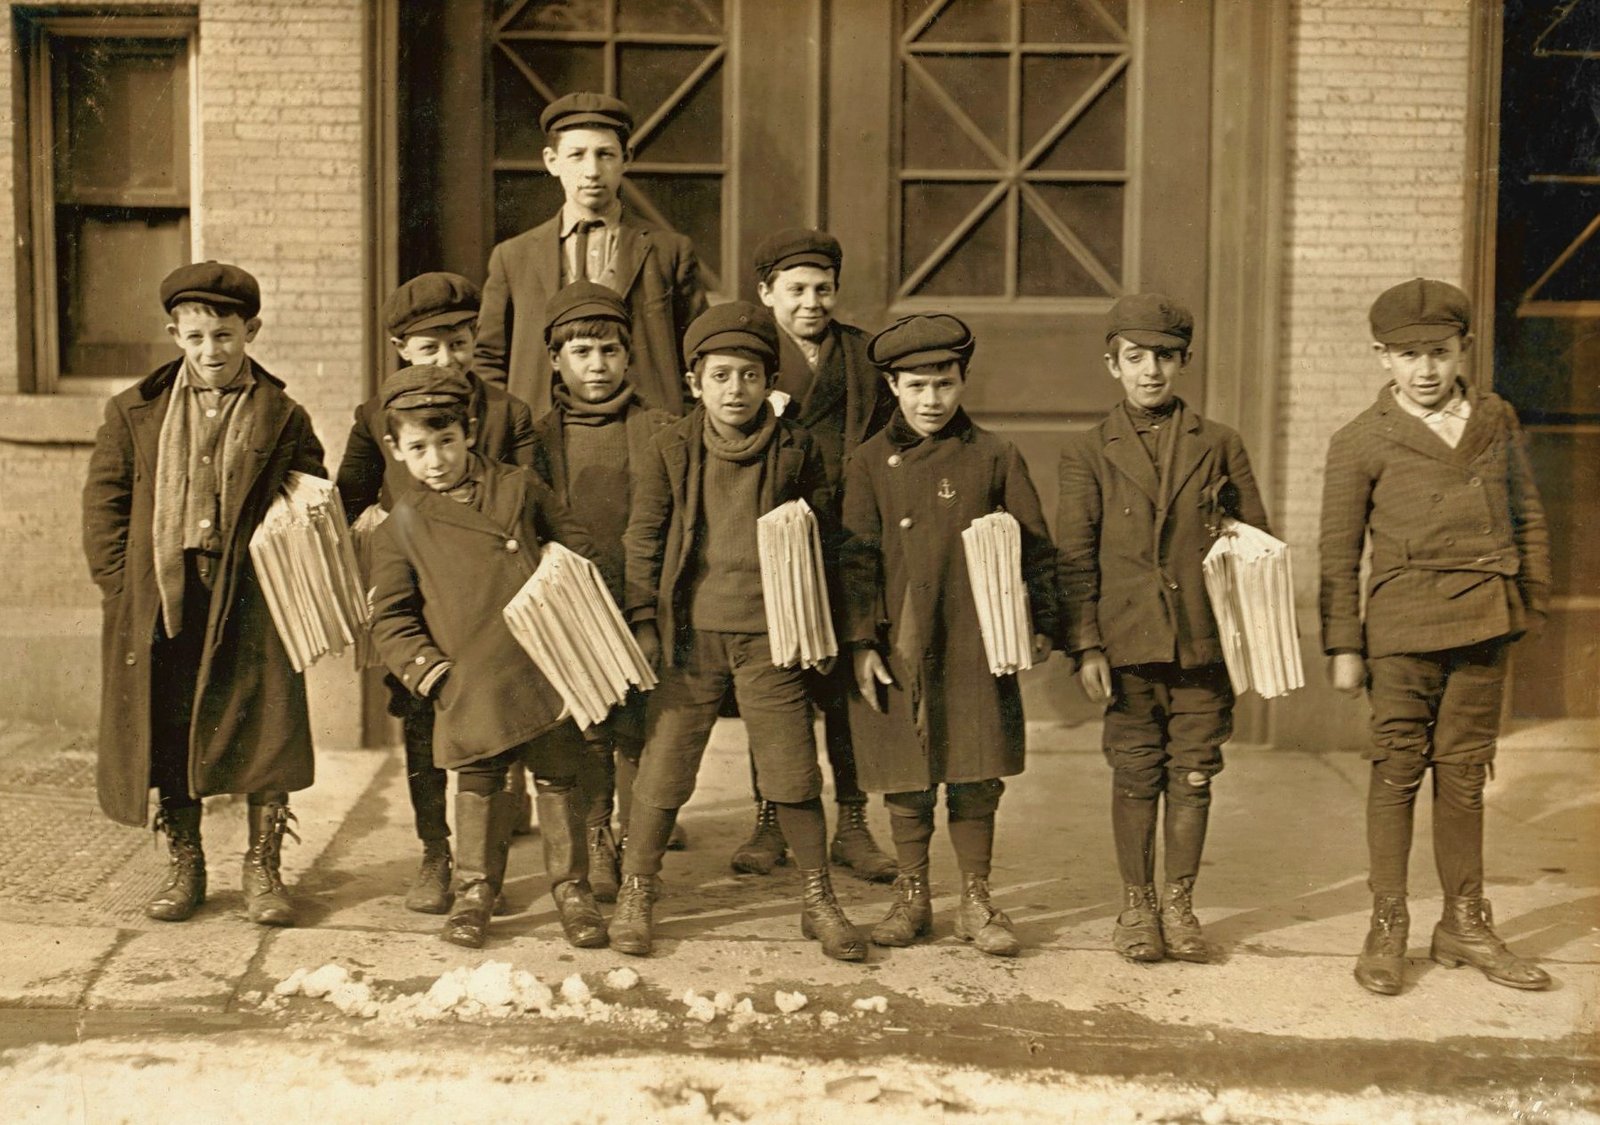
Vintage sepia photograph of newsboys, c. 1909
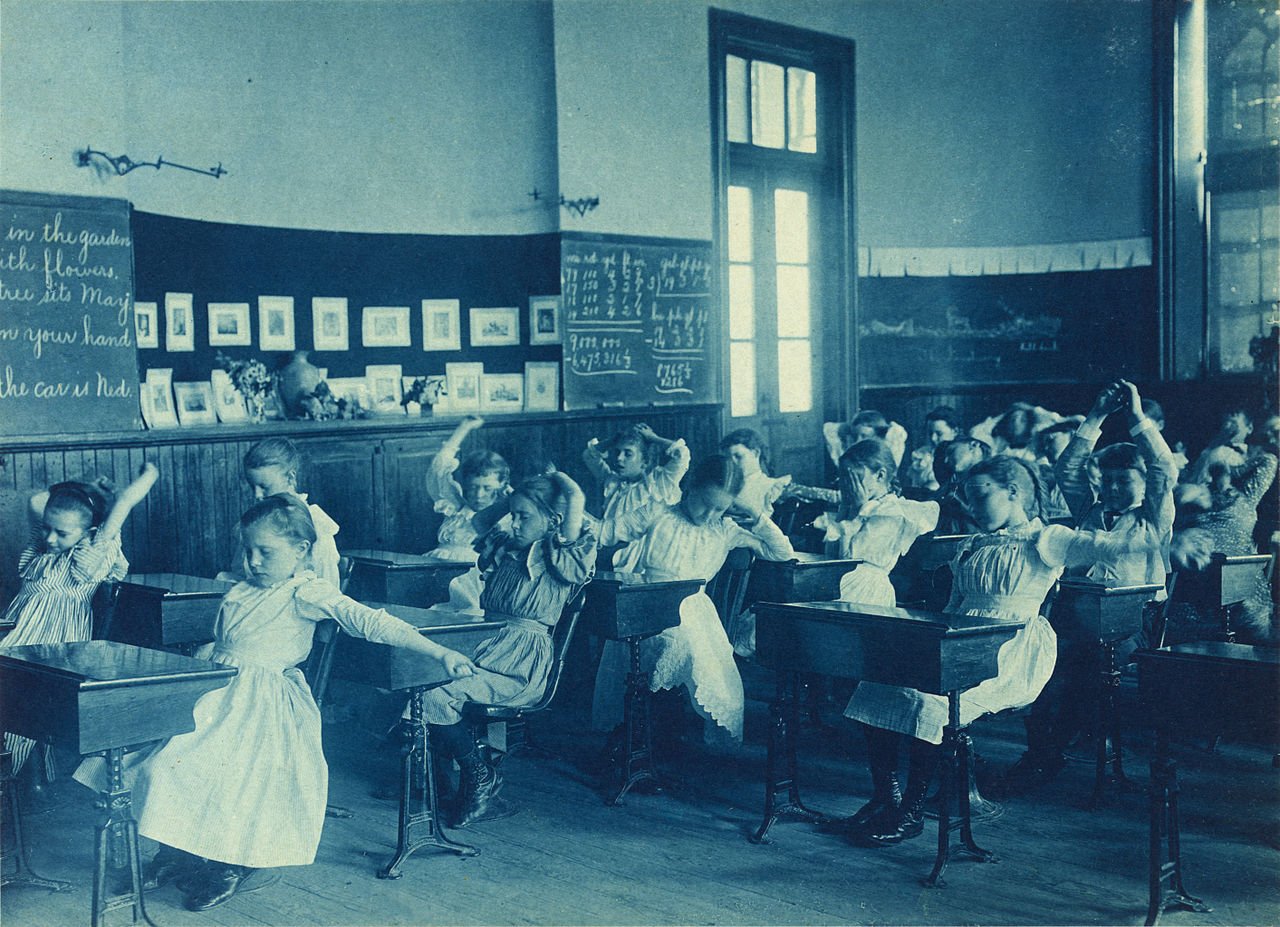
Vintage cyanotype photograph of schoolgirls doing calisthenics, c. 1899
Capturing a Slice of the Color Wheel
Take a look at the color wheel below. You can see that each color is divided into smaller pieces. These show you a rough illustration of variants within a single color.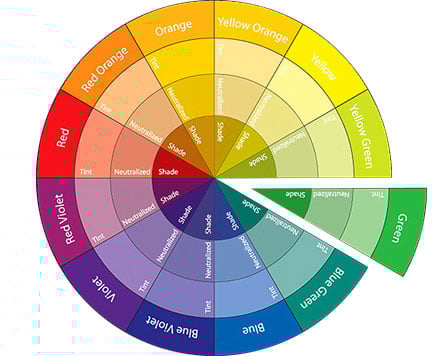
The green section shows the idea: one color can have lighter, darker, and less saturated variations. A monochrome composition uses that restricted palette instead of contrasting different colors.
In a real scene, small color variations are normal. The useful question is whether one color family holds the picture together.
In-Camera Monochrome Photography
To capture a natural monochrome image, look for a scene dominated by one color. Move closer or change your framing to exclude distracting colors.
A close-up of leaves is a good place to start. Look for differences in light and shade so that the leaves remain distinct. Strong contrast can help, but a soft image with subtle tones can work too.
The mushroom photograph below uses a yellow-brown palette. Its repeating shapes and fine texture give you something to look at within that limited color range.
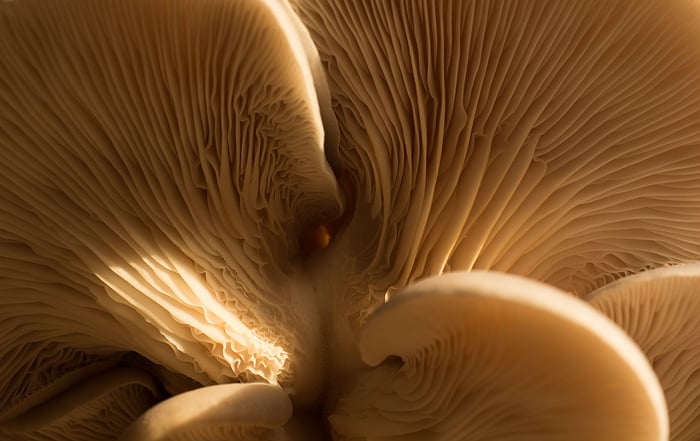
This close-up photo of a group of mushrooms shot from below only contains variants of yellow-brown colors. It’s a natural monochrome image.
The photo below is not perfect monochrome photography, but it’s close. It was captured in-camera with a long shutter speed.
Because of the time of day, the colors in the water and the sky matched quite well with the bathhouse.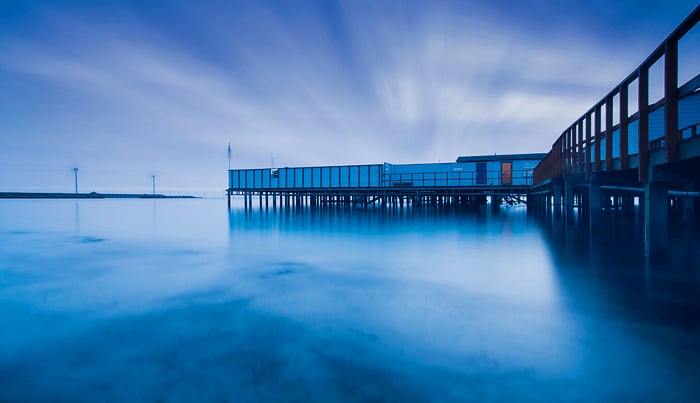
The original article records this historical comment from the Google Nik Collections website:
'This image caught our eye with its cool blue hues and simple composure. This type of colorful image is a great twist on a monochromatic image.'
You can explore the Nik Collection for more editing tools.
Using Lightroom Classic to Create a Monochrome Photo
For a single-color edit in Lightroom, these steps apply to Lightroom Classic:
- Open the photo in the Develop module and choose Black & White in the Basic panel.
- Adjust the B&W mix and the photo's light and dark tones before adding color.
- Open Color Grading and select its Global color wheel. Choose one hue and raise its saturation until the tint is visible. Keep the separate Shadows, Midtones, and Highlights color tints at zero for this simple treatment.
- Compare the toned version with the neutral black and white version. Use the one that suits the subject.
Starting with black and white removes competing colors before you add a tint. Adding different hues to the shadows and highlights creates a split-tone effect instead of a single-color treatment. See Adobe's Color Grading guide for the controls.
The screenshot below shows the older Split Toning panel. Adobe replaced it with Color Grading in 2020. It remains here as a historical example; look for Color Grading in current Lightroom Classic.
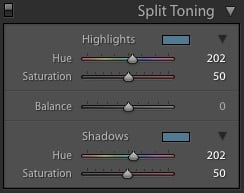
Neither editing nor finding a naturally monochromatic scene is automatically better. A tint can suit a particular mood, while a restricted palette found on location can make the scene itself the point of the photograph.
What is Black and White Photography?
Black and white photography uses neutral gray tones, including black and white. It does not need to contain pure black, pure white, or every shade between them.
This is why all black and white photos are monochrome, but not all monochrome photos are black and white. A blue-toned image belongs to the broader monochrome category, even if it began as a black and white conversion.
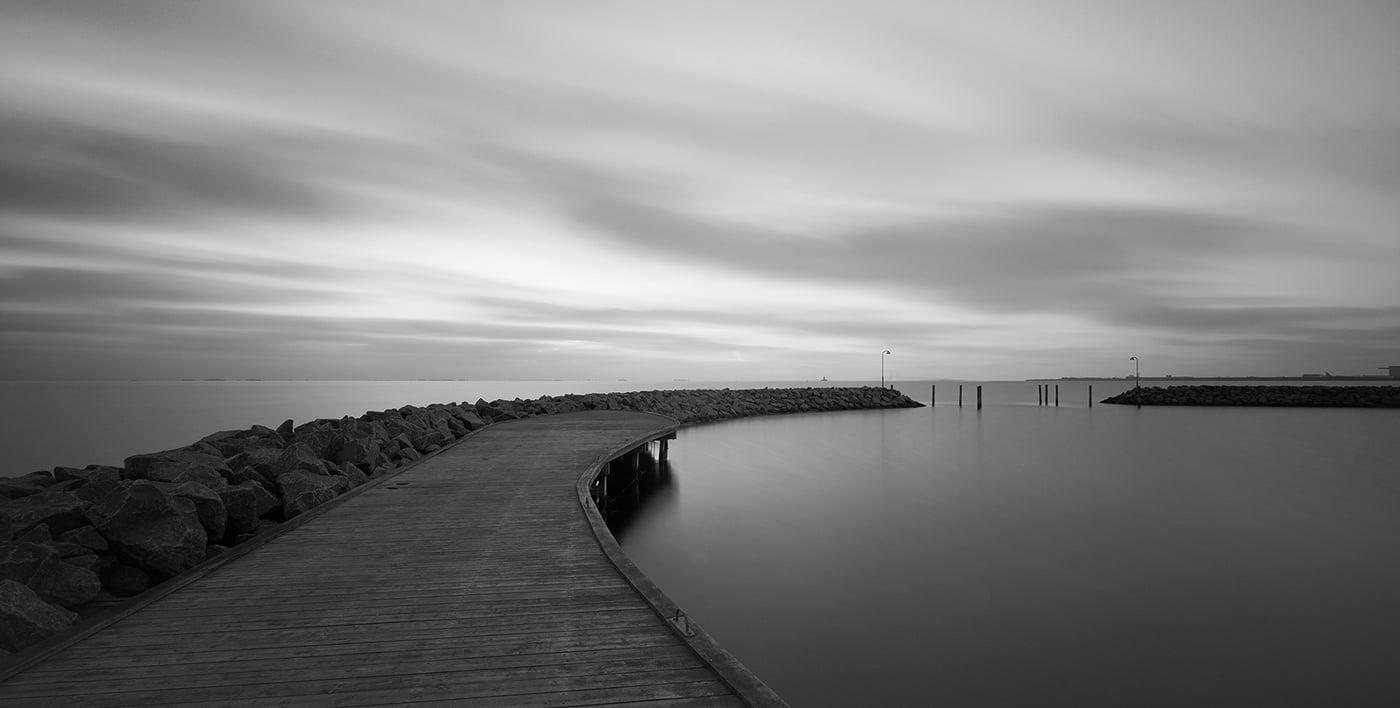
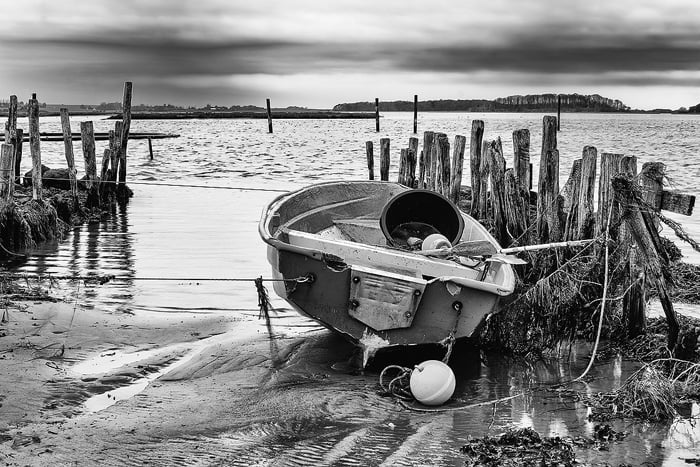
“Grayscale” describes the neutral appearance too. It does not mean a photograph has only two tones. The black and white image below contains many shades of gray, which preserve detail in the water and sky.
You can also make a photograph dominated by deep blacks and bright whites, as in the abstract image below.
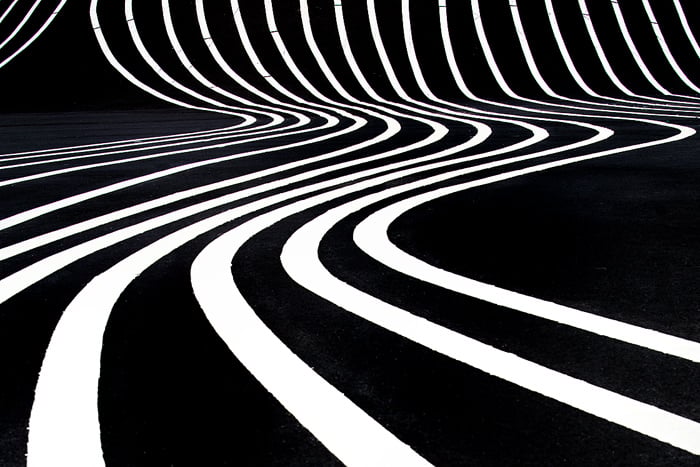
An example of a high-contrast black and white photo containing only tonal values in the dark shadows and the bright highlights.
This high-contrast photograph has far fewer visible midtones than the scene above. Both count as black and white photography. Contrast is a separate choice from whether an image contains color.
Should You Capture Black and White Images in Camera, or Convert Them in Post?
Both Canon and Nikon use “Monochrome” for camera settings that produce a black and white look. The label alone does not mean the camera has stopped recording a RAW file or has switched to JPEG.
On conventional color cameras, RAW or RAW+JPEG lets you use a monochrome preview while keeping the RAW color data for later editing. The monochrome treatment is applied to the JPEG; a compatible RAW editor can change the RAW file's treatment. Canon explains this distinction in its black and white shooting guide.
For example, on the Nikon DSLR D3500, in a P, S, A, or M mode, press P, highlight the current Picture Control, press J, and choose Monochrome. Set image quality separately to NEF (RAW) or NEF (RAW) + JPEG fine if you want to keep the RAW data. Nikon's D3500 manual confirms that Picture Control settings are stored separately from the RAW sensor data. Other models have different menus.
If you save only a monochrome JPEG, that file does not retain the original scene colors. Keep a RAW file when you want the choice of a color or black and white edit. This advice is for cameras with color sensors; dedicated monochrome cameras are a separate case.
When composing for black and white, look at brightness differences, shapes, and textures. Two different colors can become similar gray tones, so color contrast alone may not separate your subject from the background.
What Does Grayscale Mean?
“Grayscale” can describe a black and white picture, but it also names a file color mode. These are different uses of the word.
In photo editing, a picture can look black and white while remaining an RGB file. You do not have to change its color mode to get that appearance.
In Photoshop, Image > Mode > Grayscale discards the document's color information when you confirm the conversion. Switching it back to RGB does not restore the original colors. Keep the original file if you use this method.
For a more flexible edit, use a Black & White adjustment layer over the color image. This preserves the underlying color information and lets you control how colors translate into gray tones. Adobe's grayscale guidance recommends the adjustment layer when you want more control.
A monochromatic color treatment, such as sepia, is different again: it adds a visible hue. Do not convert a toned file to Grayscale mode if you want to keep that hue.
Conclusion
Black and white is one form of monochrome. Use neutral gray tones when you want to remove color, or a single-color palette when that hue is part of the picture. You can try taking some black and white portraits or landscape photography.
Look for natural monochromatic scenes to capture or scenes that will look great when converted to black and white.
Explore your camera settings and photo editing software too. This way you’ll learn the options you have when you want to create and work with black and white images.
Looking for some photography inspiration? Why not try a photo walk, photomontage or check our article on great photography quotes!