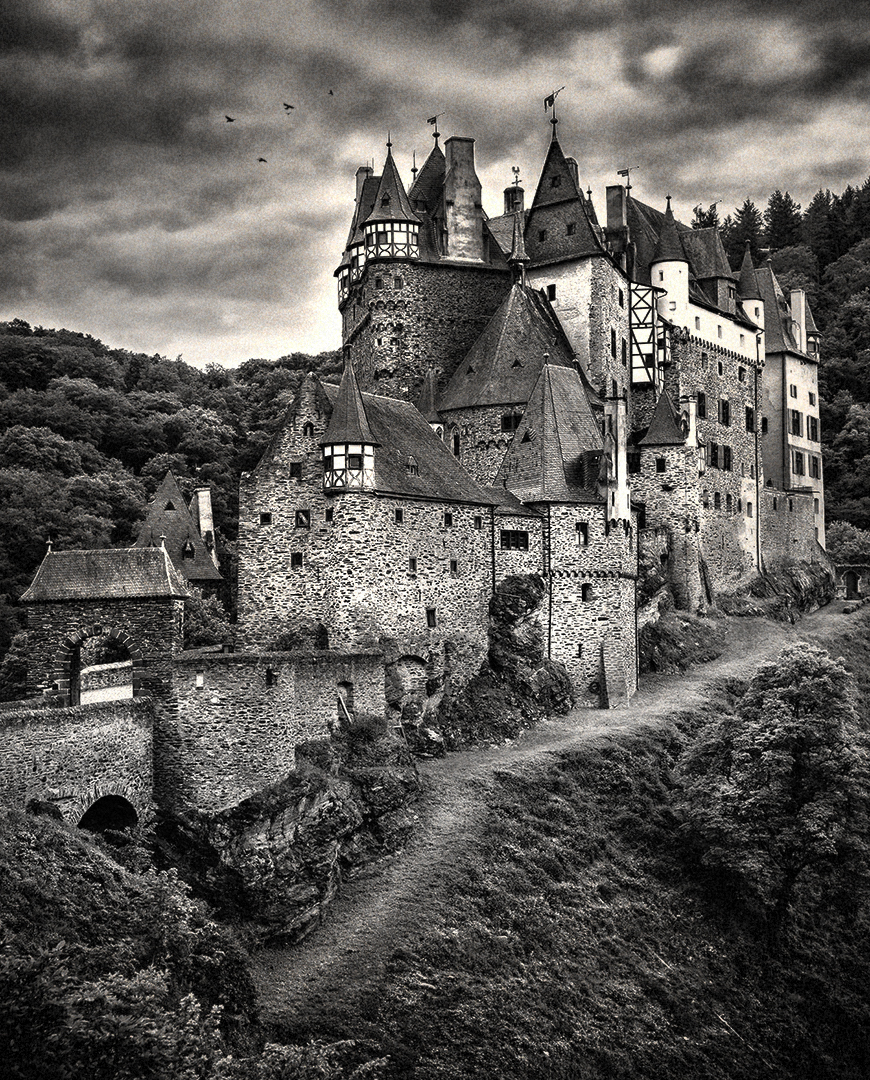
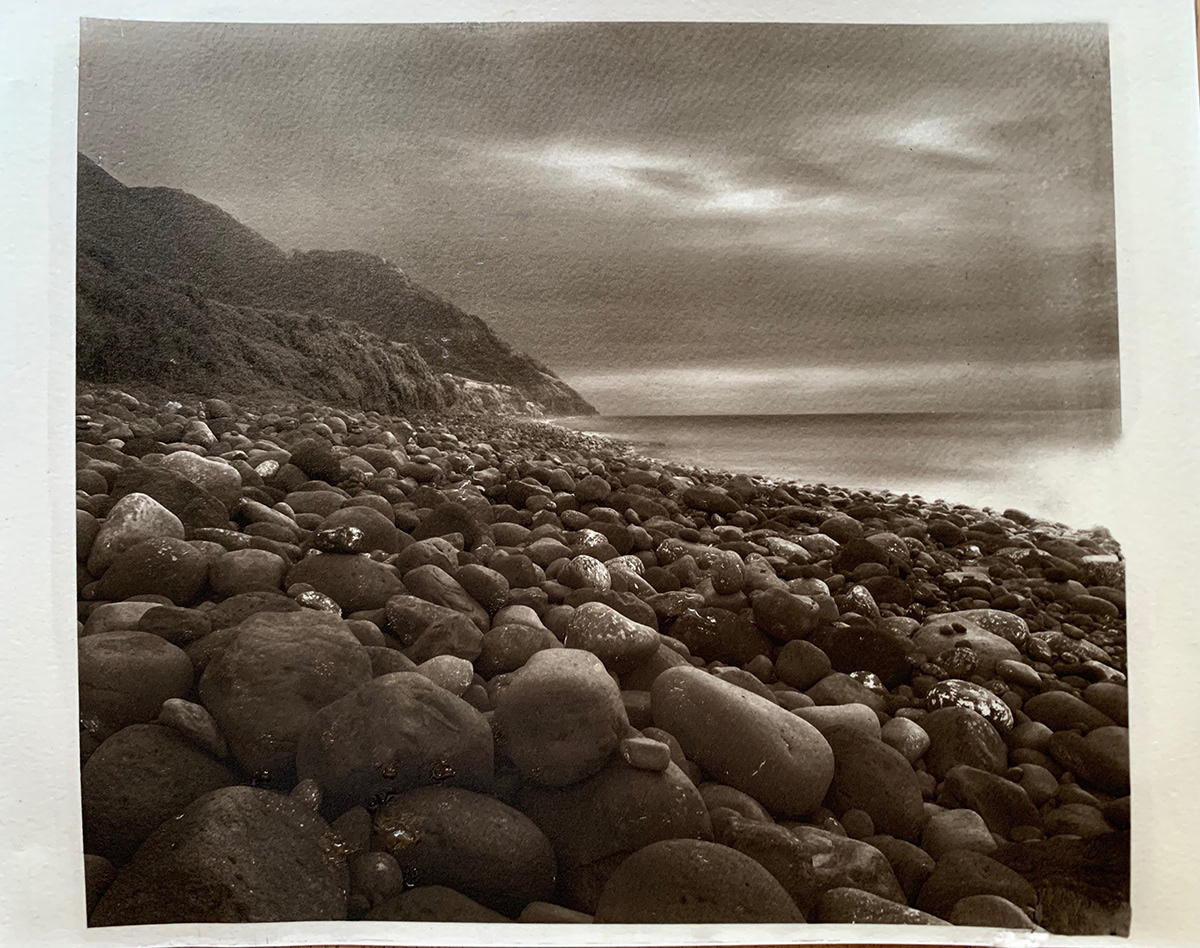
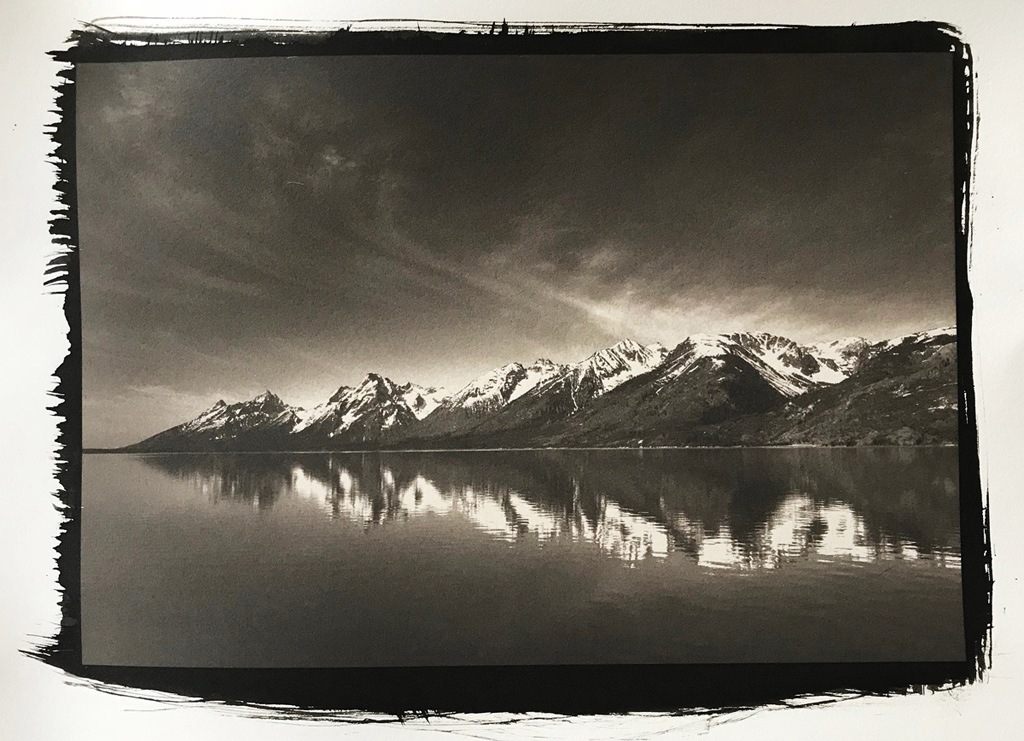
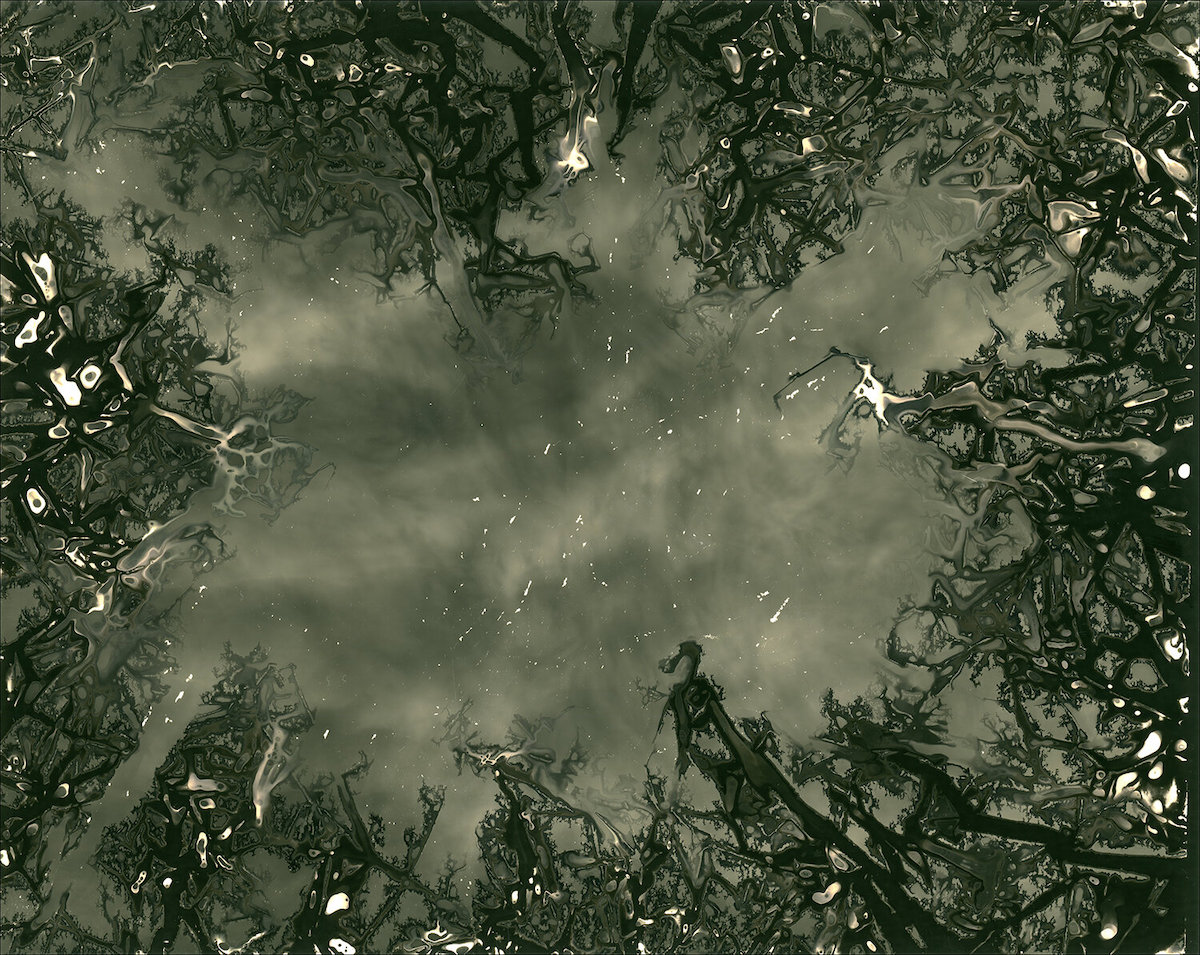
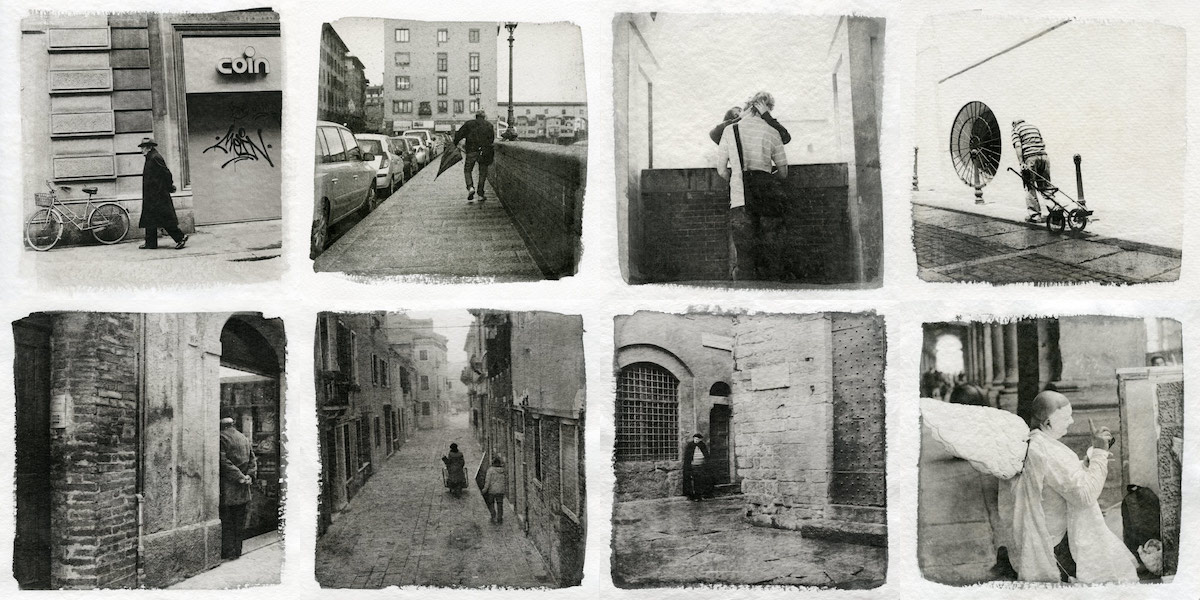
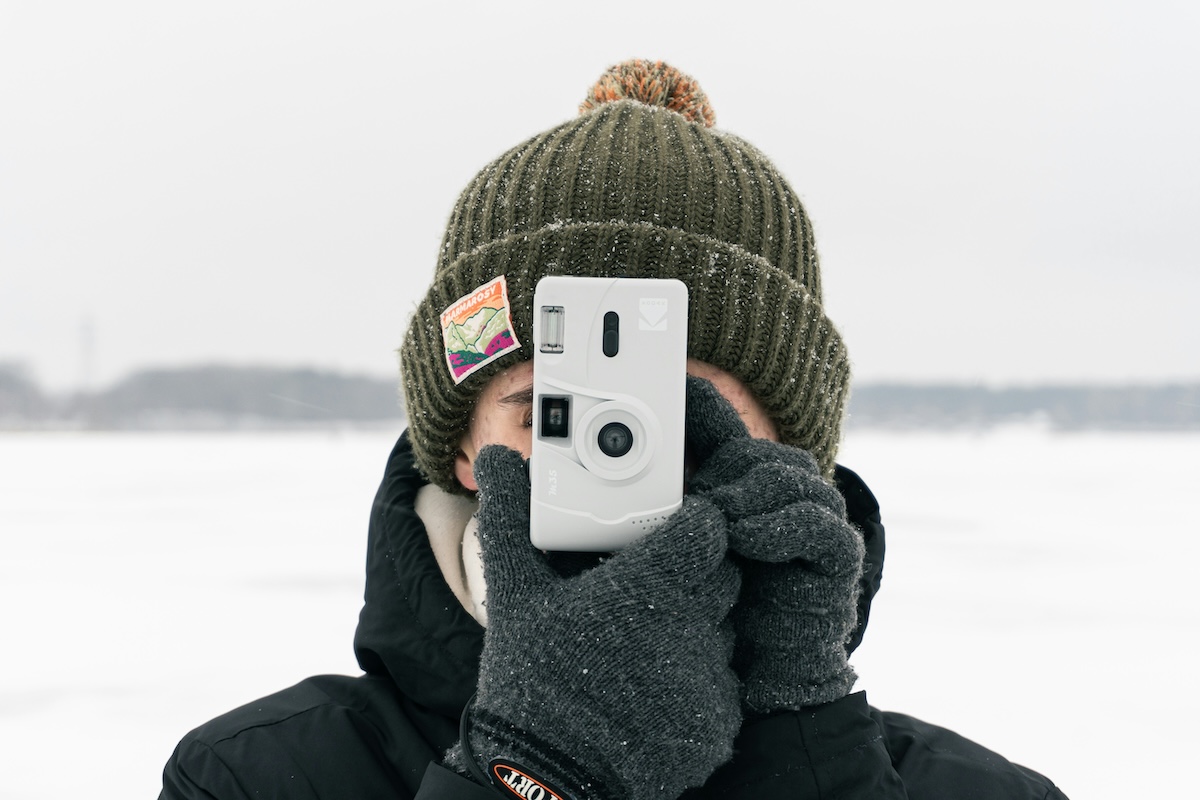
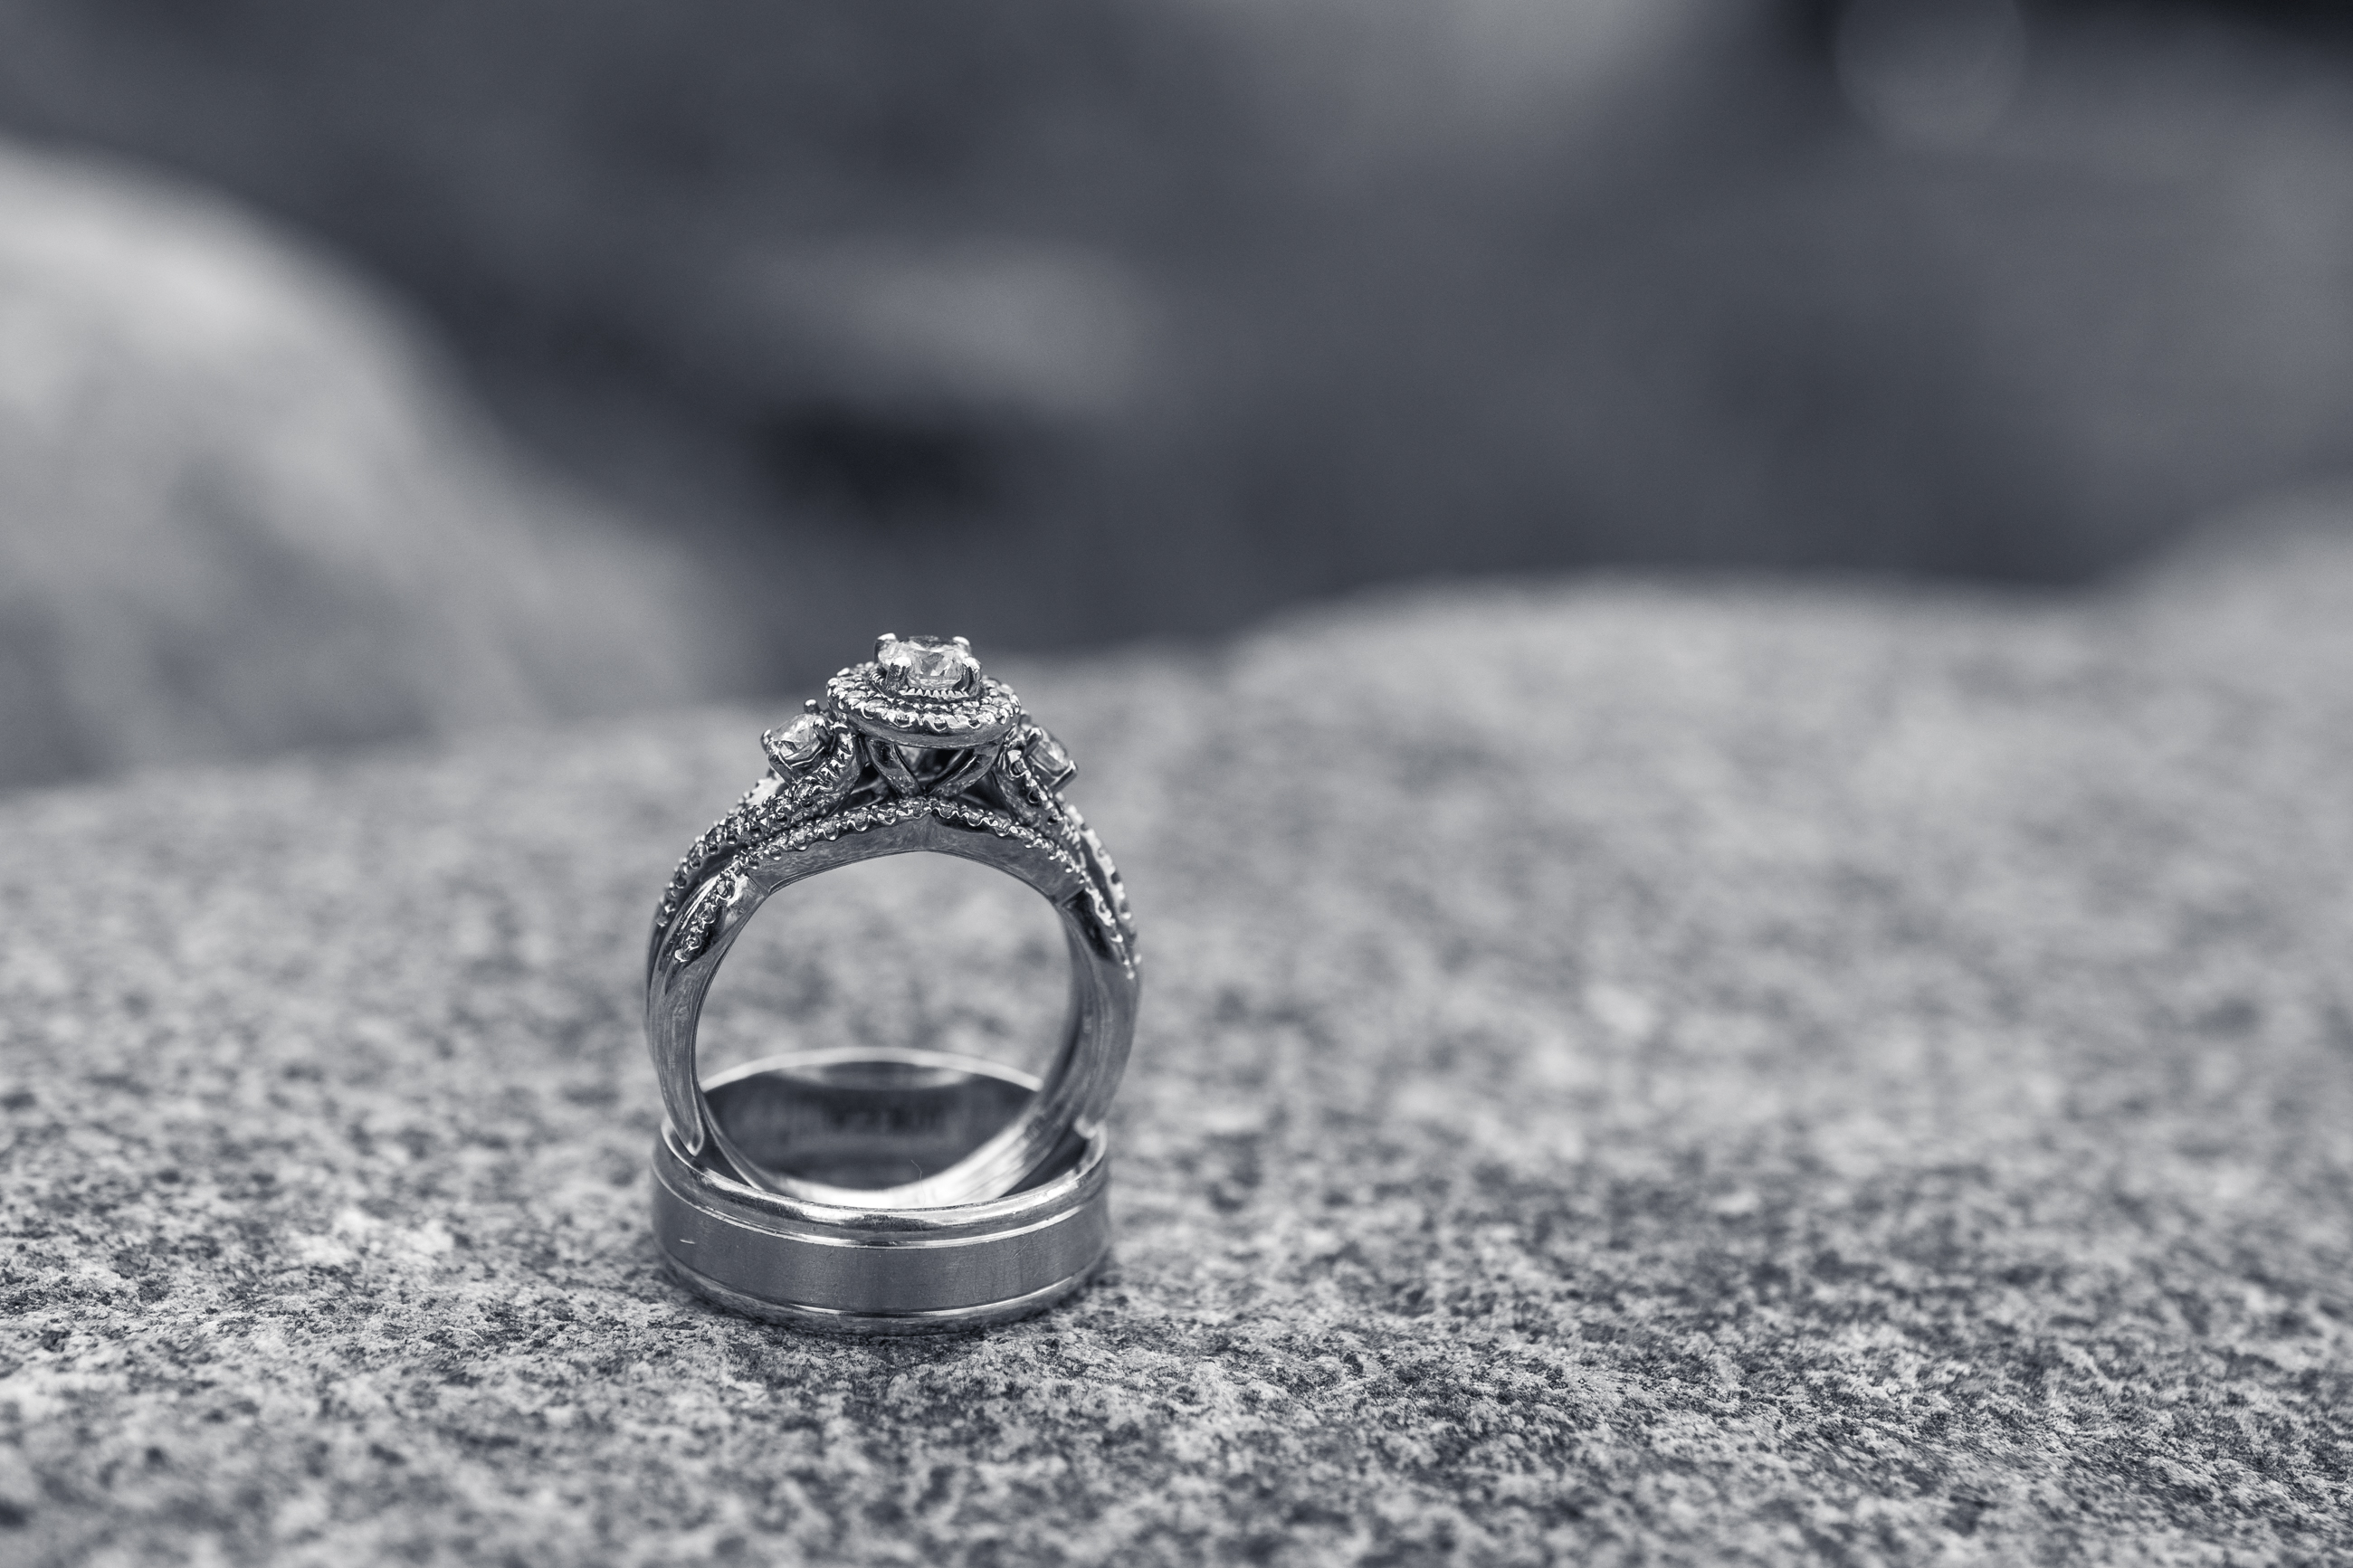
Alternative photography processing is a universe filled with interesting printing methods and techniques. And they beckon adventurous photographers.
Our article shows 10 extraordinary photo processes that defy the norm. So, join us on a photographic journey of creativity and looking at photography in new ways.
10 Alternative Photography Processes
Here are 10 amazing alternative photography processes to experiment with.
1. Infrared Photography
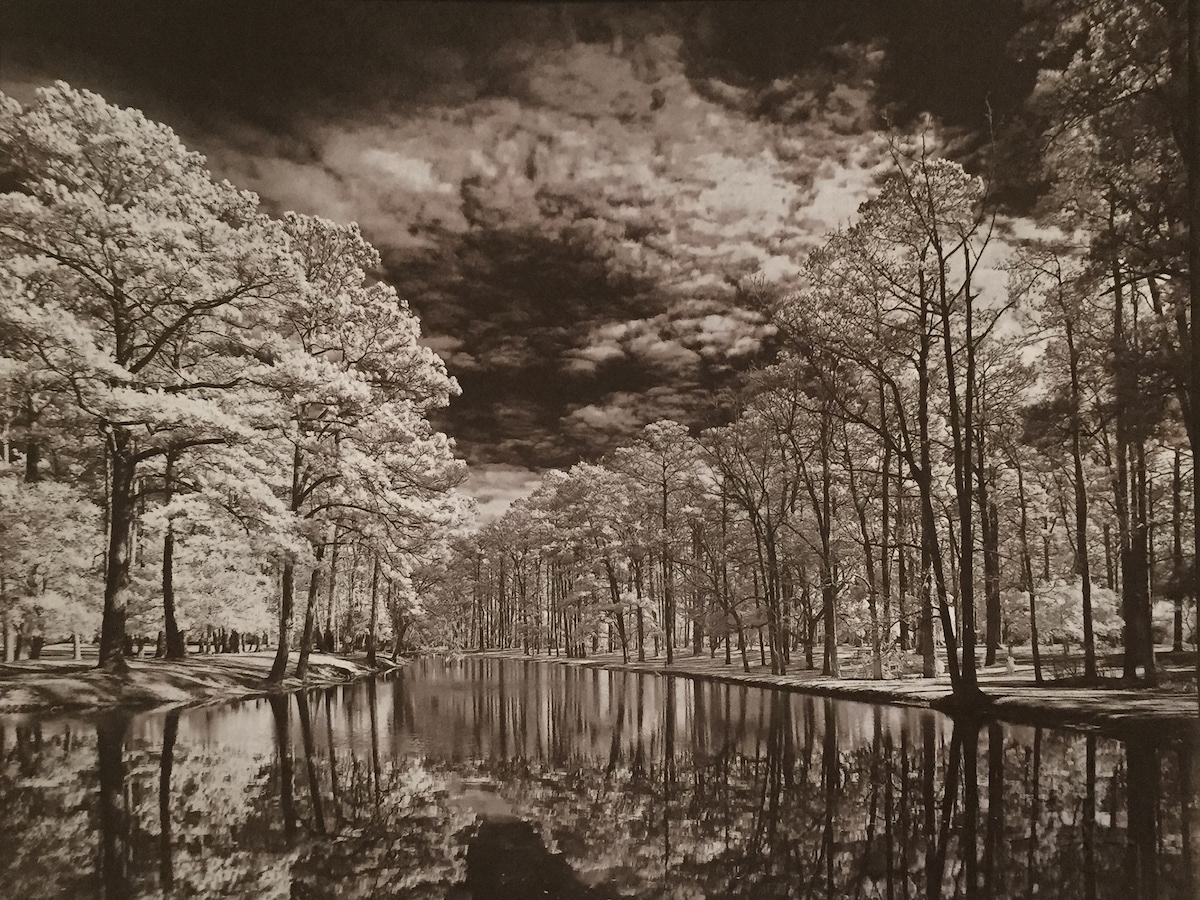
Infrared photography captures colors that the human eye isn’t capable of registering. You can think of them as invisible, magical colors that can only be seen through a special lens, filter, or film.
You can use an infrared lens (IR lens) or infrared filter in digital photography. In film photography, you can use colored infrared film. This is one of the easiest and most affordable ways to experiment with alternative photography.
You can take surreal photos of everyday landscapes, people, and objects using these tools. This can improve the way you look at your surroundings. And it’ll inspire you to take photos more often.
You can also read our article on how to edit infrared images to take this experimental photography even further.
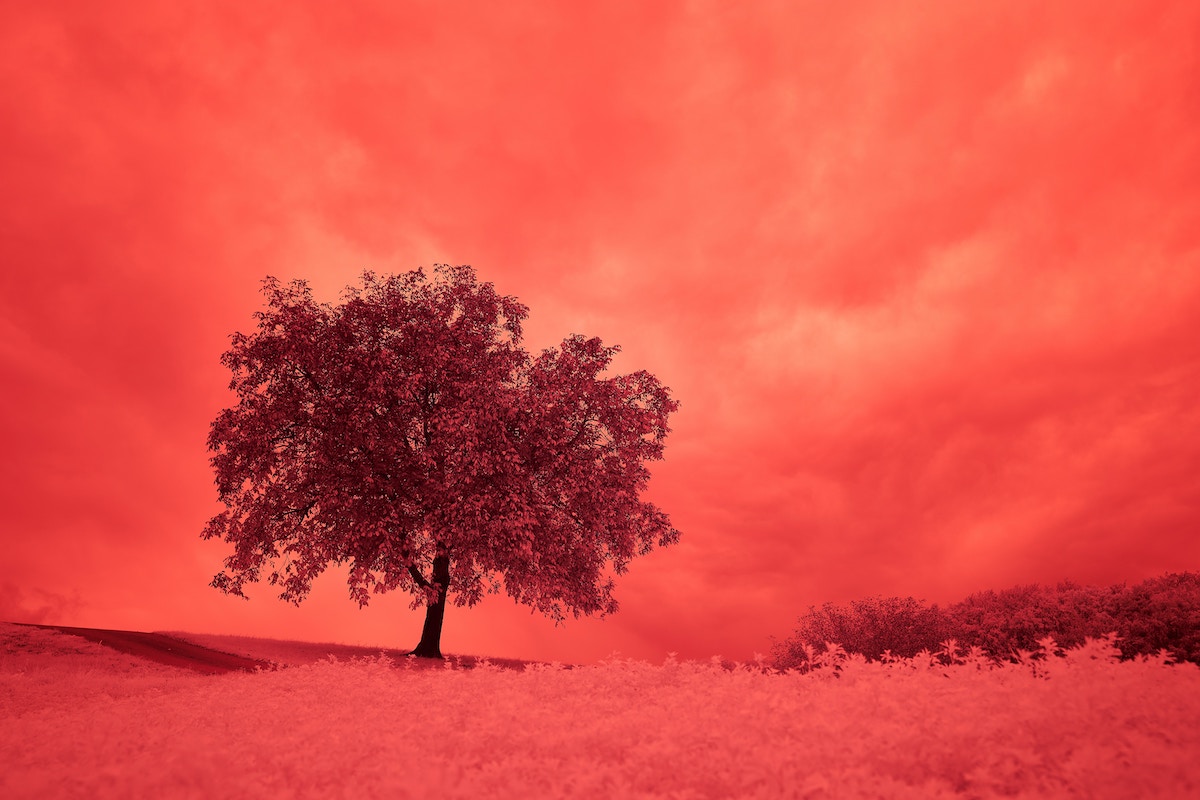
Shot with a Sony a7 II. 48mm, f/5.6, 1/320 s, IS0 100. Photo by Wolfgang Hasselmann (Unsplash)
2. Wet-Plate Process (Collodion Process)
The wet-plate photography process was invented in 1848. And it is still a popular alternative photography technique today. It’s also known as the collodion process.
First, a piece of glass is covered in collodion and other chemicals to prepare it for the camera. While it’s still wet, it’s placed in the camera for a photo. It’s then put back in the darkroom to be developed and printed.
Thanks to the glass’s transparency, the results look sharp and ethereal, as pictured below.
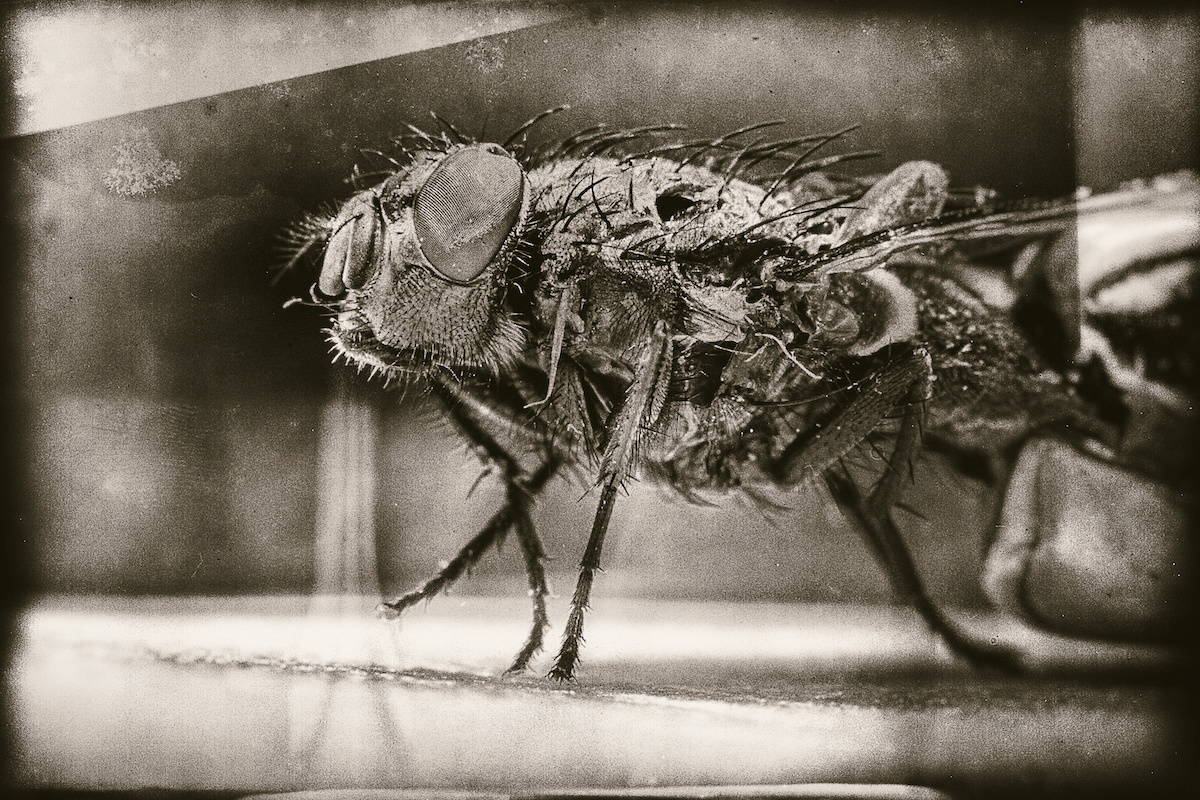
Macro shot of a house fly from a wet plate glass negative simulation. Photo by Chet Wiker (Adobe Stock)
3. Gumoil Printing
Gumoil is one of the most tedious and complicated alternative photography processes. Few photographers use it regularly, but their results are always worth the hard work.
Simply put, a positive image is placed on gum bichromate to turn it into a negative bichromate print. Then, oil paint is applied to the print and removed over time using chemicals and cold water.
Hardened parts of the gum make certain areas in the photo stand out. This results in high-contrast, high-quality prints. Anna Ostanina has a helpful YouTube video about Gumoil printing.
4. Van Dyke Brown Printing
This is a popular analog printing process that doesn’t need a darkroom. You only need a few simple ingredients, and it isn’t difficult to re-create. Its name comes from the color of the resulting prints—a deep shade of Van Dyke Brown.
A canvas is covered in ferric ammonium citrate, silver nitrate, and tartaric acid. (There are also Van Dyke brown print kits you can buy.) All this is then exposed to ultraviolet light. To make the print last longer and prevent fading, clean and cover it in a hypo solution.
5. Cyanotypes
In essence, cyanotypes are blueprints that engineers used for many years. They were once considered a quick and easy way to re-create drawings. Today, they’re often used to create haunting photos with a blue tint.
There are several versions of cyanotype. The most common one doesn’t need a camera at all. The other requires digital negatives.
First, you must coat a sheet of paper (some use watercolor paper) with ferric ammonium citrate and potassium ferricyanide. This combination of chemicals results in a faded yellow color. You can also buy pre-treated sheets.
You can then cover the paper with a printed digital negative or objects. Many artists use plants. The prints are then exposed to ultraviolet light. Some people use professional machines, car lights, or normal daylight for this step.
Once the print turns green or blue, you can wash it. The covered parts will appear white, and everything surrounding them will have a beautiful blue tint! Watch a YouTube tutorial on how to make your own cyanotype prints.
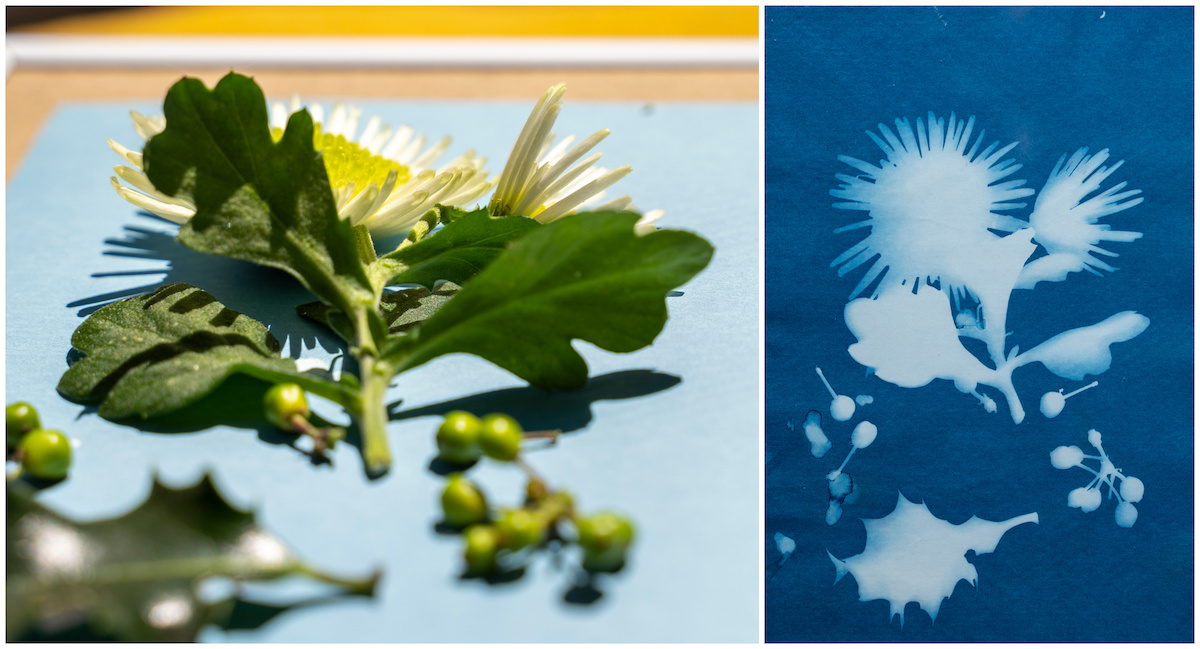
Solar cyanotype photography method. Photo by Bocskai István (Adobe Stock)
6. Carbon Prints
Carbon printing is one of the most tedious processes in alternative photography. It involves many complicated steps that ultimately lead to incomparable high-quality results.
Images printed using the carbon method have a lot of tones and never fade. They look striking in comparison to photos printed using other methods.
Carbon printing uses special tissues, watercolor paper covered in gelatin, and digital negatives. Some photographers print three layers of the same image for high-quality results. (The National Portrait Gallery has an excellent YouTube video about the carbon print process.)
This is all exposed to ultraviolet light, placed in cold and hot water, and then pressed onto paper. This is a very expensive and time-consuming process. But the gorgeous results are worth it. Calvin Grier has an excellent YouTube tutorial to make carbon prints.
7. Daguerreotypes
The daguerreotype technique was invented in the 1830s and has a specific vintage look. The results are heavy and fragile. They need to be stored in special cases such as frames or jewelry.
To make a daguerreotype in the 19th century, you had to coat a copper plate using silver iodide. Then, you had to expose it to light and fume it with mercury vapor.
Now, photographers practice the Becquerel daguerreotype method, which is safer than the older way. You can watch a YouTube video by the National Portrait Gallery about this more modern technique.
Like many other alternative photography methods, the daguerreotype is expensive and time-consuming. But it results in unique and timeless photos that your ancestors were probably very familiar with back in the day.
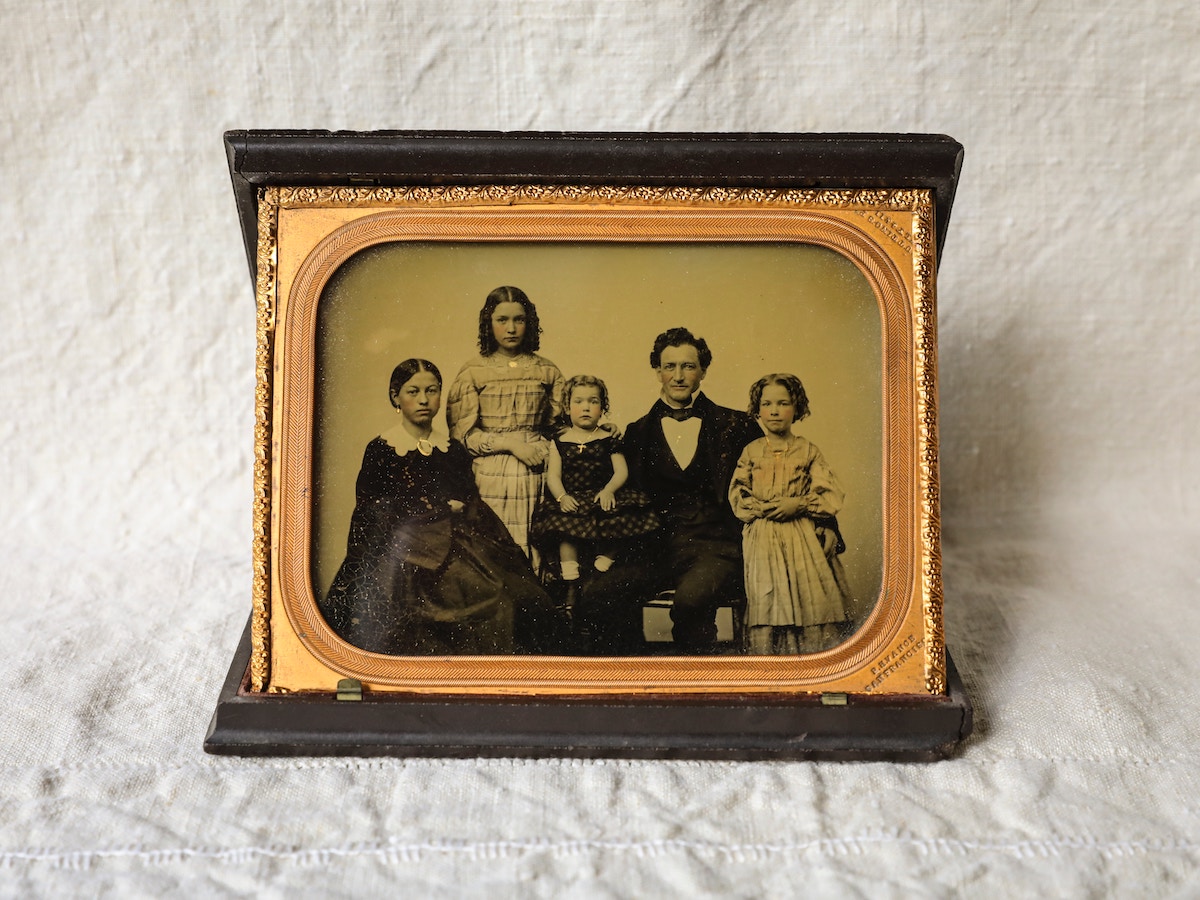
Photo by Mick Haupt (Unsplash)
8. Palladium Prints (Platinum Printing)
Platinum prints have a great tonal range and seem to last forever. They also tend to have a matte surface.
Some photographers coat sheets of paper with special emulsions. Then, they place their negatives on the paper and expose everything to ultraviolet light. The results are usually unpredictable and come in a variety of colors.
The unpredictable nature of this alternative photo process makes it very attractive to many artists.
9. Chemigram
Perhaps one of the most abstract alternative processes on our list, chemigrams are considered experimental art. Like cyanotypes, this process requires neither a darkroom nor a camera.
Photography students often experiment with chemigrams. This helps them get a deeper understanding of abstract art and chemical reactions.
All you have to do is place different objects and materials on light-sensitive photo paper. Expose it to light, and place it in a chemical developer. The results will always look abstract and different.
This is a fun and easy project idea for those who enjoy combining chemistry with art.
10. Liquid Photographic Emulsion
Liquid light emulsion is a creatively flexible technique. You can print on practically anything you want! But you need access to a darkroom, special light, and chemicals to succeed.
Liquid light is painted on a surface and exposed in a darkroom. The results are haunting yet sharp. And it is a great way to express yourself using everyday objects. Photography Lisa Bessanova even has a YouTube tutorial about liquid emulsion prints on concrete!
Conclusion: Alternative Photography Processes
Most of these alternative photography processes were invented centuries ago. But we can still use alternative processes to unlock our creativity and express ourselves today.
From cyanotypes to carbon print photography, each technique is a unique expression. So, grab your camera and equipment, experiment, and let your creativity shine!
