This 30-day photography challenge gives you one subject or technique to try each day, from self-portraits and composition to light painting. Take a few photos for each prompt, choose one result, and note what you would change next time.
Start with the camera you already have. Many of the composition exercises work with a phone, while some later challenges need a flash, long-exposure controls, or an image editor. You can spread the project over more than a month if you need extra time.
You can also involve friends and family and compare results! Tag each other and ExpertPhotography on Instagram to share your photos and inspire others.
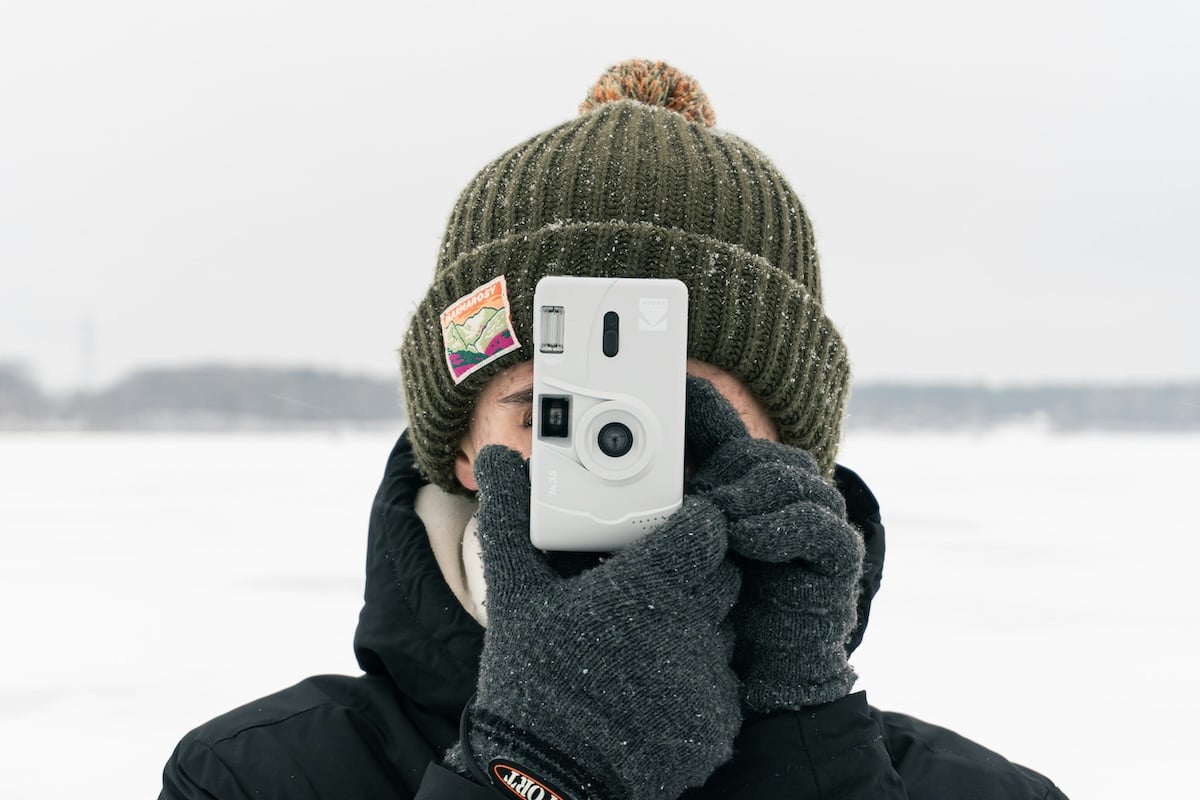
Kodak M35. Shot with a Sony a6400. 50mm, f/5.6, 1/80 s, ISO 100. Kyryl Levenets (Unsplash)
What Is a Photography Challenge?
A photography challenge is a series of prompts that gives your practice a focus. Instead of wondering what to photograph, you work on one idea, such as texture, a low viewpoint, or movement.
Here, the goal is to try 30 exercises and keep one finished image from each. You don’t have to complete them on consecutive days. If you miss a day or need different weather, carry on with the next prompt when you can.
Each challenge encourages you to experiment with ideas and techniques you wouldn’t otherwise consider. Comparing the results can help you learn to take better photos and see which choices made a difference.
If you’re dedicated to learning photography and want a longer project afterward, you can try the 365 photo challenge that lasts a year.
How to use this challenge:
- Read the day’s prompt and its linked guide before you set up. Check whether you need another person, equipment, or editing time.
- Make several versions. Change one thing at a time, such as the angle, framing, or exposure.
- Save your chosen image in a folder labelled with the day and technique. Add one sentence about what worked and one thing to try again.
- Review your images after each week. If a technique needs more practice, repeat it before moving on.
A phone is enough to begin with portraits, angles, color, and composition. For flash and long-exposure days, check what your camera supports. If you don’t have the required controls, repeat an earlier prompt and return to that technique later.
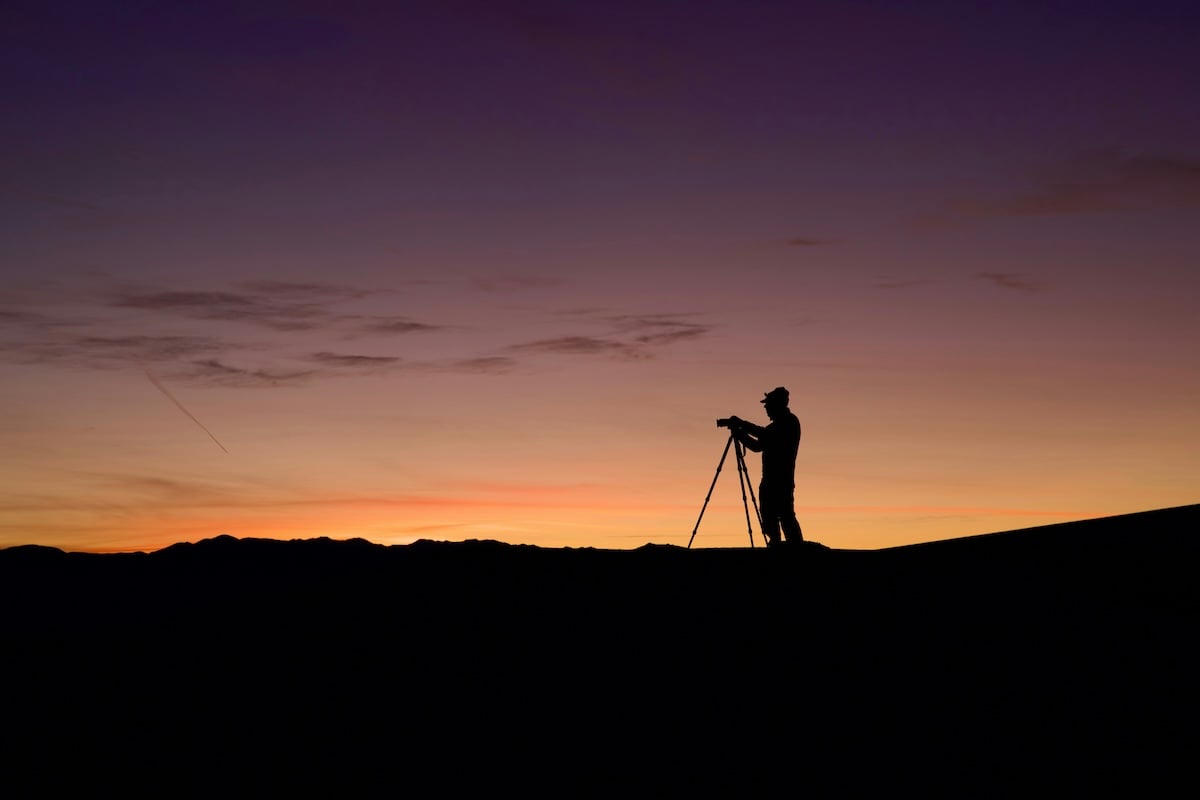
Shot with a Canon EOS R5. 70mm, f/7.1, 1/30 s, ISO 100. Steve Gribble (Unsplash)
Our 30-Day Photo Challenge
Follow the 30 prompts below in order, or move a day to suit the weather and equipment you have. Each day links to a guide for that technique.
Day 1: Self Portrait
We all know how to take selfies. But this photography challenge asks you to take self-portraits more seriously.
Place your camera on a stable support and use its timer so you can step into the frame. Include something that says who you are, such as your workspace, a favorite object, or a costume. Compare a close portrait with one that shows your surroundings. Our list of self-portrait photographers can give you ideas.
Day 2: Rule of Thirds
Use the rule of thirds to practice placing a subject away from the center. Imagine two equally spaced horizontal lines and two vertical lines across the frame, or turn on your camera’s grid.
Photograph the same subject in the center, then near a line or intersection. Compare the space around it. Keep the arrangement that best directs your attention to the subject; the grid is a starting point, not a requirement.
Day 3: Black and White
When you’re shooting in black and white, color can’t separate your subject from its surroundings. Look for texture, contrast, or shapes instead.
Try a bright object against a dark background, or a scene with a strong shadow. Compare the color and monochrome versions. Can you still identify the main subject immediately?
Day 4: Depth
For the depth challenge, include something close to the camera, a subject farther away, and a background beyond it. A path past a tree toward a building is one option.
Change your position until the layers are distinct. Compare this with a shot that leaves out the foreground. Notice how your viewpoint changes the sense of distance.
Day 5: Texture
Look for texture in rocks, wood, fabric, or peeling paint. Fill the frame with one surface so its details become the subject.
Try photographing it with light from the side, then from the front. Compare the shadows in the cracks or folds. Which version makes the surface look rough, soft, or worn?
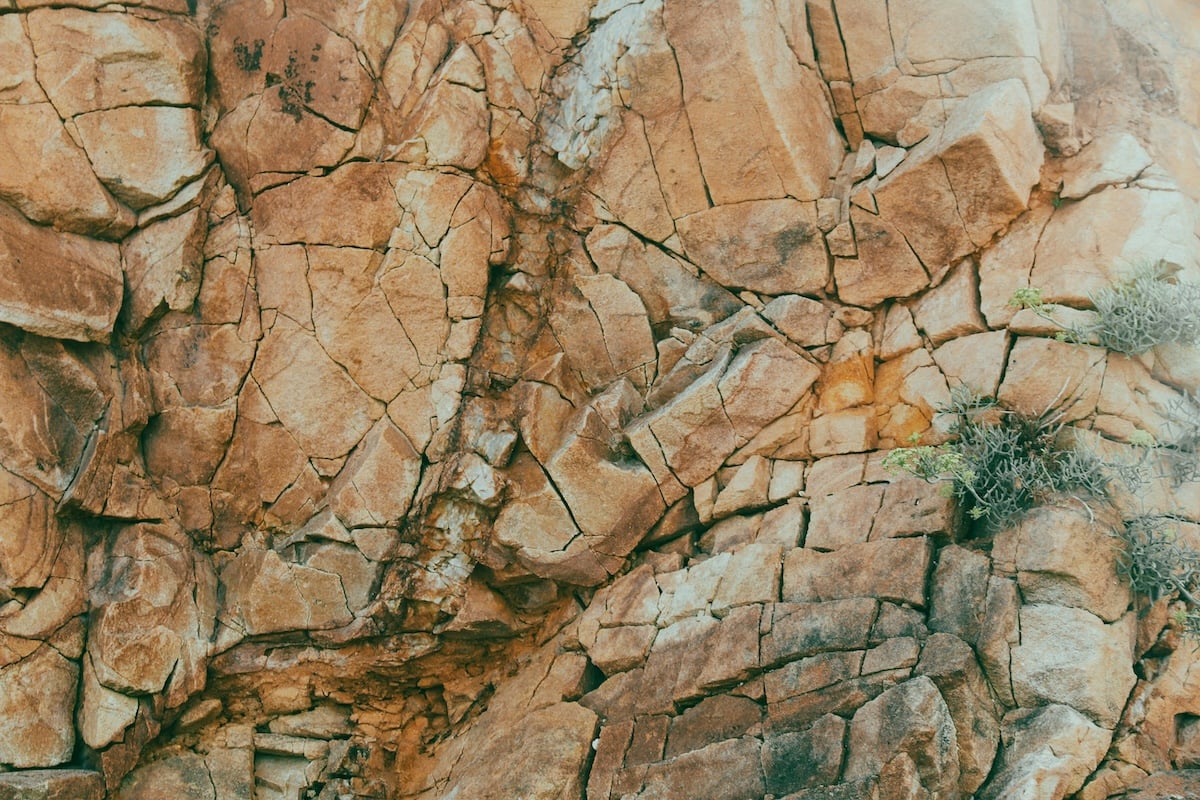
Shot with a Canon EOS 70D. 50mm, f/7.1, 1/125 s, ISO 100. Matthieu Bibs (Unsplash)
Day 6: High Angle
Take a high-angle photo of a subject you would normally photograph at eye level. A meal on a table or a seated person gives you somewhere to start.
Compare an eye-level view with a shot looking down. This is an exercise in perspective in photography: notice how much of the subject and its surroundings each viewpoint shows.
Day 7: Low Angle
Continue the comparison with low-angle photography. Use yesterday’s subject if possible, but place the camera below it and aim upward.
Compare all three viewpoints. Look at the subject’s outline and the background behind it. You can try this with a flower or toy near the ground; you don’t need a tall subject.
Day 8: Sunset
Use sunsets as a chance to practice composing around changing light. Choose a foreground subject, such as a tree or building, rather than filling every frame with sky.
Try both a wide view and a closer crop as the light changes. Keep your attention on the scene and avoid looking at the sun through an optical viewfinder. An overcast evening can become a study of clouds and color instead.
Day 9: Silhouette
Silhouettes use a dark subject against a brighter background. Place a recognizable object or a person in front of a bright window, then reduce the exposure until the outline stands out.
Leave space between separate shapes, such as an arm and a torso. Ask whether you can recognize the subject without seeing its details.
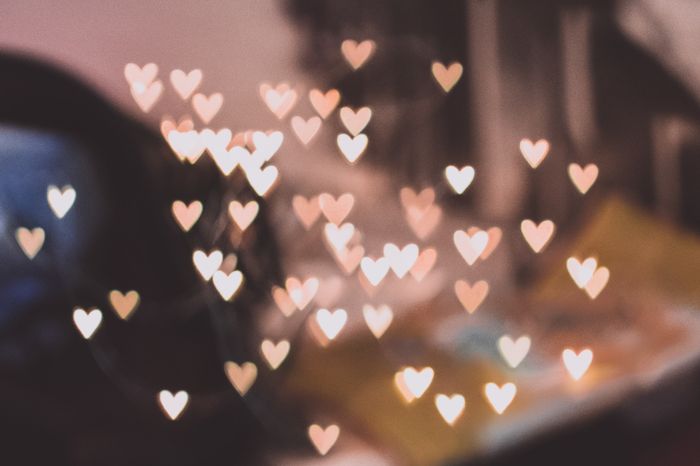
Day 10: Bokeh
Explore the bokeh effect by focusing on a nearby subject with distant lights behind it. Bokeh describes how the out-of-focus areas look, rather than a separate filter you must apply.
If your camera lets you control aperture, try a wide opening, which has a small f-number. Move the subject farther from the background and compare the blur. Keep the subject itself in focus.
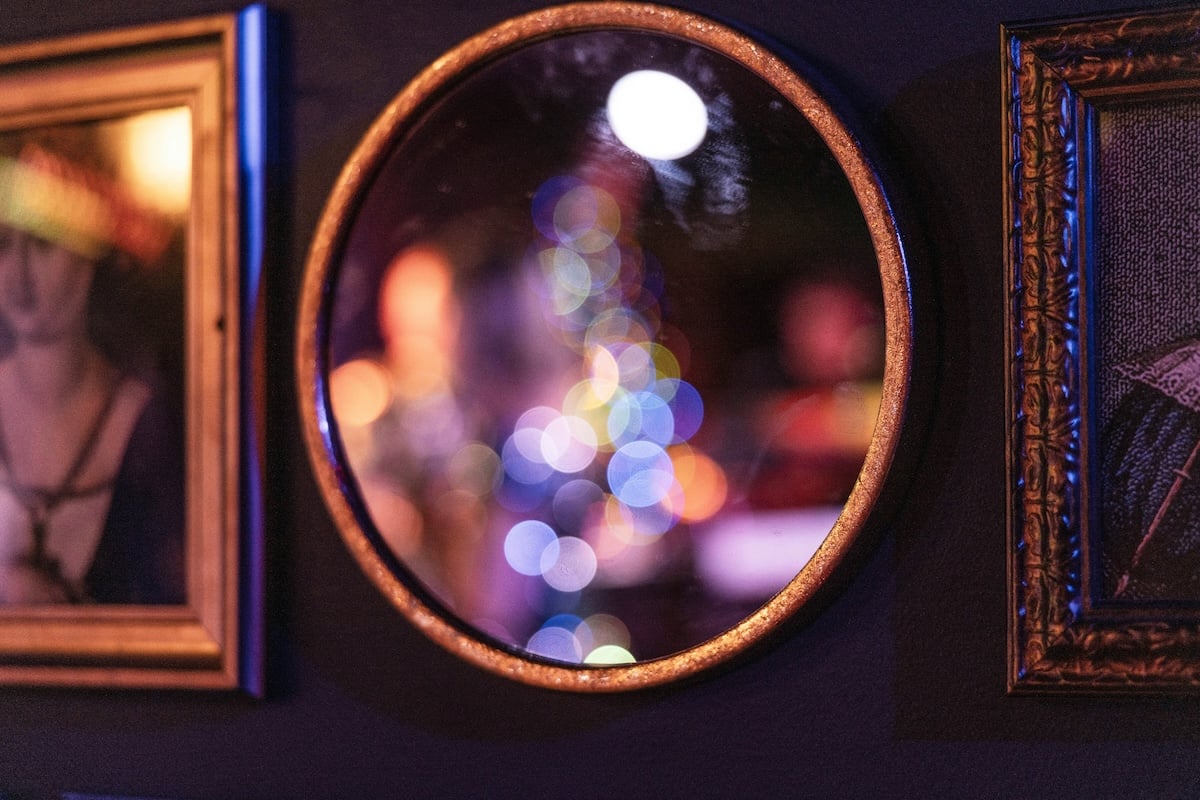
Shot with a Canon EOS R5. 70mm, f/2, 1/250 s, ISO 1600. Alexander Jawfox (Unsplash)
Day 11: Landscape
Landscape photography is one of the most traditional genres. Rural scenes and mountains come to mind, but you can even shoot industrial landscapes. Use what you have available to you.
Choose one main feature, then try including and excluding the foreground. Check the edges for objects that distract from your subject. For an industrial scene, choose a viewpoint where you have permission to be.
Day 12: Balanced
Practice balance in photography by arranging a frame so one side doesn’t overwhelm the other. Try a centered subject with similar shapes or spaces on either side.
Then move the subject off-center and add a smaller object elsewhere in the frame. Compare how the arrangement feels. Balance doesn’t always require mirror-image symmetry.
Day 13: Unbalanced
Make an unbalanced photo by placing most of the visual weight near one edge. You could use a large dark object on one side and leave the other side almost empty.
Compare it with yesterday’s balanced image. Does your attention stay at that edge or move across the frame? Asymmetry can still be balanced, so judge the whole arrangement rather than its symmetry alone.
Day 14: Lens Flare
Explore lens flare with a household lamp near the edge of the frame. Small changes in camera angle can change the reflections or haze you see.
Take one frame with the light entering the lens and another with it blocked by an object. Compare the contrast and whether the flare distracts from your subject. Don’t look at the sun through a lens or optical viewfinder to attempt this exercise.
Day 15: Portrait
Find a willing model and try portrait photography beside a window. Agree on the pictures you want to make before you start.
Photograph the person facing the window, then turned slightly away from it. Focus on the eye closest to the camera and compare the shadows across the face. Choose a background that doesn’t pull attention away from the person.
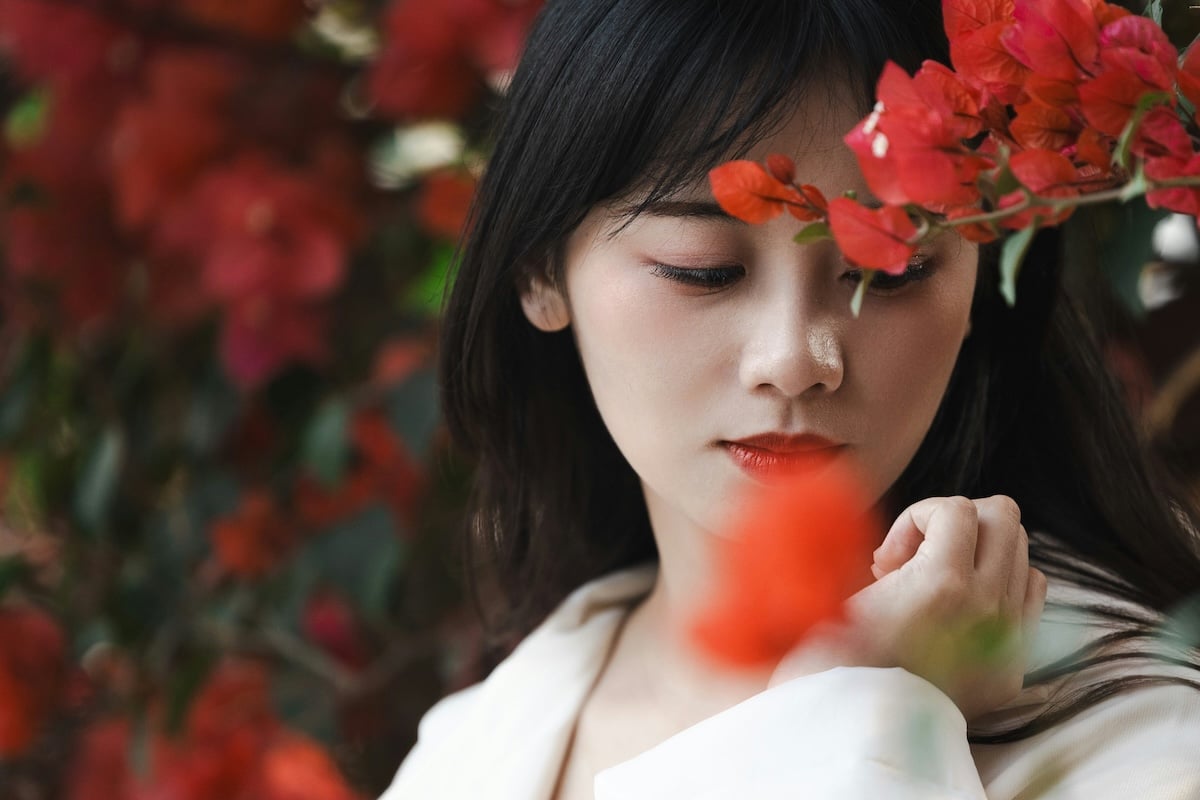
Shot with a Canon EOS RP. 187mm, f/2.8, 1/500 s, ISO 640. Woody Yan (Unsplash)
Day 16: Dynamic Tension
Look for opposing directions in a scene to create dynamic tension. Two people looking away from each other, or lines leading toward opposite corners, can give you a starting point.
Change your framing to strengthen or reduce that opposition. Compare the images and ask where your eye travels first.
Day 17: Slow Sync Flash
For this challenge, you need a camera and flash that support slow-sync flash. It combines flash with a slow shutter speed so the exposure can record more of the ambient light.
Read your camera’s flash instructions, then try a portrait in a dim room with lights in the background. Support the camera and ask your model to stay still. Compare the background with a normal flash exposure. If you don’t have a compatible flash, save this exercise for later.
Day 18: Frame Within a Frame
Try the frame-within-a-frame technique with a doorway, window, arch, or branches around your subject.
Move until the frame surrounds the subject without cutting across it. Make a second photo without that foreground frame. Compare how each version guides your attention and shows the surroundings.
Day 19: Panorama
Use panorama images to show a scene that stretches beyond a single frame. Choose a view with mostly still subjects for your first attempt.
Follow your camera or phone’s panorama instructions and turn steadily. If you’re combining separate images in an editor, leave overlap between neighboring frames. Inspect the joins for doubled objects or missing pieces.
Day 20: Panning
Practice panning the camera by following a moving subject as you take the photo. Start with a person walking across your view so you can repeat the movement.
If you can control shutter speed, try 1/30 s as a starting point. Follow the subject before, during, and after the exposure. Look for a recognizable subject against a streaked background. Expect to make several attempts, then adjust the speed to suit the movement.
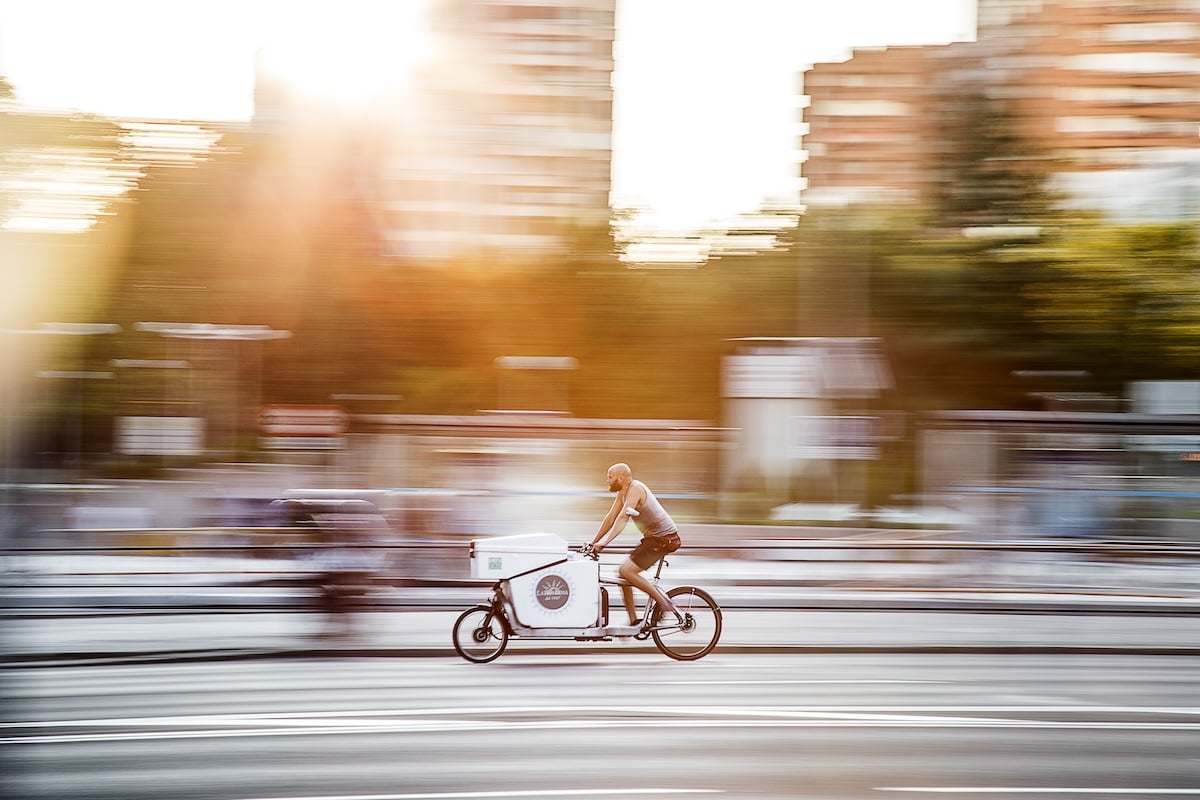
Shot with a Canon EOS 5D Mark IV. 105mm, f/14, 1/13 s, ISO 100. JavyGo (Unsplash)
Day 21: Colorful Water Drops
Try conceptual photography on a small scale with colorful water drop photography. This exercise uses still drops on glass above a colorful background, rather than falling drops.
Read the setup guide before you begin. Arrange a few drops and focus on the images visible inside them. Change the background’s position and compare the results. If you don’t have a secure glass surface, postpone this setup.
Day 22: Harris Shutter Effect
The Harris Shutter Effect combines color channels from three photos taken at different moments. Movement between the shots creates colored outlines or trails.
Keep the camera fixed and photograph a scene with one moving element. Then follow the linked editing guide to combine a red, green, and blue channel from the separate images. Compare the moving areas with the parts that stayed still. This is a capture-and-edit exercise, so allow time for both.
Day 23: Light Painting
Light painting lets you add light to parts of a scene during a long exposure. Place the camera on a tripod or stable support and use a flashlight to light one object.
Try 10 seconds as a starting point and sweep the beam across its surface. Review how much detail you recorded, then change the exposure or how long you light each area. For today, illuminate a subject; on Day 30, you’ll make the moving light itself the subject.
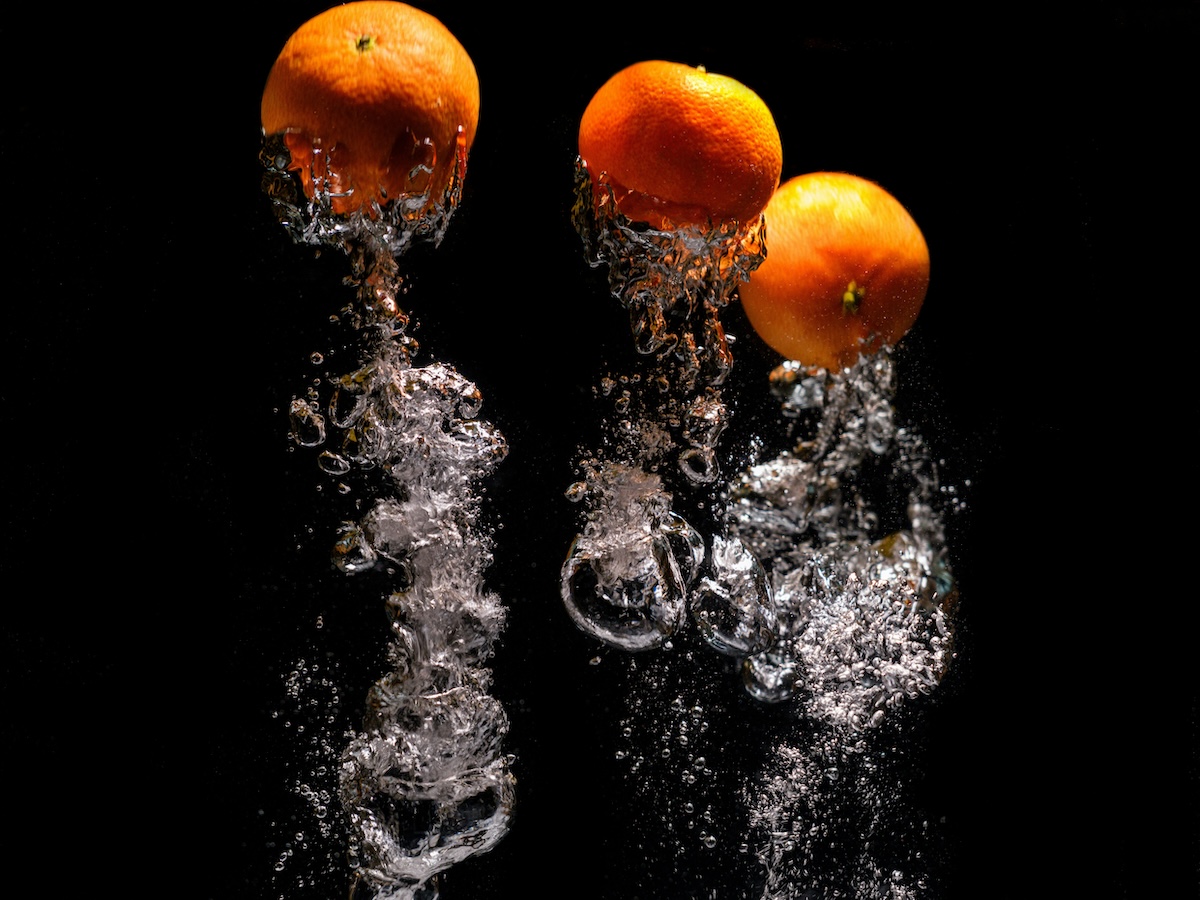
Day 24: Water Splash
Practice freezing water splashes in your photo with a small splash in a container. Set up your composition and focus before you introduce the movement.
Follow the linked guide for lighting and exposure. Make repeated attempts and compare the shape and sharpness of the splash. Keep the setup small and the camera outside the splash area.
Day 25: Street Photography
Street photography gives you a chance to observe everyday life. Choose one spot and watch how people, light, and shadows move through it.
Try composing the background first, then wait for a moment that completes the frame. You can also photograph signs, shadows, or traces of activity without including identifiable people. Be considerate if someone doesn’t want to be photographed.
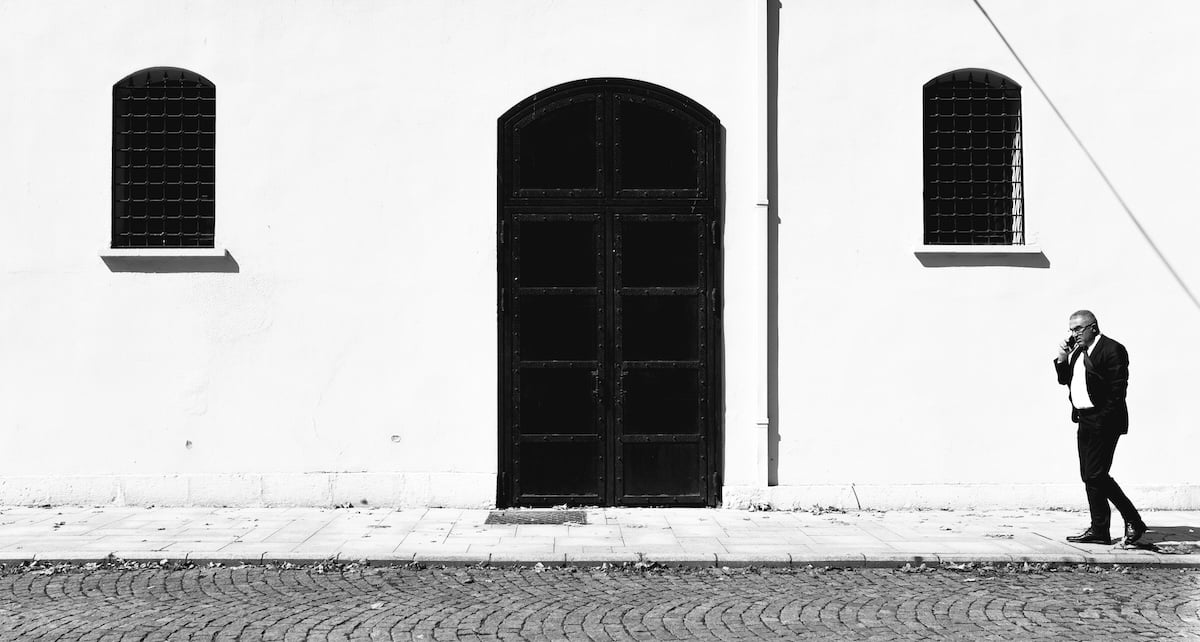
Shot with a Fujifilm X-T3. 23mm, f/5.6 , 1/1000 s, ISO 200. Furkan Elveren
Day 26: Complementary Colors
Even just a small amount of knowledge about color theory can make a big difference to your photography. Look for complementary colors, such as blue and orange, in the same scene.
Try making one color dominant and using the other in a smaller area. A blue background with an orange object gives you a simple tabletop exercise. Compare it with a frame where both colors take up similar amounts of space.
Day 27: Architecture
Try architecture photography with a building you can visit easily. Make one photo of the whole building and another of a detail, such as a doorway or repeating windows.
Look at how the lines change when you tilt the camera upward or keep it level. Decide which view best shows the feature that caught your attention.
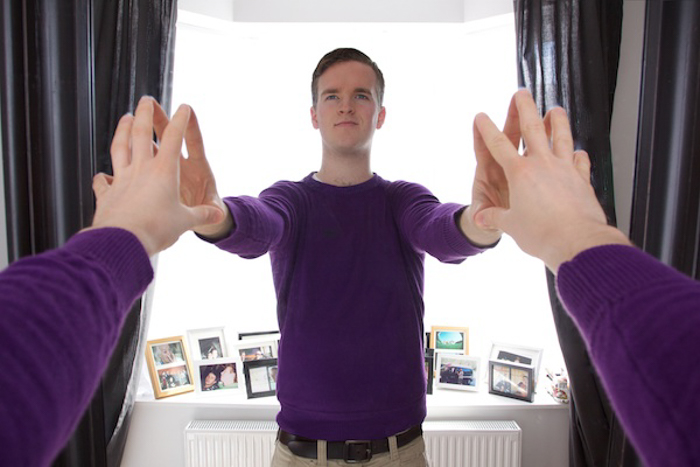
Day 28: Hidden Camera Mirror Photo
Try the hidden camera mirror selfie as an editing challenge. The linked method combines parts of multiple photos to hide the camera in the finished image.
Plan the separate shots before you start and keep the viewpoint as consistent as possible. After combining them, inspect the mirror edges, background, and arms for joins that give away the edit. You’ll need an editor that can combine images with layers and masks.
Day 29: Night
Night photography asks you to work with the light available after dark. Begin with a lit building or a stationary subject in a street scene so you can concentrate on exposure and camera movement.
Support the camera and compare different exposures. Inspect the result for blur and for bright lights that have lost their detail. Use what you learned about composition earlier in the challenge to give the scene a main subject.
Day 30: Light Graffiti
Take out your colorful flashlights for light graffiti photography! This time, point a small light toward the camera and move it to draw a shape during a long exposure.
Keep the camera fixed and begin with a circle or zigzag. Compare a slow movement with a faster one. Build on Day 23’s setup, but make a light trail the subject instead of lighting an object.
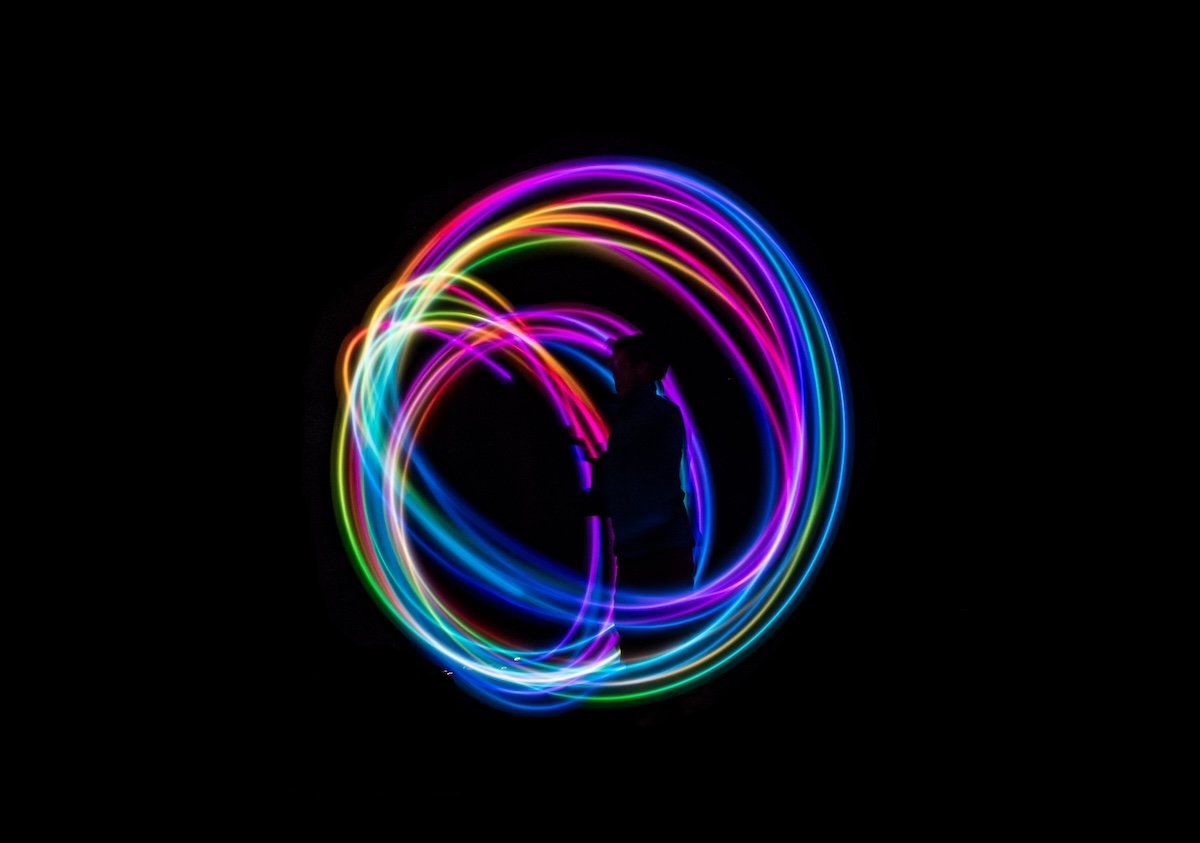
Shot with a Panasonic Lumix FZ300. 5.2mm, f/6.3, 8 seconds, ISO 100. Tyler Lastovich (Unsplash)
Conclusion: 30 Day Photography Challenge
When you finish, review your 30 chosen images together. Pick three that show a change in your composition, use of light, or handling of movement. Compare them with your earlier attempts and name the choice that made each one work.
Repeat the exercise you found hardest, then try it with a different subject. You can also continue with our 30 creative photography ideas. Keep the notes beside your images so your next project starts with something specific to practice.
Check out our Wow Factor Photography course for creative photo exercises and learning opportunities.