If you’re looking to improve your urban architecture photography skills, you’ve come to the right place. In this article, we’ll share 12 tips to help you take better photos of cityscapes and other man-made structures. Let’s get started!
You don't need much in the way of gear to land great architecture shots (or to follow this tutorial). Your creativity and composition will take you much further than an expensive camera or lens.
Still, if you want to pursue the field seriously, there are a few items you should consider. Here are the ones mentioned in this article:
To capture the essence of a building, whether inside or out, you'll need to take some time to get to know it. On a practical level, this means scouting out the location, noticing how the sun travels, where the shadows are at different times of day, checking out the various access points, and seeing where lines converge.
Look for unusual angles and unusual perspectives. Notice if and when people are about and decide whether you want to include them in your shot.
On the conceptual side of things, do some research. Who built it? Why? Is there any compelling history? How have others photographed the building?
All of these things can significantly influence how you choose to go about capturing the space. Conversely, you can focus on just structure and geometry alone—just make sure to investigate all the possibilities.
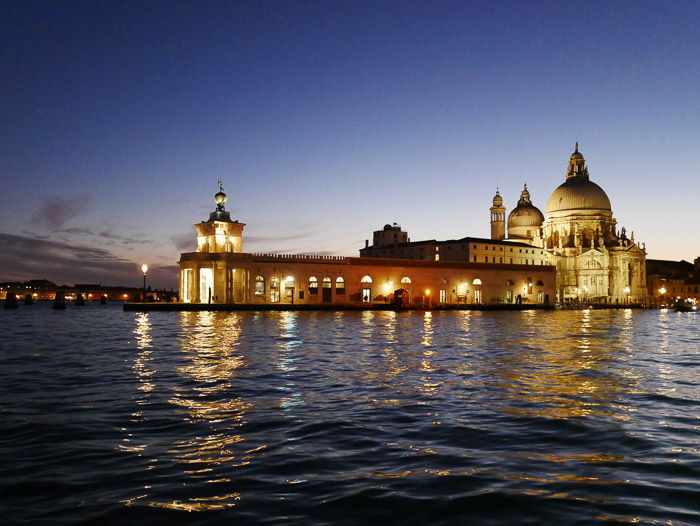
The Blue Hour
One of the most important keys to good architecture shots is to make sure your lines go precisely where they're supposed to. Vertical lines should be vertical, horizontal lines, horizontal. Sounds elementary, but in reality, it can be very challenging, especially if you have to tilt the camera up to get all of a building in the frame.
Parallel lines will start to converge (also known as keystoning), and the building will look like it's falling backwards. Also, if you're using a wide-angle lens, you’ll probably have a fair amount of distortion to cope with.
For keystoning, try putting some distance between you and the building or getting to a higher point of view. A tilt-shift lens will also fix the problem, though it can be quite expensive.
For lens distortion (and for those of us who can't afford a tilt-shift lens), you'll need to fix things in post-processing.
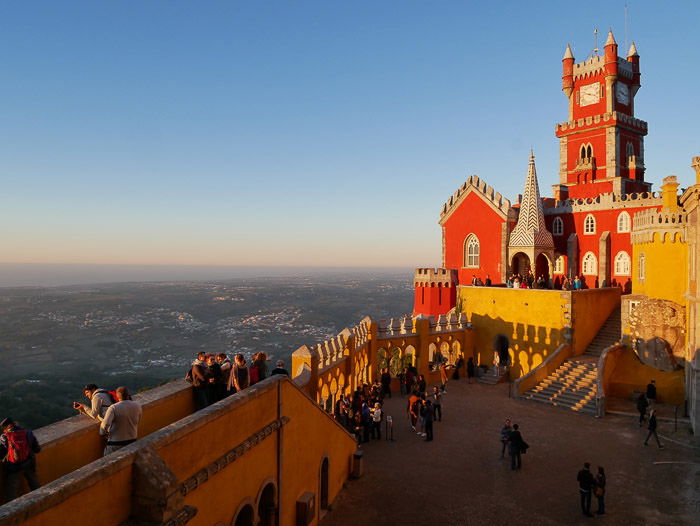
The Golden Hour
As in all photography, lighting is one of the key elements that will make or break your shot. For exterior shots, the old landscape adage holds true here: "shoot during the golden and blue hours."
The golden hour is the first and last hour of sunlight in a day; the blue hour is the hour before sunrise and after sunset. It's during these times that you'll get the best quality of light.
Many photographers aim for that magical time slot where there is still light in the sky (the blue hour) and the city lights have just come on. There are only a few weeks of the year that this happens naturally, but it's magical when it does.
Of course, if you're into night photography, waiting until all the light is out of the sky will work as well.
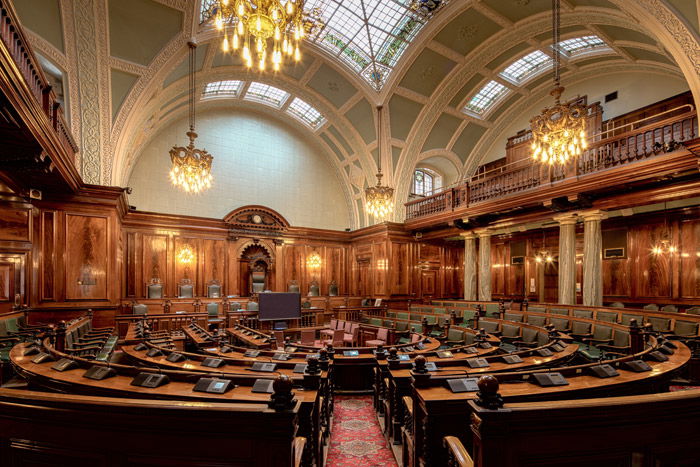
Photo by Michael B.Beckwith
Lighting-wise, interior shots tend to be more complicated than exterior shots. Unless you're able to bring your own lighting equipment, you'll have to make do with the lighting that's there, which may or may not be easy to work with.
If there are windows, make sure to shoot during the brighter hours of the day to maximise the natural light available. For low-level lighting, you'll need a tripod for stabilization during long exposure shots.
Also, if you're not shooting in Raw, you'll want to take extra care with your white balance. Artificial light can change how we perceive the color of building elements.
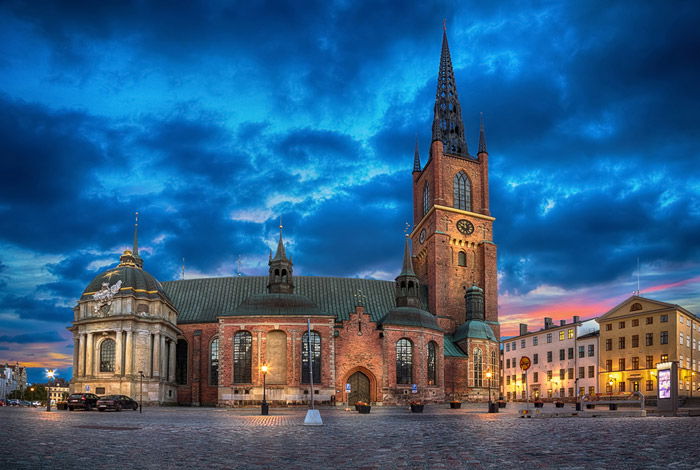
Sergey Dzyuba. HDR image of Riddarholmen Church, Stockholm, Sweden
While easily overused, HDR can solve a lot of problems in architectural photography. More specifically, it can resolve issues of potential over- and under-exposure when you can't use your own lighting set up.
For example, if you need the detail outside a window to show up as well as the interior of the room, HDR can help set you straight. On the artistic side, it's also great for creative exterior shots, like the one above.
It does need some post-processing prowess to make it look its best (and not "overcooked" as some might say the shot above is). But for beginners and those without time or inclination to set up their own lights (interior shots), and photographers looking to add drama to exterior shots, it can create magic.
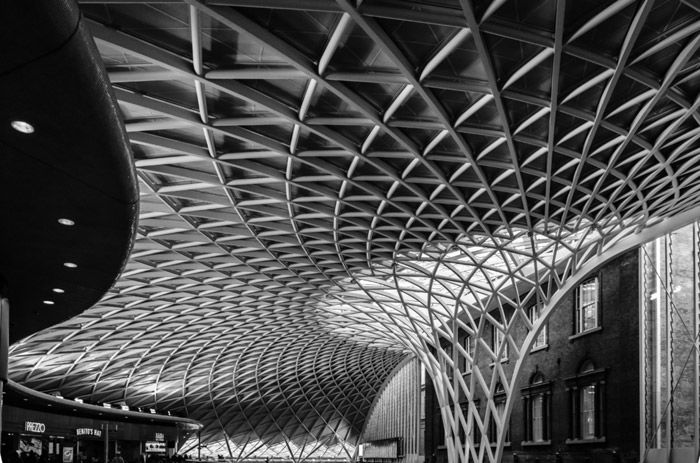
Lucie K. The ceiling of King’s Cross London railway station
Most people focus on capturing buildings as a whole. But shooting from a macro or conceptual level oftentimes will open up an entirely new can of possibilities.
Keep a look out for details and geometric patterns that others might not notice, particularly with older buildings. How do the lines interact with each other? How does the light emphasise the texture of the building materials? Where do the shadows fall?
A little bit of exploration might not only grant you some fantastic shots, but it may also help you discover something new or exciting about the building's construction or history, allowing you to add more story into your shots.
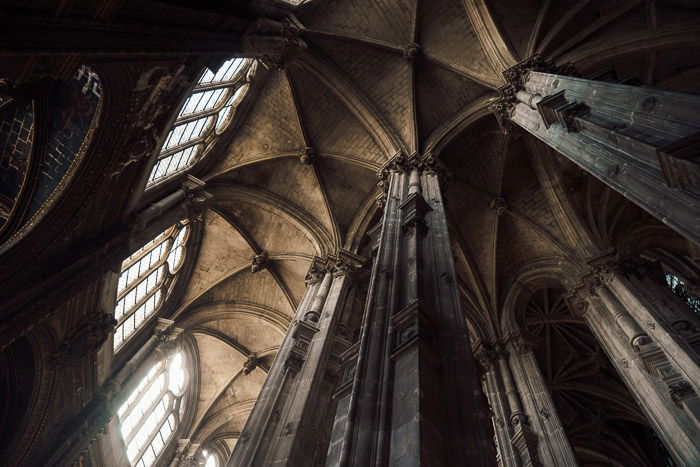
John Towner. Impasse Saint-Eustache, Paris, France .
While some photographers like recreating "iconic" shots, many of us like to produce something original, something unique to us. That means finding a unique perspective.
During your walk-through (tip 1), take the time to look around in ways you might not have otherwise. Sometimes all it takes is to shift your camera a few inches up or down or to merely look up.
For exterior shots, explore all the sides of the building from both near and far. For even more creative potential, see if you can get onto balconies or rooftops. Anything that will give you a perspective not ordinarily photographed.
Keep safety in mind though, and always make sure you’re not trespassing.
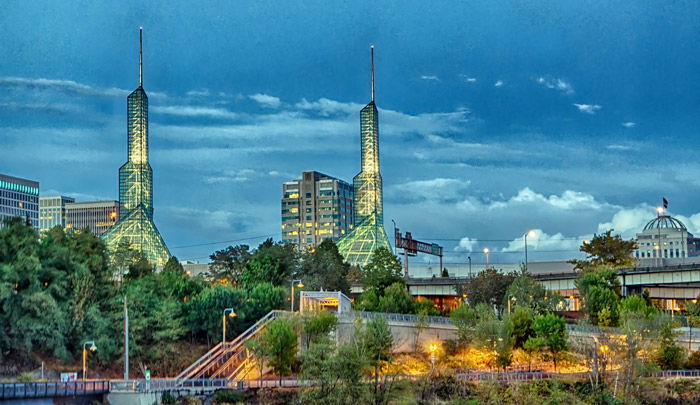
Teryani Riggs. The Portland Convention Center
If you're into telling stories with your images, you might want to consider including a building's context. Context helps a viewer place a structure in both space and time. For exterior shots, this can include weather and cloud formations as well as the scenery surrounding the building.
For example, in the photo above the photographer chose to make the most of the blue hour and the lights on in the foreground by including them in the shot.
It's not for every shot, though. In the case of real estate photography, the larger context will often make or break a sale, which will determine whether you include it or not. Also, if you're going for an abstract, geometrical image, then context is not as relevant.
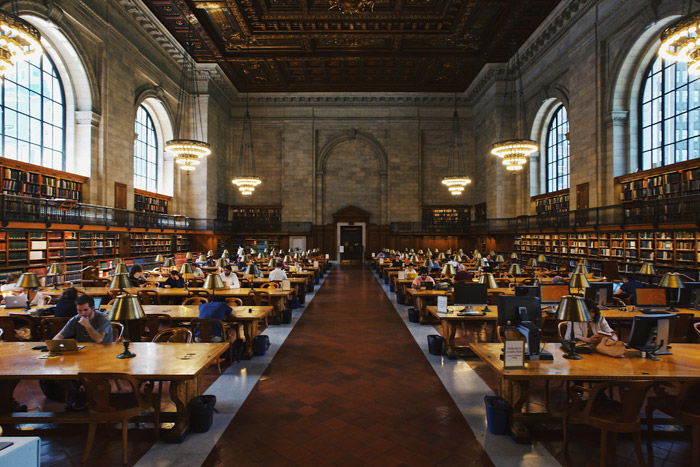
Rob Bye. Mid-Manhattan Library
Incorporating the human element into architectural photography is still one of the most underutilised techniques. It's as if we think that adding people to the frame will somehow contaminate the pure, designed beauty or the building.
But buildings were designed for and by people. Adding people in can bring a substantial level of dimension and interest to your image. It allows us to see the building from the perspective of the those living or working in it. We can better understand the functionality of the space, what it was built for, how it interacts with us.
On a practical level, it will allow you to create a sense of scale in your image. In the photo above, we can see just how tiny one human being is when compared to the length of the library.
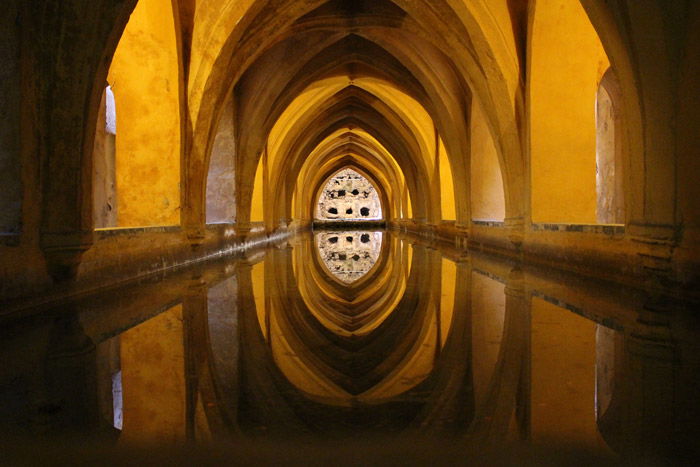
Christian Battaglia. Royal Alcázar of Seville, Spain
Reflections can either be your best friend or your worst enemy, depending on how you capture them. Used well, they can add a level of depth, brightness, and interest to your image that otherwise wouldn't exist.
On the downside, it's sometimes easy to get yourself caught in one unawares, especially in interior shots. So, unless you're wanting to be found lurking in the picture, make sure you know where all the windows and mirrors in a room are and what they're reflecting.

A Nikon Tilt-Shift lens. Pricey, but worth it if you want to go pro
Luckily, you probably already have most of the gear you need to shoot great architecture shots: a decent DSLR, a tripod, and a remote shutter cable. The next step is to invest in a wide-angle lens, which will often allow you to fit the entire frame of the building into a single shot. I don't recommend a fish-eye lens, as the distortion tends to be fairly extreme.
Adding some filters to your kit is never a wrong choice, especially if you shoot a lot of exterior shots. A graduated filter will tone down the brightness of the sky while leaving the foreground adequately exposed.
A neutral density filter will allow you more range in long exposure shots. And polarising filters can help control unwanted reflections and add more color/contrast to the sky.
If you want to go the whole hog though, then invest in a tilt-shift lens. It will cut down your post-processing work considerably.
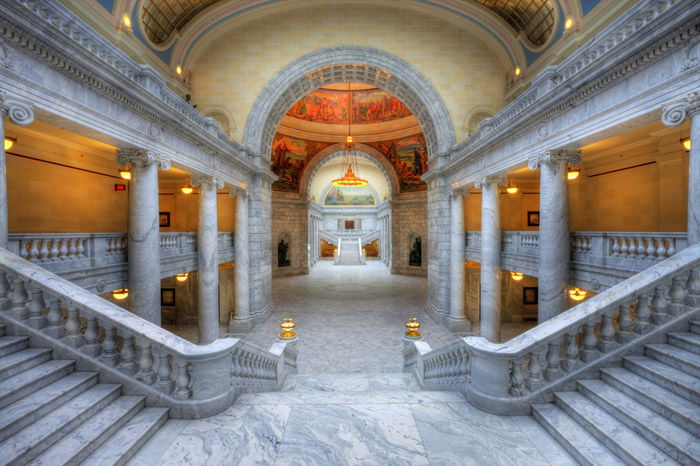
HDR image of the Utah State Capitol
Last but not least, all quality photos need some level of post-processing. Generally speaking, the more skill you have in post-processing, the more influence you'll have on your image's final outlook and quality.
Unfortunately, if you're not already using image editing software, the choices might seem staggering. Whichever you end up choosing, make sure it can work with Raw photos (even if you're not yet shooting in Raw) and that it does lens corrections.
If you’re intended to try HDR, you’ll need special software to merge photos. Advanced photo editors like Photoshop or Lightroom can do this; you can also go for editors like Photomatix or Aurora HDR that were designed specifically for working with HDR images.
Aesthetically speaking, urban architecture photography has an incredible amount to offer: a multitude of lines, angles, geometric shapes, and textures that can create a vast array of photographic opportunities.
In fact, you'd be hard-pressed to find such a perfect combination of geometric possibilities in any other genre. Add to that the fact that each building has its own personality, its own unique combination of form and function, and you have a lot to work with.
Hopefully, you'll find that these tips (and lots of practice) will send you well on your way towards capturing a building's essence in a way that's all your own.