Movement is difficult to capture in Photography. This is where panning comes into play.
This technique isn’t as hard as it sounds. A lot of it comes down to your choice in shutter speed. We can show you how to get it right.
What Is Panning in Photography?
The panning method is one of the easiest ways to capture a sense of movement. However, it can be tricky and time-consuming.
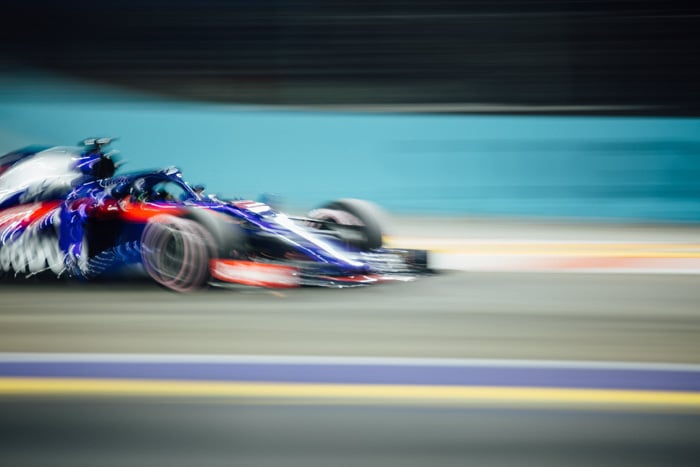
Panning photography is quite easy to identify. If you see a photo with a moving subject that’s sharp and a background that has motion blur, then it’s a panning shot.
When panning, your goal is to capture a moving object while moving your camera along with it, preferably at the same speed.
For example, you can capture a cyclist riding along the street by panning the camera and capturing the image mid-flow.
Of course, following a moving object isn’t enough. You also need to use a slower shutter speed to make panning photography work.
In the daytime, 1/30th or 1/15th should be enough. Although, you can also go even slower if you’re taking photos in low light situations.
So why should you use slower shutter speeds for panning photos? Well, it all has something to do with the fact that such a setting causes motion blur. When you pan your camera, you can expect hazy streaks in the direction you move it. As a result, it creates the feeling of movement.
What’s cool about panning is that if you match the speed of your moving subject, your subject will not appear blurry. Since the camera is on the same plane as your main point of interest, it will appear static in your frame.
How Do I Take a Panning Action Photo?
In the first section, I explained the theory behind panning. Now let’s dive into the details of how to do it.
Let’s start with the panning settings you’ll need to use on your camera.
What Are Good Shutter Speeds for Panning?
As I mentioned before, you need to use slow shutter speed when panning. I usually find that anywhere between 1/15 and 1/200 of a second can work. But it all depends on what you’re capturing.
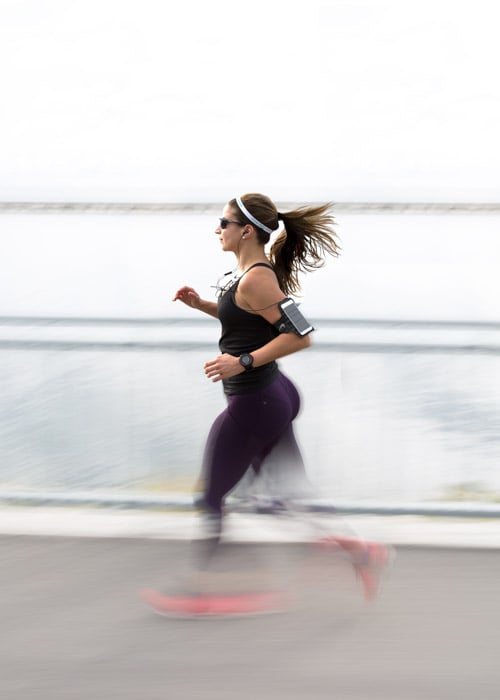
A more dynamic the motion may require 1/125 seconds, although you can capture a runner with 1/30.
Be careful not to go too slow, though, or you’ll ruin the effect altogether. If you use high shutter speed, such as 1/4000th, both the subject and background will be completely sharp.
How to Set Focus for Panning
There are two ways you can focus on panning photography. One is using AI Servo (AF-C for Nikon), which keeps refocusing on a subject if it moves out of the original focal point. It’s excellent because it adjusts the lens automatically.
However, this can be tricky to get right, as the fast-moving subject needs to stay in the focus area.
Another method is to use a manual focus. All you have to do is find something moving (e.g., a car) to pre-set the focus on where your subjects are going to be.
Using a medium to narrow aperture will work well, as the backgrounds will be too blurry to be in focus.
How to Use Framing for a Panning Shot
The idea is that you set up your image by composing and framing as if there was a car/bike/person in the scene. You then wait to see something moving towards your focal area.
As the subject gets closer, you allow it to enter your frame as you move with it. You need to match its speed, and then take a photo as you move your camera.
But when you’re moving at such a rapid pace, how do you ensure you create a smooth panning shot?
To create a fluid movement in panning, I use a camera strap around my neck. I keep the strap taught to make the side-to-side movement more stable.
Hold your camera correctly, and track the movement of your subject. Doing so ensures your main point of interest stays relatively sharp when you capture it.
Tip: When you take the panning shot, keep your camera moving. An abrupt stop could significantly affect your image.
What Is the Best Exposure Setting for Panning?
The success of your photo is going to come down to the speed of your exposure.
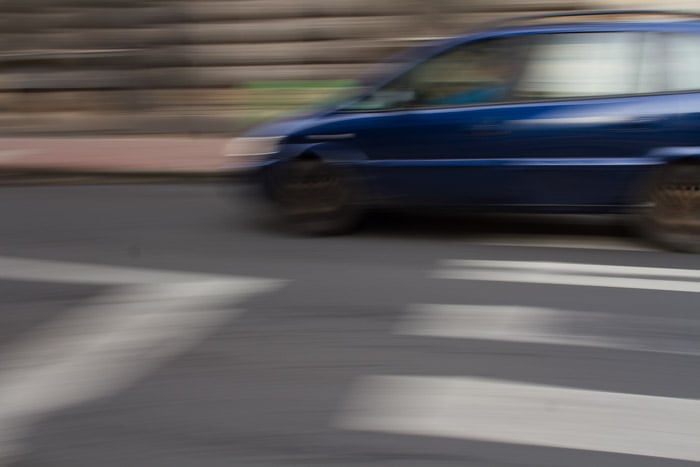
When your subject is nice and close to you, it will take them much further across the frame than if they were 100 feet away. It means that you need a faster shutter speed for subjects that are closer to you.
You see, objects that are further away are often those very large or very fast subjects. Think of planes, trains, and automobiles.
This photo below was taken at 1/160 of a second. I was also in a moving vehicle, moving at roughly the same pace.
To help you avoid the guesswork, switch your camera settings to shutter speed priority. That way, you only have to worry about the shutter speed and let the camera adjust the aperture for you.
Panning photography takes a lot of trial and error. So feel free to take a few test shots first. Keep adjusting your shutter speed until you find the correct amount of motion blur you desire.
How to Use a Flash for Panning
There’s no reason why you can’t add a flash to your photo.
Set off the flash at the beginning of the exposure to freeze the motion, and then carry on as you would with any other panning photo.
Using a flash can help if you’ve only just started learning this technique.
If you put your camera into manual mode, go all the way past 30 seconds, and you will reach bulb mode. It means that for as long as you hold down the shutter, the exposure will continue.
You simply set the exposure for the flash, and you can vary the length of shutter speed, depending on how fast your subject is moving.
Remember that flash only works if you’re only a few feet from your subject. If you’re too far away, the light won’t even reach your main point of interest, so it’s useless.
How I Captured Images Using Panning
From the get-go, I knew I wanted to use a slow shutter speed. I set my camera to manual mode, WB to daylight, ISO to 100, and shutter speed to 1/15th.
Doing so gave me an aperture of f/8, which I thought was adequate. I focused on a car that was in the place where I aimed to photograph.
If you are using auto-focus, or haven’t yet made the switch to back-button focusing, make sure your shutter release doesn’t refocus.
Shot 1
This was my first camera panning attempt.
As you can see, I am far from the intended capture. I believed the problem to be the shutter speed.
I increased my shutter speed to 1/30th, which meant my aperture had to drop to f/5.6, to keep the ISO at 100.
Shot 2
This was my second camera panning image.
Still not perfect, but the image is less affected by the camera moving up and down. I thought that the subject I was trying to capture was too close to the camera. I stepped away from the edge of the sidewalk about two/three steps (2 metres).
The exposure was a little dark, so I compensated for that by widening the f/stop from f/5.6 to f/4.5.
Shot 3
This was my third camera panning image.
As you can see, I added more exposure by widening the f/stop. I also used slow shutter speeds from 1/30th to 1/40th to minimise the blur.
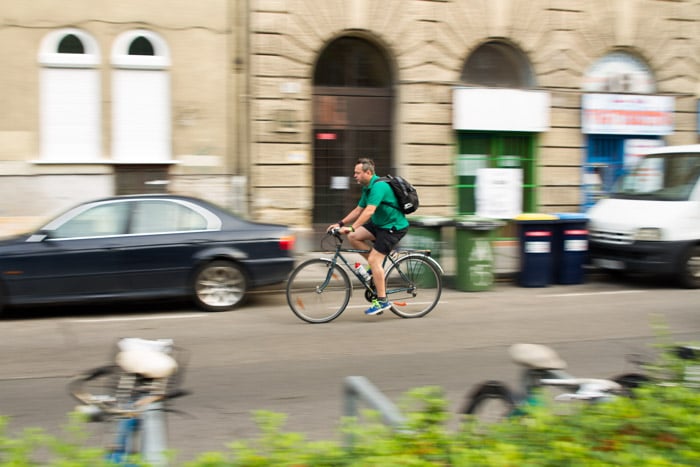
Here, I feel like I nailed the shot. The background could have been better, but my idea was to capture the bike first.
Shot 4
Below is my fourth attempt.
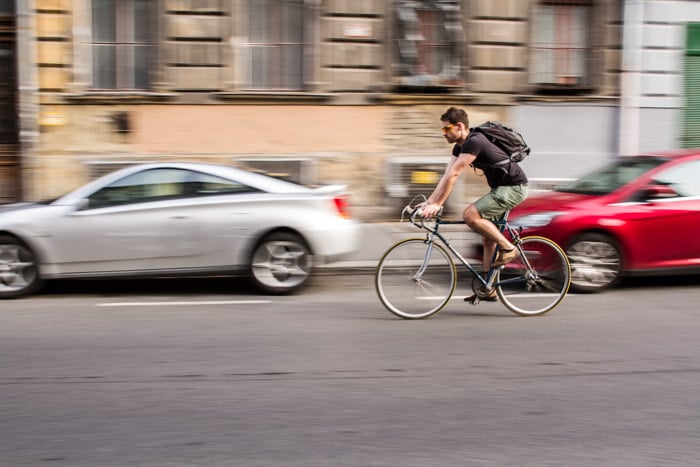
The cyclist isn’t entirely in focus. However, he stands out because the background is so blurry.
Bikes are easier to photograph as they are slower than cars. It isn’t as difficult to match their speed.
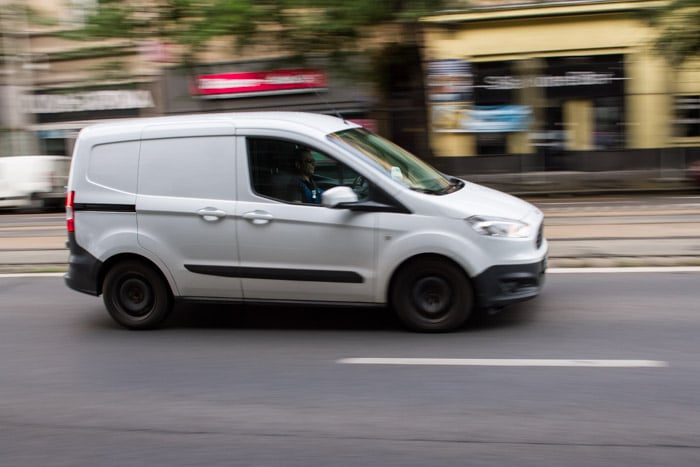
Shot 5
I wanted to challenge myself with a car, so I started panning cars.
I found that matching the speed of cars was tricky, as they can gradually go faster or slower. They often moved too fast to give me enough time to match the speed and capture.
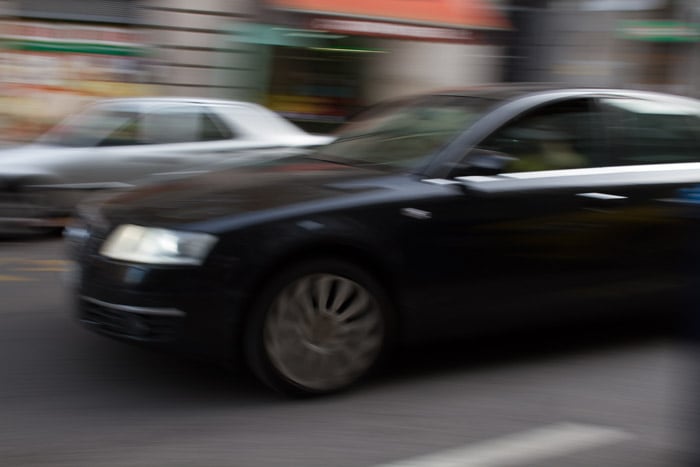
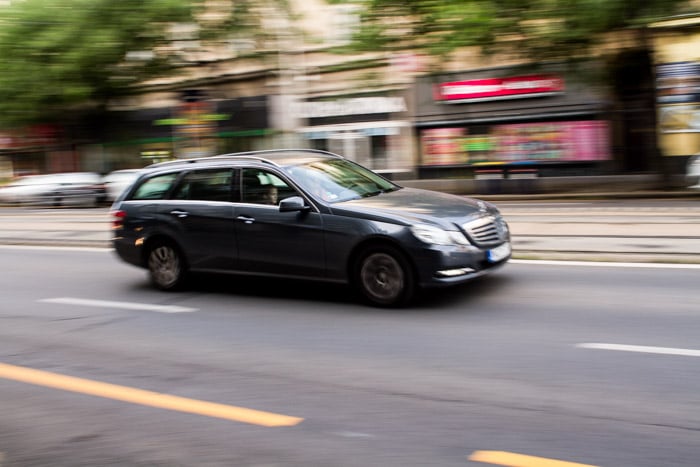
Shot 6
Here, I realised I was capturing the cars too slowly, and instead of a side view, I wanted more of an angled composition.
TIP: Use the Live View mode on your camera so you can see the situation in front of you.
I prefer the angled view as it gives a stronger sense of movement.
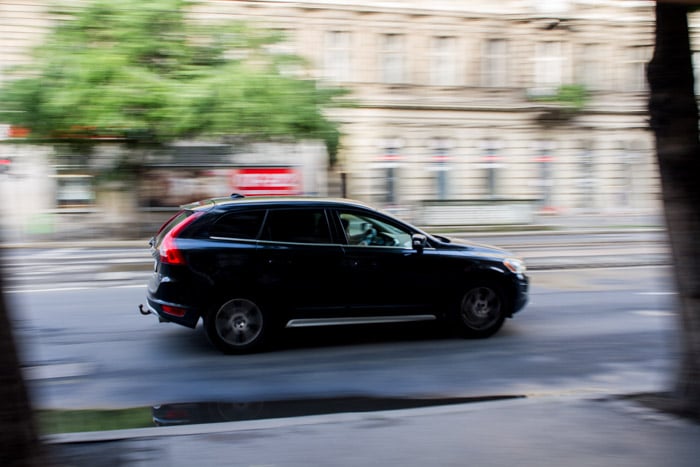
Shot 7
This time, I wanted to see if I could frame the image better. I like a challenge. I saw two trees that could serve as a natural frame.
The speed and the location of the car were perfect; only the natural frame is downplayed by the movement and blurriness.
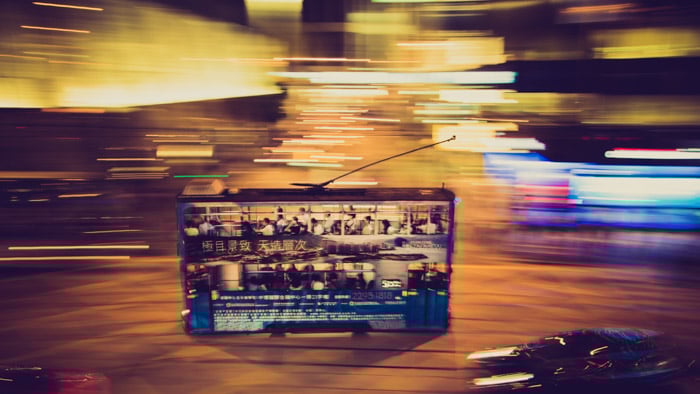
Shot 8
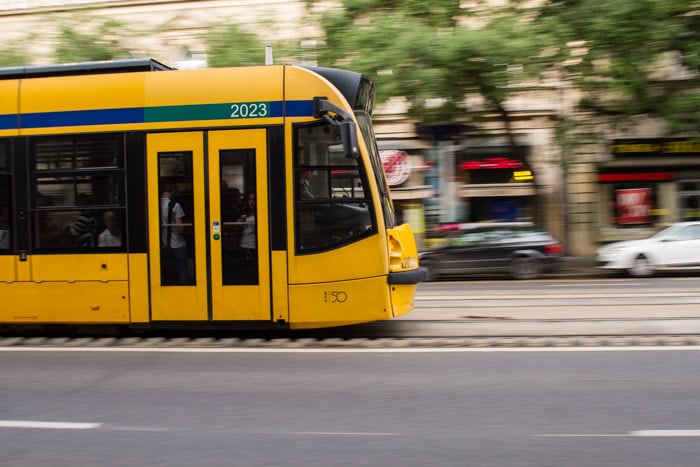
The last panning challenge was photographing the tram. It is so sharp you can see the driver and the people inside. The last few images had the same camera settings.
I found these worked best and continued to use them as the light situation was the same. Sometimes it is beneficial to do panning of subjects that are in parallel movement with your camera angle.
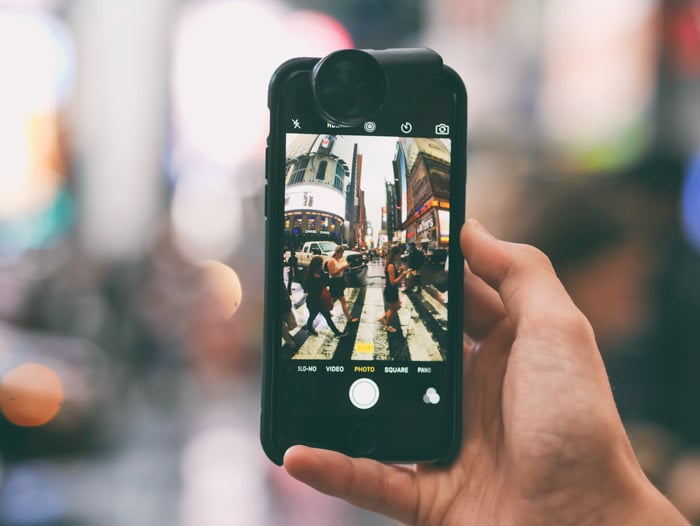
How Do You Take a Panning Shot on iPhone?
With a few adjustments, it’s quite easy to create panning shots on a regular DSLR or mirrorless camera. But is it possible to do it if you have an iPhone?
Well, it all depends. You see, your native camera app changes the settings automatically for you. That means you have no way to adjust everything yourself.
But it doesn’t mean you can’t do any panning photography on your mobile device at all. If you want to use your native camera app, all you have to do is to shoot in low-light conditions.
If there isn’t enough light, your phone will automatically use slower shutter speed. So when you pan your phone, you’ll inevitably get the motion blur you need.
But we know that you can’t always shoot in low-light situations. So what do you do if you want to do some panning photography in broad daylight?
The most straightforward answer is to use a third-party app such as Camera + 2. It lets you use manual settings like a regular camera. All you have to do is key in the necessary exposure adjustments, and you’re ready to take some panning shots!
Conclusion
After a little practice, I found it easy to capture images via panning. You can create some compelling motion photography with this technique, but it might take a while to get there.
What helped me the most was standing farther back from the subject. Standing closer means the cars or bikes are moving faster relative to you, making it harder to track. Think about your background first, and wait there to capture the moving subjects.
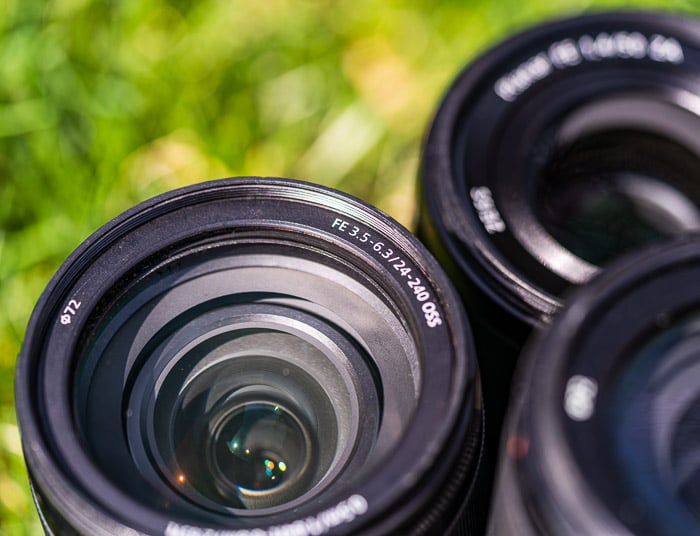
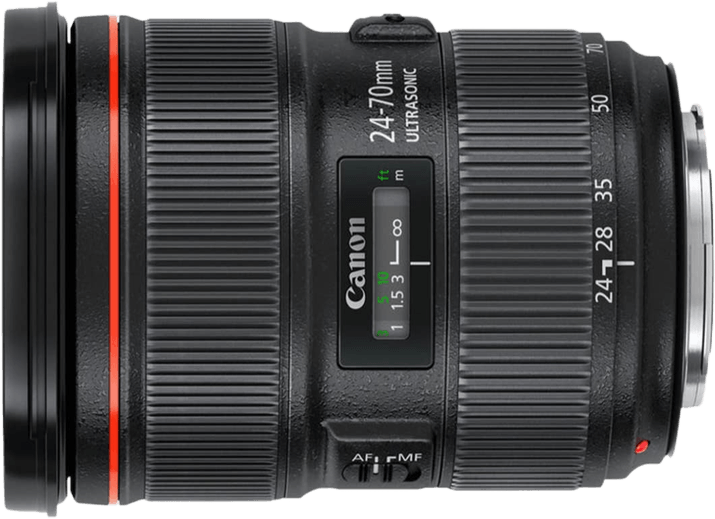
A wider camera lens will work better for panning than any lens above standard (50mm). I used my 24-70mm zoom, keeping it wide at 24mm for every shot.
Another variation to this technique is to photograph from a moving object. Being inside a car or any form of public transport can also create an interesting reverse method. Give it a go.
If you want to learn more about basic photography techniques, check out our ‘Photography for Beginners‘ course here.