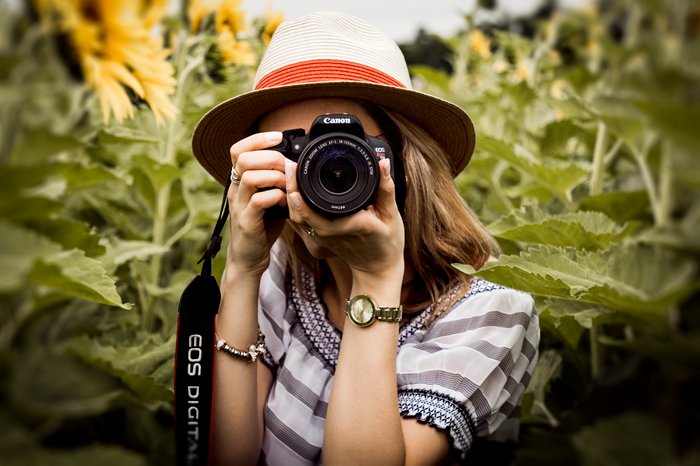
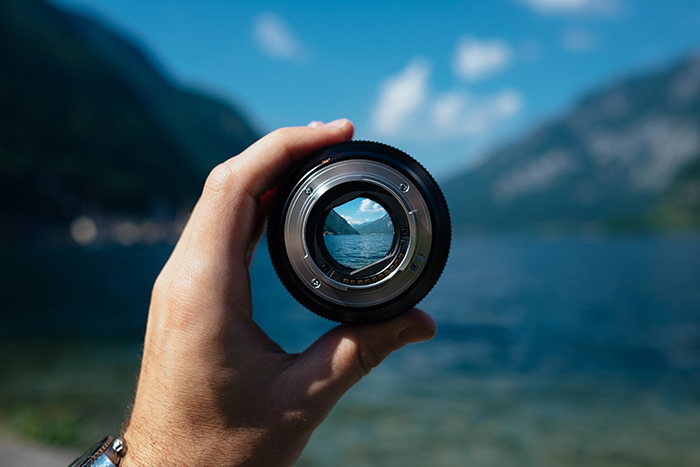
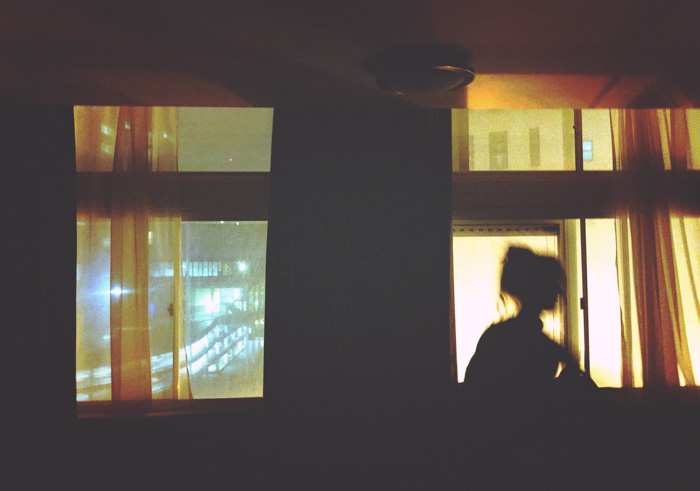
To take better photos, choose a clear subject, find useful light, check the background, and put the focus where it matters. Keep the camera steady, adjust the brightness, and review the result before you move on. You can start with the camera or phone you already have.
You do not need to learn every setting at once. These ten steps explain what to look for and what to change on your next photo.
How Do You Take Better Photos as a Beginner?
Before you press the shutter, ask three questions: What is my subject? Is the light helping it? Is anything distracting from it? Take a photo, then check that your subject is sharp and that important bright areas still have detail. Change one thing and take another frame.
If you use a phone, gently clean its camera lens with a clean microfiber cloth first. On a camera with an interchangeable lens, check the front glass and use the cleaning method in its manual.
10. Learn Your Camera Controls and Choose the Focus
Like most people, I struggled to see the point of manual mode when I bought my first digital camera. Why couldn’t I just leave it on priority mode?
You can. Manual mode is useful for learning and for situations where you want to keep your exposure settings fixed. It is not a requirement for good photos. Automatic and priority modes are useful tools too.
Learn what each setting changes:
- Aperture controls the lens opening. At the same focal length and focus distance, a lower f-number gives a wider opening and a shallower depth of field. A higher f-number gives a smaller opening and more depth of field.
- Shutter speed controls the exposure time. A faster shutter can freeze movement; a slower shutter can show movement as blur.
- ISO helps you balance image brightness with the aperture and shutter speed you need. Raising it can let you use a faster shutter in low light, but higher settings can make noise more visible.
Start with aperture priority when you want to control how much of the scene is sharp, or shutter priority when movement is the main concern. Check the resulting exposure and shutter speed; the camera still has limits in very bright or dim light.
Focus is a separate choice. For a still subject, single autofocus is a useful starting point. For a moving subject, try continuous autofocus or subject tracking if available. Select the area you want sharp, such as a person's eye, rather than letting the camera focus on the background. Names and controls differ between cameras.
On an iPhone, tap your subject to move the focus area. Drag the brightness control up or down to adjust exposure. Many Android camera apps offer similar controls, but check your phone's instructions. Hold the device with both hands and press the shutter gently. Review a magnified view to see whether the subject is sharp.
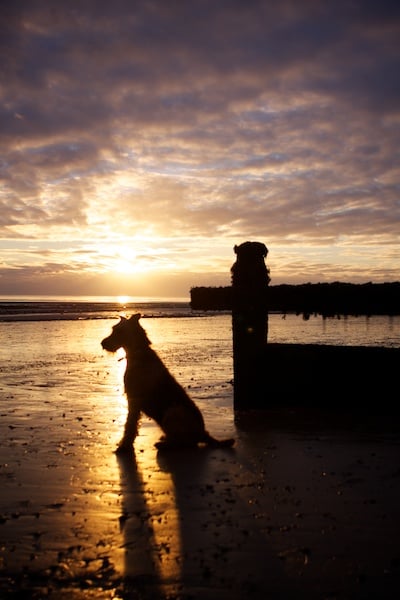
A silhouette of a dog on the beach – how to take good pictures
9. Learn Composition Techniques and Use Them with Purpose
Once you’ve learnt basic composition techniques, such as the rule of thirds and the use of leading lines, you start to look at everything differently. You’ll start seeing and thinking about how you might frame a photo, even when you haven’t got a camera on you.
Turn on the grid if your camera or phone has one. Try placing the subject near a grid intersection, then take another version with it in the center. Compare which arrangement makes the subject clearer.
Use a path, wall, or line of trees to lead the eye toward your subject. Check that the line leads somewhere useful. Keep the horizon level when that suits the scene, and look around all four edges for objects you have cut off by accident.
Treat these techniques as choices. A centered flower or a symmetrical doorway can work well. If your photos start to feel repetitive, try a photography project that makes you compose differently.
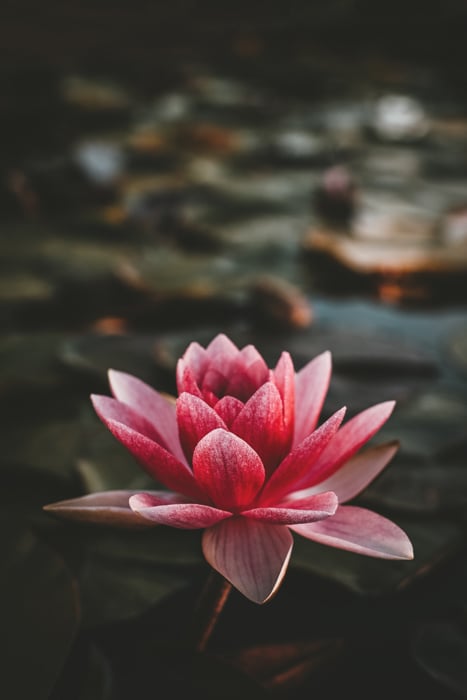
8. Look at the Light Before You Use Flash
Light changes the shape, color, and mood of your photo. For a simple portrait, try a window or open shade. Turn your subject or move yourself until you find a direction of light that suits the face. Keep the background in view as you move.
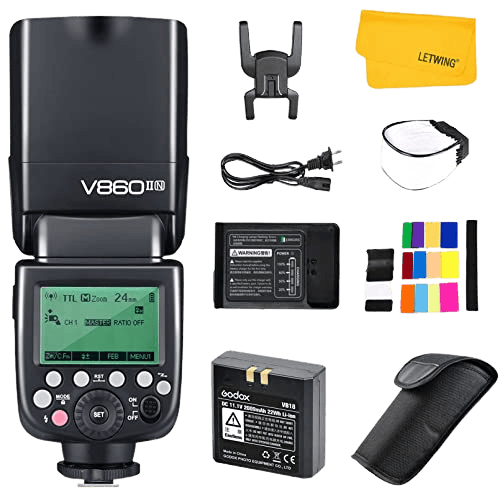
Small flashes pointed straight at a subject can produce hard shadows and bright reflections. That does not make all on-camera flash bad. A built-in flash can fill shadows in a backlit portrait, and a compatible external flash with a tilting head can bounce light from a nearby wall or ceiling.
When I first started out, I hated the pop-up flash so much that I didn’t consider myself a ‘flash’ person. This lasted until a friend talked me into buying an external flash unit.
If you already have a flash with a bounce head, try a nearby white wall or ceiling. A colored surface can add a color cast, and a distant surface may return too little light. Take a test frame and adjust. If you do not have a flash, practice with natural light before you decide you need extra equipment.
On a phone, compare the scene with flash on and off when appropriate. Choose the result that suits the subject. Follow any flash restrictions at the location.

7. Find a Fresh Perspective
As a tall person, I always find myself adjusting my height when taking photos of people so that I’m not looking down on them.
Try the same scene from standing height, then crouch or find a safe higher viewpoint. For a child or pet, start near their eye level and compare the result with a view from above. Each position changes which parts of the scene overlap and what appears behind the subject.
A fresh perspective can reveal a photo you would miss from your usual position. At a gathering, look for a clear gap between people or a foreground detail that helps tell the story. Move with care and respect the space around your subject.
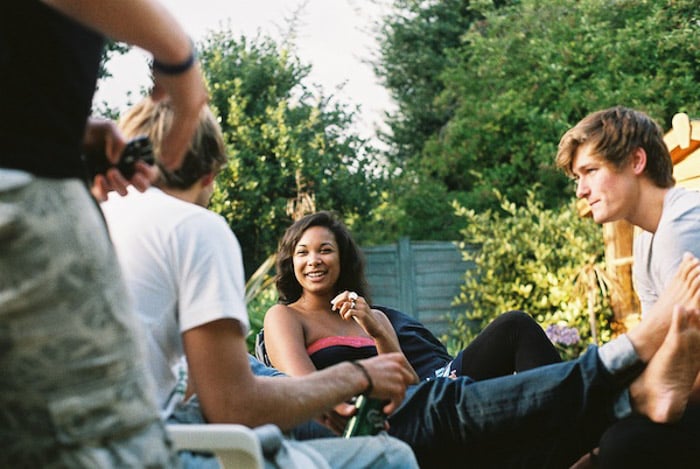
6. Move Closer or Zoom for a Clear Reason
If your subject looks lost in the frame, make it more prominent. Move closer when it is safe and appropriate, use optical zoom if you have it, or choose a tighter crop. Look for details that would otherwise be overlooked.
Moving and zooming do different things. Moving the camera changes your viewpoint and the relationship between foreground and background. Changing focal length from the same position changes the angle of view and how much of the scene fits in the frame.
A telephoto lens is useful when you need a tighter view from a distance. You do not have to approach wildlife, a performer, or a person who needs space to fill the frame.
For a phone portrait, avoid putting a wide-angle camera very close to someone's face unless you want that exaggerated near-to-far look. Step back and compare the proportions. Check whether your phone's zoom option switches to another camera or crops the image; the available options vary by model.
Think before you shoot. Decide whether the detail alone or the wider setting tells the better story.
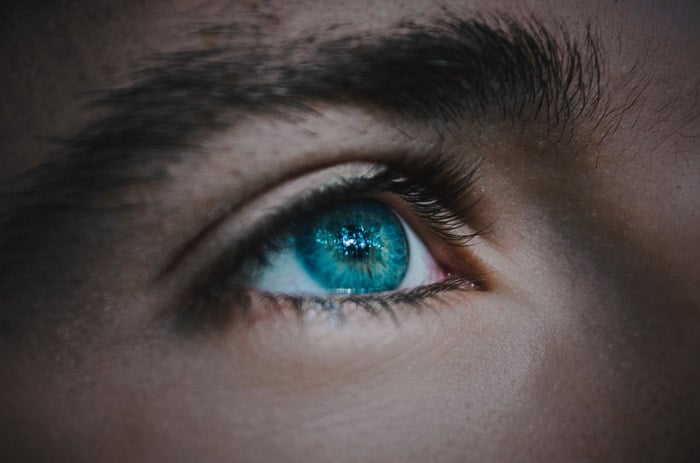
5. Clean Up Your Background
The background is as much a part of your photo as the subject. Moving your camera just a few degrees to the side may make all the difference when it comes to cleaning up your shot.
Look for a branch that seems to grow out of someone's head, a bright patch that pulls attention away, or a person cut in half at the edge. Move sideways, change your height, or wait for a clearer moment. Keep background details that add useful context.
The branch in the shot below really bugs me. Checking the edges before taking the photo is easier than trying to repair every distraction afterward. You can also use photo editing software, such as Photoshop, to refine the result. Keep a copy of the original before you edit.

4. Frame Your Subject
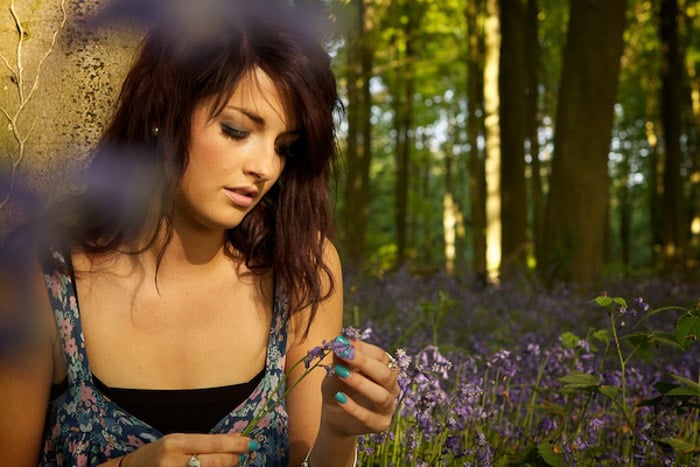
Look for a way to put a frame within a frame, like a doorway or window. In the photo below I used a bluebell flower.
Framing can add context, telling the viewer more about what is happening and where the photo was taken. It can also add a sense of depth by showing a foreground layer in front of the subject.
Check that the frame helps the photo. A dark doorway can draw attention to a person in the light, but a bright foreground object may compete with them. Keep the important parts of the subject visible and focus on the subject rather than the frame, unless you intend a different effect.
3. Check Your White Balance
White balance adjusts the overall color balance of your photo. Auto white balance is a useful starting point. Check it when skin or a neutral object looks much more orange, blue, green, or magenta than you intend. Read the white balance guide here for more detail.
Warm indoor lamps can create an orange cast. Taking a photo without a flash is not itself the cause; the light source and the white balance setting matter. Try a preset that matches the light, or a custom white balance if your camera supports it.
Mixed light is harder to correct with one global setting. For example, a window and a warm lamp may light different sides of a face differently. Try using one main light source or moving the subject before you edit.
If you shoot raw, an editor such as Lightroom Classic gives you broad control over color temperature afterward. You can adjust white balance in a JPEG too, although its adjustment range is more limited. On a phone without a white balance control, use the photo editor's warmth or temperature control if available. Correct an unwanted cast, but keep warm light when it is part of the scene you want to show.

2. Use the Histogram to Check Exposure
A camera screen can be difficult to judge in bright sunlight. If your camera or app has a histogram, use it alongside the image to check exposure.
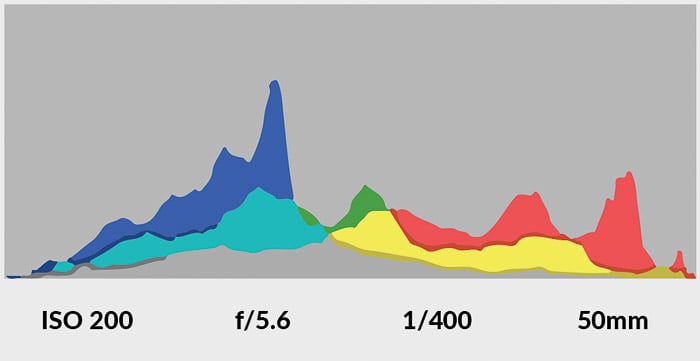
A histogram shows the distribution of tones: dark tones are on the left and bright tones are on the right. It does not score how good your photo is, and there is no ideal shape for every scene. A silhouette will naturally contain a lot of dark tones; a bright snow scene will contain more light tones.
Look for important areas that have lost detail at either end. If a face or a bright cloud is washed out, reduce the exposure and take another frame. On a camera in an automatic or priority mode, exposure compensation often provides this control. On an iPhone, tap the subject and drag the brightness control down. Check your camera manual or app for the exact method.
A reflection from the sun may remain pure white without spoiling the photo. Judge clipping by what matters in the scene. Use the camera's highlight warning or RGB histograms if available, and read more about how to use a histogram when you want a closer explanation.
If your phone does not show a histogram, look carefully at the preview and the saved photo. Retake it at a lower brightness if important highlights look blank.
1. Practice, Review, and Make Small Edits
Practice works best when you can see what changed. Choose one subject and take three versions: your first idea, a different viewpoint, and a version with cleaner framing or better light. Compare them before you leave.
Review the result with these questions:
- Is the subject sharp? Check focus and camera movement. For a moving subject, try a faster shutter speed if your camera gives you that control.
- Is the subject clear? Look at its position, size, and background.
- Do the important bright and dark areas have detail? Adjust exposure for the parts you want to preserve.
- Does the color suit the scene? Check white balance before adding a strong filter.
Make small edits to your best frame. Straighten the horizon, crop a distracting edge, adjust brightness, and correct an unwanted color cast. Lightroom Classic and many phone editors have controls for these changes. Keep the original so you can compare versions. Sharpening and exposure adjustments have limits; they cannot reliably replace correct focus or recover detail that was never recorded.
Use the tutorials on this website to work on the specific problem you find. For your next session, pick one skill to practice rather than changing every setting at once.

Frequently Asked Questions
Do I need an expensive camera to take good photos?
No. Start with the camera or phone you have. Work on light, a clear subject, deliberate focus, and a tidy composition. Consider different equipment when you can name a limit it would help you solve.
Should I learn manual mode first?
You can learn it gradually. Automatic and priority modes let you practice light, composition, and focus while the camera handles some exposure settings. Manual mode is useful when you want to control aperture and shutter speed yourself.
Should I always turn the flash off?
No. Direct flash, fill flash, and bounced flash produce different results. Try the light available first, then use flash when it helps. A bounce flash needs a suitable surface and enough power to return useful light.
How can I take better photos with my phone?
Clean the camera lens, choose useful light, tap your subject to focus, and adjust brightness if needed. Hold the phone steady and check the background and edges. Review the saved photo and make a small crop or color correction when it helps.