How to Shoot Low Key Black and White Photography
In low key black and white photography, you want to create a moody and atmospheric image. This type of photography is often used for portraiture and fine art nude photography. To shoot low key black and white photos, you need to know how to control the light in your scene. In this tutorial, I will show you how to do just that.
Low Key Black And White Photography: What Is It?
To define an image as monochrome means it has only one color represented or only shades of grey. Most commonly monochrome photography is perceived as being black and white.
What Is Low Key Photography?
The word key refers to ‘key light‘. This is the main light in a scene. When the key light is low, and there is little or no other light, the effect is called low key photography.
Popular with movie directors for what’s known as ‘film noir‘ cinema, low key lighting was used to create drama and tension in a scene.
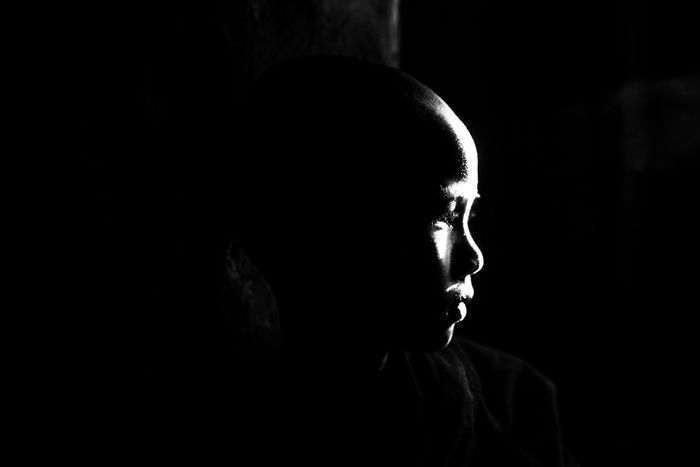
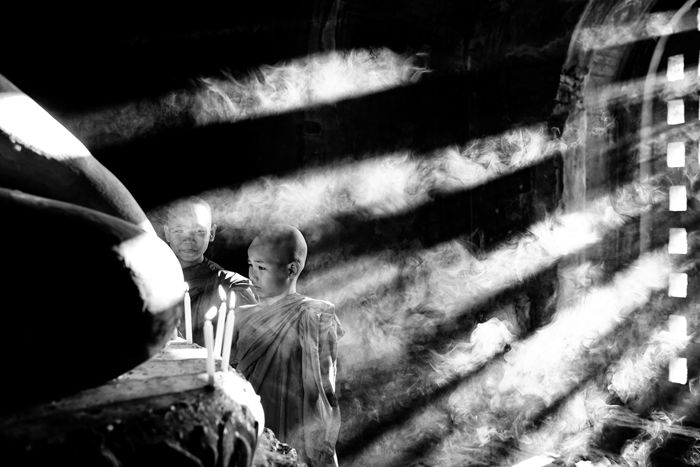
Low key monochrome photography consists mainly of highlights and shadows. Low key lighting dramatically enhances the contrast in a photograph.
High Key vs Low Key Monochrome Photography
In high key photography the key light is bright and there will be one or more other lights and/or reflectors. The tone range of a high key image is typically wider.
The look of a high key monochrome photograph compared to a low key photograph is a lot flatter.
With a high key setup, light is usually softer and fills in the shadows. Low key lighting results in a much darker, moodier feeling because of the deep shadows and minimal tone range.
When to Use Low Key Photography
Having the contours of your subject thrown into areas of shade when you use a low key light setup can create a sense of mystery. A dark, somewhat sinister effect can be conveyed.
If you want to express sadness, hope or tension, use a single light. Carefully position it to accentuate the shadows and the drama will be there.
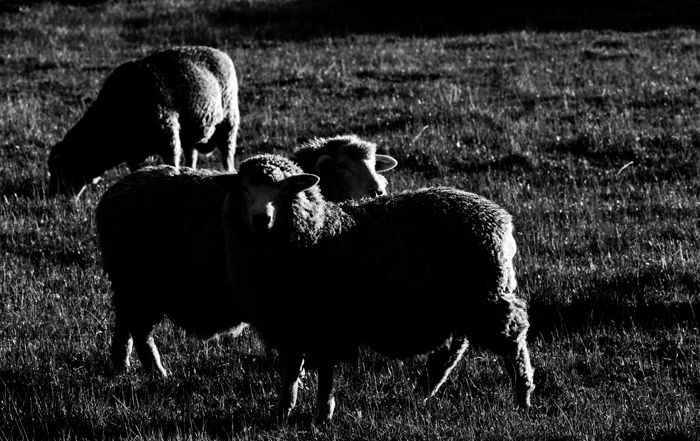
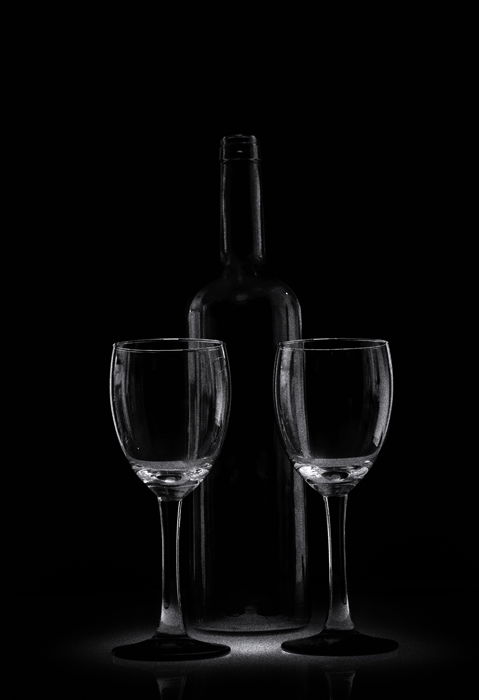
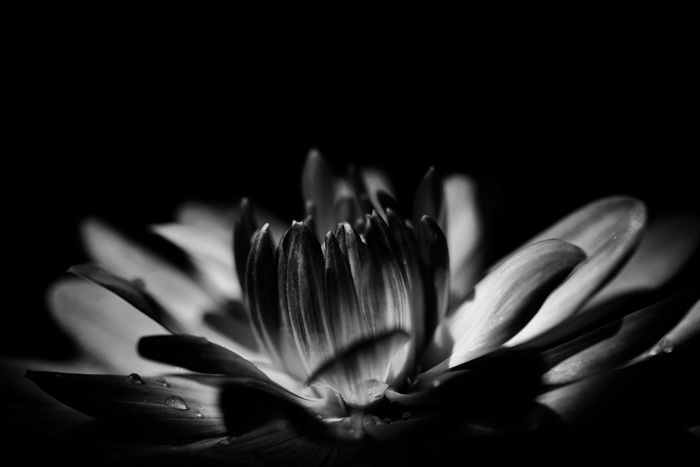
Low key monochrome photography can be used with any subject you like. Low key portraits are popular. Flowers, landscapes, still life, food and even sheep can be given a high contrast treatment.
When you want to do low key photography don’t be restricted by your subject selection. Instead be more mindful of the feeling you want to portray in your monochrome photograph.
How to Make Low Key Monochrome Photographs
There are four main things to think about when you want to make low key monochrome photographs:
- the light and shadow and how it looks on your subject;
- the color, and, (mostly,) disregard it;
- the exposure you will use;
- how you will post process your low key photographs.
Light your subject with a single main light, your key light. This could be an electric light or a flash. It could also be a window if you are inside or sometimes the sun when you are outside.
Make sure there is one light source considerably brighter than the other ambient light. If there’s too much other light, achieving the dark shadows characteristic of a low key photograph will not be possible.
Think about how you position your light and subject in relation to your camera angle. The angle that the light falls on your subject will reveal more or less of it. If you are working with a portable light and a subject you can move, this is easiest.
Moving your subject and light, watch what happens with the highlights and shadows. Detail in the shadows will change or disappear. Highlights may lose their details. This depends on your exposure, which I will write more about in a moment.
Looking at your low key lighting scene, remember that your eyes will see more tone detail across a broader range than your camera will capture. The tone range your camera can record, known as the dynamic range, is narrower than what you can see with your eyes. (This is changing as camera technology continues to advance.)
You will not see the shadows as dark as you will want them to be in your finished monochrome photograph. You need to think about the shadow areas having little or no detail and concentrate on the shapes they make.
Squint your eyes as you look at your subject. This will help you see as though you have a narrow dynamic range. The highlights in what you are looking at will be visible but whatever is in the shadows will not be clearly seen.
Look at the brightest areas of your composition and compare them to the darkest areas. If you can take an exposure reading from the highlight and from the shadows, compare them.
If there is not sufficient difference you may have too much ambient light in your scene. Increasing the strength of your key light or moving it closer to your subject will help.
Seeing in Monochrome
With digital cameras it is very easy to consider everything in color and convert to a monochrome image later if we wish. Thinking about the colors in a scene and how their various shades will render in black and white is not easy.
Try to ‘see’ in monochrome when you are creating your photographs. Doing this will help you get better results.
Practice thinking about how the tones in your composition will appear in your picture without color. Look to see the difference in grey tone between a strong red and a pastel blue or deep yellow.
Understanding how different colors render is probably more important for high key photography. With high contrast low key photography, the color tone differences rendered in monochrome are not so bold.
Making low key monochrome photos of particularly colorful scenes can be challenging. The color in a landscape or a flower may not appear in your monochrome image the way you think it might.
The easiest way to observe how it will look is to change your camera monitor or viewfinder, (if you are using a mirrorless camera,) to black and white. Working with your camera set like this allows you to see how your photos will look without color.
Some might consider this a bit of a cheat’s method, but it will help. Use this tool to build up your ability to see in black and white.
Set Your Exposure Well
Photography is all about painting with light. That’s what the word photography means. Applying too much or too little paint will seriously effect how a painting will look. It’s the same with light and photography.
If you allow too much or too little light into your camera to make the exposure your results will be disappointing.
Our cameras all have tools built in to aid us in making decisions about exposure. You can can control your exposure using manual mode or let your camera do this for you with an automatic or semi automatic mode. Whichever mode you choose you need to be precise with how your meter is set.
I use my spot meter when making low key photographs. This allows me to take a reading from the shadow areas and the highlight areas of my composition. I then set my exposure manually to expose well for the brightest area of my composition.
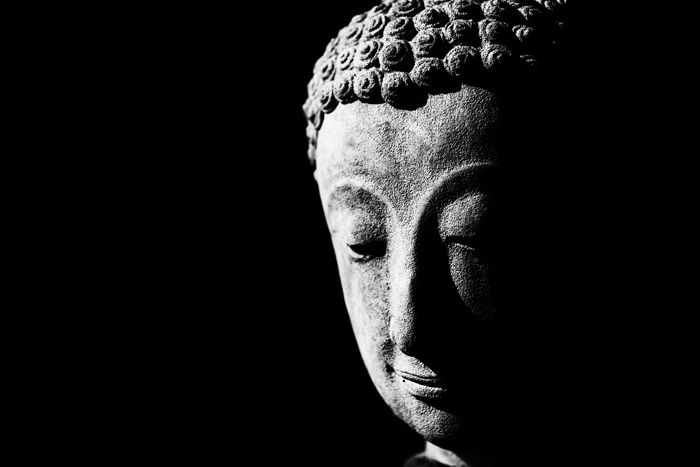
For example, in the case of my photo of the Buddha statue. I have made an exposure reading from the shaded part of the statue. Then I have moved my spot meter to take a reading from the bright part of the statue. I have set my camera to f2.8, 1/8000th of a second at ISO 400.
My exposure meter indicator was at zero when reading from the bright area. My reading would be different if I had used averaged, center weighted or another setting which took into account any of the shadow area.
I did not want to see detail in the background. Positioning my camera to compose so no sunlit areas were visible was important. Any light in the background would be distracting. This photo was taken at 3pm on a sunny day.
By carefully choosing to expose for the highlights in my composition the shadow areas are very dark. I have created a low key photograph.
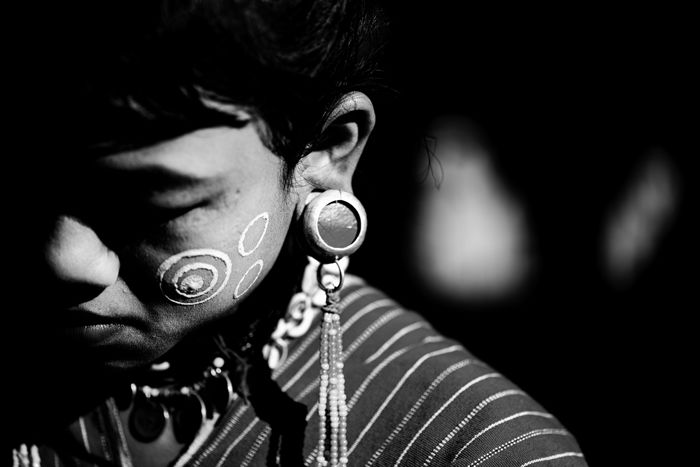
When I am making low key photographs I tend to review my images on my camera monitor to ensure they are looking how I want them to. Once I am happy with the exposure I will leave it set and not keep checking.
If you prefer to use any of the auto modes on your camera you will need to use your spot meter the same way. Take a reading from the highlights. If you need to recompose remember to use your exposure lock. If your camera does not have a spot meter or you are not sure of how to use it, make adjustments with your exposure compensation.
Your camera might have a monitor or electronic viewfinder which adjusts as you alter your exposure settings. This is a very easy way to work. You can ignore your exposure meter read out. Set your exposure to how it looks best on your monitor or your electronic viewfinder.
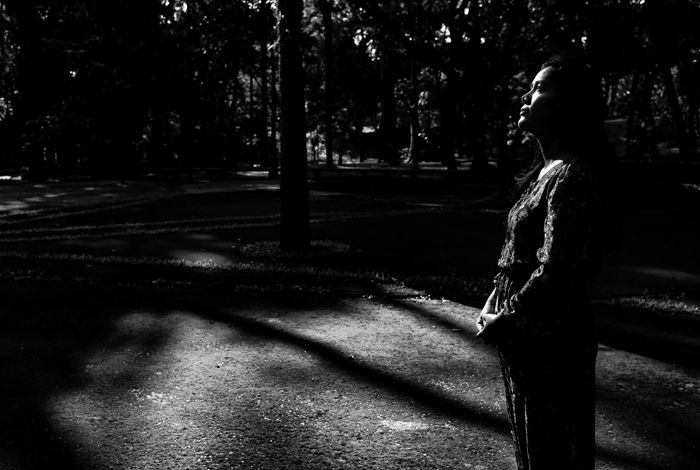
Post Processing Low Key Monochrome Photography
Manipulating our photos to make them look the way we want is essential in low key monochrome photography. If you are saving your photos as RAW files all the color information your camera records is in the file.
The huge dynamic range of modern cameras means the low key look is very difficult to capture in camera.
Achieving the Low Key Look
Start thinking about post processing when you are taking your photos. Low key photography and film making began when the limitations of the medium were restrictive. Film had a very narrow dynamic range back then. Exposing film for the highlights meant there was little or no detail recorded in the shadows.
Film is still far more limited in dynamic range than most digital cameras.
Your camera is recording more shadow detail than you want to show in your finished photo. More so if your camera is set to save RAW files rather than jpegs. To create a real low key monochrome look you have to eliminate some of this unwanted detail.
During post processing it is very easy to darken the shadow areas. If you have set your exposure well for the highlights there are many methods of exaggerating contrast.
Some methods you can use to make your photos more low key looking in post processing are:
- Adjust the contrast levels
- Adjust the black levels
- Change the whites and highlights
- Use the burn tool (or similar)
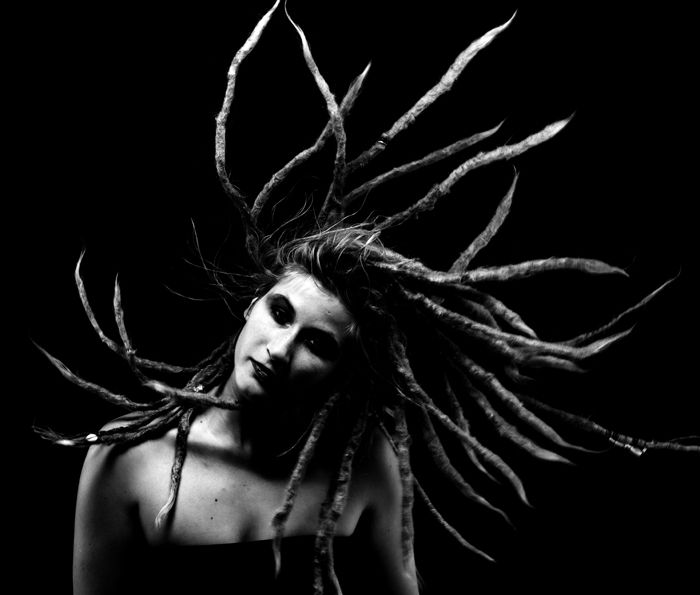
There are so many combinations to make adjustments to highlights and shadows. Above I have only listed some of the tools I use when working in Adobe Lightroom and Photoshop.
Generally there are a few things to be careful of. When making these modifications to your photos be careful to maintain technical quality. Making extreme adjustments with the tools or sliders can result image deterioration.
This risk is greater working with low key photographs because of the high contrast levels.
The shadow areas, particularly along the edges, are where problems will most likely show up. As you are working it’s a good idea to zoom in and view the photo at 100 percent from time to time.
Study the image. Look for problem areas of artifacting where the pixels look to be clumped together and jagged.
Using a combination of the various tools and sliders can help avoid technical problems. Making smaller tweaks to two or three sliders is more likely to give you a better result than using one slider stretched to it’s extreme.
Making Your Images Monochrome
Stripping the color from your photos using a desaturation tool will render them monochrome. It may be the easiest way, but it is certainly far from the best.
Plugins and actions available to make photos black and white are numerous and diverse. There are so many options available, too many to mention all. Many of them are free. My preference is the popular Silver Efex Pro plugin I use in Adobe Photoshop.
You can learn to do this part of the process manually. It can be extremely satisfying, but, be warned, it can be incredibly time consuming.
Mostly I will start with Silver Efex Pro and make further manual adjustments. I do not always rely on the plugin presets to get the look and feel I want.
Conclusion
Look for or create the right kind of light. One main light that is significantly brighter than the ambient light will usually do.
Compose with the shapes and shadows in mind. Squint your eyes to look at the highlights and shadows. Set your exposure carefully for the highlights in you composition.
Think about how you want your finished low key monochrome photography to look and how you will post process it.
Low key photographs are an illusion, because our eyes never see the way a low key photo looks. Be creative. Think differently. Carefully consider the technical aspects. And have fun!
