You can shoot in black and white straight from your camera. No need for black and white film or converting to black and white.
This article is all about the right camera settings for black and white photography. And how to use them.
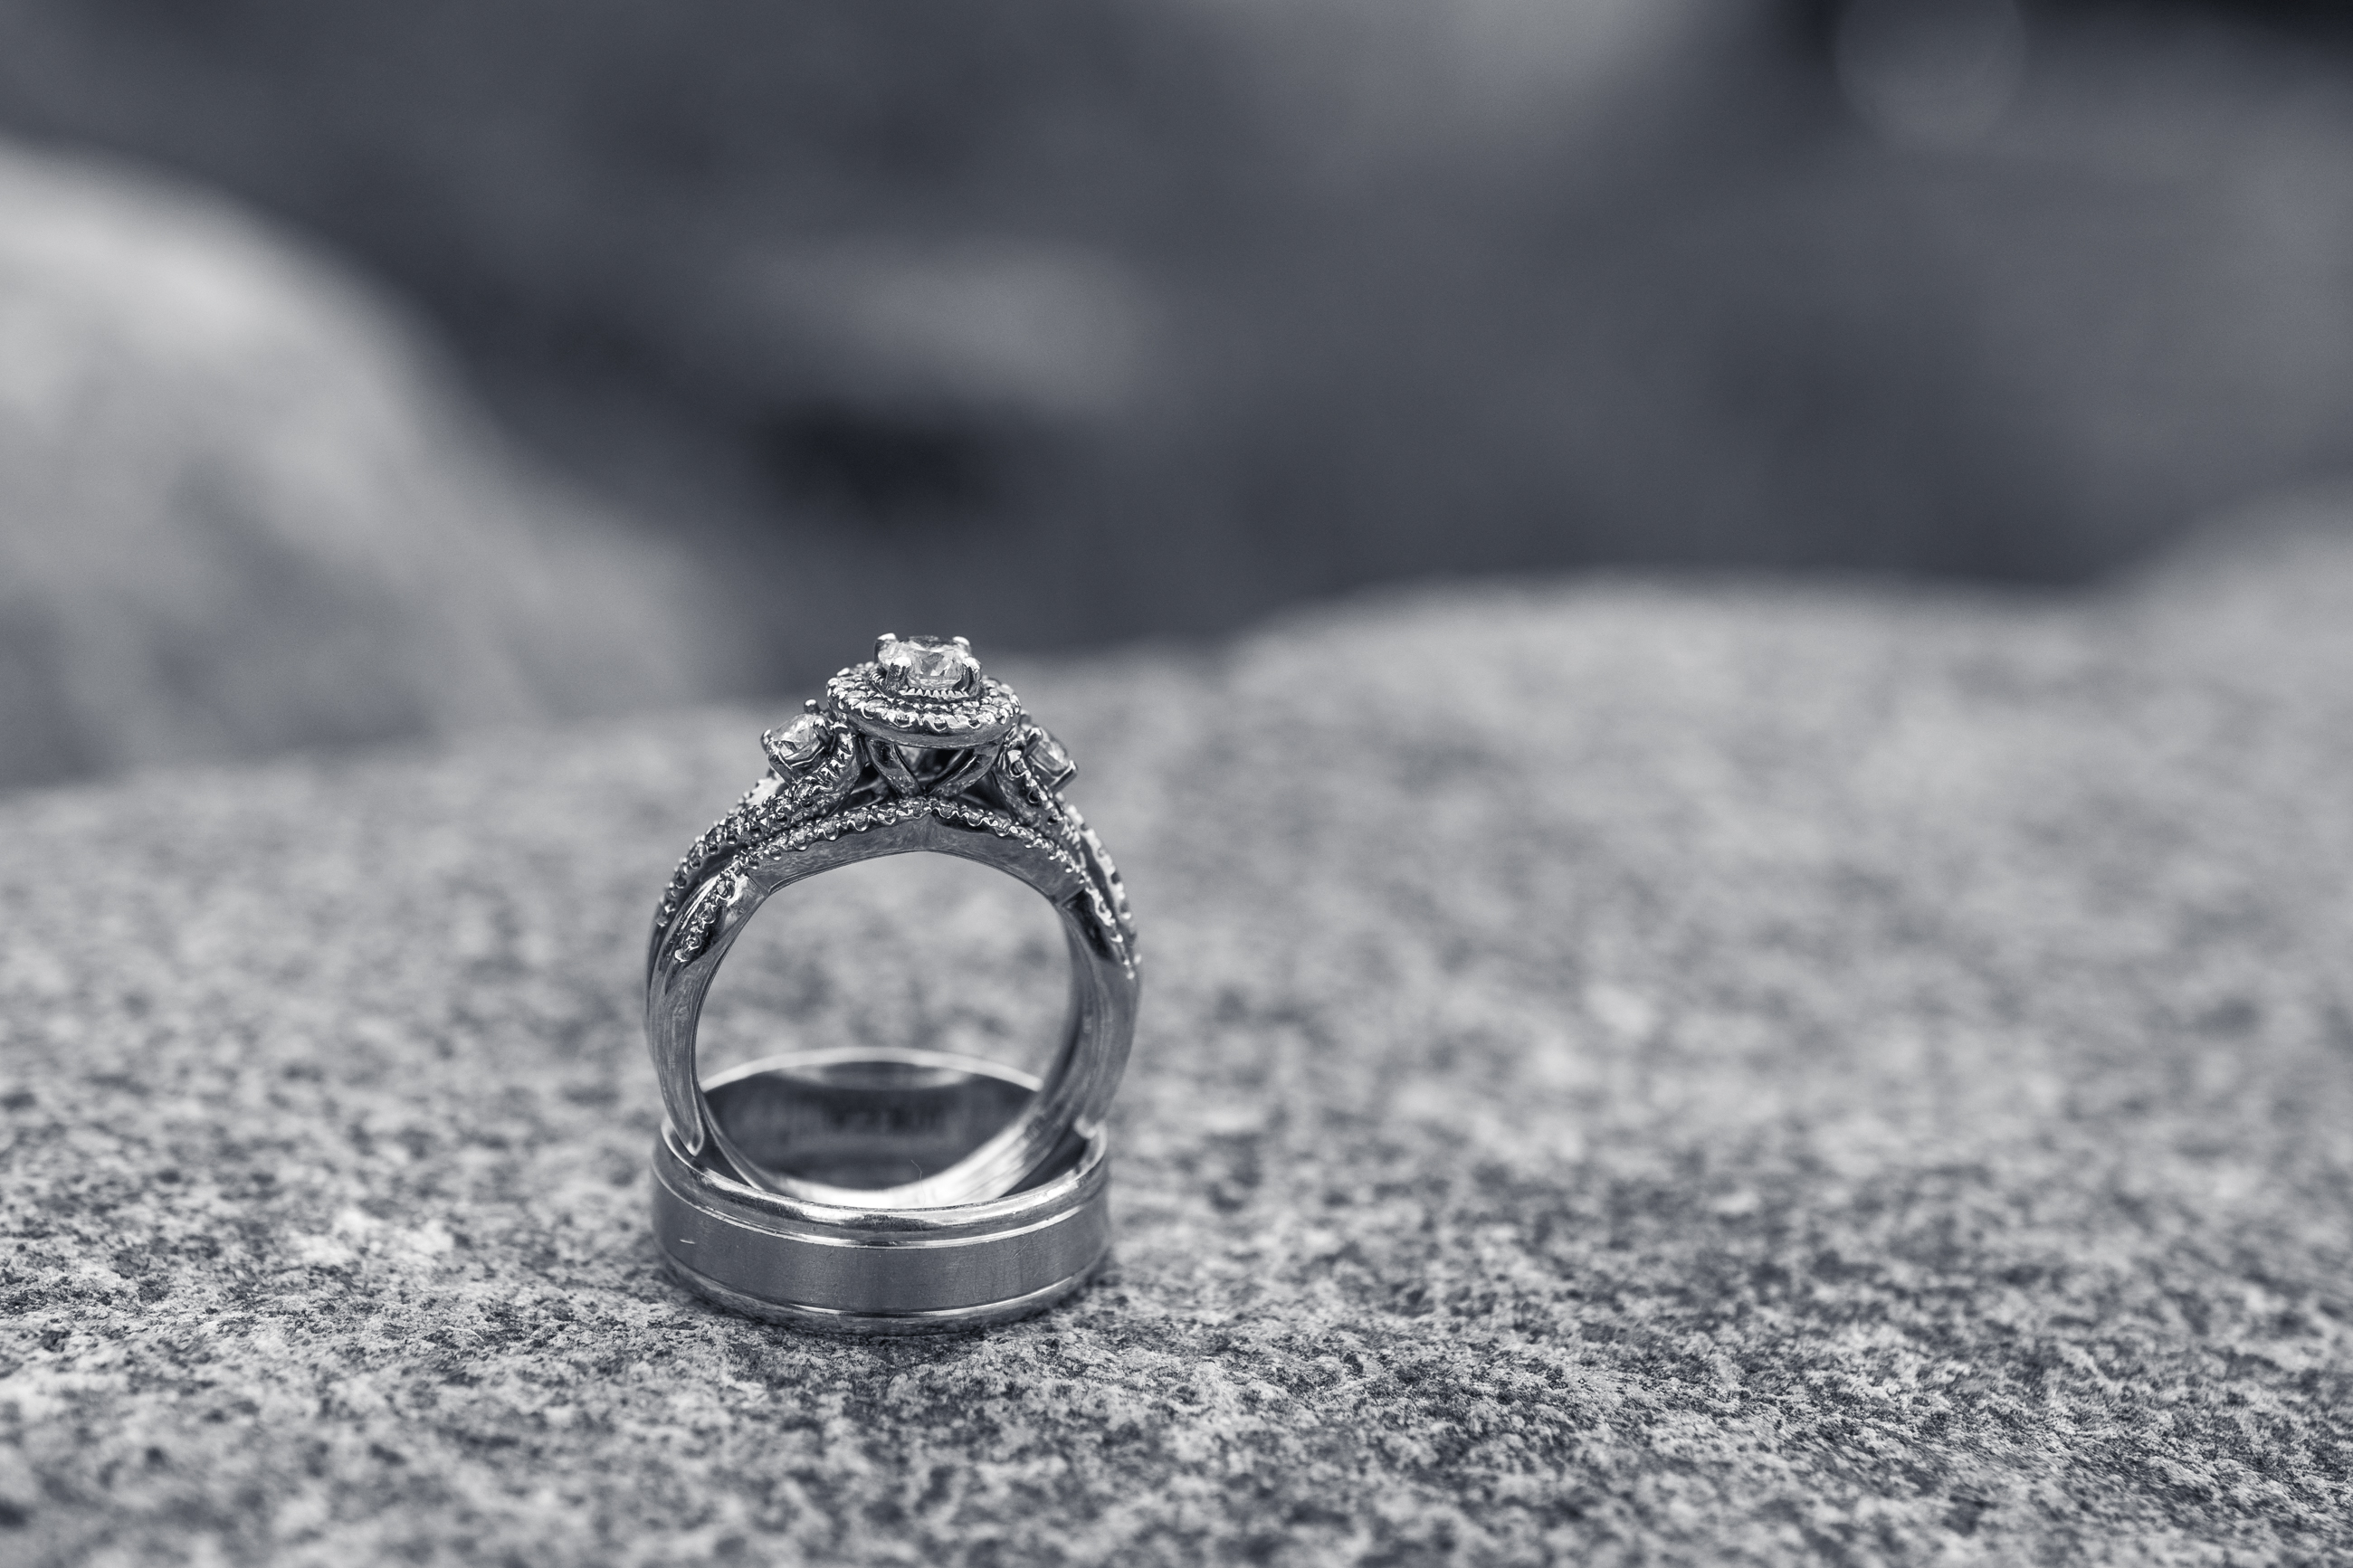
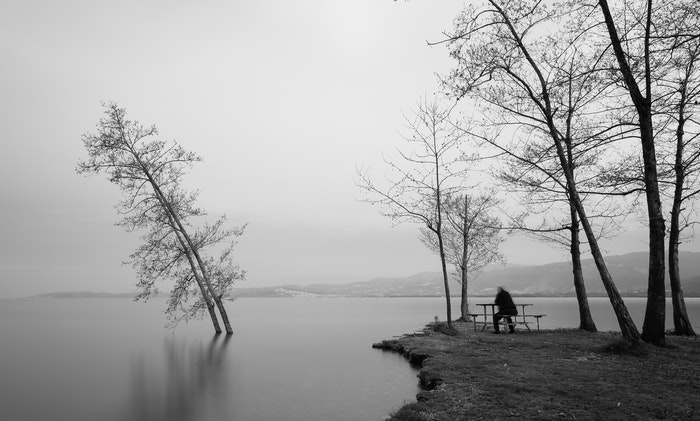
© Heather Milne
Settings for Black and White Photography: Why You Should Set Your Camera
It’s Fast
Black and white settings are both accessible and fast. Sometimes the weather or mood of a scene suits black and white, and I’ll shoot with this in mind.
I can never be sure if it will work out until I convert my images to black and white in Lightroom.
With my camera in black and white, I can see the B&W JPEG on the camera display immediately.
You Don’t Lose Color Data
You’re shooting in black and white. But this doesn’t mean all your color data disappears. Make sure you’re shooting in RAW + JPEG.
The RAW file will hold the color data and the JPEG will process it into black and white.
If the photograph looks fantastic in black and white and color, you can use both!
You’ll Focus More on Composition
Shooting in black and white is a challenge. I’m much more deliberate about getting the composition right.
I also look for leading lines, patterns, framing, and negative space.
In black and white, I press the shutter. Then I can critique my black and white photograph in the camera display.
I learn more during the photographic process – not in post-production.
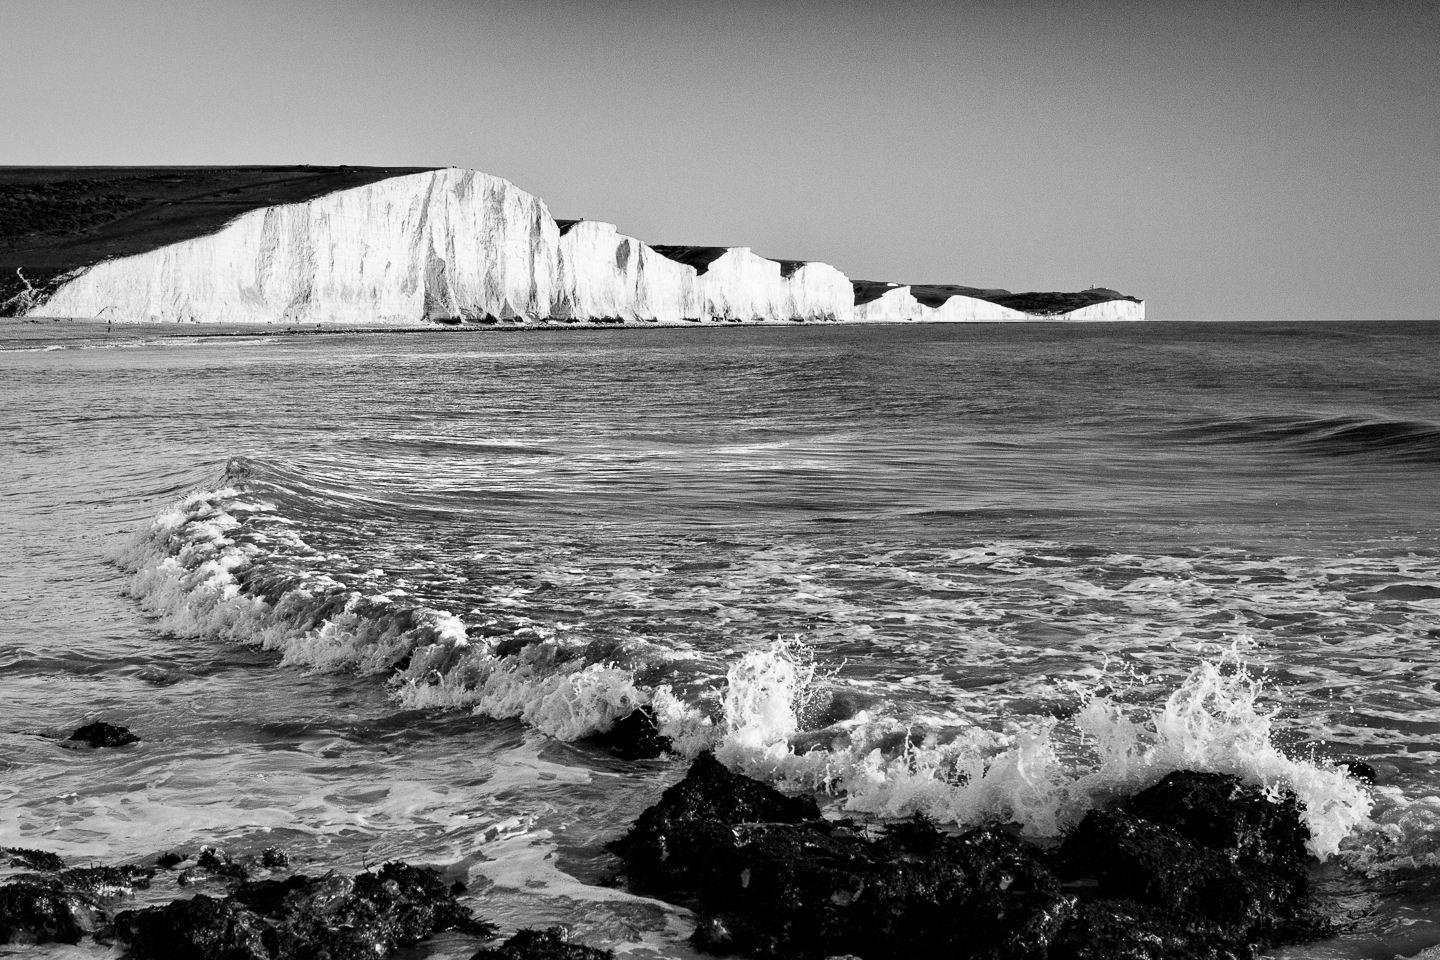
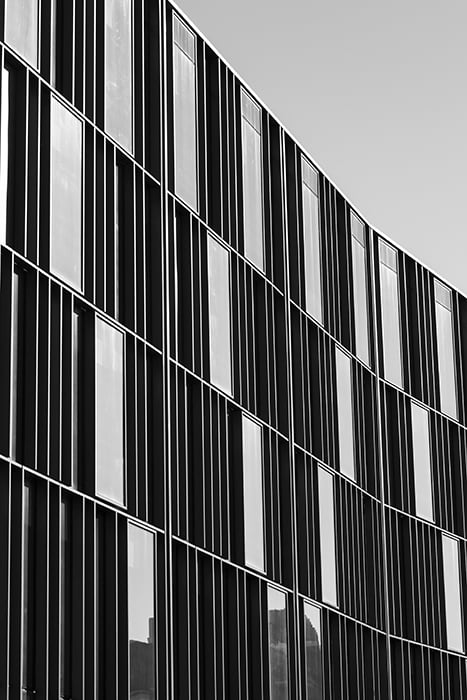
© Heather Milne
You Can Try It on Your Smartphone First
If you’re unsure of where to start with your black and white camera settings, spend some time on your phone! It’s easy to apply a black and white filter.
Or you can experiment with a black and white photo editor on a smartphone photograph.
This will give you insight into adding definition and contrast to your photos. It will help you understand how different filters and tones affect colors.
Camera Settings for Monochrome Photography
Accessing Black and White on Different Cameras
Different cameras have different ways of accessing monochrome settings. Tesearch how your black and white settings work.
- For a Canon 5D Mark II, press Picture Style first. Then move the selector to Monochrome, press INFO to view. Adjust additional settings.
- For the D610 and D7100 Nikon, set Picture Control in the Shooting Menu first. Then select Monochrome, and adjust the additional settings.
For other cameras, access monochromes settings on:
- Pentax via Custom Image;
- Sigma via Color Mode;
- Canon via Picture Style;
- Nikon via Picture Control;
- Sony via Picture Effect;
- and Olympus via Picture Mode.
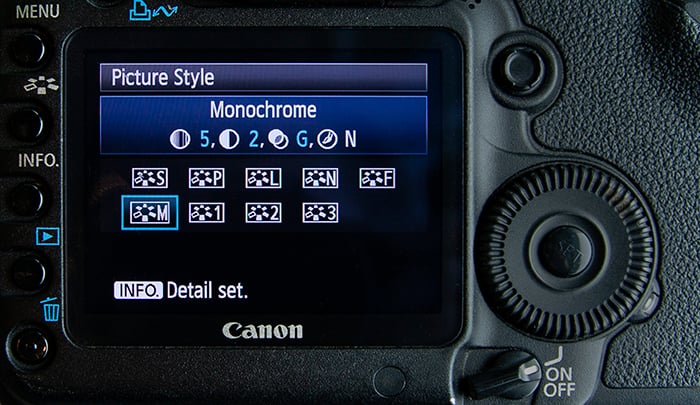
Monochrome selected on a Canon 5D Mark II.
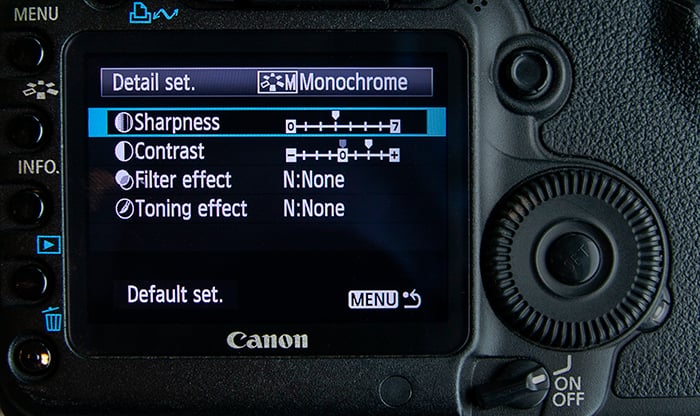
Sharpness selected for adjustment in the Monochrome in-camera setting on a Canon 5D Mark II.
Making Adjustments to Your Black and White Settings
Experiment with the finer details of your black and white settings. You’ll learn about the effects they create.
I’m a true believer in ‘less is more’, so I err on the side of caution and avoid extreme tweaking.
When I use my camera in monochrome setting, what I usually do is:
- Increase sharpness and contrast. Particularly if I’m photographing on a flat, dull day;
- Use sepia tone depending on the subject and story I’m telling;
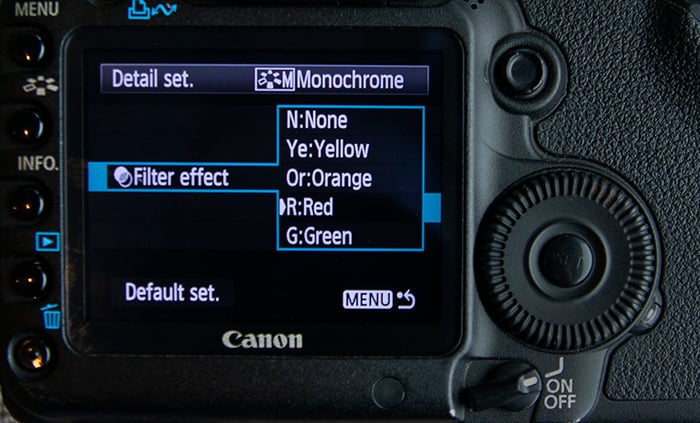
- Apply the red or orange filter to darken a blue sky
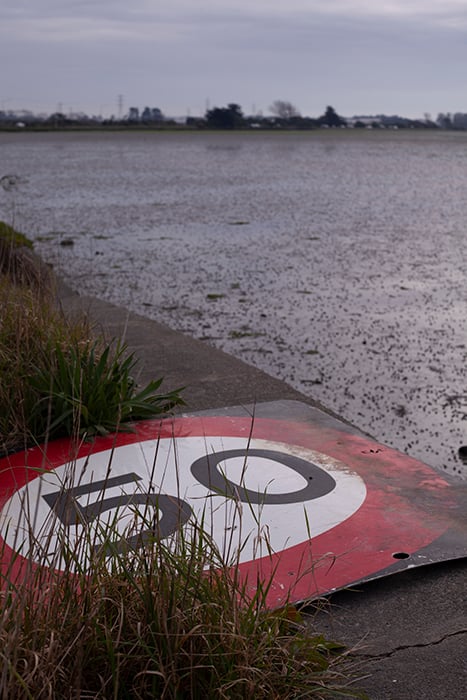
The tired road sign, straight out of camera in color. 50mm, ISO100, 1/320sec, /9. © Heather Milne
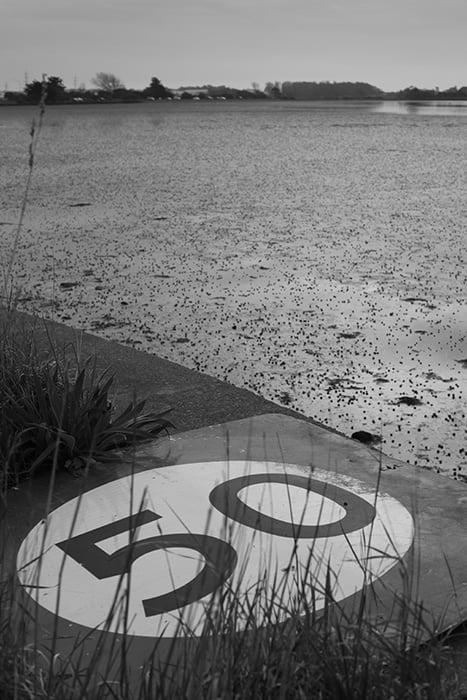
The tired sign with monochrome in-camera settings (no other adjustments made). 50mm, ISO100, 1/320sec, F/9. © Heather Milne
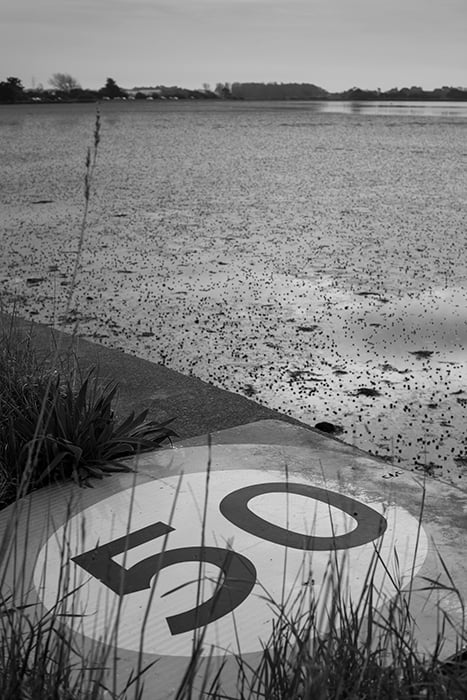
The tired road sign with a red filter applied and increased sharpness and contrast in monochrome in-camera settings. 50mm, ISO100, 1/320sec, F/9. © Heather Milne
The different filters can be great to use if you want to darken or lighten specific colors in your frame. For example, the green and yellow filters lighten vegetation.
Adjusting filters and other details takes time. It’s not always suited to fast-moving street or wildlife photography.
What Can You Photograph in Black and White
Well-researched black and white camera settings take you only halfway there.
The point is to make your best black and white photos and reduce your post-production time. For this, you need solid technique and an eye for the right moment.
Look for a balance of highlights, shadows and textures. These will give your black and white photos definition.
Consider the mood of the scene. Black and white photos are great for conveying emotion and telling a story.
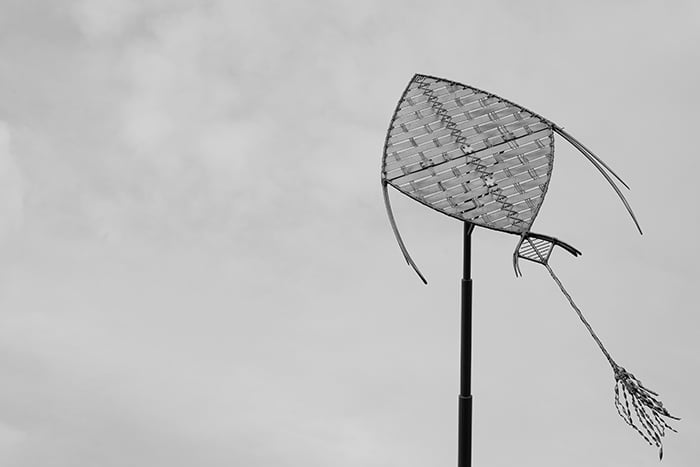
Explore abstract subjects and unusual patterns. These will test out your black and white settings. And you’ll take a step out of your creative comfort zone.
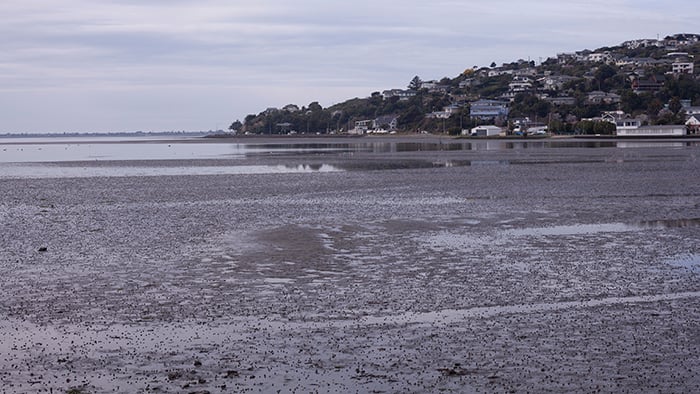
The estuary, straight out of camera in color. 50mm, ISO100, 1/250sec, f/9.
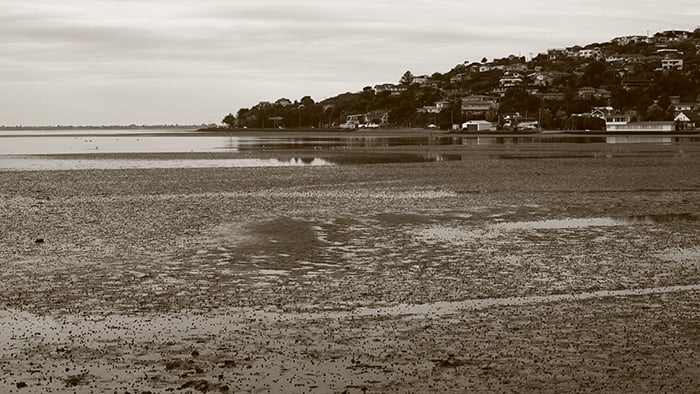
The estuary with a sepia tone and increased sharpness and contrast in monochrome in-camera settings. 50mm, ISO100, 1/250sec, f/9.
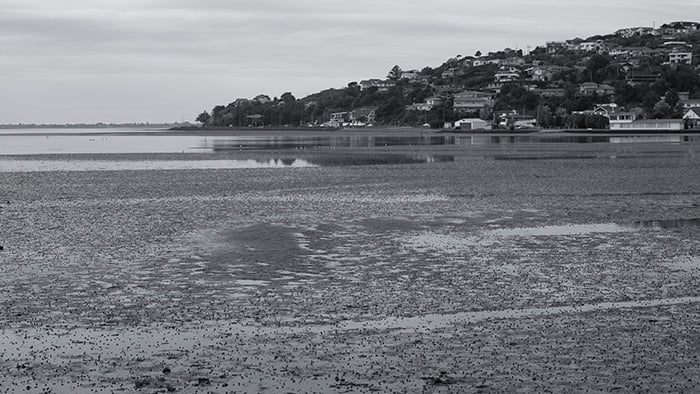
The estuary with a blue tone and increased sharpness and contrast monochrome in-camera settings. 50mm, ISO100, 1/250sec, f/9.
Conclusion
Try using your camera’s black and white settings. It’s a great technique to practice regardless of your photography experience.
You might be new to photography or nervous about using Lightroom or Photoshop. You can still create monochrome images on your DSLR and maintain color back-ups.
If you have years of photoshoots behind you, get back to the basics. Sneak out of your comfort zone and shoot in JPEG with your black and white settings.
Have a go next time you’re out with your camera. Combine an old style of photography with modern technology. And see what happens.
We have a great article on shooting black and white landscapes to check out next!