Taking photos of scenic spots can be quite challenging if there are crowds of people in your frame. But did you know that you can remove people from photos using a neutral density filter?
We’ll show you the step-by-step process for applying this technique in your photography.
How to Use an ND Filter to Remove People From Photos
Before we begin our tutorial, let’s talk about is what a neutral density filter is and what it does.
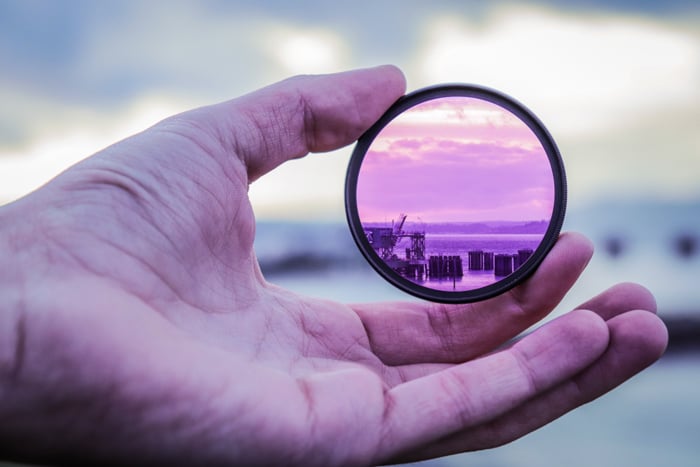
A neutral density filter, also known as an ND filter, acts like sunglasses for your lens. In other words, it limits the amount of light coming into your camera.
This filter’s primary purpose is to help you create well-exposed photos when the light source is too intense.
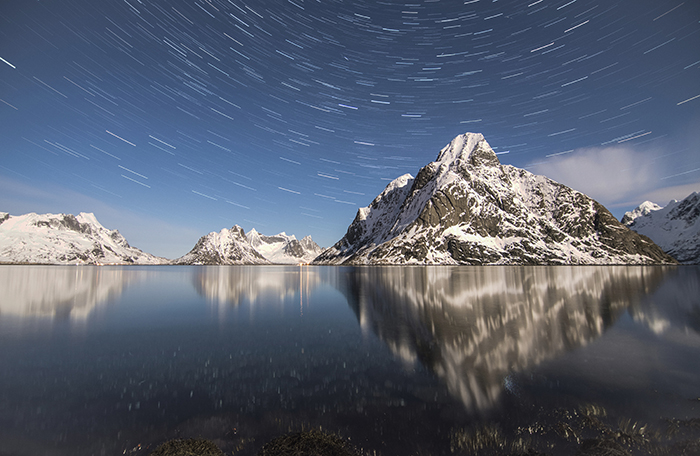
Since an ND filter limits the light from coming into your camera, it’s also ideal for creating long exposures in the daytime. In contrast, creating a long exposure image without it will simply result in an overexposed image.
ND filters have different grades, which are called ND numbers. It starts with ND2 and can go all the way up to ND100,000. But keep in mind that most filter kits can only go up to ND8 or ND10.
The higher the ND filter’s ND number, the higher the f-stop reduction.
F-Stop reduction refers to the number of stops an ND filter shaves off from your exposure.
An ND2 filter has an F-Stop reduction of 1. So if your current setting has an aperture of f/22, adding the filter will lower it to f/20, which is equivalent to 1 stop. If you use an ND8, which has an f-stop reduction of 3, then you’ll end up with f/16.
What Are the Different Types of ND Filters?
ND filters come in a variety of shapes and sizes. We will not discuss all of them, but we will include the ones that are relevant to this technique.
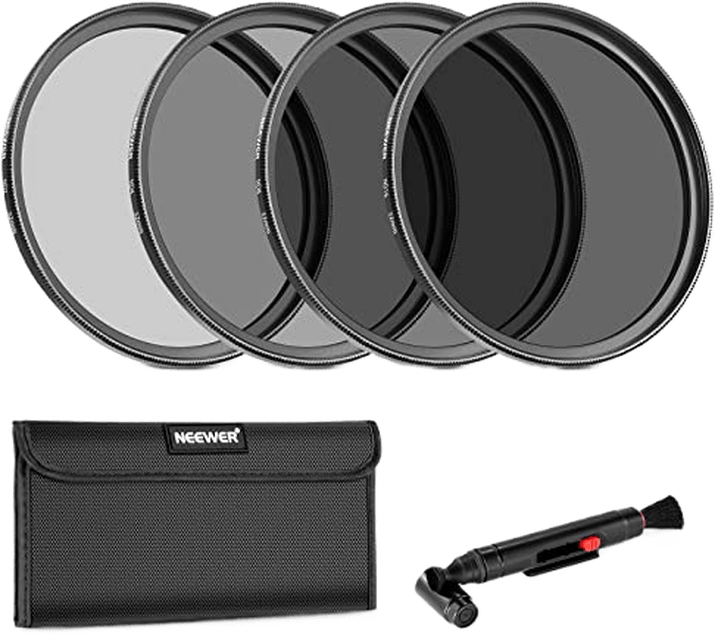
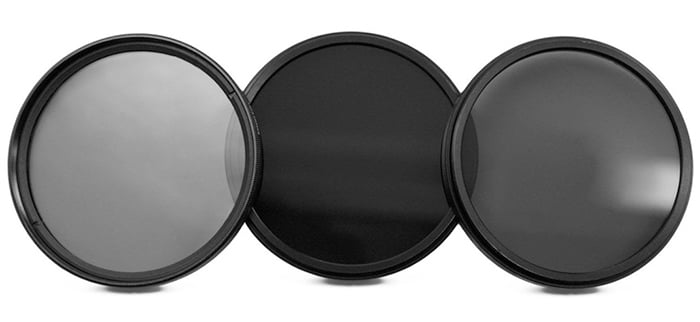
Screw-On Filter
This type of filter is the most common in photography. As the name suggests, it screws on to the front of your lens. They are available in different sizes that fit specific lenses. If you use a lens with a 52mm diameter, then you’ll need to get one with the same measurement.
In most cases, these ND filters often come in a kit featuring at least four options – each with a designated ND number.
Variable ND Filter
This filter is a variation of the screw-on option. The only difference is that it comes with an adjustment ring that lets you change the ND number by twisting it. With this accessory, you won’t need to carry around an entire kit.
Slot-In ND Filter
This type of ND filter is square rather than round. Instead of screwing it on, you slot it into a filter holder installed in front of the lens. What makes this option better than the last two, is that you can use it on any lens whether the diameter is 52mm or 72mm.

How Does a Neutral Density Filter Remove People from Images?
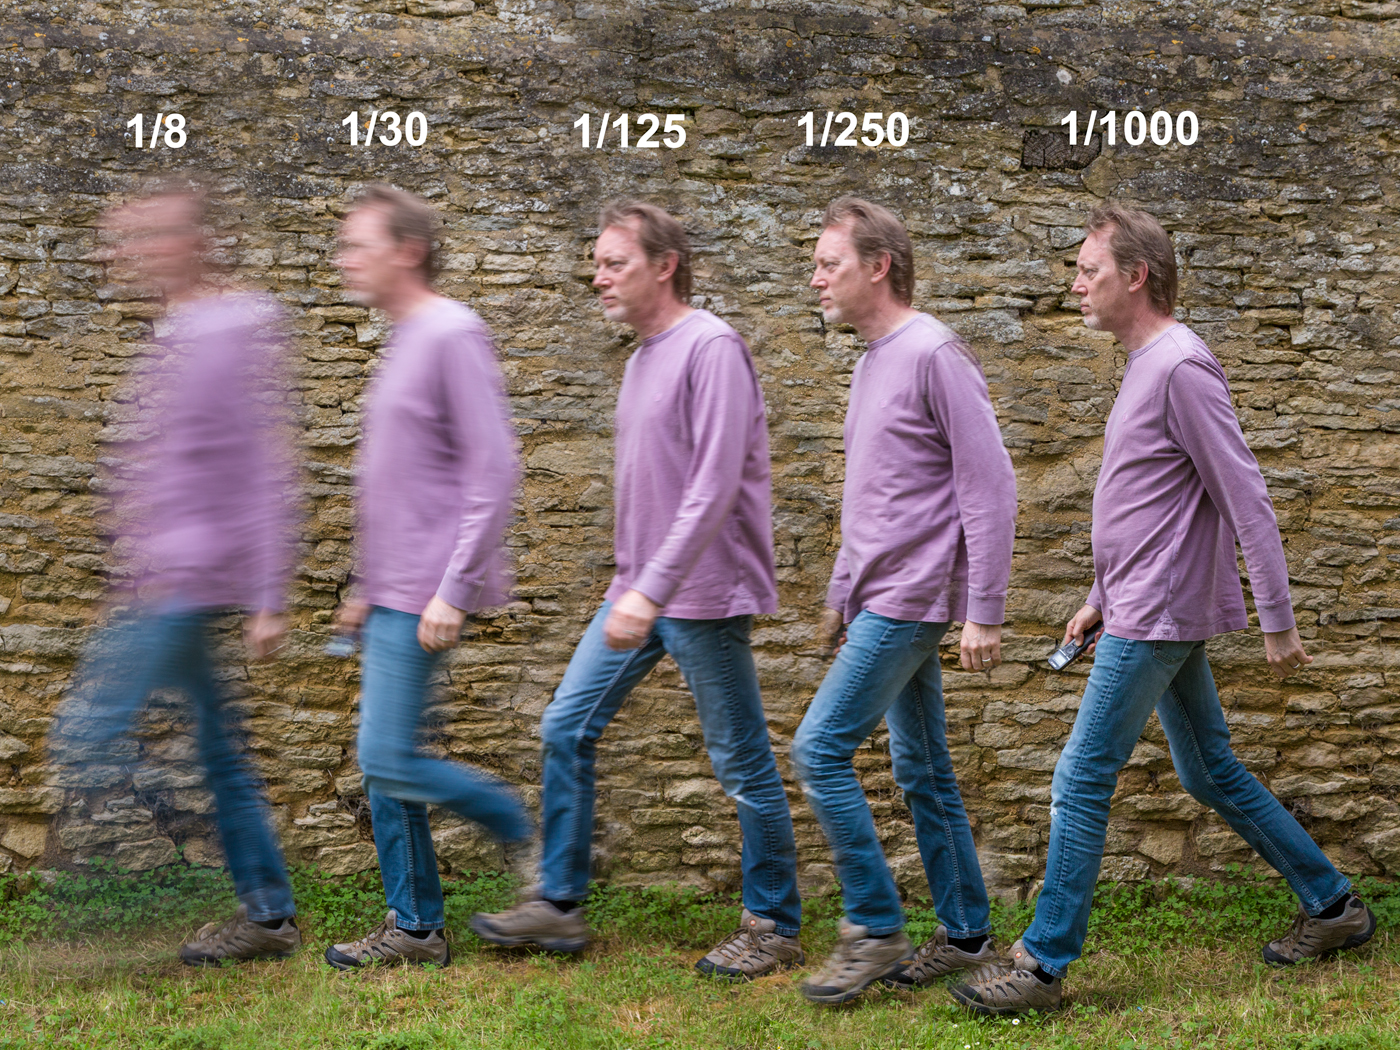
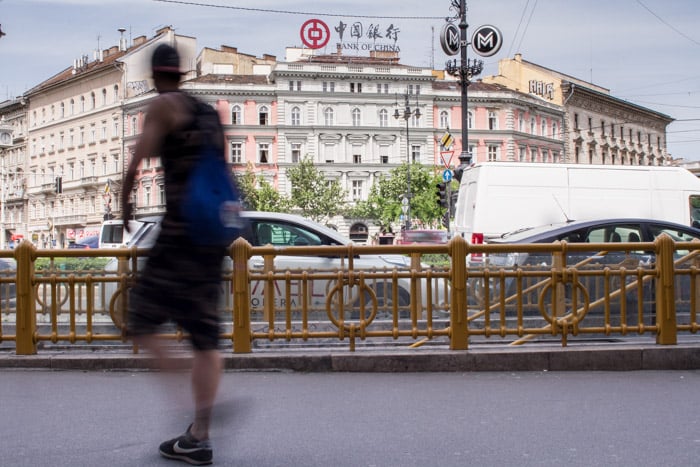
When you look at long exposure images, you’ll notice moving objects appear as blurry streaks. If you open your shutter long enough, all that movement may not even register in your picture at all.
With this concept in mind, you can use an ND filter to lengthen your exposures and remove moving people in your images.
Can ND Filters Remove People from any Shot?
The simple answer is no. You see, several elements need to come together for this technique to work.
First, your shutter has to be open for at least a few seconds to remove people. For that to be possible, you’ll need to make sure that the light isn’t too bright even with ND filters.
Next, you need to make sure that moving objects don’t stay in the frame for the duration of the exposure.
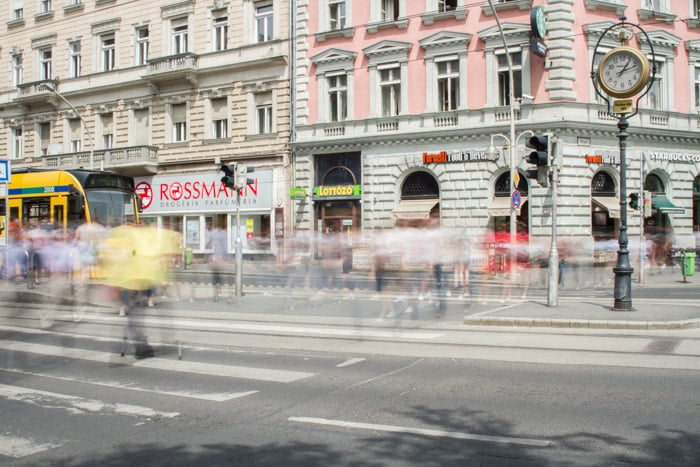
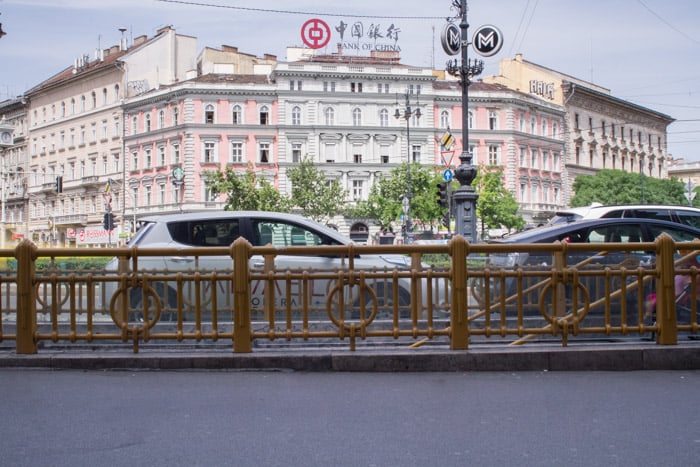
In this image below, you can see a busker and his dog in the shot. Even though he’s moving, he stays in the same position throughout the exposure. As a result, he appears prominently in the final image.
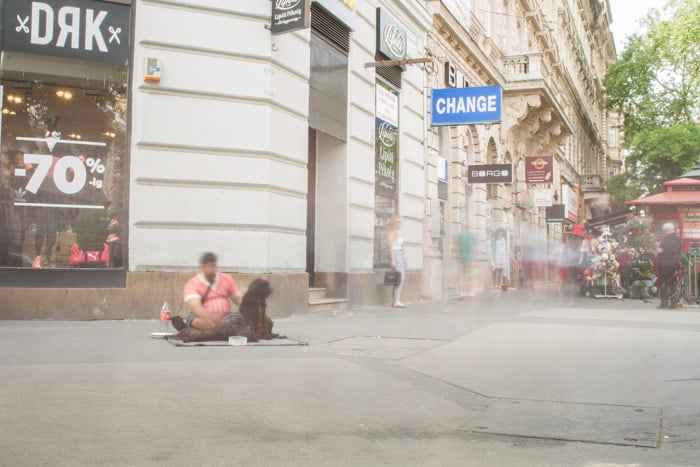
It will also help if the number of moving elements in your image is low. If there are lots of people, you can’t guarantee they will all be out of your frame once your exposure ends. That’s why if you look at the photo above, the pedestrians still appear as blurry streaks as well.
Now that you know the limitations of this technique, you’ll know when and when not to use it.
Steps for Using ND Filters to Remove People in Photos
1. Wait for Sunrise to Avoid Bright Light and Big Crowds
Remember when we mentioned that ND filters aren’t foolproof if you want to remove people in photos? Well, going out during sunrise will help increase your chances of success.
You see, there aren’t many people in the morning. Even the most popular tourist spots tend not to be as busy during this time of day. The less you have to deal with the crowds, the better your photos are going to become.
During sunrise, you also have less light. And that’s good because that means you don’t have to use ND filters with high ND numbers.
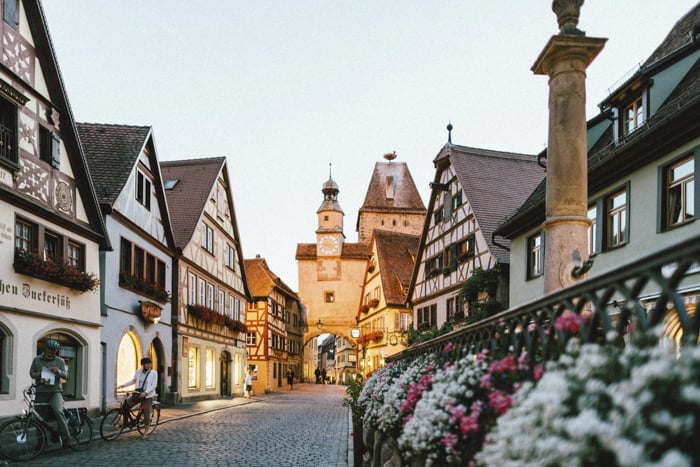
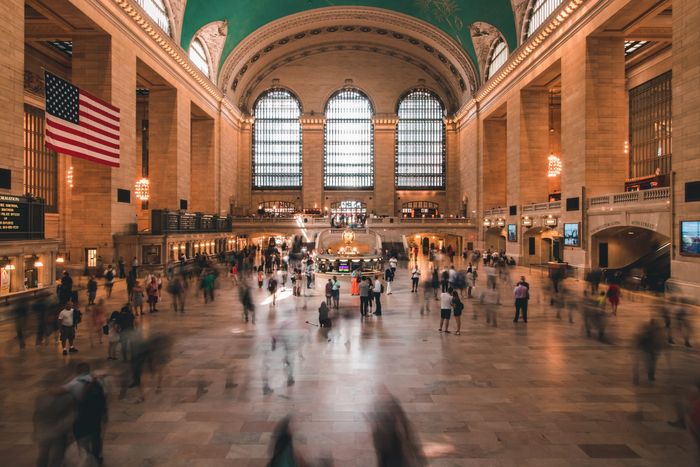
Photo by Roman Kraft
2. Set Up Your Camera on a Tripod to Prevent Blurry Shots
We know that long exposures cause motion blur. This principle applies even when you just press the shutter with your finger.
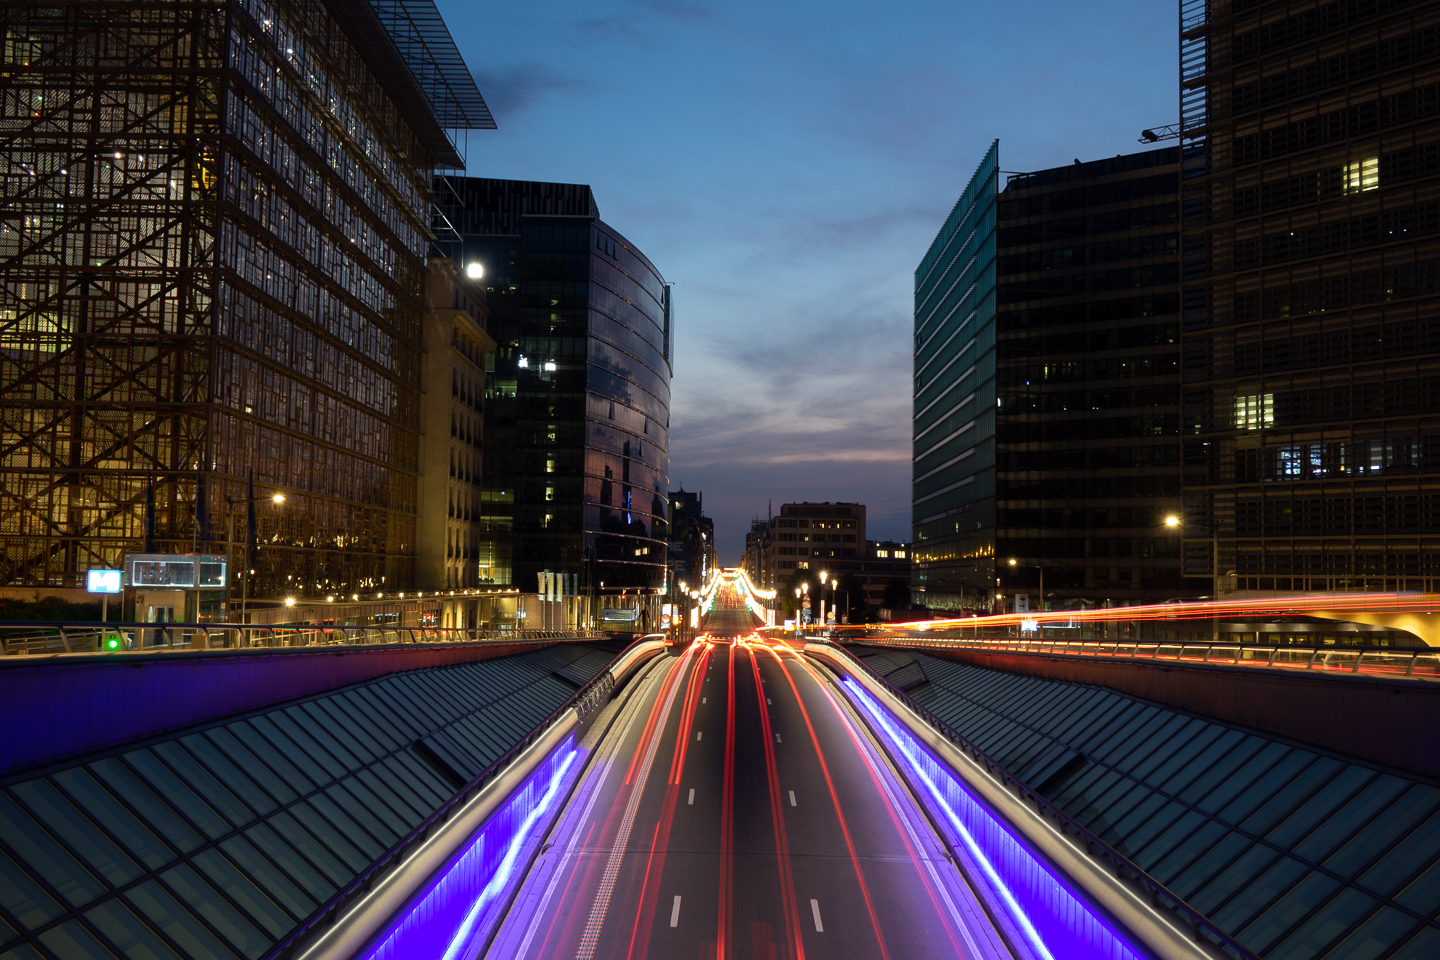
When photographing buildings, you don’t want even the slightest motion blur. So make sure you place your camera on a tripod to keep it stable.
It will also help if you use a wireless remote to trigger the shutter. If you don’t have one, then you can try a self-timer instead. That way, your finger isn’t on the button by the time the exposure starts.
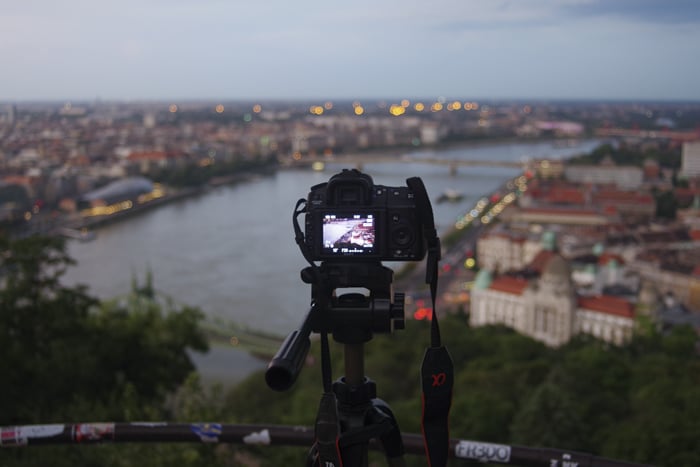
Photo by Patrick Tuka
3. Adjust Your Camera Settings for Long Exposure
Your ISO is responsible for controlling your camera sensor’s ‘sensitivity’ to light. So if you’re doing long exposures, you need to make sure you adjust it to the lowest setting. In most cases, the lowest ISO value is 100.
Since you now just made your camera less sensitive to light, you can keep your shutter open for longer.
The next step is to switch your camera to Shutter Speed Priority. You can choose anywhere between 4 to 30 seconds, depending on the scene you’re shooting.
The secret is to time the people walking in and out of the frame. How long does it take them to walk from point A to point B on average? If it takes them about ten seconds, then maybe you can adjust your shutter speed to 12 or 15 seconds. Adding extra time helps you take care of the slower pedestrians.
A word of caution: You shouldn’t exclusively rely on the speed of walking pedestrians when adjusting your shutter speed. Think of it more as a guide.
What’s more crucial is that you tweak your settings to make sure your exposure is correct. It doesn’t matter if people walk in and out of your frame for ten seconds. If your shot ends up overexposed, then it wouldn’t work. So choose the shutter speed that’s long enough for pedestrians but would still achieve a good exposure.
Once you set your shutter speed, look at your aperture value. Has it reached the minimum aperture of either f/22 or f/32? If you see those numbers blinking on your screen, that means you will end up with an overexposed image.
So the next step is to install an ND filter on your lens.
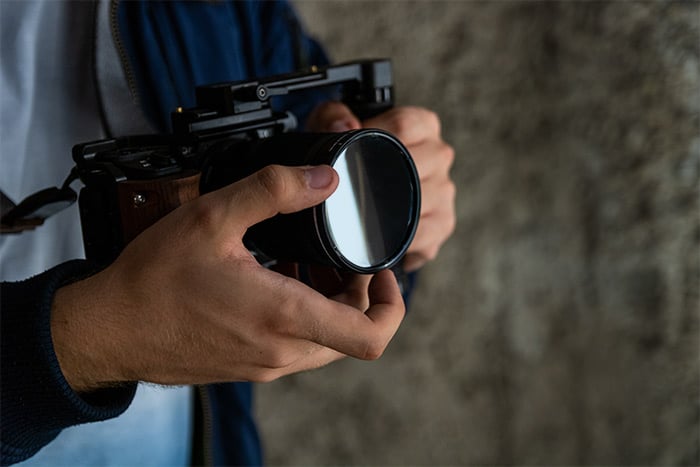
4. Install an ND Filter to Correct Your Exposure
The goal is to get that f/32 to stop blinking because it means that you’ll finally get a correct exposure. And the best way to do that is to screw on your ND filter (since it limits the light coming into the lens, remember?).
Since you’re shooting in the daytime, a high ND number would work best. So feel free to screw on an ND4 or an ND8 right away.
Now look the screen and see if your aperture value is still blinking. If it stops or if it goes down to f/20 or lower, then that means you’re ready to take photos. If it doesn’t, go to the next higher ND filter.
But what if you’re already using the highest ND number in your kit, and the aperture value is still blinking? Then it’s time to start stacking!
5. Stack ND Filters to Cut Down the Light Even More
If even your highest ND filter isn’t enough to limit the light coming in, then it’s time to do some stacking.
Stacking is a technique that involves screwing a filter on top of another.
If you already have an ND8 on your camera, you can stack an ND4 on top of it. Doing so allows you to increase your f-stop reduction even more.
The issue with stacking is that the more filters you screw on, the poorer the quality of your image. This problem becomes even more apparent when you have a cheap filter kit.
To retain your image quality, consider limiting your stacking to two filters. Adding more may start to degrade your photo’s sharpness and even compromise the colors.
6. Switch to Manual Mode to Dial In Your Exposure
At the start of the tutorial, we told you to use Shutter Speed Priority to achieve the correct exposure. But it may not always get the results you want.
If you want more control over your exposure, then you’ll need to switch to Manual Mode.
The trick is to remember the aperture and shutter speed values from Shutter Speed Priority Mode. That way, you don’t have to guess where to start with your settings.
Once you switch to Manual Mode, set your aperture and shutter speed to the same settings you had in Shutter Speed Priority. From there, you can adjust the values up or down to nail your exposure.
Of course, you have the freedom to choose whether to adjust the shutter speed or the aperture. But I suggest that you start with the aperture first before we tinker with the shutter speed.
Why? Because the shutter speed is the key to creating the motion blur. And if you end up using the wrong value, then you will not be successful in removing people from your pictures.
7. Take the Money Shot!
Now that you have your ND filter on the lens and your settings dialled in, it’s time to take the shot.
This process requires a lot of trial and error. So if you want to remove people from your shots, it would help if you take a few photos instead of one.
Always wait for the least amount of people before you press the shutter. That way, you have a better chance to remove them in your shot.
Conclusion
Remember that the best way to remove people from your shot is to avoid them in the first place.
The ND filter approach is not perfect. So you should only use it to remove people when you don’t have any other alternatives.
The secret is to make sure you stay away from bright light and heavy foot traffic. If you keep these two factors in mind, then you have the best chance to remove people from the scene.
Still interested in learning more about ND filters? Check our article on using neutral density filters for landscape photography! You can also try this alternative to remove people and objects from photos.
Learn the secrets of long exposure photography with our course – Infinite Exposures!